Fifteen beginner-friendly ways to use up fabric scraps. Make coasters, scrunchies, totes, lavender sachets, and more with what you already have.
If your fabric scraps are currently living in a tote bag that whispers, “I will be organized someday,” welcome. I have been there, elbow-deep in triangles and strips, trying to convince myself they are “totally usable” while also not knowing what to make first.
This list is my favorite kind of crafting: small, satisfying, and actually useful. Every idea below is designed to work with leftover strips, odd shapes, and those too-pretty-to-toss bits that pile up after bigger projects.
Before you start: the quick scrap-sorting trick that makes everything easier
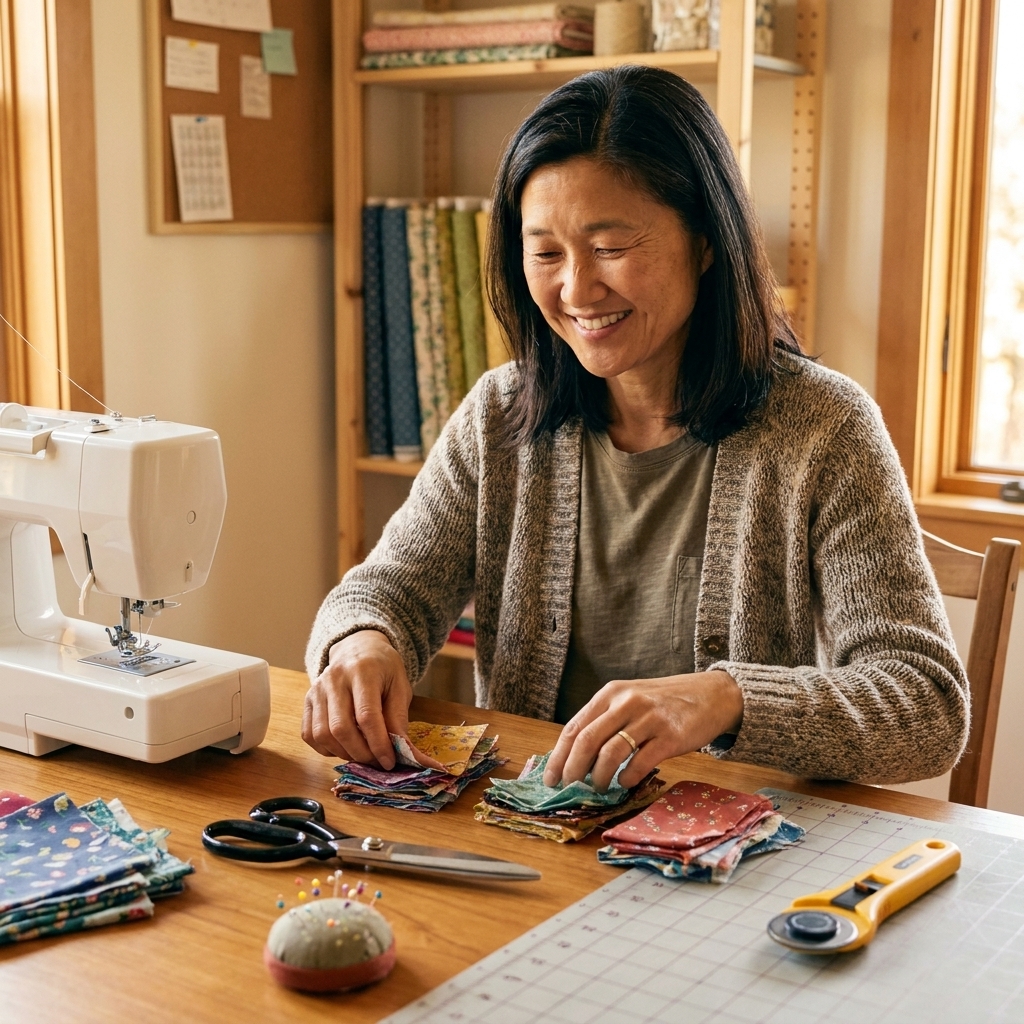
Scrap projects go twice as fast when your pieces are easy to grab. Here is my no-fuss system, straight from my former-art-teacher brain:
- Sort by size, not color. Make 4 quick piles: tiny (under 2 inches), strips (long and skinny), medium (postcard size), and large (bigger than your hand).
- Press first. Wrinkly scraps lie to you about size. A quick press makes cutting and piecing so much more accurate.
- Standardize a few “go-to” cuts. When I am feeling extra motivated, I cut a batch of 2.5 inch strips and 5 inch squares. That alone unlocks half the projects below.
- Stabilize slippery or stretchy scraps. For knits, add a strip of lightweight fusible interfacing before sewing so the piece behaves.
Now let’s turn that stash into finished, feel-good wins.
Quick safety and materials notes
Not to be a buzzkill, but a couple of scrap categories deserve a tiny reality check:
- Microwave and heat projects: For bowl cozies and anything that goes in the microwave, use 100 percent cotton fabric, 100 percent cotton batting, and ideally 100 percent cotton thread. Skip metallics, foil prints, and mystery “sparkle” scraps.
- Food-contact projects: For snack and produce bags, wash everything first and choose materials meant for that purpose. When in doubt, keep it for non-food storage.
- Baby items: If you sew for little ones, avoid scratchy trims and anything that could be a choking hazard. Keep seams smooth and finishes secure.
Wearables and accessories (fast wins)
1) Classic scrunchies
Scraps you need: one strip about 3.5 x 18 inches (shorter works for kid sizes). Sew a tube with about a 1/4 inch seam allowance, turn it right side out, thread elastic through, and you are done in about 10 minutes.
2) Skinny “rabbit ear” tie scrunchies
Sew a regular scrunchie, then add a long skinny tie (or two) from coordinating scraps. Perfect for using those long strips.
3) Patchwork headband
Piece scraps into a long rectangle, then add elastic at the back. Beginner-friendly and forgiving. If your scraps are on the bias or a little wiggly, a light fusible interfacing underneath keeps everything from stretching out.
4) Bow hair clips
Make tiny bows, stitch or glue to alligator clips, and call it a day. Great for tiny scraps.
5) Fabric-covered snap clips
Wrap a small strip around a metal snap clip and stitch on the underside. Clean, polished, and surprisingly durable.
6) Knotted baby headbands
Best with knit scraps. Use a soft stretch stitch and keep seams smooth.
7) Wrist key fob
Use a sturdy strip, fold like binding, stitch, then add hardware. If your scrap is lightweight, fuse interfacing first.
8) Lanyard for keys or ID
Same concept as a key fob, just longer. If you want an easy starting point, cut a strip 2.5 to 3 inches wide and as long as you like, then fold it into thirds like quilt binding and topstitch.
9) Simple fabric belt tie
Sew a long tube, turn, press, and topstitch. Looks adorable with dresses and aprons.
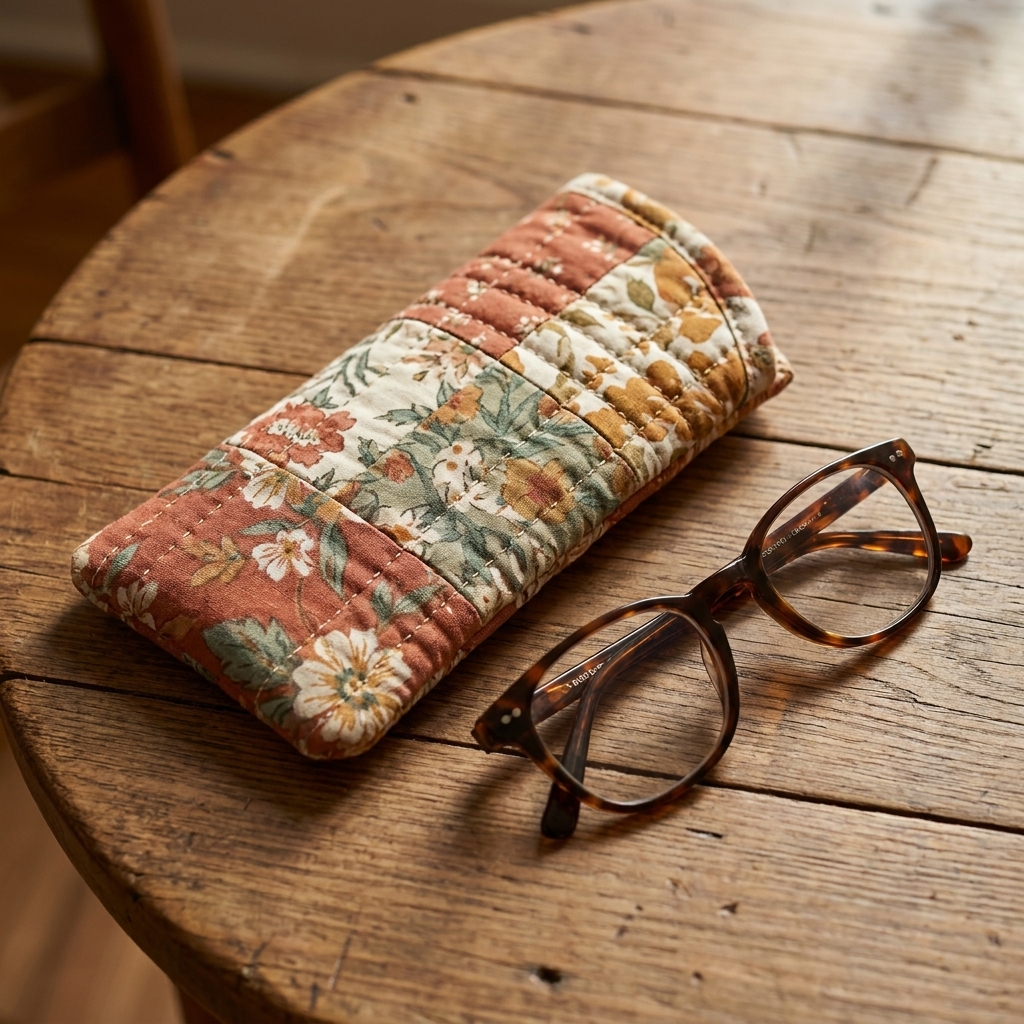
10) Quilted eyeglass sleeve
Two outer pieces plus lining, optionally quilted. Add a snap or leave it open.
Bags, pouches, and organizers (scraps that work hard)
11) Tiny zipper coin pouch
Even 3 x 5 inch pieces can become something useful. If zippers intimidate you, start with a 7 inch zipper and go slow.
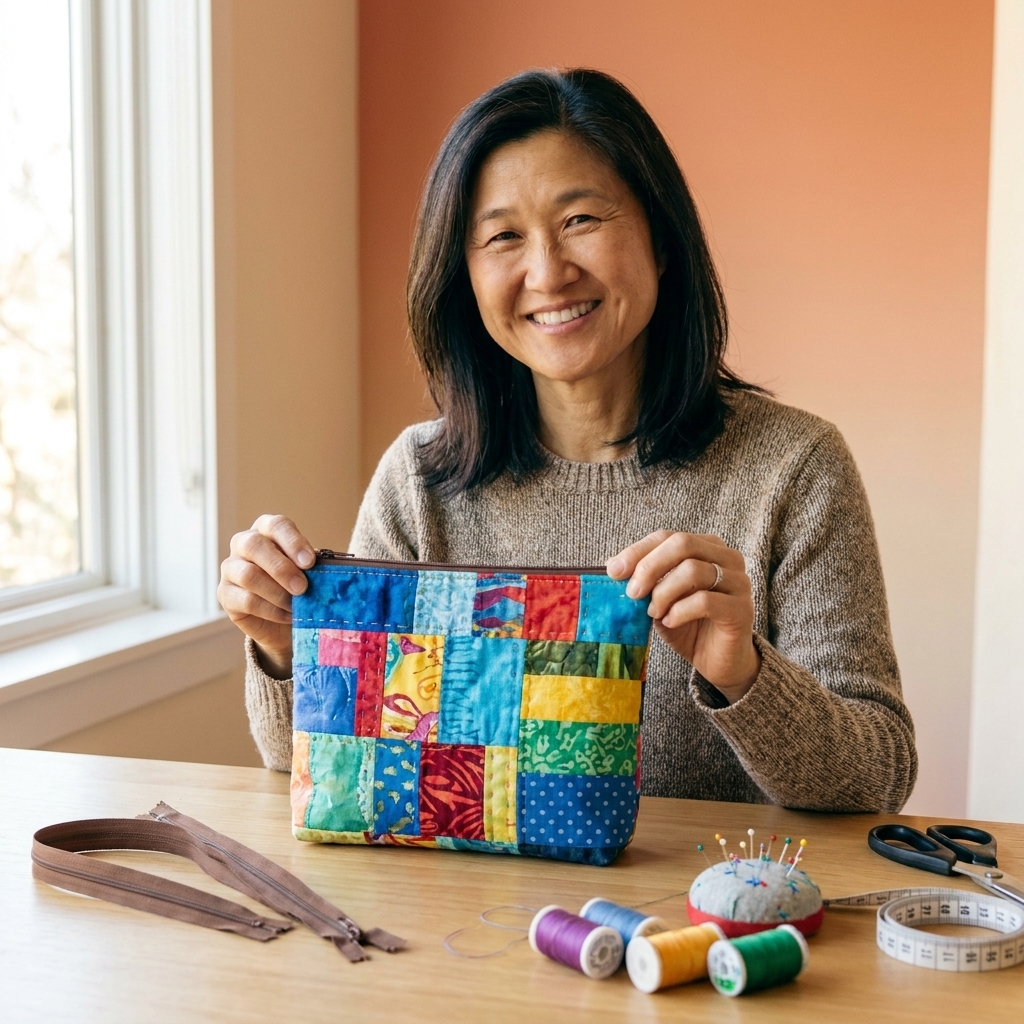
12) Patchwork zipper pouch
Piece scraps into two panels, then sew your favorite pouch pattern. This is my number-one scrap buster when I have a lot of “medium” pieces.
13) Boxy toiletry pouch
Those end-of-bolt rectangles are perfect here. Add interfacing for structure.
14) Lined drawstring bag
Make it gift-sized or lunch-sized. Great for using two coordinating fabrics that are each “not quite enough” on their own.
15) Reusable snack bag
Use cotton on the outside and a wipeable lining like PUL on the inside, or keep it simple with cotton and plan to wash often. Not all PUL is rated the same, so check your supplier’s specs and intended use before treating it like a true food-contact fabric. Hook-and-loop closure works well.
16) Produce bag
Combine cotton scraps with mesh for the body. Purpose-made bag mesh is the easiest option. If you thrift mesh (like a curtain), wash it thoroughly, choose clean untreated material, and skip anything that smells strongly of chemicals or sheds fibers.
17) Cord keeper tabs
Little rectangles with a snap or hook-and-loop. Use them for phone chargers, earbuds, and craft cords.
18) Charging cord pocket hanger
Sew a pocket and a hanging loop that slips over a doorknob or bedpost. This is a “why did I not do this sooner” project.
19) Sewing machine pedal mat
Quilt a small patchwork square, add grip fabric underneath if you have it. Helps keep the pedal from wandering.
20) Hanging fabric basket
Make a soft bin with loops for hooks or pegs. Patchwork the exterior for maximum scrap usage.
Homey little comforts (the cozy category)
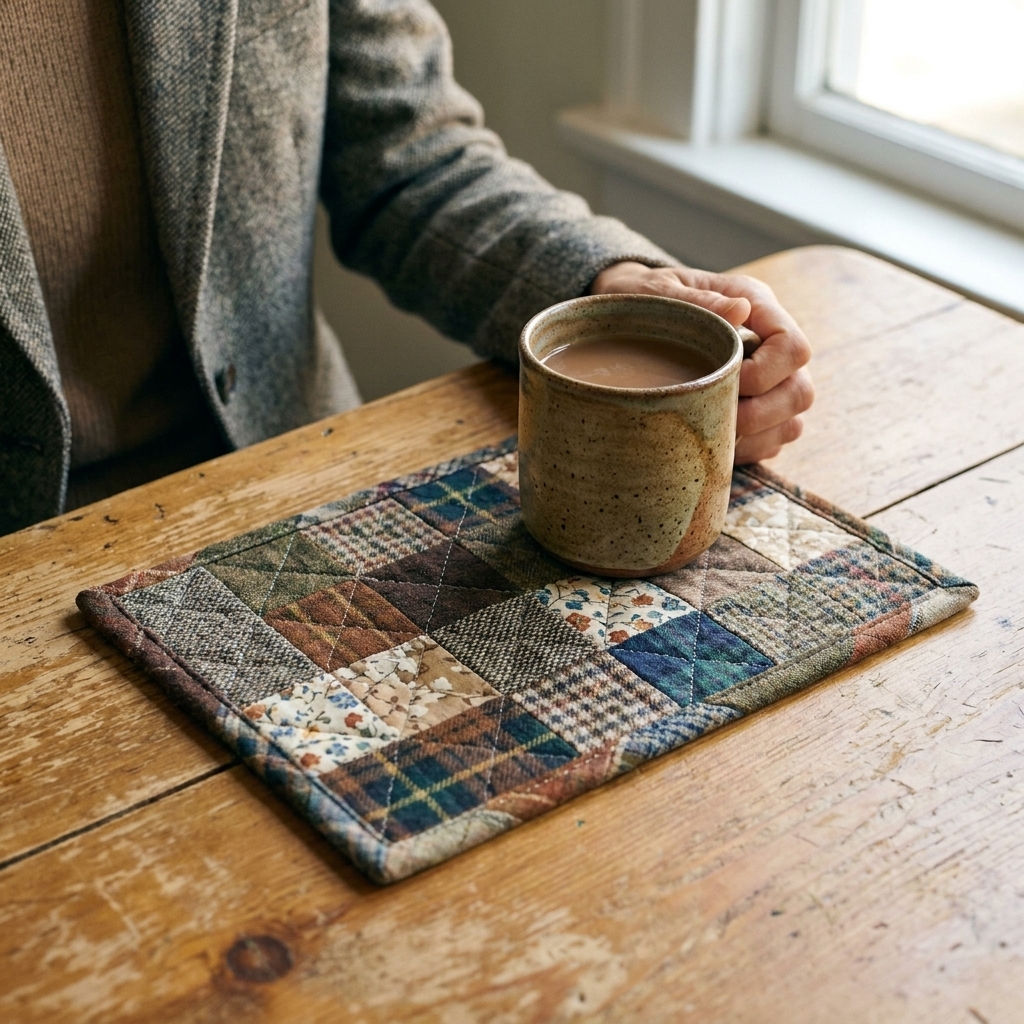
21) Quilted mug rug
Think mini placemat for your coffee and cookie. Use batting scraps and practice quilting lines.
22) Coaster set
Four to six coasters is a great way to use tiny batting leftovers. Try a simple square, or a fun wonky shape.
23) Bowl cozy
Use 100 percent cotton fabric, 100 percent cotton batting, and ideally 100 percent cotton thread if you plan to microwave it. Avoid metallics and anything with a foil print. Also, test cautiously the first time, different microwaves run hot in different ways.
24) Fabric napkins (pieced)
If you do not have big enough cuts, piece scraps into panels first, then square them up. They feel special, even when they are made from leftovers.
25) Pot holder or hot pad
Heat is not the place for flimsy layering. Use multiple layers of cotton batting, or an insulated batting like Insul-Bright plus cotton layers, then quilt it well. Add binding and a hanging loop, and always test carefully before you grab a blazing pan with full confidence.
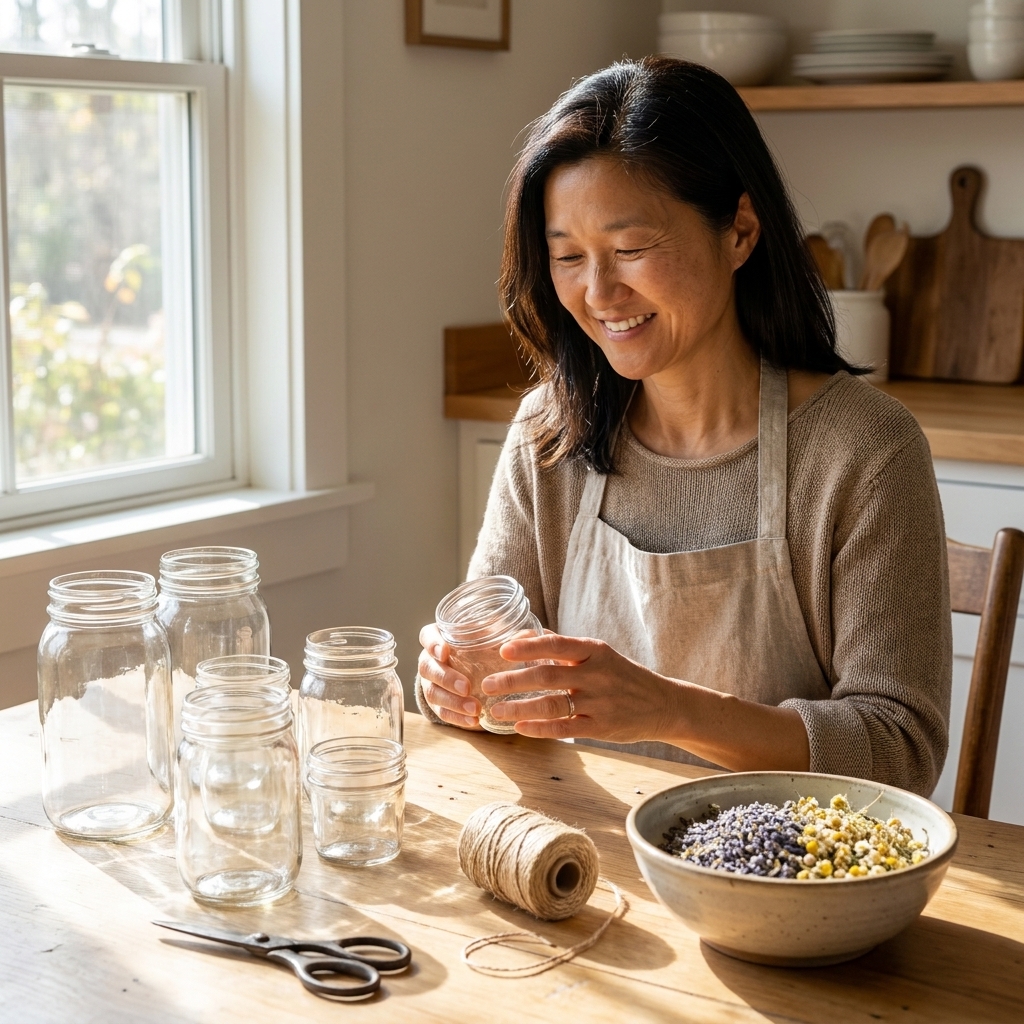
26) Lavender sachets
Two small squares, stitch, fill, and tuck into drawers. Bonus: this uses tiny pieces and makes your stash smell amazing instead of “closet.”
27) Heat or ice pack cover
Sew a removable fabric cover for a rice heat pack or gel ice pack. Soft on skin and easy to wash.
28) Draft stopper (patchwork tube)
Piece strips into a long tube, fill, and stitch closed. Poly pellets are a great long-term fill. Rice works too, but in humid climates it can attract pests or get musty, so store it dry and replace it if it starts to smell off.
Quilting and piecing projects (for the strip lovers)
29) Classic quilt blocks from standardized scraps
If you cut a batch of 2.5 inch strips or 5 inch squares, you can make endless blocks. A few favorites that are very scrap-friendly:
- Four-patch (great for beginners and tiny scraps)
- Nine-patch (instant charm, especially with mixed prints)
- Half-square triangles (use two squares, then cut)
- Log cabin (the ultimate strip eater)
For most patchwork, a scant 1/4 inch seam allowance is the sweet spot. You do not need to commit to a full quilt. Make a stack of blocks now, decide later what they want to become.
30) Crumb quilting “made fabric” panels
This is my favorite no-waste move: sew small, odd scraps together into a larger sheet of “made fabric,” then cut it like normal yardage for pouches, pillow fronts, or tote panels. It is messy in the best way, and it forgives everything.
My go-to tips for sewing with tiny pieces (without losing your mind)
- Shorten your stitch length to about 2.0 to 2.5 mm for patchwork and crumb piecing. It holds better.
- Chain piece whenever you can. Feed pieces one after another without cutting threads to save time and thread.
- Press, do not iron. Lift and press instead of sliding the iron, which can stretch bias edges.
- Use leaders and enders (a small scrap you sew before and after) to prevent threads nests when starting on tiny bits.
- Add interfacing to flimsy scraps when making key fobs, straps, and pouches.
Simple scrap “recipes” you can cut today
If you want a concrete place to start, pick one of these and cut a small stack while your iron heats up:
- 2.5 inch strips: log cabin blocks, straps, binding, lanyards
- 5 inch squares: half-square triangles, nine-patches, coasters
- 3 x 6 inch rectangles: clip bows, sachets, cord keepers
- 8 x 10 inch pieces: small pouches, mug rugs, eyeglass sleeves
Even just standardizing a handful of cuts turns “random scraps” into “ingredients.”
FAQ
What are the easiest scrap projects for absolute beginners?
Scrunchies, sachets, cord keepers, and coasters are the quickest confidence boosters. They are small, forgiving, and still feel like real finished items.
How small is too small to keep?
If it is smaller than a postage stamp and not sentimental, I let it go. Everything else gets a chance in crumb quilting, stuffing, or tiny accessories.
What should I do with scraps I cannot sew (fraying, odd fibers, too tiny)?
Use them as stuffing for pincushions and draft stoppers, offer them to schools for collage materials, or check for local textile recycling options. My rule is: keep what you can realistically turn into something in the next couple of months.
How do I make scrap projects look intentional instead of chaotic?
Pick one “anchor” fabric that repeats, stick to a limited color family, or separate busy prints with solids. Also, pressing and trimming your blocks square makes everything look instantly more polished.
Your next 20-minute win
If you are staring at your scrap bin right now and want the fastest payoff, here is my suggestion: grab your longest strips and make a wrist key fob or a lanyard. You get something useful, you clear out the awkward strips, and you end with that deeply satisfying feeling of, “Look, I made a real thing.”
And if you make any of these, I hope you let it be joyful and a little messy. That is the good stuff.