From pantry organization to dreamy lanterns, these jar crafts transform “trash” into beautiful, useful home projects with simple supplies.
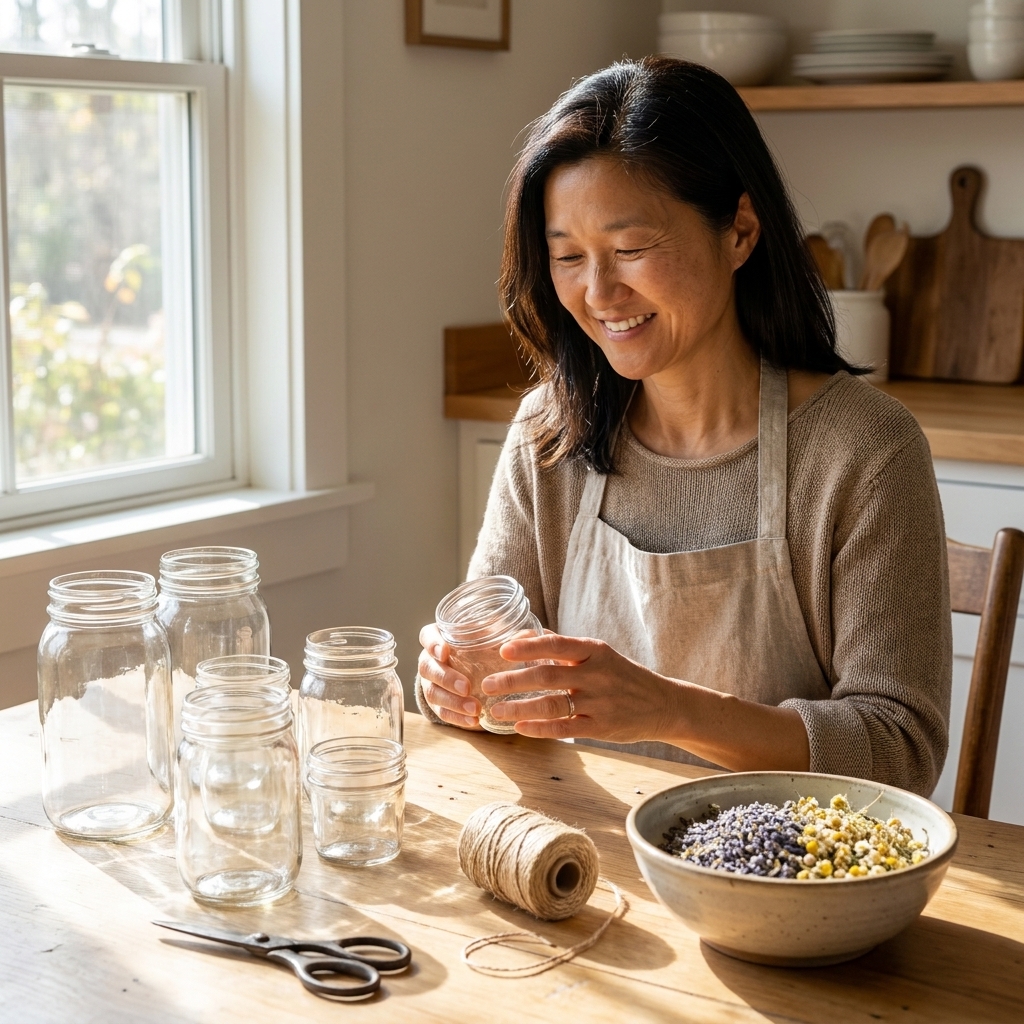
I have a soft spot for mason jars because they are the crafting equivalent of a blank notebook. Useful, sturdy, and just begging to be turned into something cute. If you have a little collection building up in your recycling bin, this is your sign to rinse them out and give them a second life.
Below are 10 rustic, farmhouse-style mason jar projects with simple painting, distressing, and embellishing steps. I am keeping everything beginner-friendly, budget-conscious, and forgiving. If your paint gets a little streaky or your twine ends up slightly crooked, congratulations, you just made it look more authentically rustic.
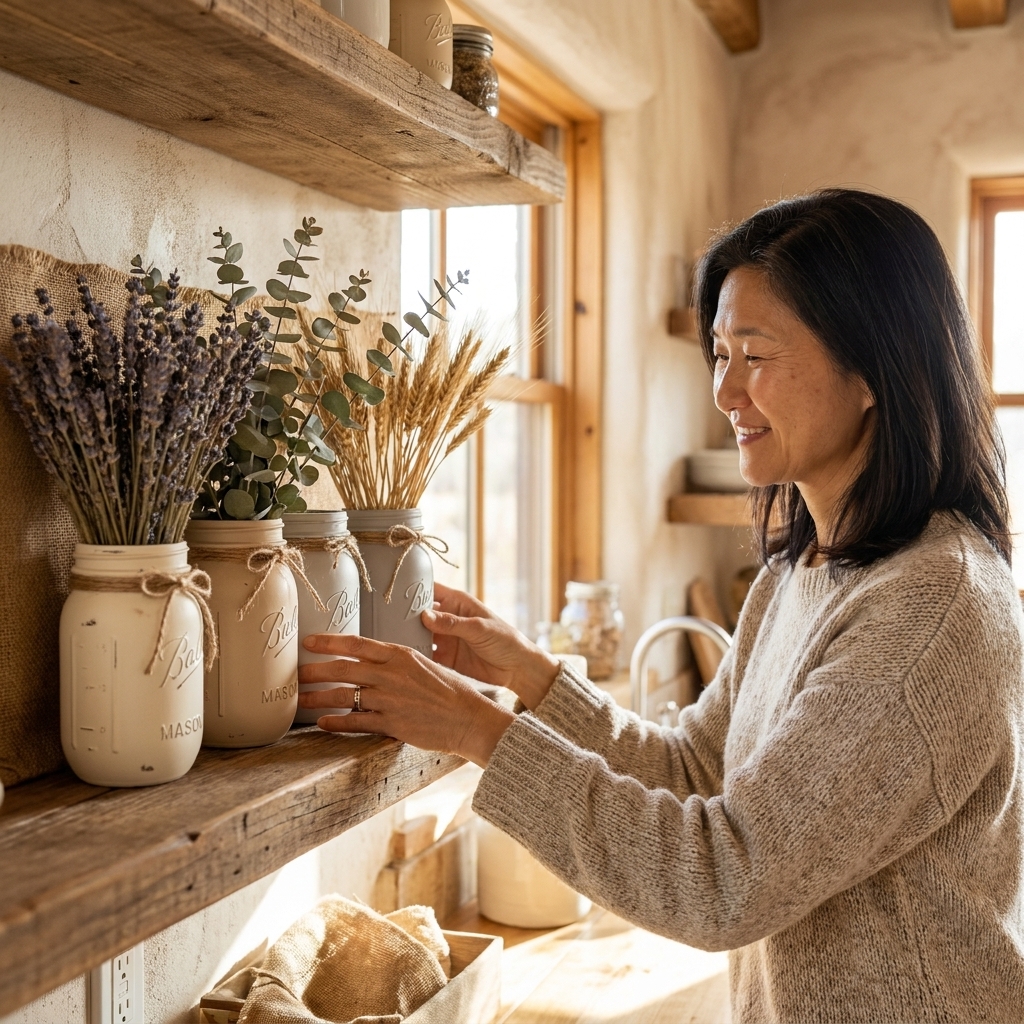
Before you start: quick prep that helps
Wash, de-label, and de-gunk
- Remove labels by soaking jars in warm water with dish soap. For stubborn glue, rub with cooking oil or a little rubbing alcohol.
- Wash well and let fully dry. Any residue can make paint bead up (fisheye) or peel later.
Degrease and scuff for better adhesion
- Degrease the glass with rubbing alcohol (especially around the neck where hands touch a lot).
- Optional but helpful: Lightly scuff the outside with fine sandpaper (around 220 grit), then wipe clean. This gives paint more to grab onto.
Pick the paint that matches your plan
- Chalk-style paint is my favorite for rustic jars because it can grip glass better than many craft acrylics, and it distresses beautifully with sanding.
- Acrylic craft paint works too, especially if you prime first or plan to seal well.
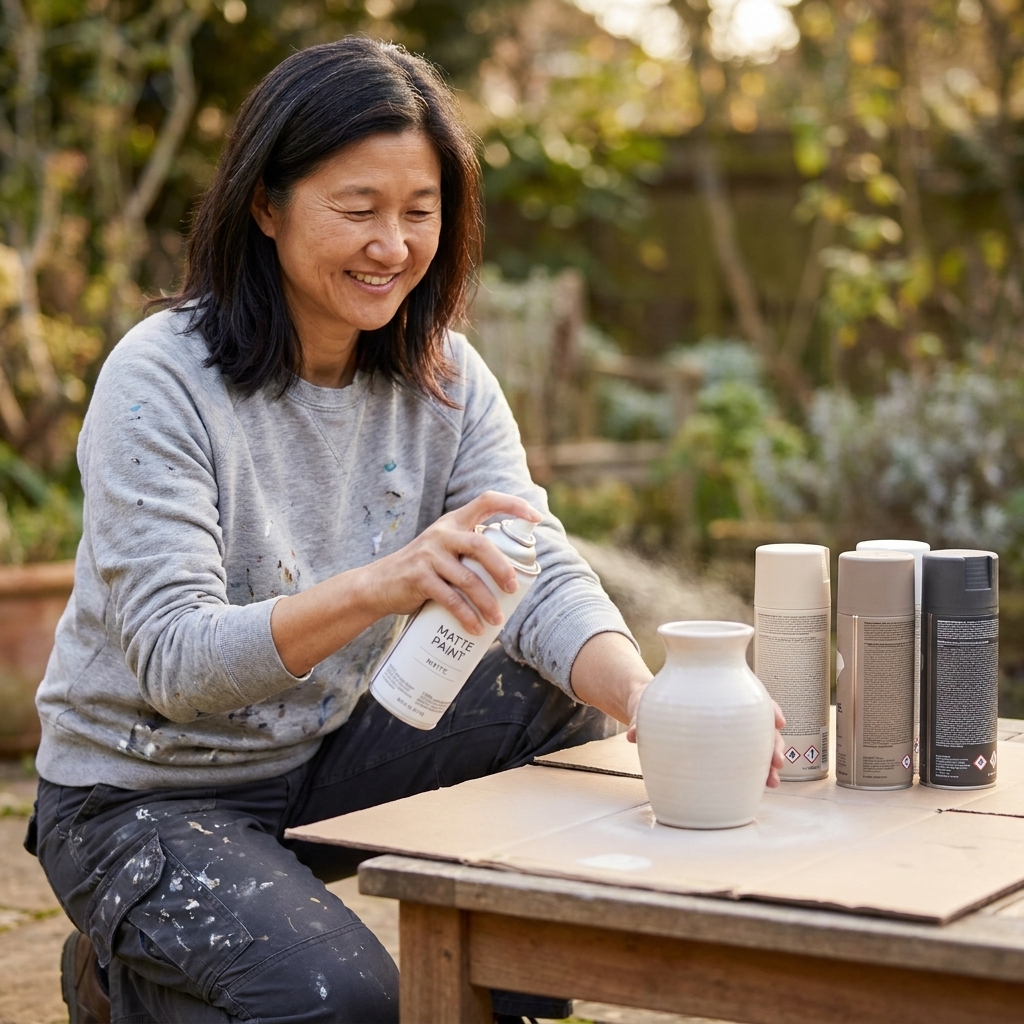
- Spray paint is great for fast, even coverage. Use light coats.
Seal it if it will be handled
If your jar will be touched a lot (soap dispenser, utensil holder, vase you move daily), finish with a clear sealer. Water-based polyurethane or an acrylic spray sealer both work.
Quick safety note: Keep paint and sealer on the exterior only for anything near food or heat. For candle jars, I recommend LED lights as the default. Real flames can heat glass, and some paints and sealers can smell or off-gas when warmed.
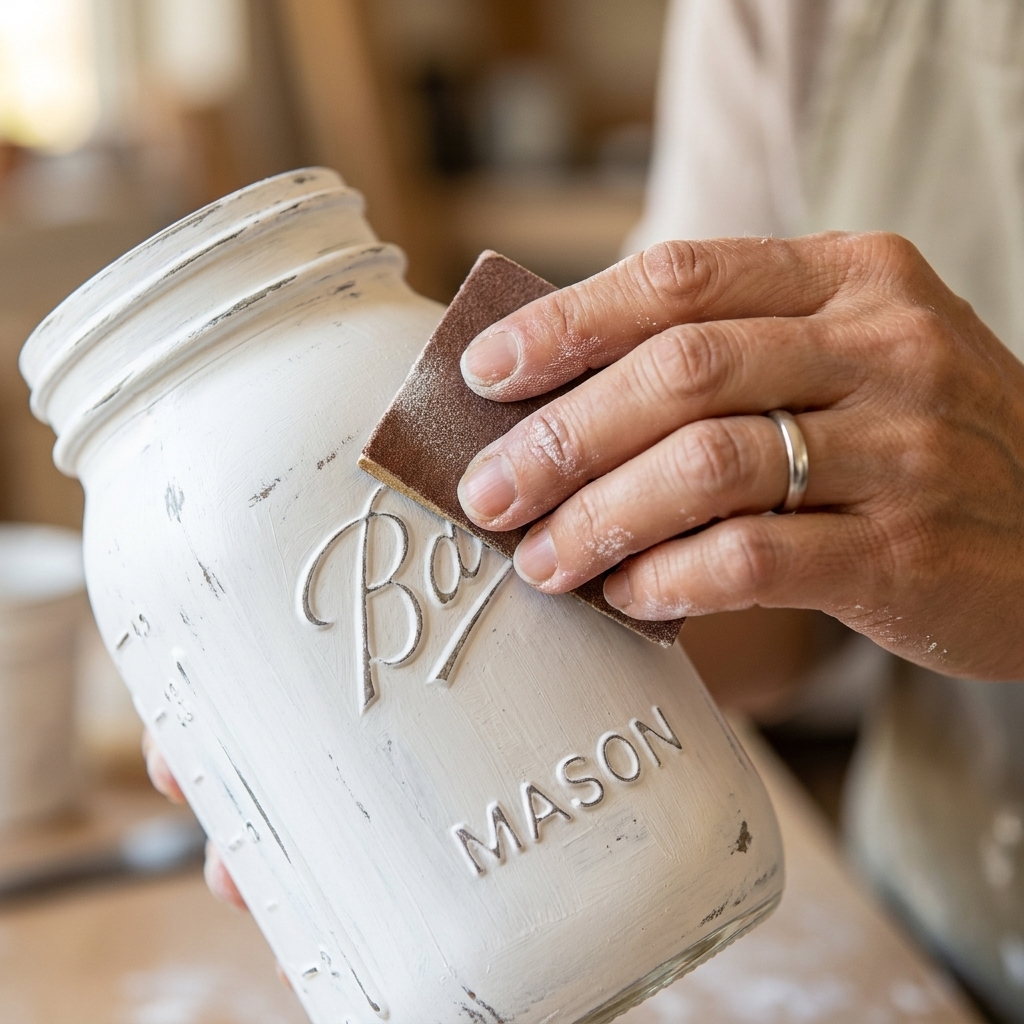
1) Classic chalk-style painted jar
This is the easiest rustic finish and the one I teach first because it is nearly impossible to mess up.
Supplies
- Mason jar
- Chalk-style paint (white, cream, sage, or dusty blue look especially farmhouse-y)
- Foam brush or soft-bristle brush
- Fine sandpaper (220 grit)
- Clear sealer (optional but recommended)
Steps
- Paint 2 thin coats, letting each coat dry. Thin coats reduce brush marks.
- Distress edges with sandpaper, focusing on the rim, raised lettering, and the shoulders of the jar.
- Wipe dust with a dry cloth.
- Seal if desired.
Maya tip: If you sand too much and panic, dab a little paint back on with a sponge. Rustic is basically “fixable” by design.
2) Salt-wash weathered finish
This technique gives you that soft, sun-faded, slightly gritty look that feels like it has been living in a cozy cottage for decades.
Supplies
- Mason jar
- Chalk-style paint or acrylic paint
- Table salt (fine) or kosher salt (more texture)
- Paint brush
- Small cup of water
- Sealer (optional)
Steps
- Paint a base coat and let it dry.
- Lightly dampen the jar with a bit of water on your hand or a brush.
- Sprinkle salt where you want chippy texture (edges and around lettering look great).
- Brush on a second coat in a slightly different shade if you want dimension. Let dry completely.
- Rub off the salt with your fingers or a dry cloth. You will reveal a worn effect.
- Seal if this will be handled a lot.
No-waste note: Put a tray under your work and pour the fallen salt back into a jar for next time.
3) Twine-wrapped vase
Twine instantly says “rustic.” Pair it with a simple painted band and you have decor that works in every room.
Supplies
- Mason jar
- Jute twine or thin rope
- Hot glue gun and glue sticks
- Optional: chalk-style paint for the bottom half
- Optional: faux greenery, dried lavender, or fresh flowers
Steps
- Optional: Paint the jar first (bottom half or full jar) and let dry.
- Start at the bottom with a small dot of hot glue, then wrap twine tightly.
- Glue as you go every few wraps so it does not slide.
- Finish cleanly by tucking the end under the last wrap and gluing it down.
Safety reminder: Hot glue and twine can get surprisingly hot. Keep a little bowl of cool water nearby for “oops” moments.

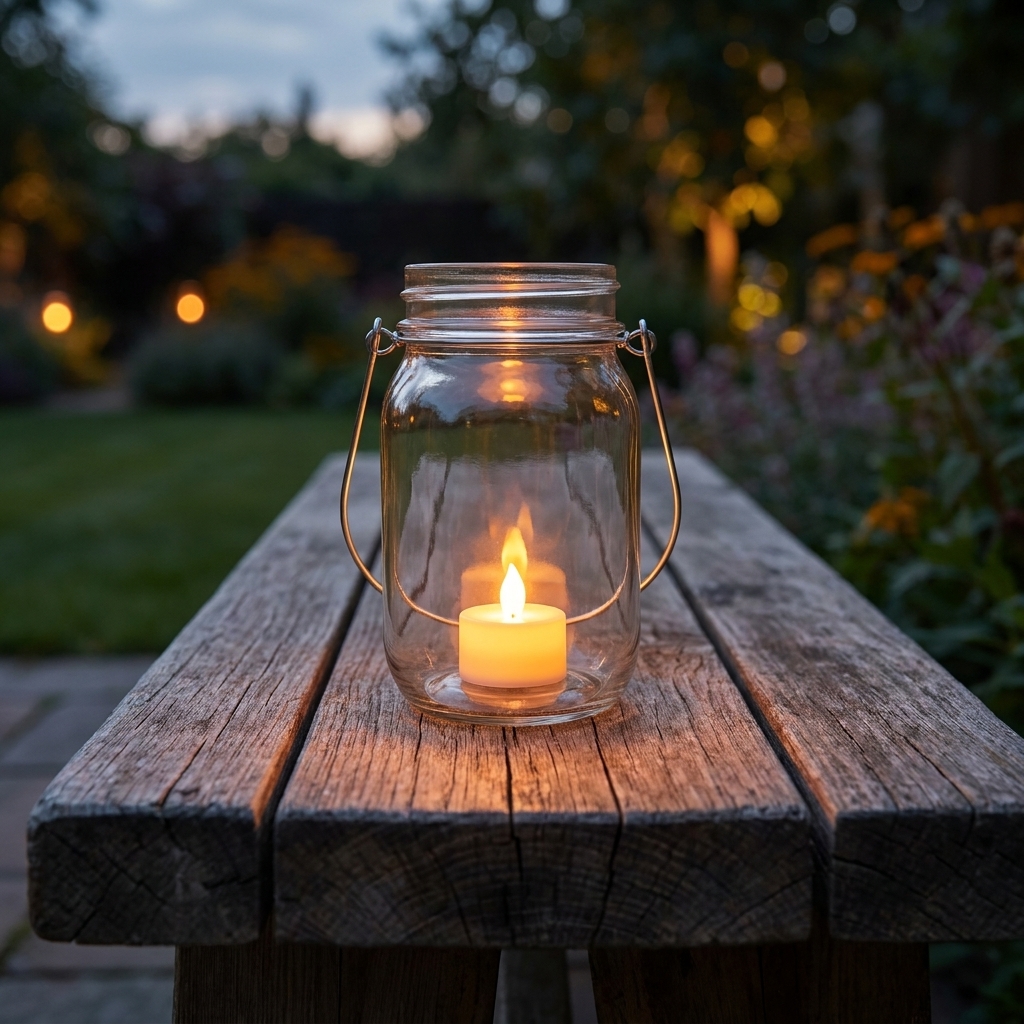
4) Lantern jar with handle
This one is magical on a porch step, as a table centerpiece, or lined up on a mantel. Use LED tea lights for the easiest, safest glow.
Supplies
- Mason jar (wide-mouth is easiest)
- Craft wire (18 to 20 gauge) or a ready-made wire handle
- Pliers
- Twine or ribbon (optional)
- LED tea light (recommended) or a tea light candle
- Optional: frosted glass spray or diluted paint wash
Steps
- Create the handle by wrapping wire around the jar’s neck (under the threads) and twisting to secure.
- Add an arch of wire for the handle and twist onto both sides.
- Optional: Frost the jar with a light spray or do a thin white paint wash for a soft glow.
- Place the light inside and tie on twine for extra charm.
Fire safety: LEDs are my go-to. If you use a real candle, keep the flame below the rim, never leave it unattended, and do not add dried florals inside. Also skip interior coatings, and avoid using jars with any chips or cracks.
5) Faux mercury glass jar
Mercury glass looks high-end, but you can fake the vibe with a speckly metallic interior. It is perfect for holiday decor, weddings, or year-round glam-rustic.
Supplies
- Mason jar
- Vinegar and water in a spray bottle
- Mirror-effect spray paint or metallic silver spray paint
- Paper towels
- Gloves and good ventilation
Steps
- Clean and dry the inside of the jar.
- Lightly mist the inside with vinegar water.
- Spray a light coat of mirror or silver paint inside the jar.
- Dab gently with paper towel to create speckles.
- Repeat mist and spray until you like the look.
Important: This finish is decorative. Do not use a mercury-style painted interior for food or drink storage.
Rustic twist: Wrap twine around the neck or add a small kraft-paper tag for farmhouse contrast.
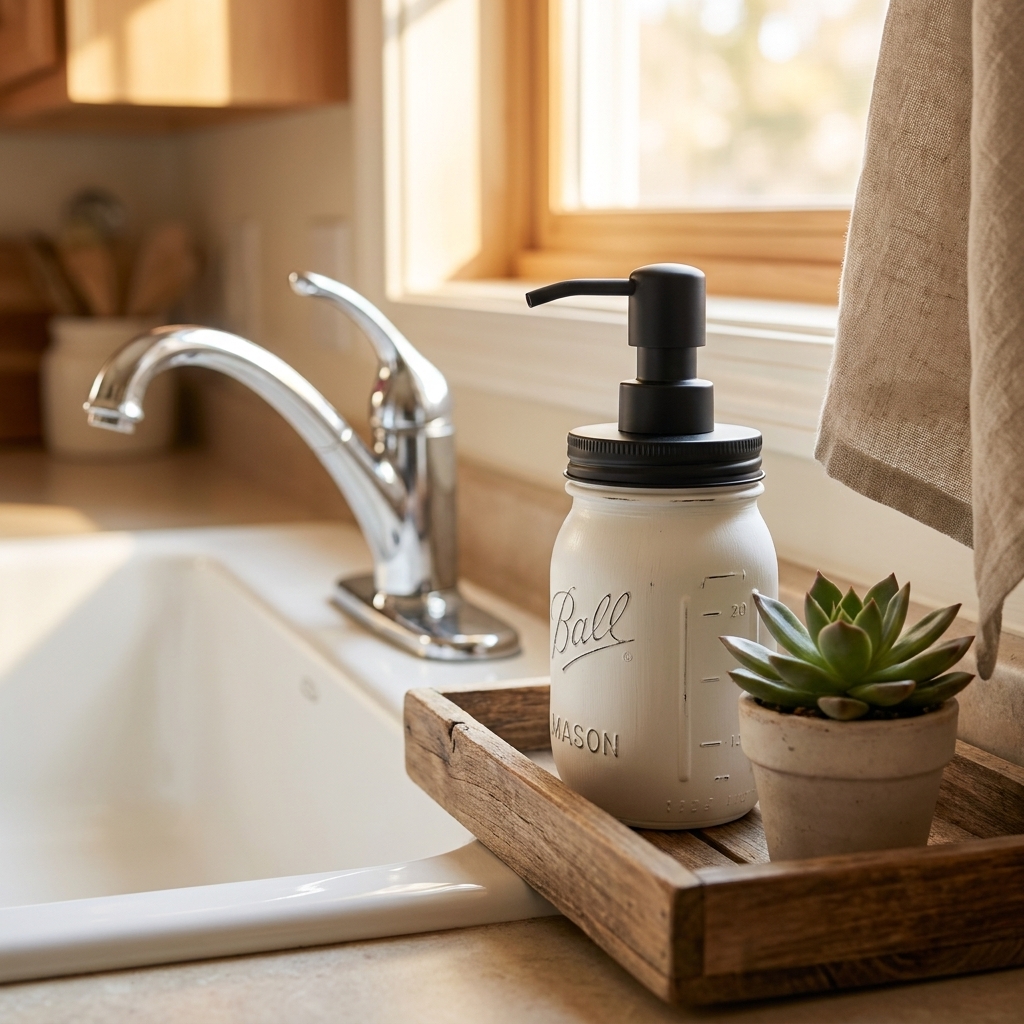
6) Farmhouse soap dispenser
If you want one mason jar project you will use every day, this is it. It also makes a sweet housewarming gift when filled with nice hand soap.
Supplies
- Mason jar with lid band
- Soap pump (from an old bottle or a new pump kit)
- Drill with a step bit or metal drill bit
- Optional: chalk-style paint for the jar
- Optional: waterproof glue or gasket
Steps
- Mark the center of the flat lid.
- Drill a hole slowly (clamp the lid if possible). Start small, then widen to fit the pump.
- Deburr sharp edges with sandpaper or a file, and wipe away metal dust.
- Insert the pump and tighten.
- Fill with soap and screw the lid ring onto the jar.
Safety note: Wear eye protection when drilling metal, and be careful handling the lid until the edges are smoothed.
Maya tip: If the pump wiggles, add a thin rubber washer or a bead of waterproof glue under the pump collar.
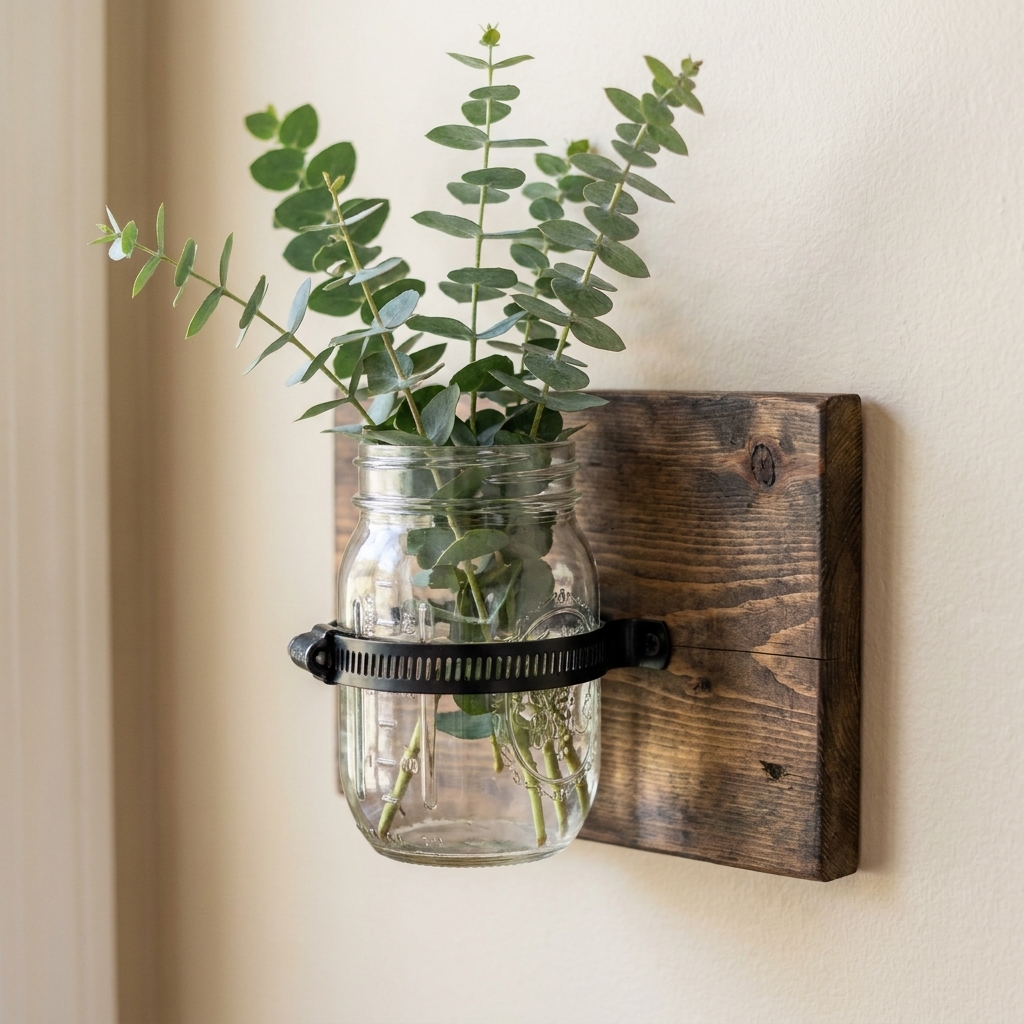
7) Wall-mounted jar vase
This is my go-to for bathrooms, entryways, and those awkward wall spots that need something but not a bulky shelf.
Supplies
- Mason jar
- Small wood board (scrap wood is great)
- Pipe clamp or hose clamp sized to your jar
- Screws
- Stain or paint (optional)
- Wall hanging hardware
- Optional: faux florals or dried stems
Steps
- Measure first: Wrap a measuring tape around the widest part of your jar or measure its diameter, then buy a clamp that fits that size range.
- Finish the board with stain or paint, then let dry.
- Attach the clamp to the board with screws.
- Slide the jar in and tighten the clamp.
- Add hanging hardware and mount to the wall into a stud or with an appropriate anchor.
Fresh flowers note: If you use real water, take the jar out to refill and clean regularly. Rustic is cute, but swampy water is not.
8) Grain sack stripe jar
Those vintage grain sack stripes are such a farmhouse staple, and they look adorable on jars used for utensils or dried florals.
Supplies
- Mason jar
- Chalk-style paint (cream or white) and a contrasting stripe color (black, navy, or charcoal)
- Painters tape
- Small foam brush
- Sealer
Steps
- Base coat the jar and let dry.
- Tape off stripes vertically or horizontally. Press tape edges down firmly.
- Paint stripe color using light dabbing strokes to reduce bleed.
- Peel tape while paint is slightly tacky for crisp edges.
- Seal once fully dry.
Kid-friendly option: Skip tape and let kids paint freehand stripes. It reads charmingly handmade.
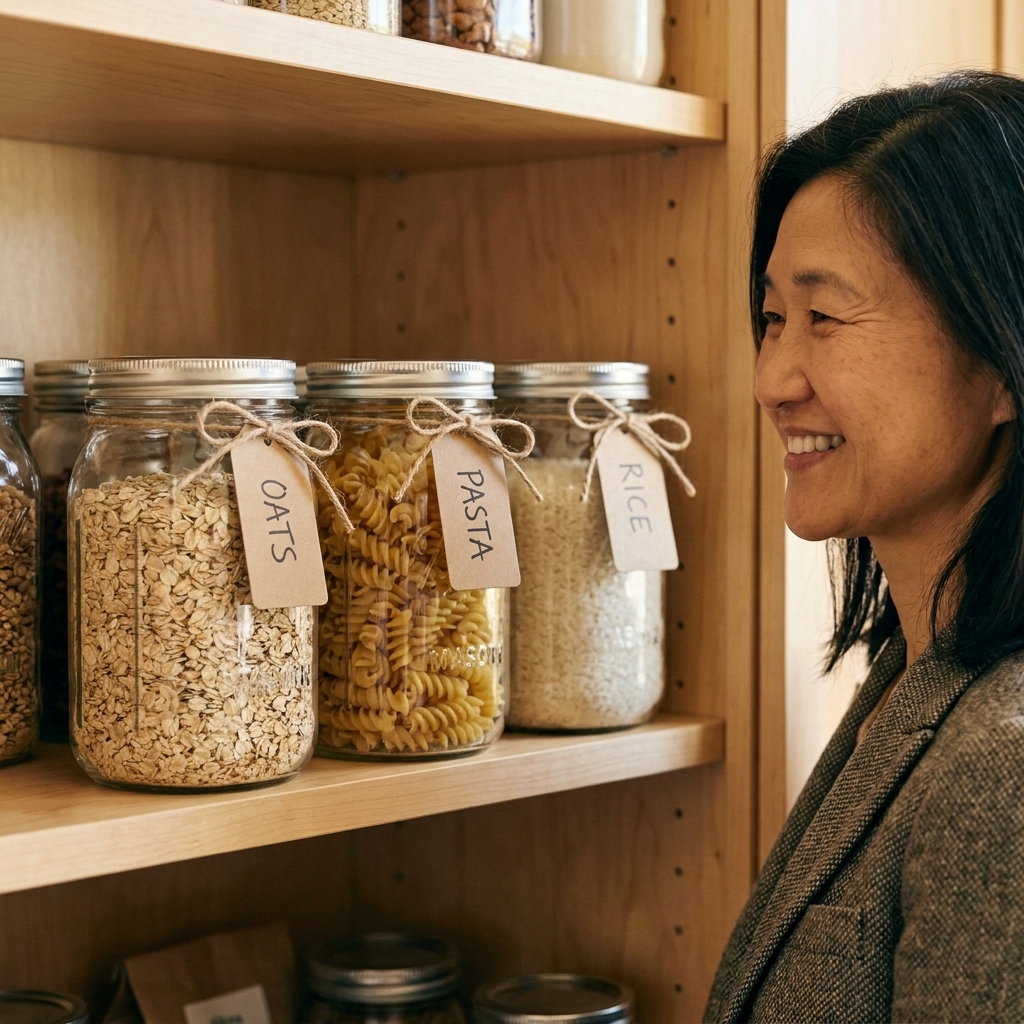
9) Apothecary-style pantry jar
Mason jars are pantry workhorses, but you can make them pretty without sacrificing practicality. This is an “organized but cozy” look.
Supplies
- Mason jar
- Kraft paper or cardstock
- Jute twine
- Hole punch
- Optional: chalk-style paint for the lid or a black-painted lid ring
Steps
- Paint the lid if you want a cohesive rustic look and let dry fully.
- Cut a tag from kraft paper and punch a hole.
- Tie tag on with twine around the jar neck.
- Fill with dry goods like oats, pasta, or baking supplies.
Practical note: If you store food long-term, keep paint and sealer on the outside only and use a clean, unpainted lid liner.
10) Jar centerpiece with burlap
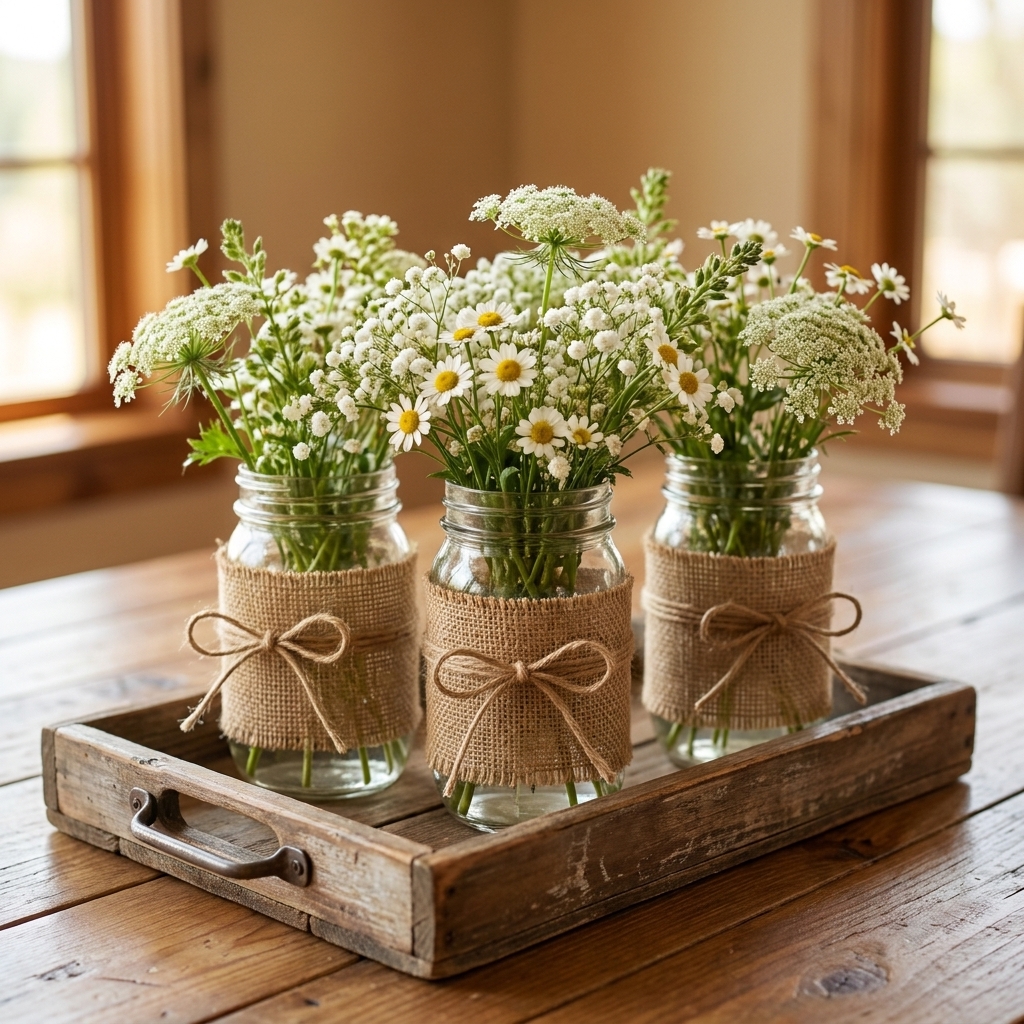
This is the “I need something cute on the table in 20 minutes” project. Swap stems by season and it never gets old.
Supplies
- 3 to 5 mason jars (matching or mixed sizes)
- Burlap ribbon or fabric strip
- Twine
- Optional: chalk-style paint for jars
- Seasonal stems (fresh, faux, or dried)
- Optional: a wood tray or scrap board to group them
Steps
- Optional: Paint jars in coordinated neutrals.
- Wrap burlap around the center of each jar and secure with hot glue or a dot of glue under the overlap.
- Tie twine over the burlap for a finished look.
- Arrange together on a tray or board and add stems.
Seasonal swaps: Eucalyptus for everyday, sunflowers for late summer, wheat stems for fall, pine sprigs for winter, or baby’s breath for spring.
Troubleshooting
- Paint scratches off easily: Make sure the jar is degreased, use thin coats, and seal once fully dry. Chalk-style paint also likes a full cure time before heavy handling.
- Streaky paint: Switch to a foam brush or pounce with a sponge. Two thin coats almost always look better than one thick coat.
- Tape bleed on stripes: Burnish tape edges with a fingernail and use dabbing strokes. Peel tape before paint fully cures.
- Twine keeps sliding: Add tiny glue dots every few wraps, especially around the shoulder curve.
FAQ
Do I need to prime mason jars before painting?
Not always. Chalk-style paint often sticks well to clean, degreased glass. If you are using regular acrylic craft paint, a primer, light scuff sanding, or a good sealer makes the finish more durable.
Can I put a real candle in a painted mason jar?
LED tea lights are my favorite because they are worry-free and still look cozy. If you use a real candle, keep paint and embellishments on the outside only, keep the flame below the rim, and never leave it unattended. Be aware that heated glass can make some paints or sealers smell, so if anything seems off, retire that jar from candle duty.
How do I make jars look more rustic and less new?
Distress raised lettering and edges with sandpaper, use a salt-wash texture, or do a light brown paint wash (a tiny bit of brown paint mixed with water) wiped back with a rag.
Are painted mason jars food-safe?
For dry pantry storage, I keep paint and sealer on the exterior only and avoid painting anywhere that will contact food. When in doubt, use unpainted jars for food and save the decorated ones for decor.
Wrap-up
If you are feeling stuck, choose the simplest one: a chalk-style painted jar with lightly distressed edges and twine. It is fast, forgiving, and instantly looks like it belongs in a lived-in farmhouse kitchen. Then save the fancier ones like mercury glass for the next crafting session.
And please, if your first jar turns out a little wonky, keep going. Handmade decor is not about perfection. It is about making your home feel like you live there.