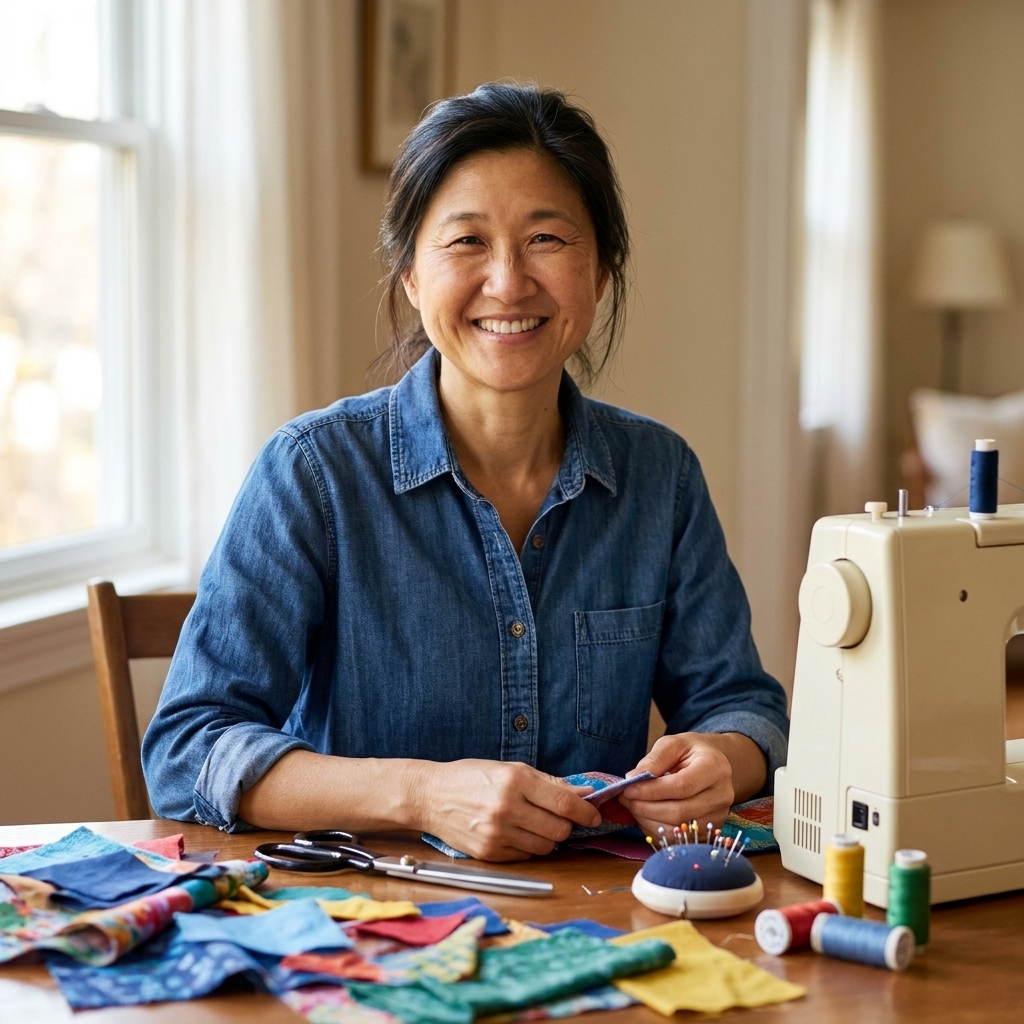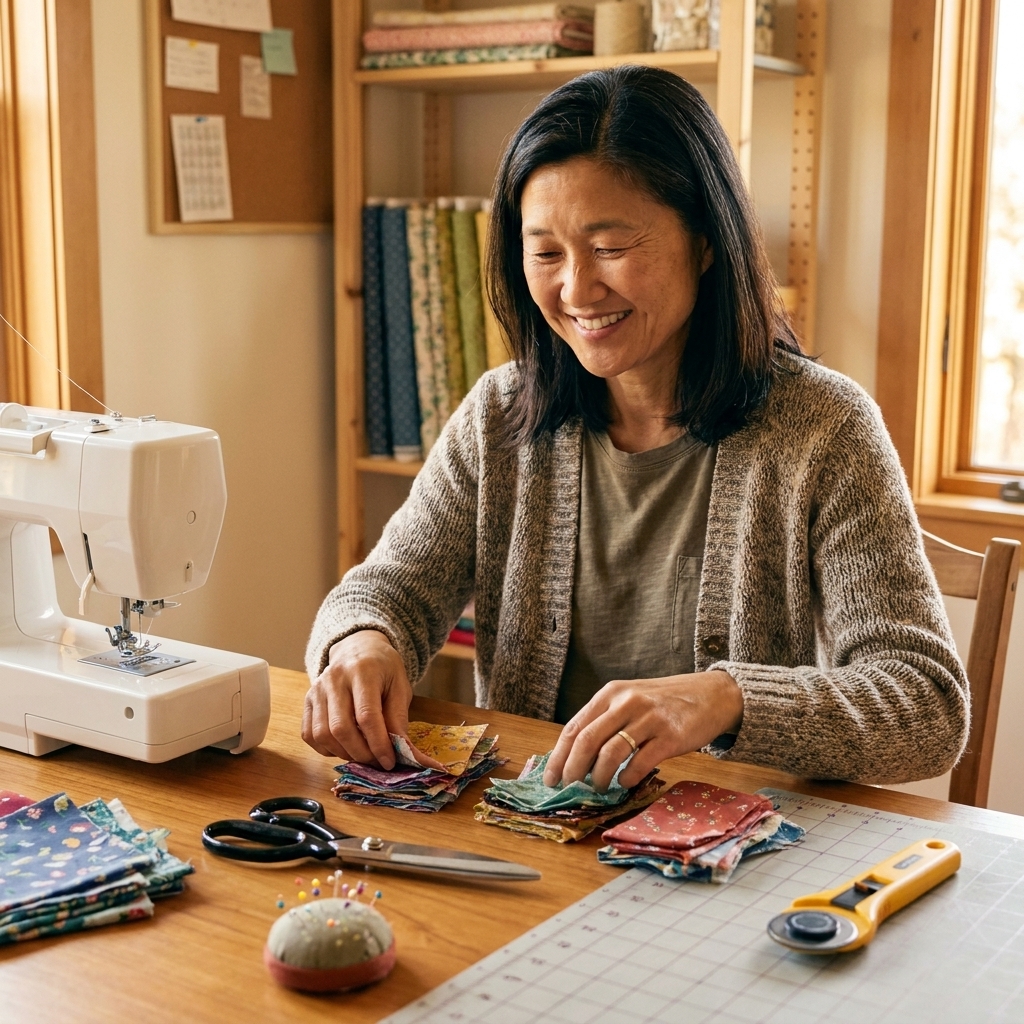
Scrunchies, key fobs, quilt blocks, zipper pouches, and more. 30 practical scrap-busting sewing ideas with tips for sorting, cutting, and stitching tiny piec...
If you have ever sat down to sew and realized you are missing the one tiny tool that makes everything work, welcome. I have been there, hunched over a thrifted curtain with big dreams and exactly zero seam ripper. A good notions kit is not about having every gadget. It is about having a small set of reliable tools that help you measure accurately, cut cleanly, and hold fabric in place without a wrestling match.
Below is my must-have sewing notions kit for fabric crafts and upcycling projects, plus a few smart upgrades once you start sewing more regularly.
What counts as a sewing notion
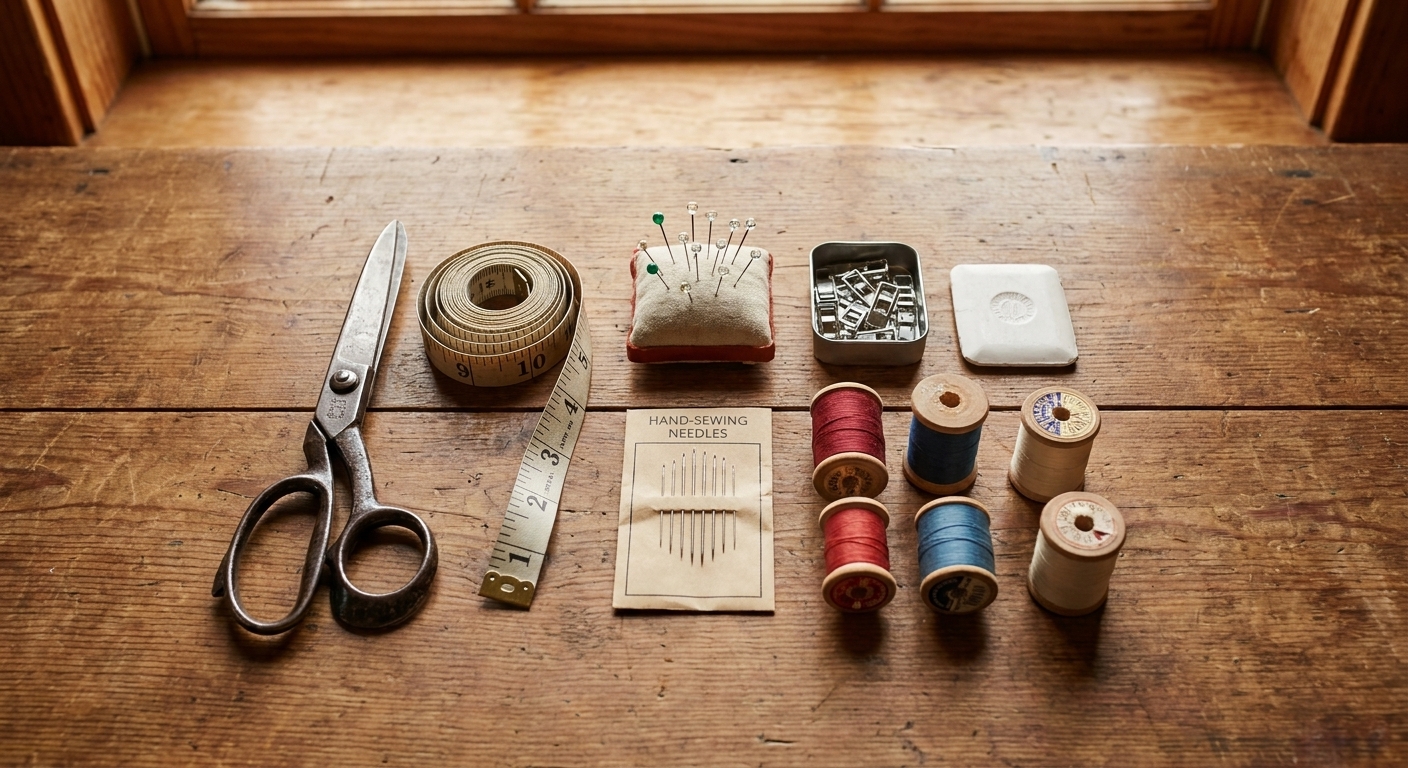
In sewing, “notions” are the small tools and supplies that support the actual sewing: measuring tools, cutting tools, pins, needles, marking tools, and little helpers like seam rippers and threaders. Your sewing machine might be the star of the show, but notions are the stage crew. When they are solid, everything runs smoother.
I like to think of a notions kit in three core jobs:
- Measuring: getting the right size and placement before you cut.
- Cutting: clean edges and accurate shapes.
- Pinning and holding: keeping layers aligned while you sew.
Measuring tools you will use constantly
If you only upgrade one category, let it be measuring. Good measuring prevents the most heartbreaking crafting moment of all: cutting first and realizing later it is two inches too small.
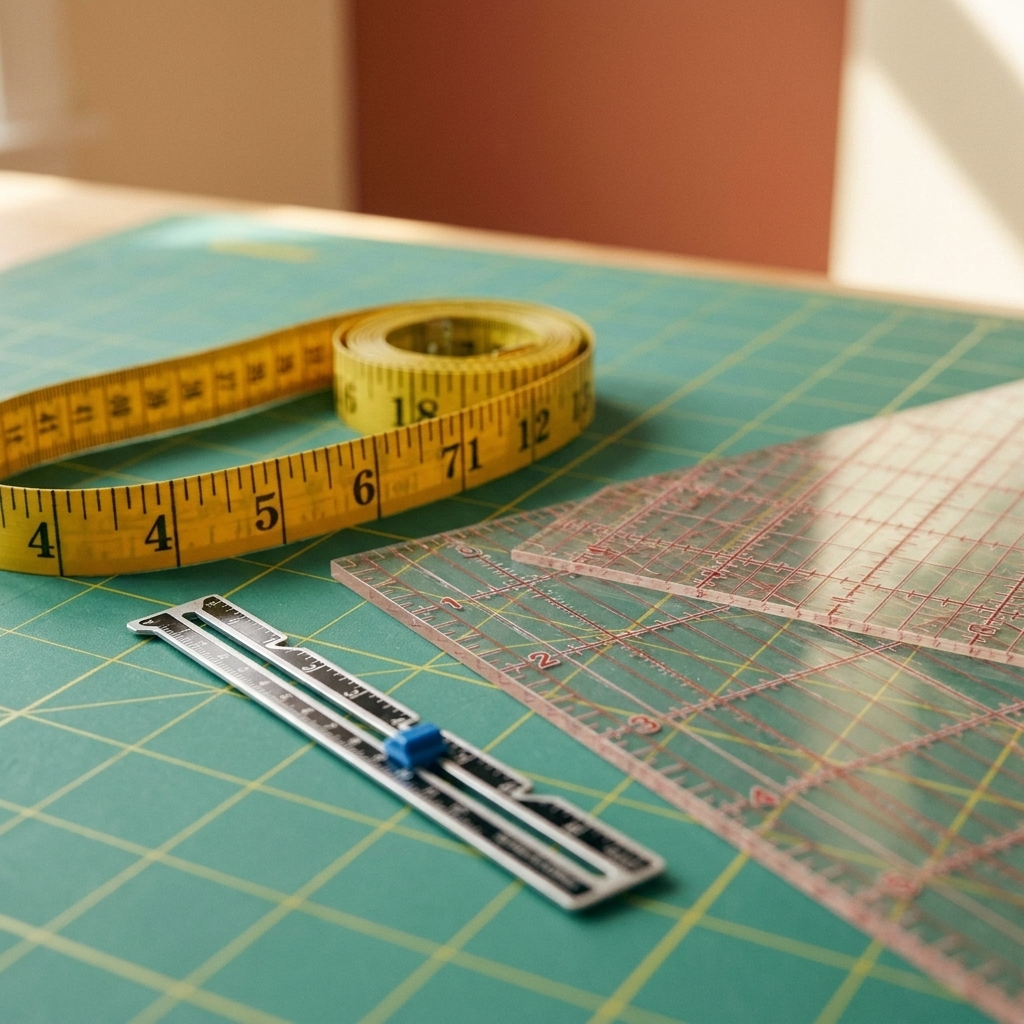
Flexible tape measure
A standard 60-inch flexible tape measure is non-negotiable for clothing upcycles, tote bags, pillow covers, and anything curved. Look for one with clear markings that do not rub off easily.
- Why it matters: Rigid rulers cannot hug curves or wrap around bodies and cushions.
- Tip: If your tape measure has both inches and centimeters, you can follow almost any pattern without mental math.
Clear ruler (6 inch by 1 inch)
This little ruler is my “precision tool” for hems, seam allowances, and quick checks at the machine.
- Use it for: measuring seam allowances, turning corners, spacing buttonholes, and centering straps.
- What to look for: transparent acrylic with crisp grid lines.
Long straight ruler (18 to 24 inch)
For home decor and bag sewing, a longer ruler makes you dramatically more accurate.
- Use it for: squaring up fabric, drawing long cutting lines, and checking grain.
- No-waste note: Keeping things squared reduces “mystery wedges” of wasted fabric.
Measuring gauge or seam gauge
This is a tiny slider tool that measures hems, seam allowances, and spacing. It is not essential on day one, but it becomes a favorite fast if you do garments or neat topstitching.
Cutting tools: clean cuts make everything easier
Cutting is where beginners often struggle, not because of skill, but because dull tools make fabric behave like a slippery noodle. You do not need a huge collection. You need the right blades for the job, kept sharp and used correctly.
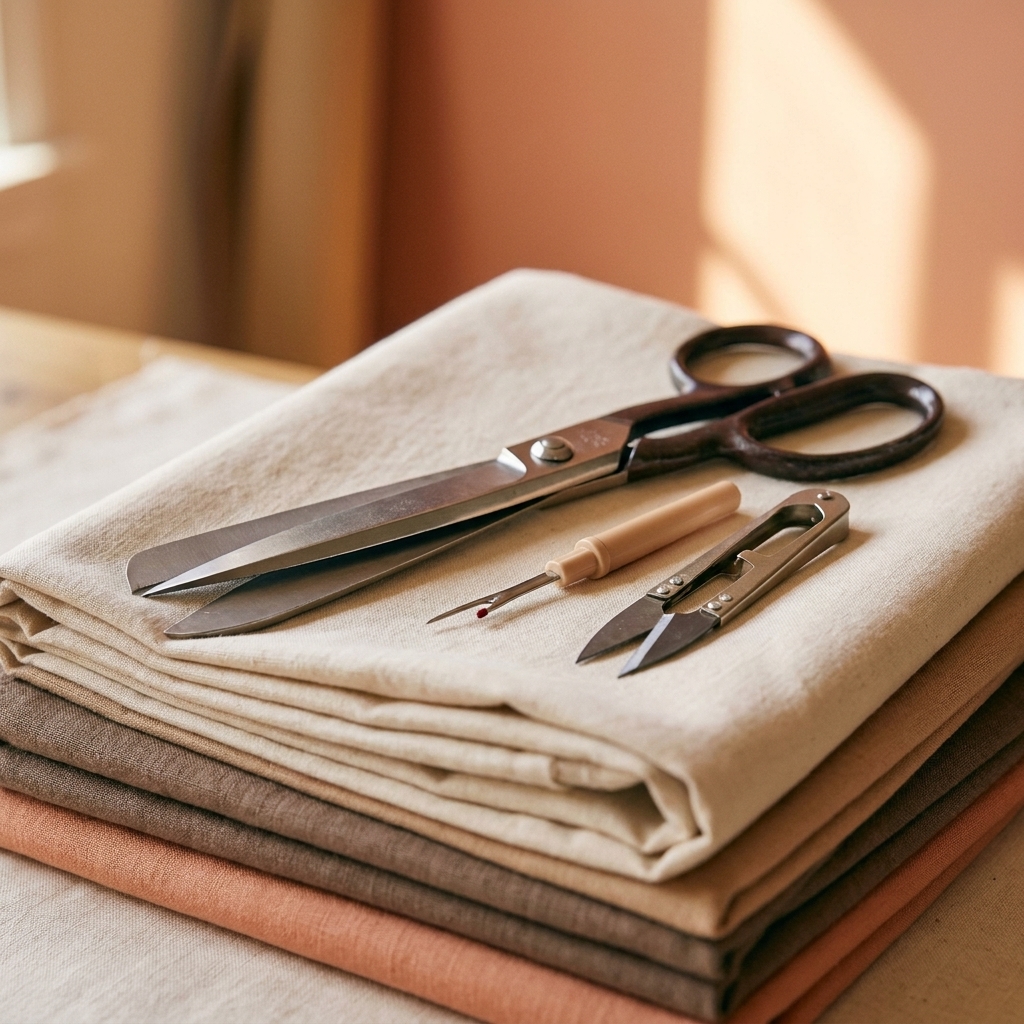
Fabric scissors (dressmaking shears)
Buy the best fabric scissors you can comfortably afford, and then make one household rule: they cut fabric only. Not paper, not cardboard, not wire-edged ribbon. Using them on non-fabric materials can nick the blades and dull them faster, which is when fabric starts folding, chewing, and generally refusing to cooperate.
- Size: 8 to 10 inches is comfortable for most hands.
- Handle style: Bent handles help keep fabric flat on the table while you cut.
- Budget tip: Mid-range scissors maintained well usually beat fancy scissors treated poorly.
Small snips or thread scissors
These are for trimming thread tails right at the seam, clipping corners, and cleaning up your work without wrestling your big shears into tight spots.
- Use them for: thread trimming, not cutting pattern pieces.
- Why they matter: neat thread tails reduce tangles and make your project look instantly more polished.
Seam ripper (two, if we are being honest)
If you only trust yourself with one tool, let it be a seam ripper. Everyone uses it, even people who have been sewing for decades. I keep one in my notions kit and one near my machine because I am apparently allergic to standing up mid-seam.
- Choose: a comfortable handle and a sharp point.
- Safety tip: Use the little red ball end to glide along fabric and reduce accidental slicing.
Rotary cutter and self-healing mat (optional but powerful)
For quilting cotton, bags, and straight edges, a rotary cutter can be a game-changer. It is not mandatory for a starter kit, but if you do lots of rectangles, you will love it.
- Rotary cutter size: 45 mm is the most versatile.
- Mat size: get the largest that fits your storage and workspace.
- Care note: Change blades when cutting starts to drag. Forcing a dull blade causes slips.
- Safety note: Close the blade guard the second you set it down, cut away from your body, and keep your “holding hand” well clear of the ruler edge.
Pinning and holding: keep layers from shifting
Most sewing frustration comes from fabric shifting. Pinning and holding tools are like extra hands. You will find your personal favorites, but here is the set that covers almost every project.
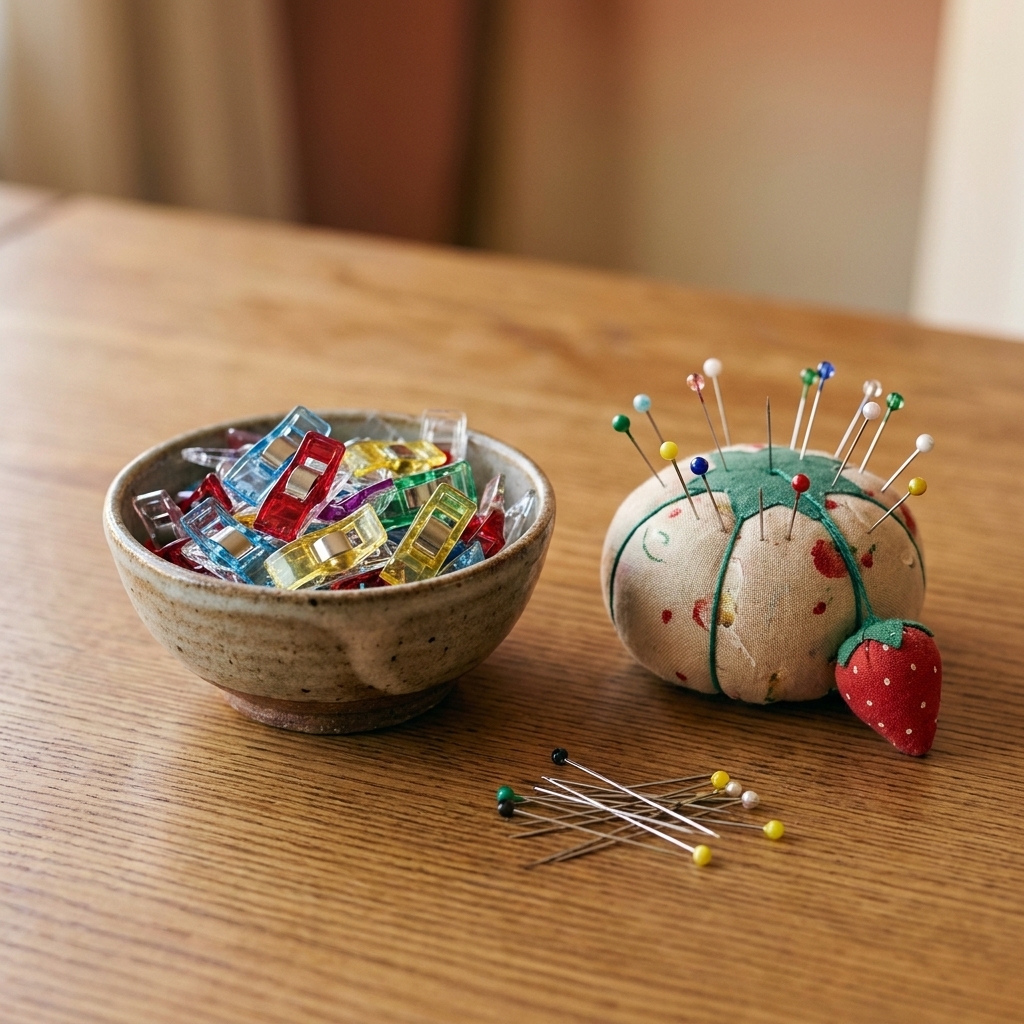
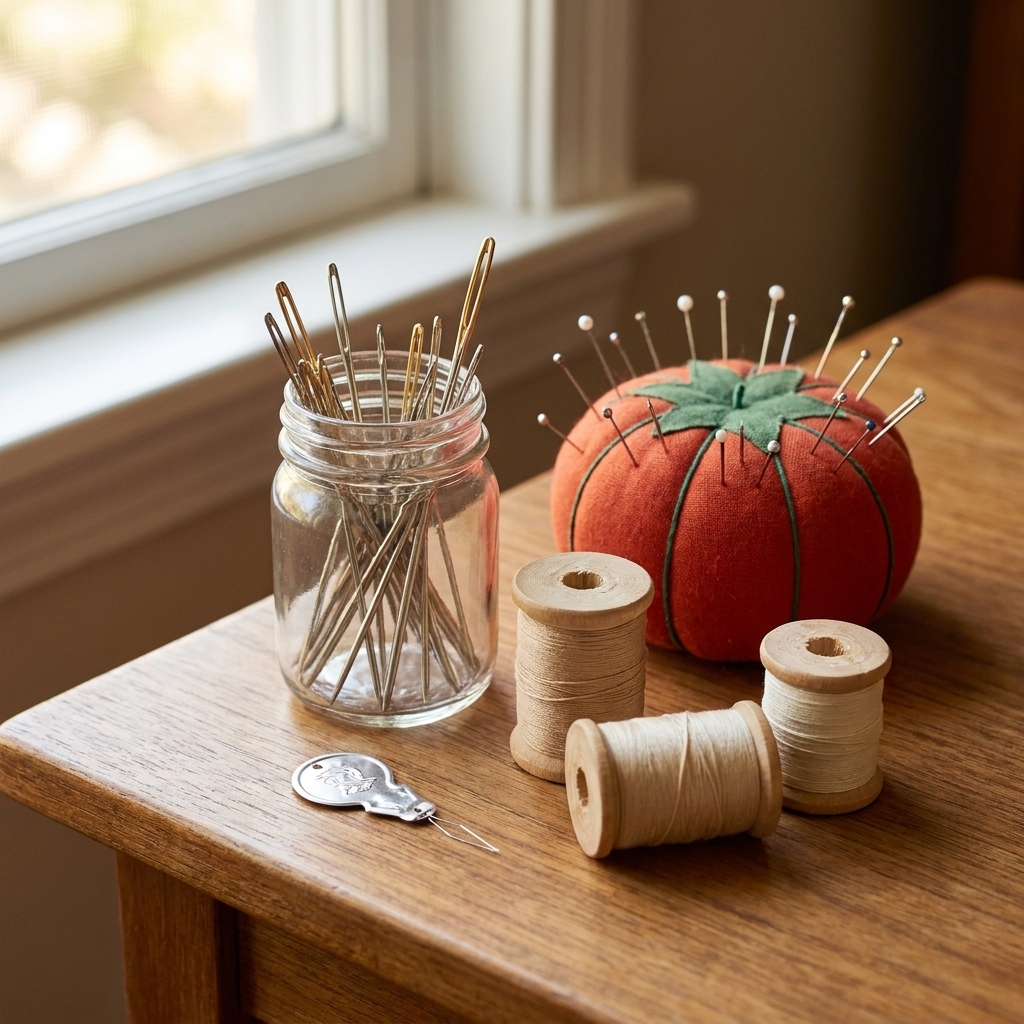
Straight pins
A box of glass-head or flat-head pins is a classic for a reason.
- Glass-head pins: typically more heat-resistant than plastic heads, but it is still smart to avoid pressing directly on pins whenever you can.
- Sharp, fine pins: great for lightweight cotton and linens.
- Longer pins: helpful for thicker layers like denim hems and quilt sandwiches.
Wonder clips or sewing clips
Clips shine for thick layers and delicate fabrics where pins might leave marks.
- Best for: vinyl, faux leather, thick hems, binding, and bulky seams.
- Beginner win: clips are easier to handle than pins if small motor skills are a challenge.
Pincushion or magnetic pin dish
You need a “home base” for pins so they do not migrate into your carpet and eventually into your foot. Ask me how I know.
- Pincushion: classic and portable.
- Magnetic dish: wonderful for quick cleanup, especially during upcycling when pins get set down constantly.
Safety pins (for turning and elastic)
These are less about pinning seams and more about helping you thread elastic through a casing, turn tubes, and temporarily secure layers.
Marking tools: accurate lines without permanent regret
Marking is where fabric crafts start looking “real.” It is also where people accidentally draw on their fabric with whatever pen is nearby and then panic. Choose marking tools that are designed for fabric and test on a scrap first.
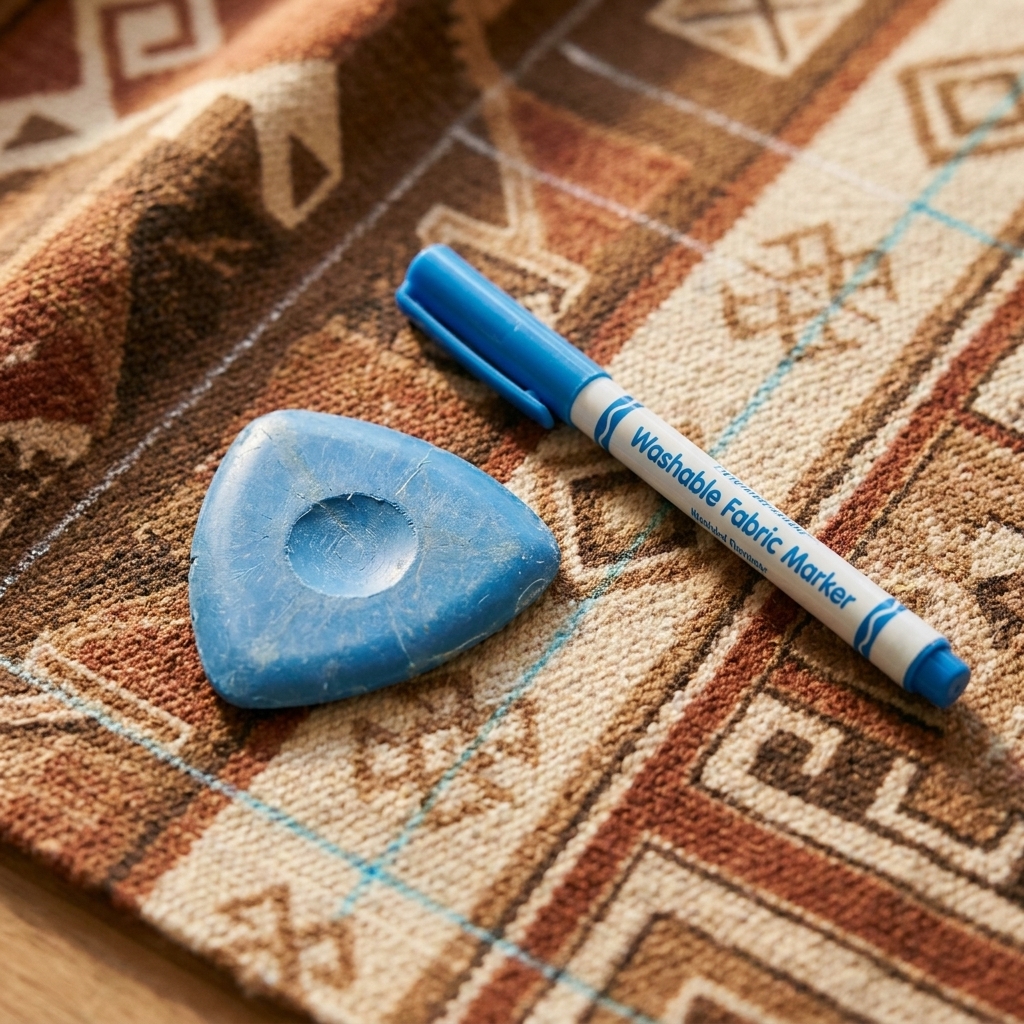
Tailor’s chalk or chalk pencil
Great for medium to dark fabrics and for drawing long lines. Chalk tends to brush off easily.
- Tip: Sharpen chalk edges with a small craft knife for crisp marks.
Washable fabric marker
Perfect for light fabrics and detailed marks like darts and match points.
- Rule: test it on a scrap and wash it out before committing to a whole project.
Heat-erasable pen (use with caution)
These are popular because marks disappear with heat, but they can reappear in cold temperatures on some fabrics. Some inks can also leave faint “ghost” lines even after pressing, depending on the fabric. I use them for temporary construction marks, not for anything that must be permanently invisible.
Tracing wheel and tracing paper (optional)
If you start using commercial patterns, this duo is helpful for transferring markings like darts and notches. For most casual DIY projects, chalk plus a ruler covers you.
Needles, thread, and small helpers
This section is the “save your sanity” corner of the kit. These are the notions that keep projects moving when something inevitably snags, tangles, or refuses to behave.
Hand-sewing needles
Even if you sew by machine, hand needles are essential for closing openings, sewing on buttons, and quick repairs.
- Starter set: assorted sharps plus a few betweens.
- Nice-to-have: a pack of embroidery needles if you do visible mending.
Machine needles (correct type and size)
Using the wrong machine needle is like trying to paint a wall with a toothbrush. It technically works, but it is not going to be pretty.
- Universal 80/12: a solid everyday needle for woven cottons.
- Ballpoint or stretch: for knits like T-shirts and leggings.
- Jeans/denim: for heavy fabric and thick seams.
- Simple habit: change your needle about every 8 to 12 hours of sewing time, or per the manufacturer’s guidance, and sooner if you hit a pin or your stitches start acting weird.
Thread (quality matters)
For beginners, I recommend starting with a good all-purpose polyester thread. It is strong and flexible, and it behaves well in most machines.
- Buy first: black, white, and a medium gray or beige. Those cover a shocking number of projects.
- Also good to know: cotton thread is common for quilting, and topstitch thread is useful when you want bold, durable topstitching on denim or bags.
- Avoid: bargain-bin thread that sheds lint and snaps. It makes sewing feel harder than it is.
Bobbins (an unglamorous essential)
If you sew by machine, having a few extra bobbins that fit your specific machine saves you from the “I ran out and now everything is paused” spiral. Keep them in a little case, and wind two before you start a bigger project if you can.
Needle threader
For anyone with tired eyes, shaky hands, or simply a desire to not squint at 11 pm, this is a tiny miracle.
Thimble (optional but helpful)
If you do hand sewing through thick layers, a thimble protects your finger and gives you more pushing power.
Fray check or clear fabric glue (optional)
For straps, buttonholes, and seams that want to unravel, a small bottle can save the day. Use sparingly, let it dry fully, and test first on delicate fabrics.
Seam guide (optional, very satisfying)
If sewing straight lines makes you feel like you are steering a shopping cart with one wobbly wheel, a seam guide can help. A simple magnetic seam guide (if your machine bed is magnetic) or a strip of painter’s tape at your seam allowance gives you a consistent edge to follow.
Pressing tools: the secret to a professional finish
I know, pressing is not as exciting as sewing, but it is the difference between “homemade” and “handmade.” If you want crisp edges and flat seams, you need a basic pressing setup.
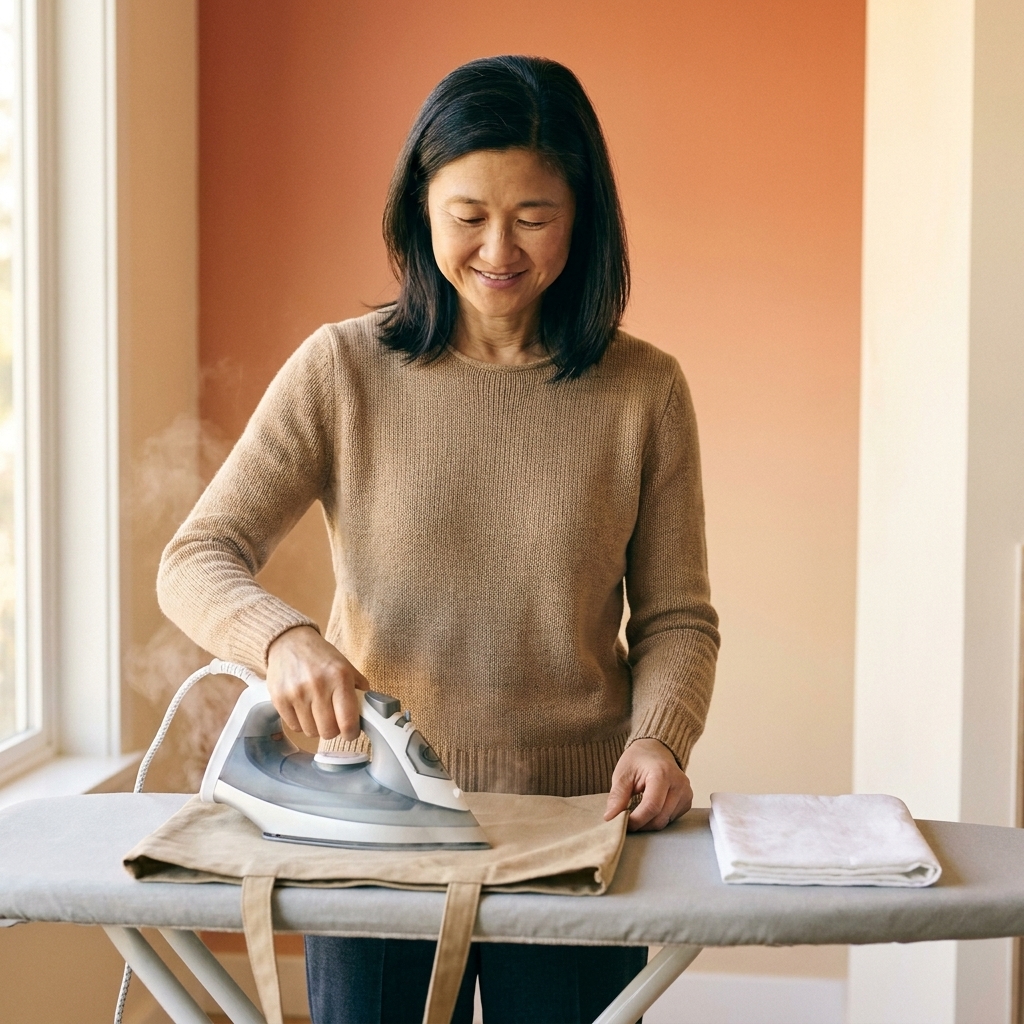
Iron and ironing board
You do not need a fancy iron, but you do need one that gets hot enough for cotton and has a steam option.
Pressing cloth
A simple piece of cotton (an old pillowcase works great) protects delicate fabrics and prevents shine on dark materials.
Point turner or blunt chopstick
For pushing out corners on bags, pillow covers, and straps, a point turner is wonderful. A blunt wooden chopstick also works and earns full no-waste points.
Tailor’s ham or sleeve roll (optional)
If you start doing more garments, a tailor’s ham or sleeve roll helps you press curved seams and sleeves without accidentally creasing the wrong spot. Not required, but very “ohhh, that is why people use those.”
My minimalist starter kit checklist
If you are building your kit from scratch, start here. This list will carry you through most beginner sewing and upcycling projects.
- Flexible tape measure
- Clear 6 inch ruler
- Fabric scissors
- Thread snips
- Seam ripper
- Straight pins and/or sewing clips
- Pincushion or magnetic pin dish
- Tailor’s chalk or washable fabric marker
- Hand-sewing needles
- Machine needles (universal plus one specialty type for what you sew most)
- All-purpose thread in a few basics
- A few extra bobbins that fit your machine
- Iron and pressing cloth
Nice upgrades when you are ready
Once you have sewn a few projects, you will know what annoys you most. Upgrade to solve that specific pain point.
- Rotary cutter + self-healing mat: for cleaner, faster straight cuts.
- Quilting ruler (clear, gridded): for accurate cutting with a rotary cutter.
- Pattern weights: great for cutting without pinning paper patterns to fabric.
- Corner and edge tool: for sharp points and crisp seams.
- Tailor’s ham or sleeve roll: for pressing curves and sleeves neatly.
- Lint roller or small brush: especially handy when upcycling fuzzy thrifted fabrics.
Budget tips and no-waste habits I swear by
You can build a fantastic notions kit without buying everything at once. Here are my favorite money-saving and waste-reducing habits.
- Buy fewer, better: one good pair of fabric scissors beats three mediocre ones.
- Use scrap fabric as tools: scraps become pressing cloths, pattern weights (fill a small bag with rice), and test swatches for marking pens.
- Label your scissors: a dab of nail polish on the handle is enough to remind everyone in the house they are fabric-only.
- Keep a “notions bowl” near your machine: it catches snips, spare bobbins, and pins mid-project so your tools do not disappear.
- Thrift carefully: you can thrift rulers, pin cushions, and sometimes even unopened notions, but avoid used rotary blades and questionable thread.
Quick FAQ
Do I need pins if I have clips?
Not always. Clips can replace pins for many projects, especially thick layers. I still like having a small pack of pins for lightweight woven fabric, tight curves, and situations where a clip would get in the way of the presser foot.
What is the most important notion for beginners?
A sharp seam ripper and decent fabric scissors. Measuring tools are close behind, but those two will keep you moving through mistakes without frustration.
How do I keep my fabric scissors sharp?
Use them for fabric only, store them closed, and avoid dropping them. If they start chewing fabric instead of slicing cleanly, get them sharpened or replace them. Fighting dull scissors is a fast track to crooked cuts.
Can I use regular pens to mark fabric?
I would not. Ink can bleed, show through, or become permanent in ways you do not expect. Use tailor’s chalk or a washable fabric marker and test on a scrap first.
A gentle final nudge
Your notions kit does not need to be Pinterest-perfect to be effective. Start with the basics, keep them in one easy-to-grab container, and let your kit grow naturally as your projects get more adventurous. The goal is confidence, not clutter.
If you want a simple first project to break in your kit, try an envelope pillow cover, a fabric headband, or a tote bag from a thrifted tablecloth. All three will teach you measuring, cutting, pinning, and pressing without requiring anything too fancy.