A beginner-friendly resin supply checklist, from the right epoxy and molds to mixing tools, resin-safe colorants, safety gear, and simple finishing basics.
Confession: I have absolutely ruined projects by choosing the wrong glue. Like the time I “secured” felt to a plastic headband with basic school glue, proudly set it aside to dry, and later found the whole thing slumped off like a sad pancake.
The good news is that glue is not mysterious. Once you know what each adhesive is designed to bond and how it likes to be used (thin layer, pressure, open time, clamp time, cure time), you can pick the right bottle with confidence.
This guide breaks down the most common craft glues, what they’re best at, what they hate, and a few classroom-tested tricks for neater, stronger bonds.
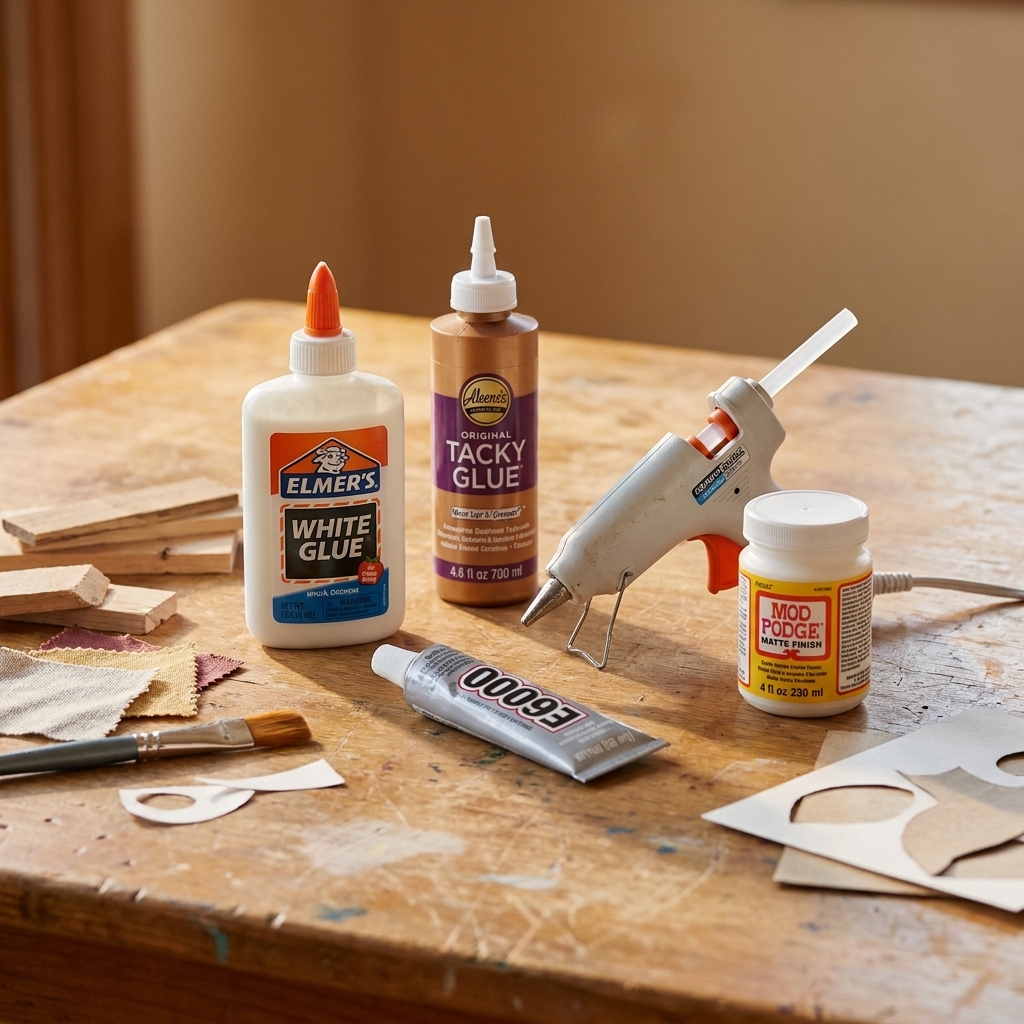
Quick glue matching cheat sheet
If you want the fast answer first, start here. Then scroll to the glue type you’re using for the how-to details.
Paper, cardstock, lightweight paper crafts
- Best: Glue stick, PVA (white glue), tacky glue (for heavier layers), spray adhesive (for large flat areas)
- Avoid: Hot glue (warps and creates bumps), too much liquid glue (wrinkles)
Fabric, felt, ribbon
- Best: Fabric glue, tacky glue for felt, hot glue for quick tacks, fusible web for hems and appliqué
- Avoid: Super glue (turns stiff and can discolor), standard Mod Podge as a “fabric glue” substitute for stress points
Wood, unfinished or painted
- Best: Wood glue, tacky glue for light-duty crafts, epoxy for structural repairs
- Avoid: Glue sticks for anything weight-bearing
Plastic (mixed results depending on type)
- Best: E6000, epoxy, plastic-specific super glue, hot glue for temporary holds
- Avoid: PVA and most water-based glues (they usually peel off)
Quick reality check: Plastic is not one material. PP and PE (often used in cheap bins, bottle caps, and some toy plastics) are notoriously difficult to glue and may require specialty adhesives or surface treatment.
Glass and ceramic
- Best: E6000, epoxy, 100% silicone adhesive (flexible), UV resin for small areas
- Avoid: PVA (pops off), hot glue (releases with temperature changes)
Metal
- Best: Epoxy, E6000, super glue for tiny, non-load-bearing parts
- Avoid: PVA, glue stick
Foam (craft foam, EVA foam)
- Best: Contact cement (for EVA), tacky glue (for craft foam), hot glue (fast assembly)
- Avoid: Some solvent glues can melt foam (always test)
Before you glue: the 5 steps that fix 80% of problems
1) Clean the surface
Oils from your hands, dust, and manufacturing residue are glue’s worst enemies. For glass and metal, a quick wipe with isopropyl alcohol makes a huge difference. For plastic, wash with dish soap and let dry completely.
2) Rough it up when needed
Super smooth surfaces like glossy plastic, glazed ceramic, and some metals bond better when you lightly scuff them with fine sandpaper. You’re not sanding a deck, just giving the surface a bit of “tooth” for the glue to grab.
3) Dry fit first
Practice the placement before you add adhesive. Many glues grab fast, and repositioning can weaken the bond.
4) Use the right pressure
Many adhesives get stronger with firm contact. Clamps, binder clips, painter’s tape, rubber bands, and even a stack of books can help. The goal is even pressure, not crushing.
5) Respect the timeline
Here’s the part that saves the most heartbreak:
- Open time: how long you have to position parts after applying glue
- Clamp time: how long it needs held together (by hand, tape, or clamps)
- Full cure: when it reaches its real strength
“Dry to the touch” is not the same as “fully cured.” If you stress the bond too early, you can lock in a weak join that fails later.
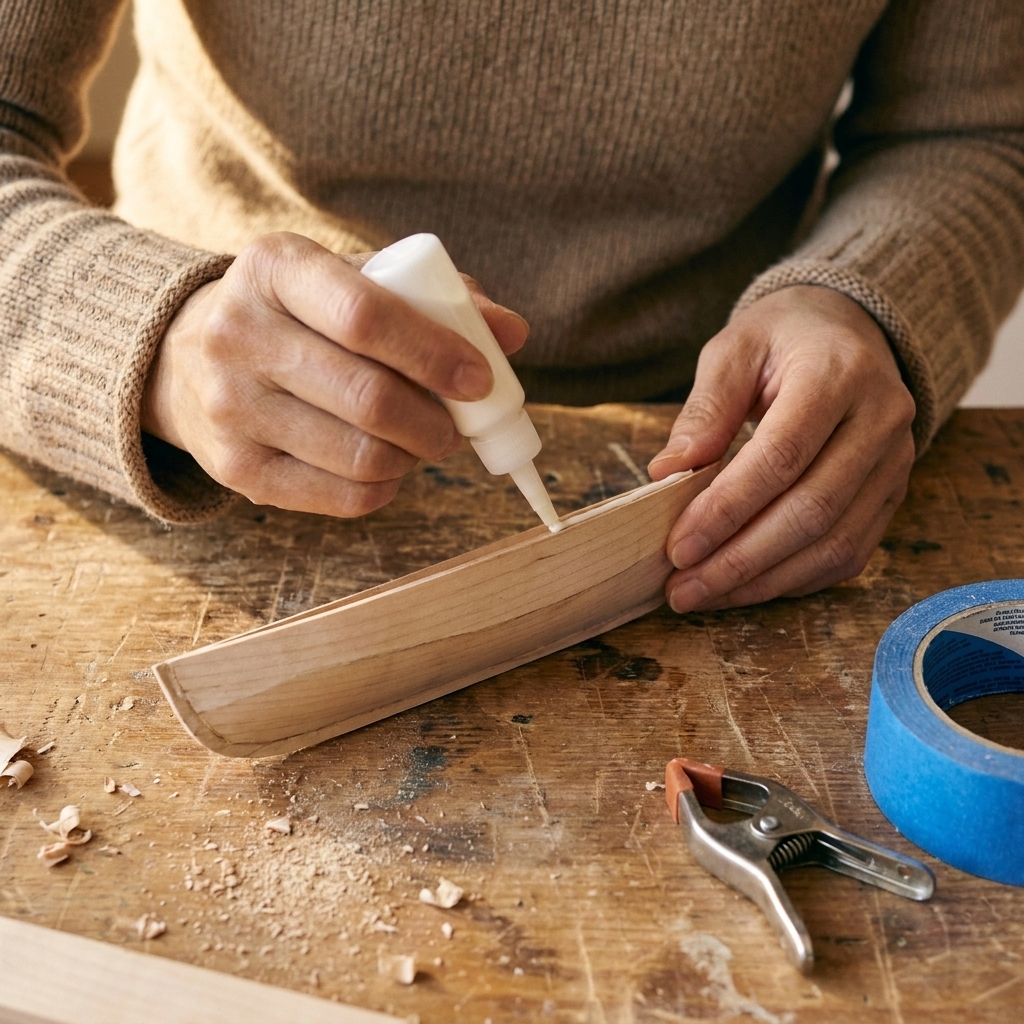
PVA glue (white glue, school glue)
PVA stands for polyvinyl acetate, and it’s the classic white glue most of us met in elementary school. It dries clear, is water-based, and is generally non-toxic, making it a staple for paper crafts and kid-friendly projects.
Best for
- Paper, cardstock, and papier-mâché
- Lightweight wood crafts (not structural)
- Porous materials that can absorb a little glue
Not great for
- Plastic, metal, glass
- Anything that needs flexibility or water resistance
How to use it without wrinkles
- Use less than you think. A thin, even layer beats a puddle every time.
- Spread it. Use a scrap of cardstock, an old gift card, or a cheap brush to flatten glue.
- Press flat while drying. For paper layers, place wax paper on top, then a heavy book.
Cleanup
While it’s still wet, warm water usually does the trick. Once it cures, it turns rubbery and is much harder to remove cleanly.
Tacky glue (thick PVA)
Tacky glue is like white glue’s more confident cousin. It’s thicker, grabs faster, and is fantastic for crafts where you want less slipping and less warping.
Best for
- Felt and ribbon
- Paper projects with layers, like cards and scrapbook embellishments
- Light-duty wood crafts
- Glitter projects (it holds sparkle nicely)
Not great for
- Non-porous surfaces (most plastics, glass, metal)
- Outdoor use or washable items unless the label states it’s washable
Tip
If your nozzle is always crusty, store tacky glue upside down in a cup. The glue stays at the tip so you’re not shaking like a maraca to get it flowing, and the air pocket moves to the bottom which reduces clogs.
Cleanup
Water clean-up is easiest before it dries. On fabric, test first, because scrubbing can spread a stain-y wet patch even if the glue will dry clear.
Wood glue (yellow carpenter’s glue)
Wood glue is engineered to soak into wood fibers and create a bond that can be as strong as, or sometimes stronger than, the surrounding wood fibers in a well-fitted joint. Fit, clamping pressure, wood species, and moisture all matter. It is my pick for beginner woodworking and sturdy upcycles.
Best for
- Wood-to-wood joins (unfinished wood is ideal)
- Furniture repairs and small builds
Not great for
- Wood to plastic, metal, or glass
- Very oily woods without prep
How to get a strong wood glue joint
- Clamp it. Wood glue loves pressure. Even 20 to 30 minutes of clamping improves strength.
- Wipe squeeze-out. Use a damp cloth while the glue is wet. Dried glue can resist stain and paint.
- Let it cure. Many wood glues need a full day to reach maximum strength.
Glue sticks (solid school glue)
We’re talking about the twist-up glue stick you use like deodorant. I adore these for quick, tidy paper crafting, especially with kids or when I’m batch-making cards.
Best for
- Paper, photos, lightweight cardstock
- Quick classroom crafts and mess-free assembling
Not great for
- Anything heavy, dimensional, or under tension
- Long-term archival projects unless labeled photo-safe and acid-free
How to make it hold better
- Cover the entire area, not just the edges.
- Burnish with a bone folder or the back of a spoon to improve contact.
- For thick cardstock layers, combine with a tiny dot of tacky glue in the center.
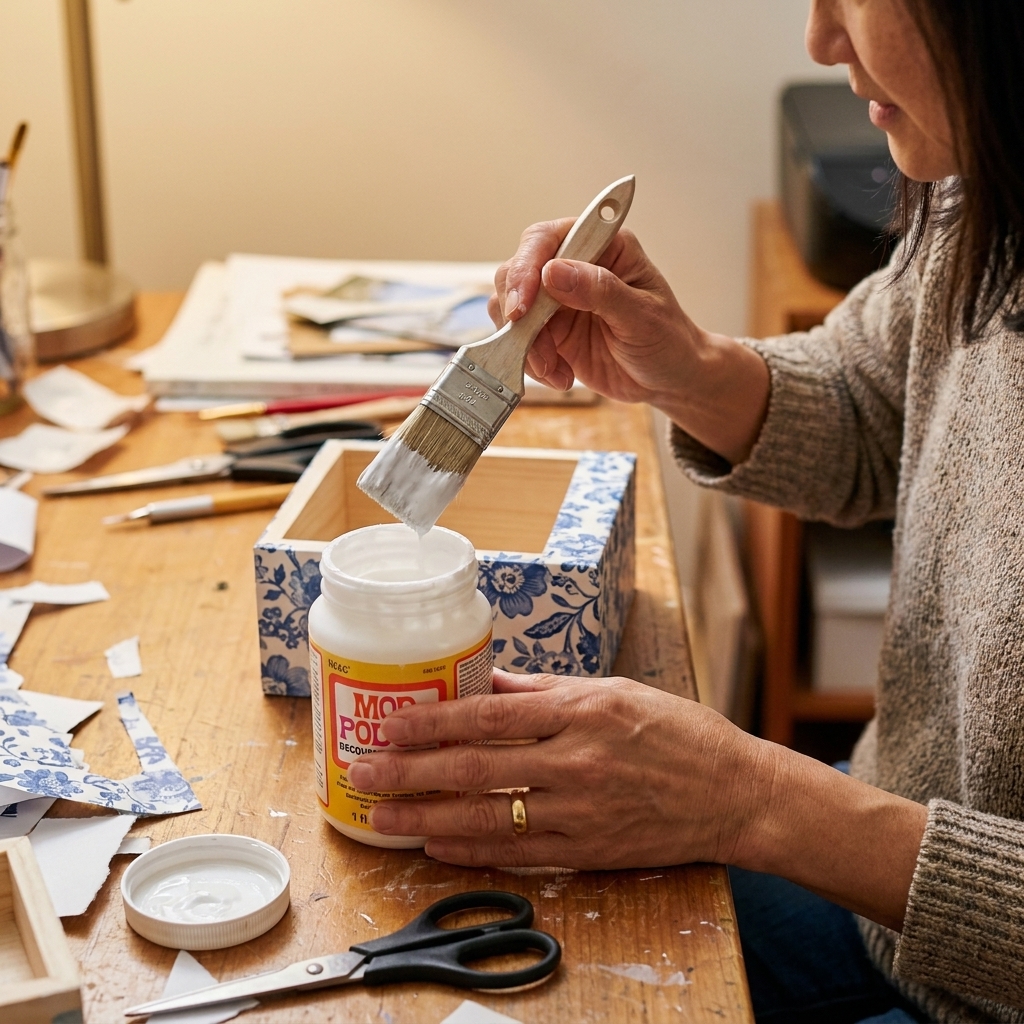
Mod Podge and decoupage mediums
Mod Podge is a glue, sealer, and finish in one. It’s a decoupage medium, which means it’s designed for adhering paper or fabric to a surface and sealing it so it looks intentional and smooth.
Best for
- Decoupage on wood, canvas, terracotta, paper mâché, and some plastics
- Sealing paper layers and protecting finished surfaces
- Glitter sealing (light coats)
Not great for
- High-stress bonds (like a handle that gets pulled)
- Constant water exposure (even “outdoor” formulas have limits)
How to avoid brush strokes and bubbles
- Use a soft, wide brush or a foam brush.
- Apply thin coats and let each coat dry.
- Work from the center outward and gently smooth with your fingers or a brayer.
Hot glue (glue gun sticks)
Hot glue is the crafting equivalent of instant noodles: not always gourmet, but it saves the day constantly. It bonds by cooling and hardening, not by chemically welding materials together. It’s mainly a mechanical bond, though it can slightly soften some plastics and grip into texture.
Best for
- Quick assembly and temporary holds
- Wreaths, floral picks, ribbon, foam, lightweight decor
- Attaching embellishments where a slightly bulky bond is fine
Not great for
- Heat exposure (car interiors, near heaters, sunny windows)
- High-stress items or very smooth surfaces like glass (it can release)
- Very delicate fabrics (it can soak through and show)
How to use hot glue cleanly
- Use the right temperature. Low-temp guns are kinder to foam and little hands. High-temp bonds a bit stronger on some materials.
- Let the glue get fully hot. Half-heated glue creates stringy chaos and weak bonds.
- Keep a silicone mat nearby. You can set down drips and peel them off later.
- Fight the strings. After applying, do a small twist of the gun and pull away quickly.
Cleanup
Let drips cool fully, then peel or gently scrape. If you’re working on a finished surface, test first, because scraping can scratch.
Super glue (cyanoacrylate)
Super glue is fast, strong, and best used in tiny amounts. It cures with moisture in the air, which is why it can bond skin instantly. Work in a ventilated area, and if you do glue fingers together, warm soapy water and patience help.
Acetone (nail polish remover) can dissolve cyanoacrylate, but it can also damage some plastics and finishes and can irritate skin. Use it carefully, and spot-test if the surface matters.
Best for
- Small repairs: ceramics, some plastics, metal pieces
- Jewelry fixes (non-flexing areas)
- Bonding two tight-fitting parts
Not great for
- Flexible items (it can crack)
- Large surfaces (it sets before you can adjust)
- Fabric (it can soak in and turn crunchy)
Tips for stronger results
- Use minimal glue. A thin film bonds better than a blob.
- Hold firmly. Even 20 to 60 seconds of pressure matters.
- Store it sealed. Keep the cap clean, and store upright in a cool spot.
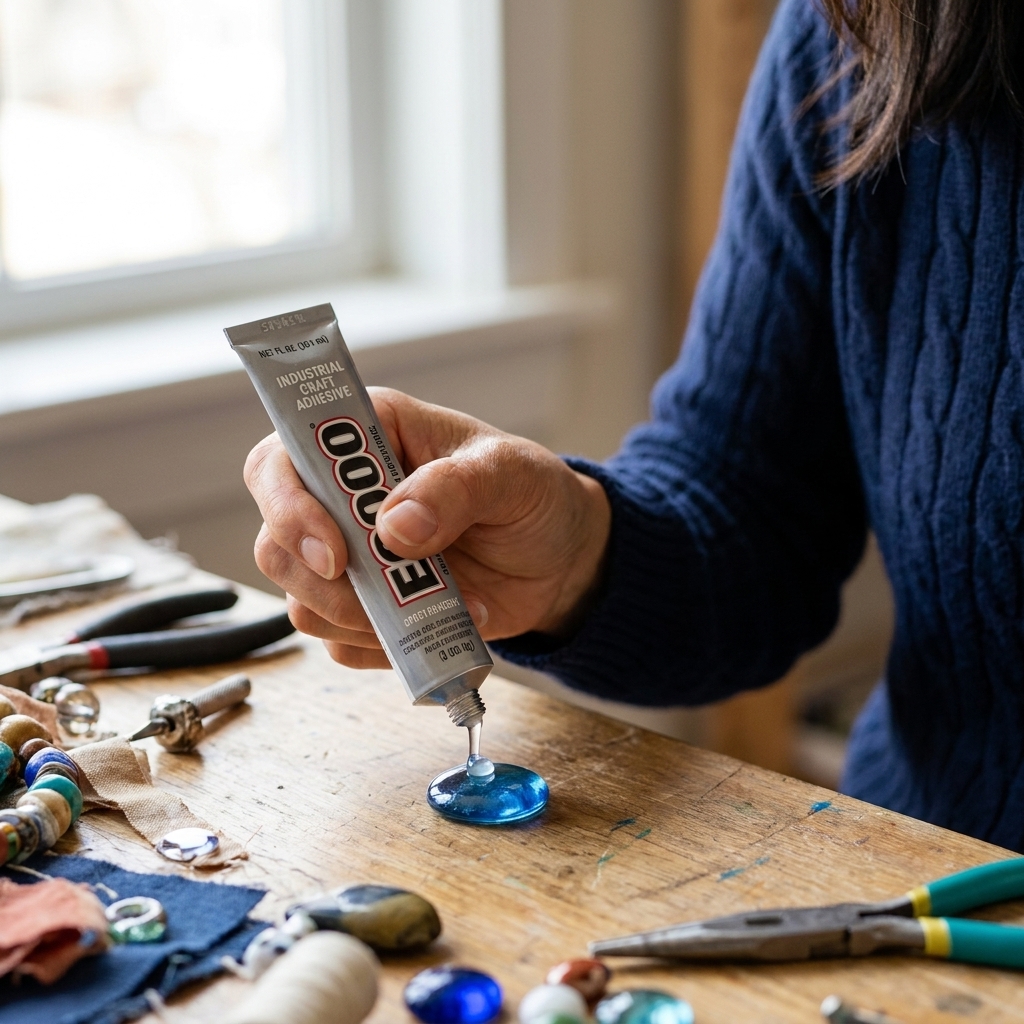
E6000 (industrial craft adhesive)
E6000 is beloved for a reason: it sticks to a wide range of materials, dries flexible, and holds up well for crafts that get handled. It is also very fumey because it’s solvent-based. Use it with good ventilation, keep it away from kids, and recap tightly.
Best for
- Plastic, metal, glass, ceramic, wood, fabric (especially mixed-material projects)
- Jewelry making and rhinestone application
- Attaching embellishments to hard-to-glue surfaces
Not great for
- Projects where you cannot ventilate the space
- Foam that reacts to solvents (test first)
- Fast crafting sessions when you need immediate strength
Timing to expect
Most projects need patience here. Depending on thickness and materials, it often takes 24 to 72 hours to fully cure. It may feel set sooner, but it is not at full strength yet.
How to use it safely and neatly
- Ventilate. Open a window and run a fan, or work outside.
- Apply small dots or a thin bead. It spreads as you press pieces together.
- Let it tack up. Waiting a few minutes before joining can reduce slipping.
- Use painter’s tape. Tape can hold slippery items in place while curing.
Epoxy (two-part)
Epoxy is a two-part adhesive that cures through a chemical reaction when resin and hardener are mixed. It’s one of my go-tos for strong repairs, especially on non-porous materials. Once it sets, it is not forgiving, so plan your steps.
Best for
- Metal, ceramic, glass, wood, many plastics
- Structural repairs and heavy items
- Outdoor repairs when using an epoxy rated for it
Not great for
- Anything you need to reposition slowly
- Very thin, flexible materials (the cured epoxy can be rigid)
How to get epoxy right
- Measure evenly. Follow package ratios exactly.
- Mix thoroughly. Scrape the sides and mix until color is uniform.
- Mind working time. Some epoxies give you 5 minutes, others 30. Choose accordingly.
Contact cement
Contact cement is the “paint both sides, let it dry, then it sticks instantly” adhesive. It’s incredibly useful for EVA foam (cosplay and props) and laminating certain materials, but it needs respect: fumes, flammability, and permanent bonds.
Best for
- EVA foam seams
- Laminating surfaces that need an even bond
Not great for
- Anything you may need to adjust after contact
- Projects in small, unventilated rooms
How to use it
- Brush a thin coat on both surfaces.
- Let it dry until tacky, not wet.
- Align carefully and press firmly. Once it touches, it bonds fast.
Spray adhesive
Spray adhesive is amazing for large, flat, even coverage. It’s the secret weapon for attaching paper to poster board, fabric to foam core, or creating smooth collage layers without ridges.
Best for
- Paper, photos, lightweight fabric, batting
- Mounting large pieces smoothly
Not great for
- Dimensional parts or anything under tension
- Messy indoor spaces without protection (overspray is real)
Choose the right type
Some spray adhesives are repositionable (great for layout and alignment), and others are permanent (better for final mounting). Check the can before you commit.
Cleaner spraying routine
- Spray inside a large cardboard box to catch overspray.
- Use light, sweeping passes rather than soaking one spot.
- Let it get tacky for a few seconds before bonding.
Fabric glue
Fabric glue is designed to stay flexible after drying and survive gentle wear. Different brands vary a lot, so check the label for “washable,” “no-sew,” or “permanent.”
Best for
- Quick hems in a pinch
- Appliqué, patches, and fabric embellishments
- Felt crafts that will be handled
Not great for
- Super thick seams that need stitching strength
- Silky or slippery fabrics without testing first
How to avoid seep-through
- Place wax paper under the fabric layer to protect your table.
- Apply glue in a thin line, then press and weight the area while it dries.
UV resin as “glue”
UV resin can act like a glue for small, clear bonds, especially in jewelry and hard-surface crafts. It cures under a UV lamp. It’s not the best for large surface area bonding, but it’s wonderful when you need a clean, glassy finish.
Best for
- Securing small embellishments in jewelry
- Doming and sealing paper in bezels
- Filling tiny gaps where you want a clear look
Not great for
- Opaque materials that block UV light
- Large repairs or flexible items
Common glue mistakes (and how to fix them)
My glue peeled right off plastic
Water-based glues like PVA and tacky glue often peel from slick plastic. Try E6000, epoxy, or a plastic-specific cyanoacrylate. Also: clean and lightly scuff first. If the plastic is PP or PE, you may need a specialty adhesive designed for those plastics.
My paper is wrinkled and wavy
Too much moisture. Switch to a glue stick or spray adhesive, or spread liquid glue into a very thin coat and press under weight to dry.
My hot glue popped off glass
Hot glue is mostly a mechanical bond that can release with temperature swings. Use E6000, epoxy, or 100% silicone adhesive for glass.
My super glue turned white and cloudy
That can happen when it cures too fast or fumes settle on nearby surfaces. Use less glue, improve airflow, and avoid enclosing the item while it cures.
Safety basics (quick but important)
- Ventilation matters. Solvent-based products like E6000, many contact cements, and some spray adhesives should be used with fresh airflow.
- Keep away from heat and flames. Many solvent adhesives are flammable until fully cured.
- Protect your skin and surfaces. Disposable gloves and a silicone mat or wax paper can save your day.
- Read the label. Dry times, cure times, and material compatibility vary by brand.
How to store glue so it actually lasts
- Keep caps clean. Wipe the nozzle before recapping, especially for tacky glue and E6000-style tubes.
- Store upright. Most bottles behave better upright, except the upside-down trick for tacky glue in a controlled cup.
- Protect from temperature extremes. Freezing can ruin water-based glues. Heat can degrade adhesives and melt glue sticks together.
- Label your “mystery bottles.” If you decant glue into a smaller container, label it immediately.
Mini FAQ
Is tacky glue stronger than white glue?
Often, yes for crafts. Tacky glue is thicker and grabs faster, which can make bonds feel stronger in the real world. For wood-to-wood strength, wood glue usually wins.
What’s the best glue for glitter?
Tacky glue is my everyday favorite because it holds glitter well. For sealing glitter, use thin coats of a decoupage sealer or a clear acrylic sealer (test first so it does not dull the sparkle).
What glue works for plastic beads and rhinestones?
E6000-style adhesive is a common choice for hard surfaces and embellishments. For small rhinestones on non-flexing surfaces, gel super glue can work too. Always test if the plastic is sensitive.
Can I use Mod Podge as glue?
Yes for decoupage and light bonding of paper and fabric to surfaces. For stress points or mixed materials that get handled a lot, I reach for tacky glue, E6000, or epoxy depending on the materials.
Your “small but mighty” glue kit
If you want a starter set that covers most crafts without turning your supply bin into a glue museum, here’s what I’d keep:
- PVA white glue for general paper crafting
- Tacky glue for felt, heavier paper layers, and everyday crafting
- Wood glue for wood-to-wood projects
- Hot glue gun for quick decor builds and temporary holds
- E6000-style adhesive or epoxy for mixed materials and non-porous repairs
- Glue stick for mess-free paper projects
If you tell me what you’re making and what materials you’re bonding, I can help you pick the best glue and the easiest way to apply it without the drips, strings, and “why is this still wet?” heartbreak.