From paper plate animals to yarn wrapping and sticker resist art, these kid-friendly crafts are big on fun and light on cleanup.
Pop-up cards look like magic, but the secret is surprisingly simple: paper wants to fold, and a few smart cuts help it do something delightful when you open the card. If you have ever stared at a “Pinterest-perfect” pop-up and thought, nope, this one is for you. These five mechanisms are my go-to building blocks for handmade birthday and holiday cards, and once you learn them, you can remix them into a hundred designs.
My best advice before we begin: use a scrap sheet for a quick test run. Paper engineering is very forgiving, but it loves a practice fold.

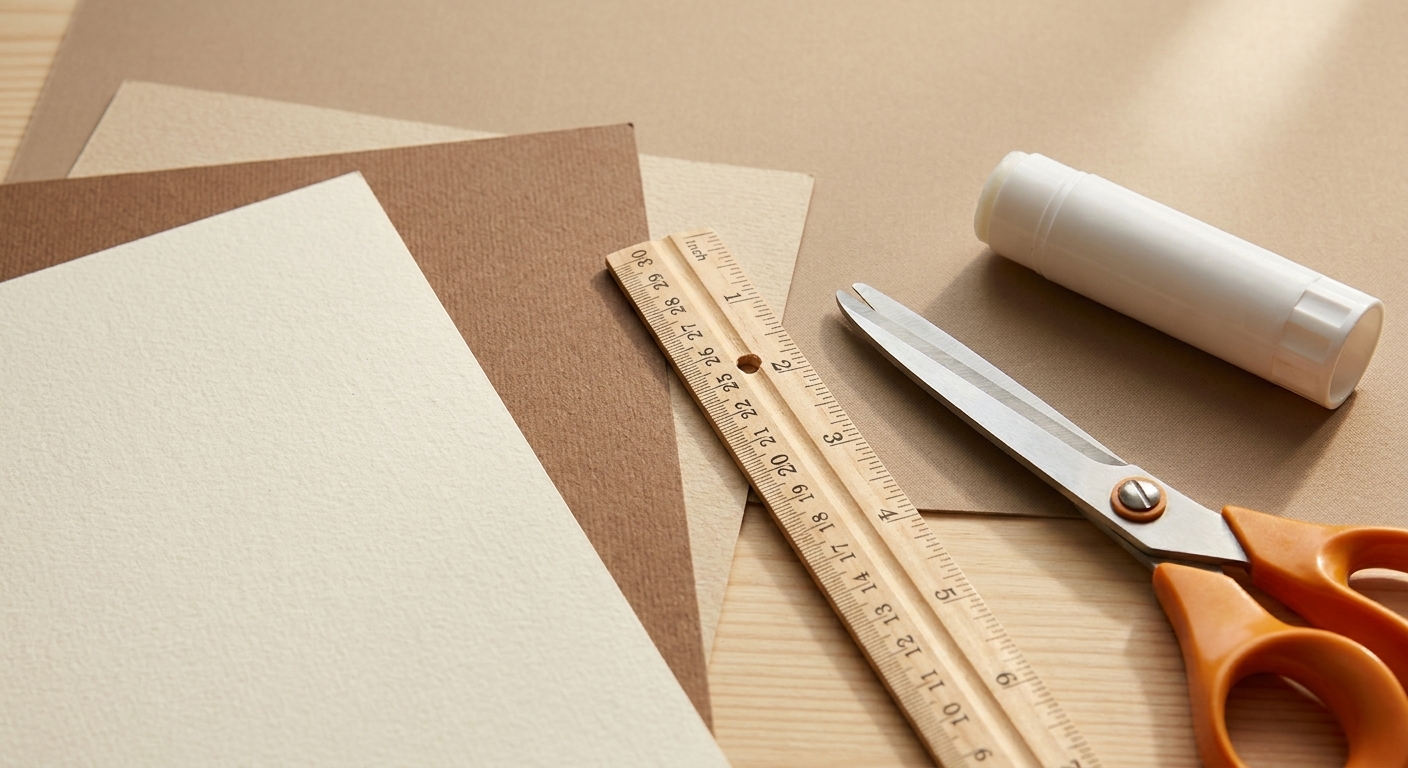
Supplies you already have
You do not need fancy tools, just consistent measuring and crisp folds.
- Cardstock: 65 to 110 lb cover stock (not text weight) is ideal for the card base, roughly 175 to 300 gsm. Lighter paper works for pop-up pieces.
- Ruler and pencil
- Scissors or a craft knife with a cutting mat (always cut away from your fingers)
- Adhesive: glue stick or double-sided tape for clean, flat bonds
- Bone folder (optional): a spoon back works in a pinch
- Markers, washi tape, scraps, stickers, or whatever makes you happy
Paper grain note (quick and helpful): If your cardstock cracks at the fold, you may be folding against the grain. Try rotating the paper 90 degrees and folding again, or lightly score the fold line with a ruler and a dull butter knife (or a dedicated scoring tool) before creasing.
Card base
Most pop-ups sit inside a folded card.
- Tall card: Use a full sheet of cardstock, 8.5 x 11 inches. Fold in half to make a 5.5 x 8.5 inch card.
- Standard A2 card: Cut cardstock to 8.5 x 11 inches, cut it in half to make two pieces that are 4.25 x 11 inches, then fold one piece in half to make a 4.25 x 5.5 inch A2 card.
- Crease firmly along the fold line.
In the steps below, I will call the folded edge the spine, and the inside crease the center fold.
One placement tip that saves headaches: keep pop-up pieces at least 1/4 to 1/2 inch away from the outer edges so the card can close neatly.
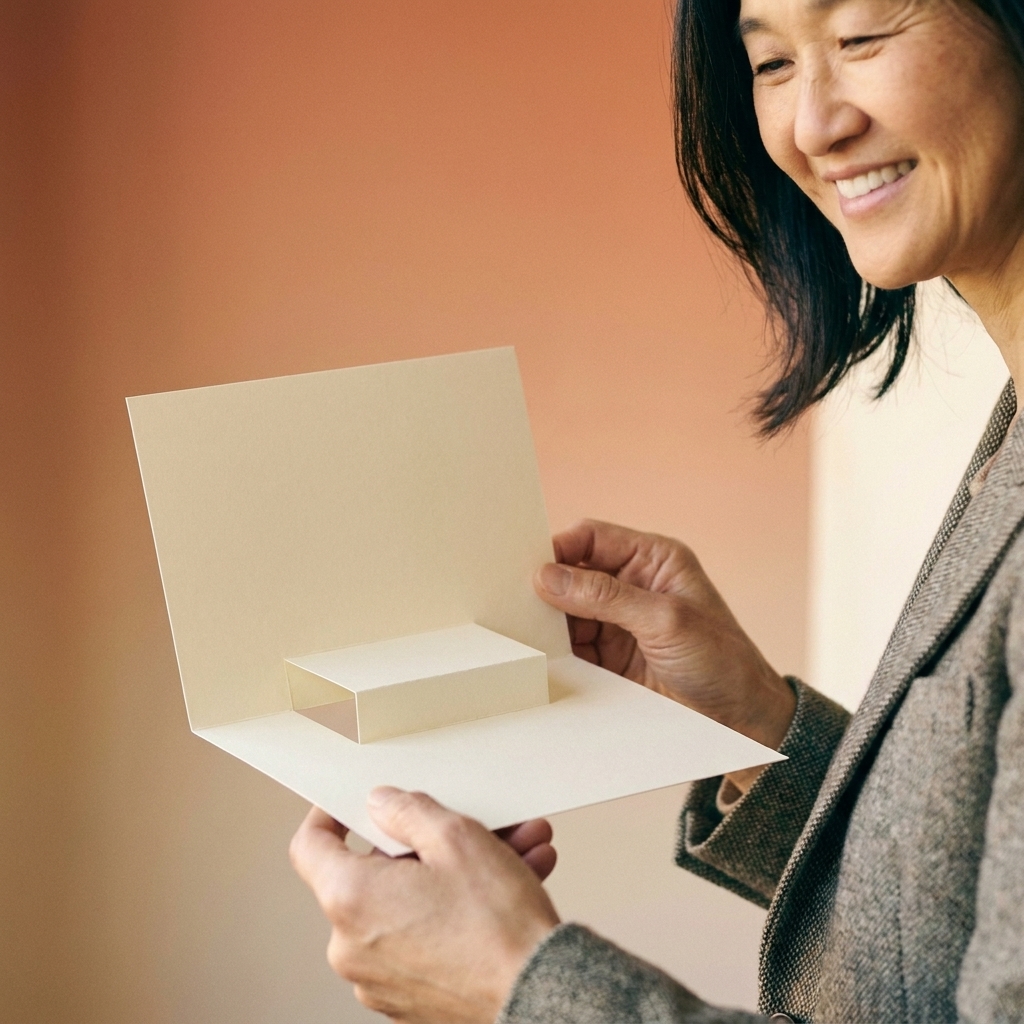
Mechanism 1: Step pop-up
This is the classic beginner pop-up: two parallel cuts that create a rectangular step that pops forward when you open the card. It is sturdy, easy to decorate, and perfect for cakes, presents, or simple lettering.
How to make it
- Open your card base flat, inside facing up.
- On the center fold, mark two points 1 inch apart from each other (the distance is along the fold line). Place them wherever you want the step to be, usually centered vertically.
- From those marks, cut two parallel slits perpendicular to the fold, each the same depth into the card. Start with 1 inch deep.
- Close the card and crease the step folds by pressing the cut section inward. This “pre-fold” step is the trick.
- Open the card slightly and push the step inward so it collapses neatly. Then open fully. The step should pop forward.
Decorate it
- Glue a cake slice, a balloon cluster, a mini present, or a name plate to the front of the step.
- Wrap the step with patterned paper like a tiny stage.
Troubleshooting
- Step will not pop: Re-crease the step folds with the card closed, then open slowly.
- Paper buckles: Your two slits may not be equal lengths. Trim them to match.
Mechanism 2: V-fold pop-up
The V-fold is my favorite because it looks complex but is basically a folded strip glued in two spots. It is great for hearts, stars, Christmas trees, flowers, and anything you want to “spring” up from the center.
How to make it
- Cut a strip of cardstock about 1 x 4 inches.
- Fold the strip in half to make a crisp V.
- Open your card base. Lightly mark a point on the center fold where you want the V to sit (usually mid-height).
- Apply glue to one outer side of the V (one “wing”). Place it so the crease of the V lines up with the card’s center fold. Avoid getting glue on the V’s crease.
- Close the card carefully, pressing so the glued wing sticks to one side of the inside card.
- Open, add glue to the other wing, then close again to adhere.
Decorate it
- Glue a shape (heart, star, pumpkin, ornament) to the front of the V-fold strip.
- Layer two V-folds at different heights for a fuller bouquet effect.
Troubleshooting
- It sticks shut: Your V may be too tall or too close to the card edge. Shorten the strip or move it toward the center.
- It flops: Use slightly heavier paper for the V, or shorten the strip so it supports the element.
Mechanism 3: Floating panel
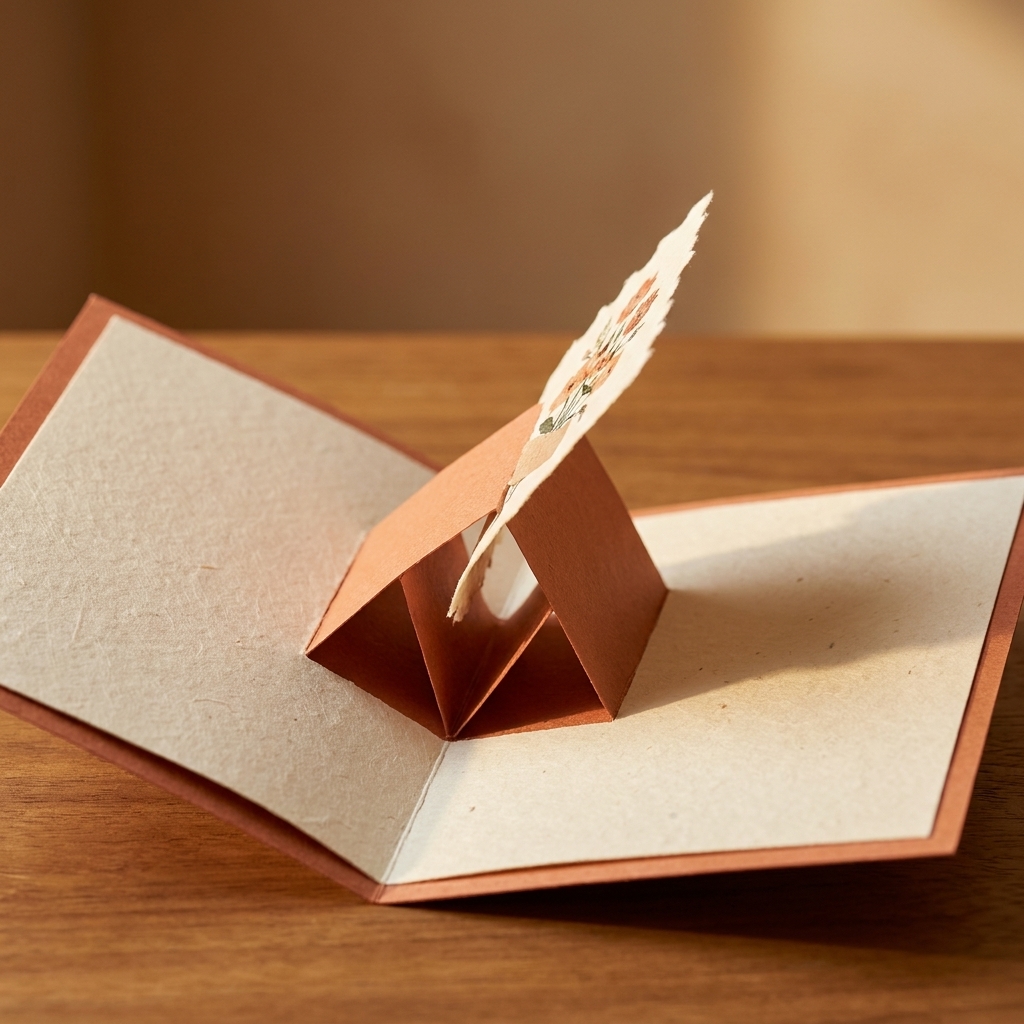
This one makes a flat “platform” that appears to float inside the card. It is perfect for messages like “Happy Birthday” that you want to look clean and bold, and it is a dream for using up patterned paper scraps.
How to make it
- Cut a rectangle for your floating panel, about 3 x 4 inches.
- Cut two narrow strips, about 1/2 x 3 inches. These are your supports.
- Fold each support strip into a Z shape (mountain fold, valley fold) so the ends face opposite directions, like a tiny springy bracket.
- Glue one end of each Z support to the back of your panel, one on the left and one on the right.
- Position the panel inside the card where you want it to float. Glue the free ends of the Z supports to the inside card panels.
- Close the card gently to set the folds and make sure it collapses flat.
Decorate it
- Stamp or hand-letter your greeting on the floating panel.
- Make it a “picture frame” window by cutting a smaller rectangle out of the panel before attaching.
Troubleshooting
- Panel is crooked: Measure equal placement of the Z supports and glue with the card slightly closed so everything aligns.
- Card will not close flat: Your Z supports are too thick. Re-fold tighter or shorten the supports.

Mechanism 4: Swing tab
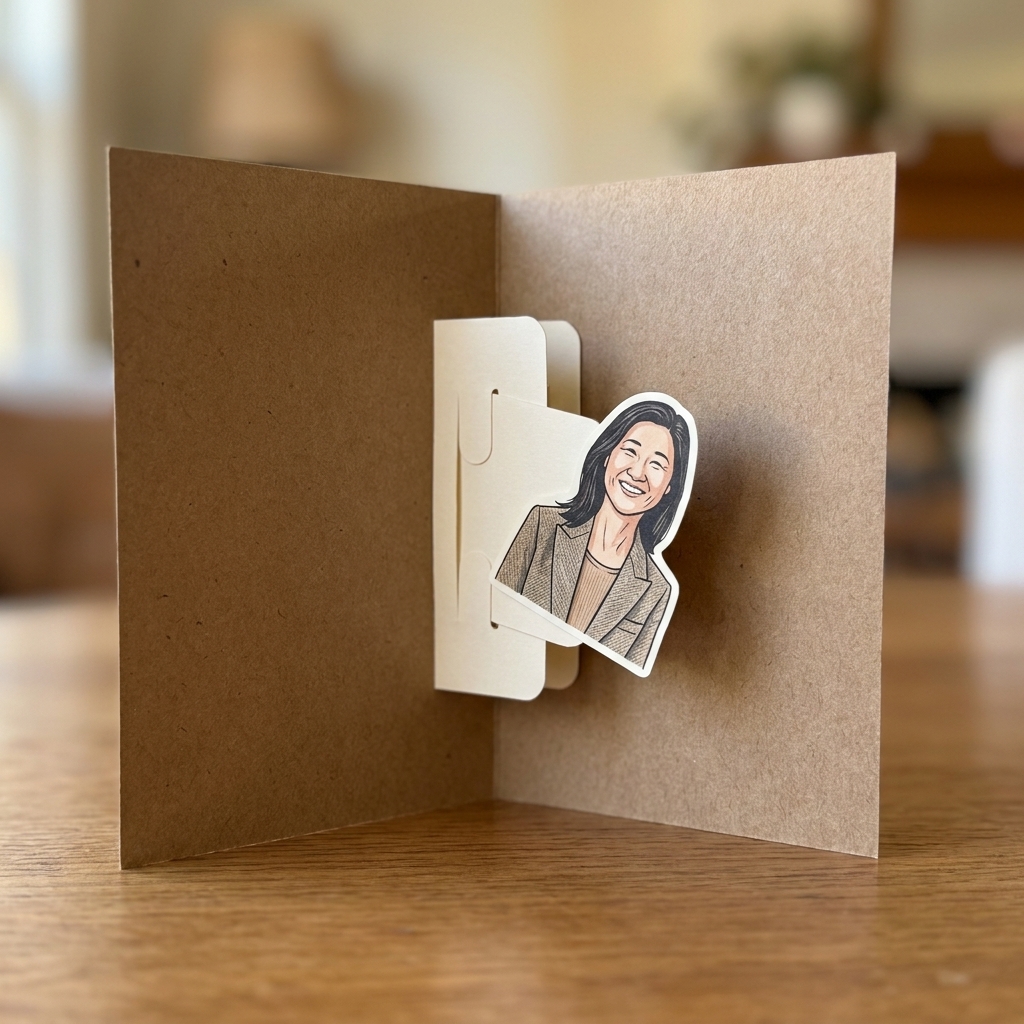
If you want a little motion without advanced engineering, the swing tab is a delight. The element swivels as the card opens, which feels extra fancy for minimal effort.
How to make it
- Cut a small strip, about 3/4 x 3 inches.
- Fold it in half, then fold each end back so you get a narrow center with two glue tabs, like a tiny handle.
- Pick where you want the swinging element to sit, usually near the center fold but slightly offset. The center section should bridge the gap over the center fold.
- Glue one tab to the left inside panel.
- Glue the other tab to the right inside panel, making sure the folded “hinge” sits between them and can flex.
- Attach a lightweight shape to the hinge area, like a butterfly, ghost, ornament, or speech bubble.
Decorate it
- Butterfly for spring, bat for Halloween, snowflake for winter, or a little birthday hat that “tips” as the card opens.
- Add a background scene behind it so the moving piece has something to fly over.
Troubleshooting
- It rips: Use a wider tab or reinforce the hinge with a small piece of tape on the back.
- It does not move: The hinge is glued accidentally. Keep glue strictly on the tabs, not the center fold.
Mechanism 5: Accordion pop-up
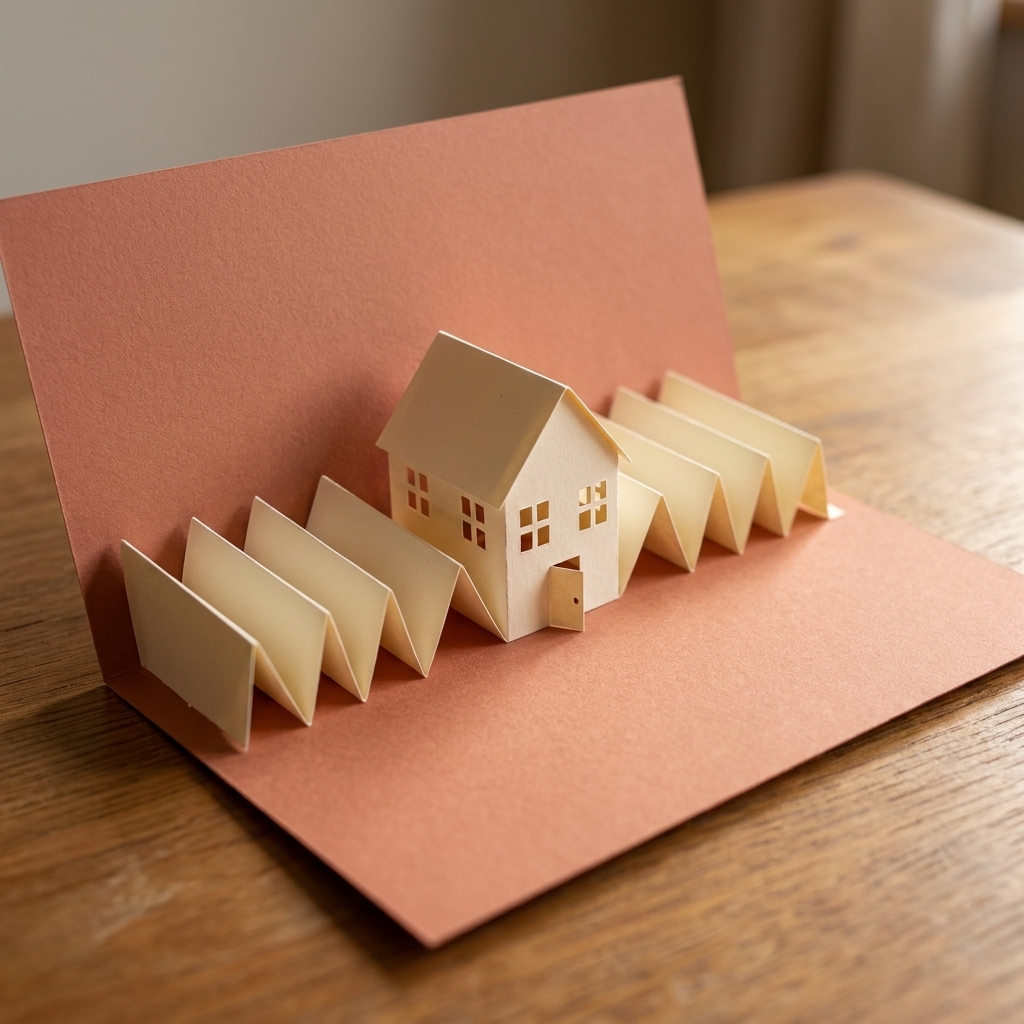
Accordion folds are my no-waste best friend. You can turn even skinny scrap strips into a dramatic pop-up that fills the card with shape and dimension. This mechanism is wonderful for party banners, folded hearts, and layered holiday trees.
How to make it
- Cut a long strip of paper, about 1 x 8 inches. If you only have shorter scraps, glue them end-to-end.
- Fold the strip like a fan into even sections, about 1/2 inch each. Make sharp creases.
- Decide if your accordion will stand vertically (like a little wall) or horizontally (like a bridge).
- For a simple standing accordion: glue one end of the accordion to the left inside panel and the other end to the right inside panel, centered vertically.
- Close the card to test. The accordion should collapse neatly and expand when opened.
Decorate it
- Glue a row of mini flags to the folds for a “celebration banner.”
- Stack three accordions in different heights for a layered paper tree.
- Turn it into a paper heart by shaping the outer edges with scissors before attaching.
Troubleshooting
- Accordion buckles: Your folds are uneven. Re-fold using a ruler to mark consistent sections.
- Ends pop off: Use stronger adhesive like double-sided tape, and press firmly with the card partially closed.
Success checklist
- Test with scrap first: Especially if you are using expensive specialty paper.
- Crease like you mean it: Crisp folds make mechanisms behave.
- Keep bulky decorations away from folds: Sequins and thick foam tape can prevent a clean close.
- Balance the weight: If your pop-up piece is heavy, reinforce with an extra layer of cardstock.
- Close slowly the first time: Let the paper learn where it wants to fold.
Easy themes
If you want a quick win, pick one mechanism and one theme. Here are a few combinations that look impressive without complicated steps:
- Birthday cake: Step pop-up + paper frosting squiggles and a candle.
- Heart bouquet: Two V-folds + small hearts on each.
- Holiday message: Floating panel + stamped or hand-lettered greeting.
- Butterfly hello: Swing tab + simple watercolor background.
- Party banner: Accordion + tiny triangle flags from scrap paper.
FAQ
What paper is best for pop-up cards?
For the card base, cardstock in the 65 to 110 lb cover range (about 175 to 300 gsm) is sturdy without being hard to fold. For the mechanisms, slightly lighter cardstock or quality patterned paper folds more smoothly and reduces bulk.
Why does my pop-up card not close flat?
Usually it is one of three things: the mechanism is too thick, the pop-up is placed too close to the outer edge, or the folds were not pre-creased. Trim the pop-up element smaller, move it closer to the center fold, and re-crease with the card closed.
Can kids make these mechanisms?
Yes. The step pop-up and accordion are especially kid-friendly with safety scissors and a glue stick. For younger kids, pre-cut the strips and let them do the folding and decorating.
What is the easiest mechanism for a first pop-up?
The step pop-up is the best first win. Two cuts, a couple folds, and you get that satisfying “whoa” moment when it pops forward.
A gentle challenge
Pick one mechanism and make three tiny practice cards from scrap paper. I know, three sounds like a lot, but repetition is where paper engineering starts to feel like play instead of pressure. By the third one, you will be inventing your own variations, and that is the sweet spot.
If you end up with a slightly crooked fold or a glue-smudged thumbprint, welcome to the club. Handmade is allowed to look handmade.