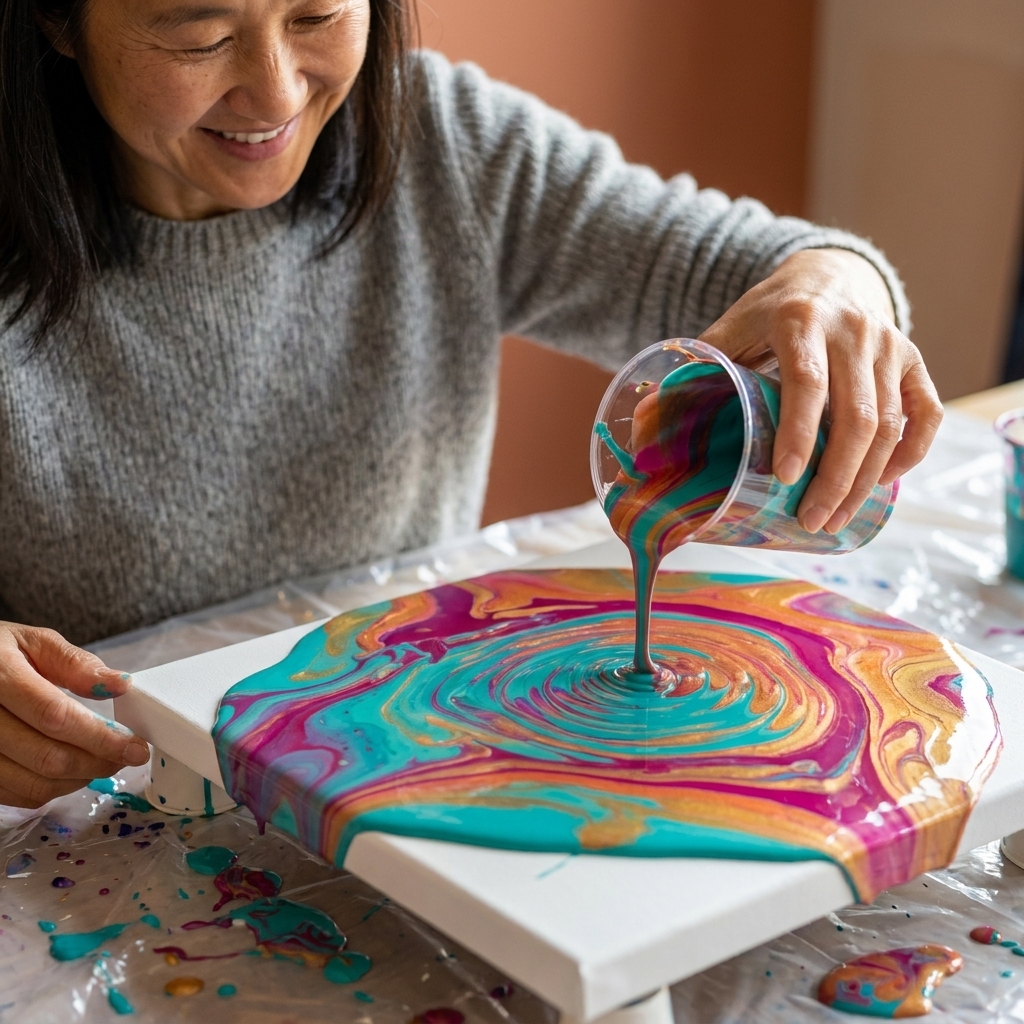
A beginner-friendly guide to acrylic pouring: how to mix paint and medium, plan colors, estimate paint amounts, and create beautiful dirty pours with trouble...
I have a very specific crafting heartbreak: reaching for a favorite brush and finding it stiff as a broom, flared like a dandelion, and crunchy with yesterday’s “I’ll clean it later” paint. The good news is that many brushes are absolutely salvageable, especially watercolor brushes, and acrylic brushes that are stiff but not completely fused into a solid plastic spike.
This tutorial uses common household items, keeps the process beginner-friendly, and focuses on saving bristles while protecting the ferrule (that metal part that holds everything together). Grab a mug, a little patience, and let’s bring those brushes back.
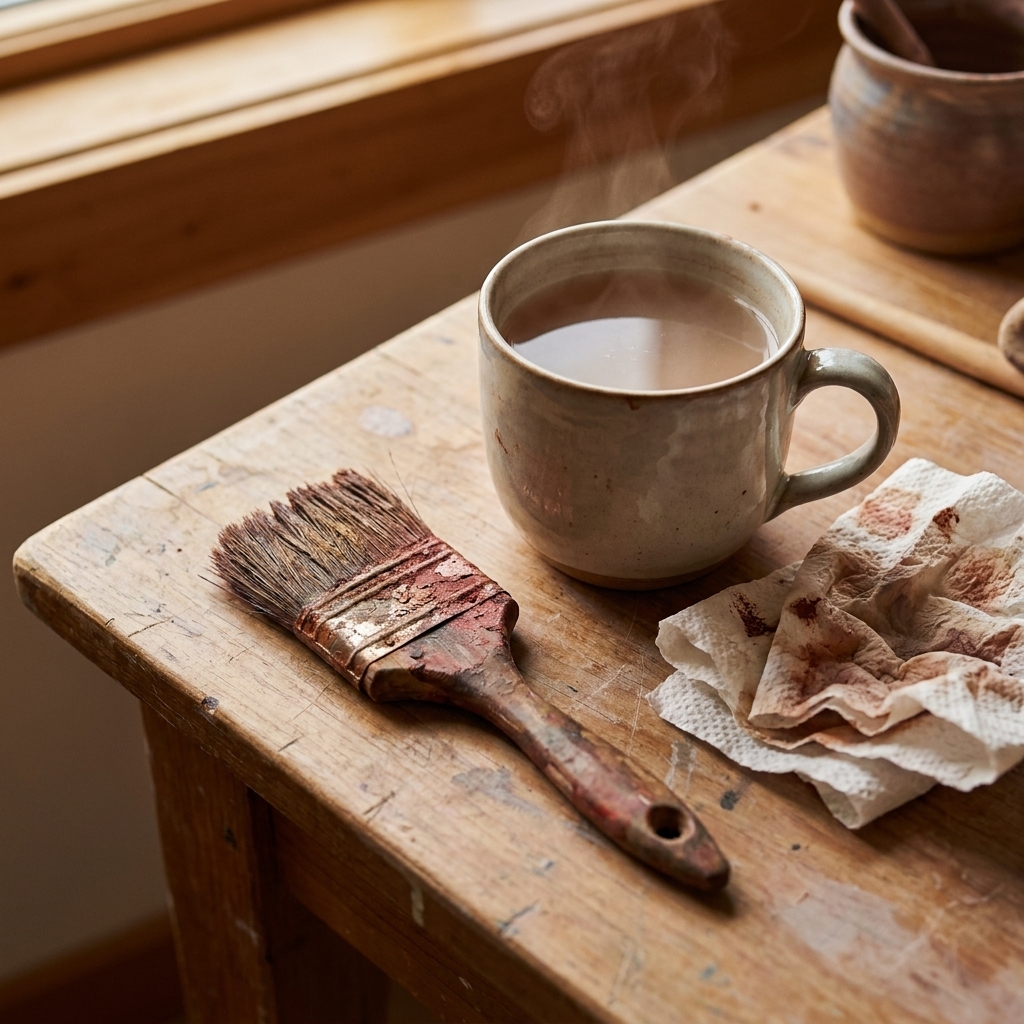
Before You Start: Quick Brush Check
Two minutes of inspection can save you from accidentally making things worse.
- Identify the paint type. Traditional watercolor and traditional gouache usually reactivate with water even when dry, which makes them the easiest to revive. However, some modern formulas (like acrylic gouache, “permanent” gouache, or watercolor with acrylic binders) can dry water-resistant. Acrylic paint cures into plastic, so success depends on how thick the buildup is and whether it seeped deep into the ferrule.
- Check the ferrule. If you see paint packed up inside the ferrule or the bristles are glued into a solid plug at the base, restoration is harder. Still try, just keep expectations realistic.
- Know when to retire a brush. If bristles are snapping off, the handle is splitting, or the ferrule is loose and wiggly, it might be time to repurpose it as a texture brush for glue, gesso, or drybrushing.
Important: Avoid boiling water and avoid soaking brushes bristle-down for long periods. Heat can warp synthetic bristles and loosen the glue inside the ferrule.
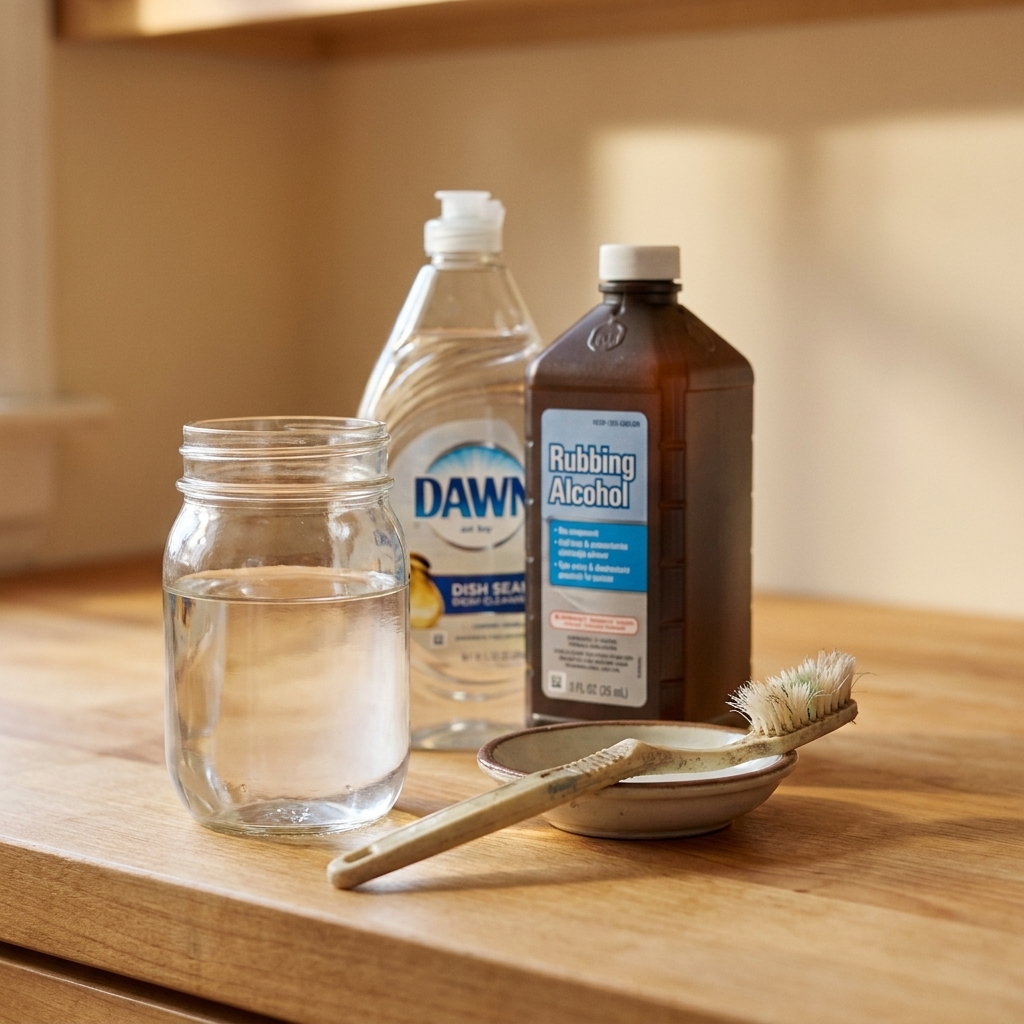
What You’ll Need
- Warm water (not hot)
- Mild dish soap
- White vinegar (for many dried paint situations)
- Rubbing alcohol (70% or higher, optional for acrylic)
- A cup or jar
- Paper towels or a clean rag
- An old toothbrush or a nail brush
- A fine-tooth comb or an old plastic comb (optional but helpful)
- Hair conditioner (for final softening, optional)
- Optional upgrade: artist brush soap/cleaner (brush cleaner and preserver)
Step 1: Soften the Top Layer
Start gentle. Even when a brush feels like a rock, the outer crust often softens first, and you want that to happen without yanking bristles out.
For watercolor or gouache brushes
- Swirl the brush in warm water for 30 to 60 seconds.
- Add a drop of dish soap and work it into the bristles with your fingers, pinching from the ferrule toward the tip.
- Rinse and repeat until the water runs mostly clear.
If your “gouache” or “watercolor” is water-resistant: If it barely budges with warm water and soap, it may be an acrylic-based formula. Treat it like acrylic in the steps below.
For acrylic brushes
- Rinse briefly in warm water.
- Add a small amount of dish soap and gently massage the bristles to soften any partially cured paint and loosen what you can.
Tip from my former art-teacher brain: Keep your motions moving away from the ferrule. Pushing gunk upward is how paint gets trapped where it causes the most damage.
Step 2: Vinegar Soak (With Realistic Expectations)
White vinegar is one of my favorite “why does this work so well?” household helpers for brush rescue. It can help loosen dried paint and soften crust without the harshness of stronger solvents.
But: for fully cured acrylic, vinegar is often limited. Think of it as a softening and loosening step, not a guaranteed reset button.
- Pour enough white vinegar into a cup to cover just the bristles.
- Soak for 10 to 20 minutes. For very stiff brushes, you can go up to 30 minutes.
- Every 5 minutes, remove the brush and gently flex the bristles with your fingers.
Do not submerge the whole brush for a long time. Keeping vinegar (or any liquid) up in the ferrule can loosen the glue that holds the bristles in place.
Step 3: Work the Paint Out
This is the “elbow grease” step, but gentle is the secret. The goal is to coax paint out, not rip bristles out.
- Rinse the brush in warm water.
- Add a drop of dish soap and create a lather in your palm.
- Pinch-and-pull: pinch the bristles near the ferrule and pull toward the tip, wiping paint onto a paper towel.
- For stubborn bits near the base, use an old toothbrush to lightly scrub the bristles from ferrule to tip.
- If you have a comb, comb from the middle of the bristles toward the tip. Stop if you feel snagging.
If you have artist brush soap: This is a great time to use it instead of (or after) dish soap. It is made for breaking down pigment while being kinder to bristles.
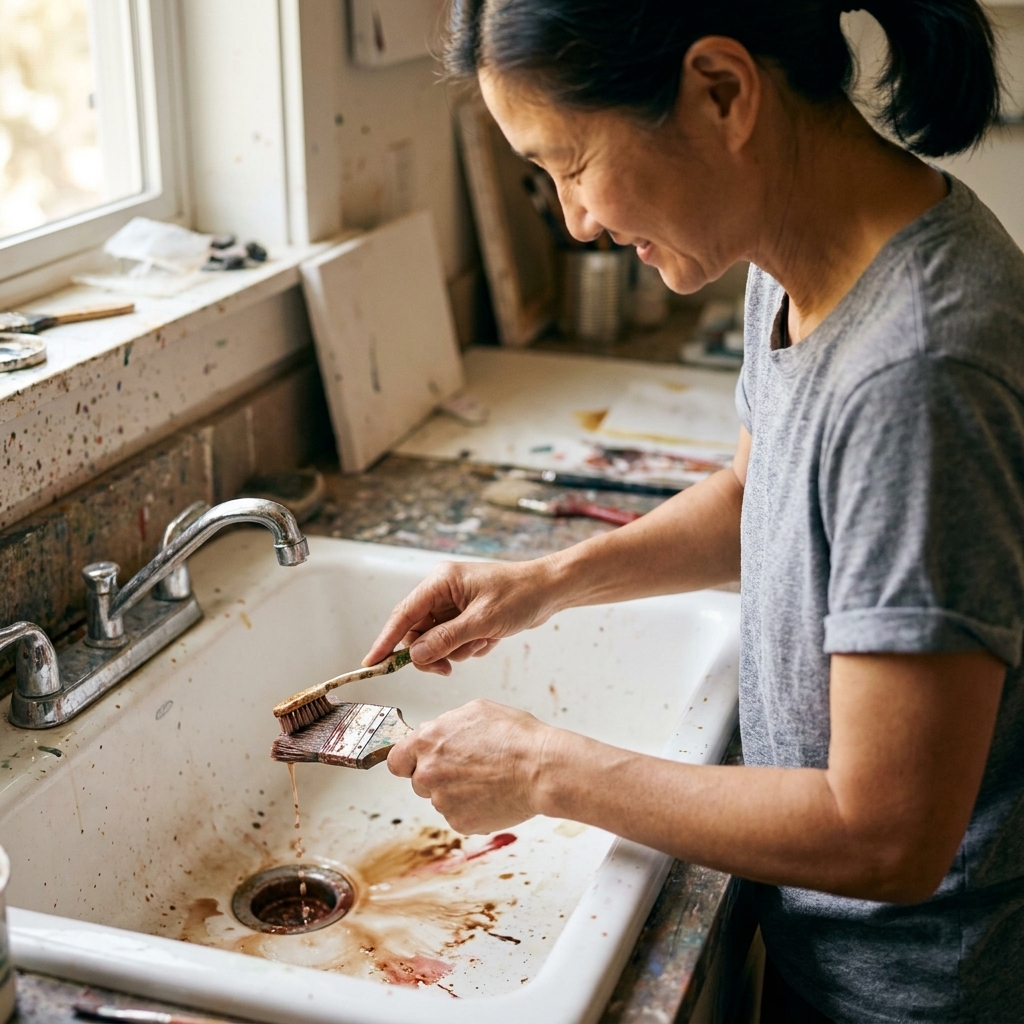
Step 4: Acrylic Still Crunchy? Try Alcohol
If vinegar and soap are not enough and you are dealing with acrylic, rubbing alcohol may help soften residue. Use it sparingly and briefly, and avoid it for natural hair brushes if you can, since solvents can dry them out.
- Pour a small amount of rubbing alcohol into a cup.
- Dip only the bristle tips and lower half of the bristles for 1 to 3 minutes.
- Remove and immediately work the bristles between your fingers, then rinse with warm water and dish soap.
- Repeat once if needed.
Safety note: Use alcohol in a ventilated area and keep it away from open flames. It is flammable and should not be heated. Also, never mix alcohol with bleach or other cleaners.
Reality check: Alcohol can soften some acrylic residue, but it will not reliably dissolve fully cured acrylic that has hardened deep inside the ferrule. Your brush can still be usable even if it never returns to “brand new,” especially for basecoats, backgrounds, and texture.
Also avoid: acetone and other strong solvents unless you truly know what your brush can handle. They can damage finishes, weaken some plastics, and are especially rough on natural hair.
Step 5: Condition and Dry
This step is what makes your brush feel like a brush again. Reshaping while damp helps bristles “remember” where they belong.
- After the final rinse, gently squeeze out water with a paper towel.
- Optional: work a tiny amount of hair conditioner into the bristles, then rinse lightly. This is especially helpful for natural hair watercolor brushes.
- Reshape the tip with your fingers: rounds into a point, flats into a crisp edge.
- Lay the brush flat to dry with the bristles hanging slightly off the edge of a table, or dry it horizontally on a towel.
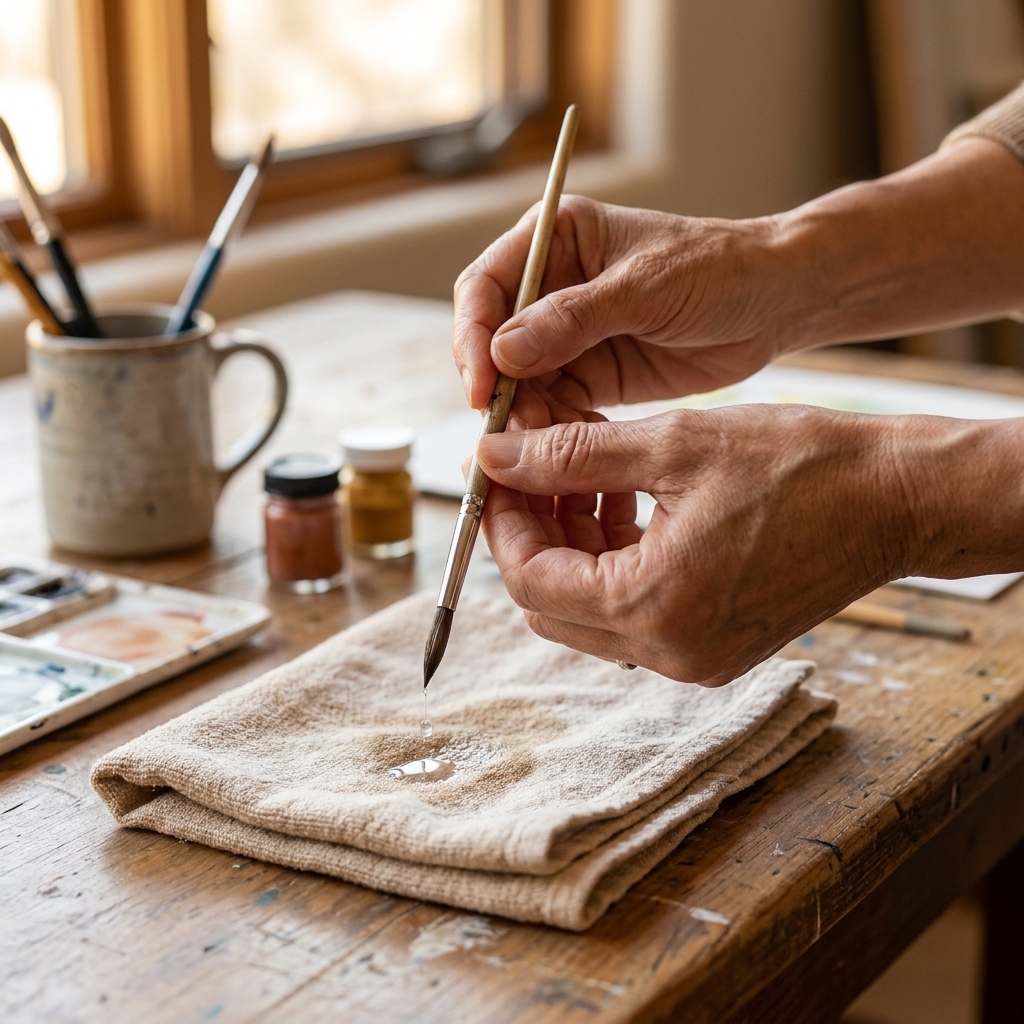
Fix Common Problems
My brush is frayed and won’t point
Try conditioning, reshaping, and letting it dry fully while snug in its original plastic sleeve if you still have it. If not, you can lightly wrap the bristles with a small strip of paper and tape the paper (not the bristles) to hold a point while it dries. If it still flares, convert it into a dedicated texture brush and celebrate the save.
There’s paint stuck at the ferrule
This usually means paint crept up during painting and dried where you cannot easily reach. Soak shorter (so liquid does not wick up), then use the toothbrush to flick downward from ferrule to tip. Repeat in small rounds instead of one long soak.
The brush smells like vinegar or alcohol
Wash once more with dish soap and warm water, rinse well, and let it air dry completely. Odor almost always fades after a full dry.
The bristles feel greasy after conditioning
Too much conditioner. Wash with a drop of dish soap, rinse thoroughly, reshape, and dry flat.
Prevent Brush Disasters
I say this as someone who has absolutely abandoned a rinse cup to go answer the door and returned to a brush fossil: prevention is kinder to your brushes and your budget.
- Rinse often while painting. Do not let paint creep into the ferrule.
- Use two water cups for watercolor. One for the first rinse, one for clean water. Your brushes stay cleaner and your colors stay brighter.
- For acrylic, wipe first, then rinse. Wipe excess paint on a rag or paper towel before water. Less paint goes down the drain and less ends up packed in the bristles.
- Let solids settle. If you rinse acrylic in a cup, let the paint sludge settle, pour off the clearer water, and dispose of the solids in the trash once they dry. Your plumbing will thank you.
- Clean with soap at the end of every session. A 60-second wash beats a 60-minute rescue mission.
- Dry flat, store bristles up. Once fully dry, store upright or in a roll so the tips do not get bent.
FAQ
Can I use hot water to soften dried paint?
Warm water is safer. Hot water can warp synthetic bristles and loosen the glue in the ferrule, which leads to shedding and wobbly bristles.
Will vinegar remove fully dried acrylic paint?
Sometimes it helps with thin or partially cured layers, and it can loosen crust at the edges. Fully cured acrylic can be permanent, especially if it hardened deep inside the ferrule. Even then, vinegar often improves flexibility enough to keep using the brush for less detailed work.
Is rubbing alcohol safe for all brushes?
It is generally safer for synthetic brushes than for natural hair. Keep the soak short, avoid saturating the ferrule, and always follow with a soap wash and a thorough rinse.
What if my brush is truly unsalvageable?
Give it a second life. “Ruined” brushes are perfect for stippling, applying glue, spreading gesso, drybrushing texture, or making splatter effects. I keep a jar labeled “messy heroes” just for that.
A Tiny Pep Talk
If you feel guilty about the brush you forgot in the cup, consider this your friendly permission slip to move on. We craft to feel better, not to win a cleanliness contest. Rescue what you can, repurpose what you cannot, and keep making beautiful, slightly messy things.