A beginner-friendly resin supply checklist, from the right epoxy and molds to mixing tools, resin-safe colorants, safety gear, and simple finishing basics.
There is something quietly magical about having a “home” for your everyday bits and bobs. Rings you take off to wash dishes. Earrings you swear you will put back in the jewelry box later. That one key you are always setting down in a different spot. A polymer clay trinket dish solves the problem and gives you a tiny canvas to play with color, pattern, and texture.
I used to tell my art students that clay is basically “forgiving dough with a memory.” It will hold every fingerprint (rude), but it also lets you fix most mistakes before baking (kind). In this guide, I will walk you through reliable shaping methods, calm baking, and my favorite ways to paint and seal so your dish looks dreamy and holds up to real life.
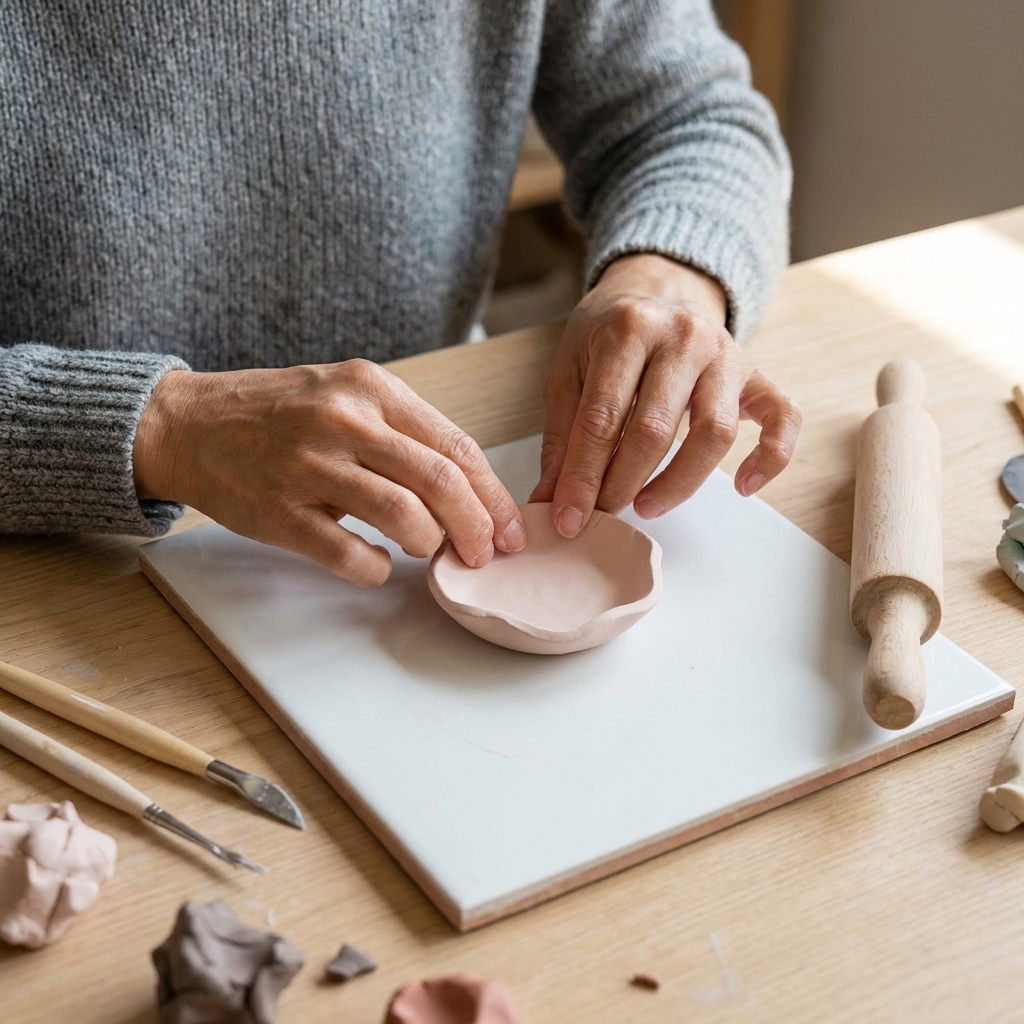
Quick note: what polymer clay is
Polymer clay is a PVC-based modeling clay that stays workable until you bake it. Once cured, it becomes fairly durable for small items when properly baked, especially with stronger lines like Premo and Cernit. Thin rims can still snap, so build for the job your dish will do.
- Pros: tons of colors, no air-drying cracks, easy to sand and buff, takes paint well
- Cons: attracts lint like a magnet, can scorch if overheated, thin edges can be fragile if underbaked
If you are making a dish that will catch tossed keys, plan for a slightly thicker base and a good cure. Polymer clay gets stronger when it is baked thoroughly at the correct temperature for your brand.
Supplies you will use
You do not need a craft store haul to make a beautiful dish. Here is my practical list, plus budget swaps.
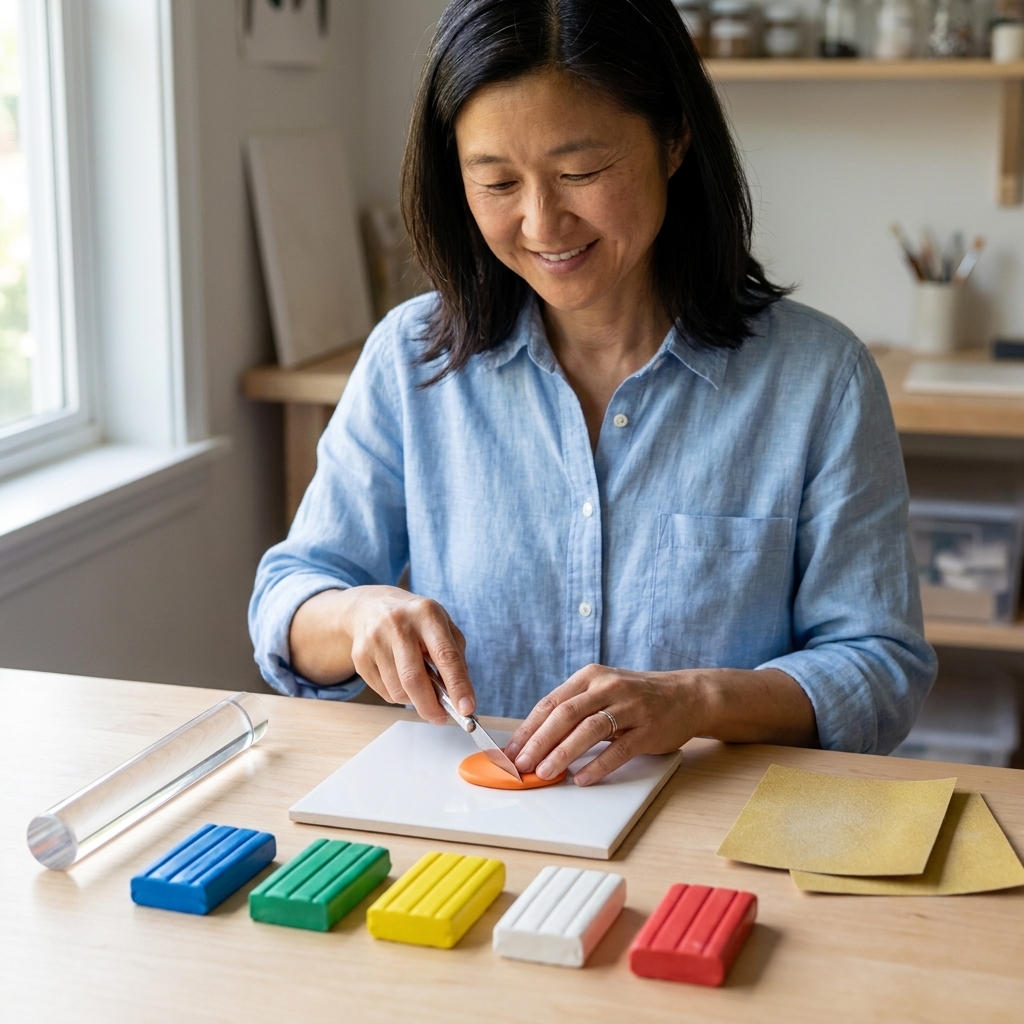
Clay and basic tools
- Polymer clay: Sculpey Premo, Fimo, or Cernit are reliable for strength and detail. If you use Sculpey III, keep shapes a bit thicker since it is softer and can be more brittle when thin.
- Work surface: a ceramic tile, piece of glass, or smooth metal baking sheet
- Roller: acrylic clay roller, brayer, or a smooth glass jar
- Blade: tissue blade or craft knife
- Sandpaper: wet/dry grits (400, 600, 800, 1000, 1500, 2000)
- Oven thermometer: this is the difference between “perfect cure” and “mystery scorching”
Molds and shaping helpers (choose what you have)
- Oven-safe bowl (ceramic, glass, or metal) to drape clay over
- Silicone cupcake liner (great for small, deep dishes)
- Wooden bowl (use as a form without baking it, only if your method does not require the form in the oven)
Decorating supplies
- Acrylic paint (craft paint is fine)
- Alcohol ink (optional for inky, marbled looks)
- Gold leaf or foil (optional, for gilded edges)
- Sealant: a water-based polyurethane like Varathane (my go-to), or a polymer-clay-friendly glaze
- Paintbrushes and a soft makeup brush for dusting
No-waste tip: keep a “scrap jar” of clay trimmings by color family. You can turn scraps into terrazzo, confetti, or marbled canes later.
Before you start
Condition your clay (do not skip)
Conditioning warms and blends the plasticizers so the clay cures evenly. Unconditioned clay can crack, crumble, or bake with weak spots.
- Knead by hand until it is flexible and smooth, or
- Run it through a pasta machine, folding and feeding it through repeatedly
If your clay is very firm, warm it in your hands or sit the sealed package under your thigh for a few minutes. Low tech, very effective.
Fight lint like a pro
- Wash hands and wipe your work surface first.
- Wear a solid-color apron or smooth cotton. Fuzzy sweaters are basically glitter for lint.
- Use a soft brush or a piece of tape to lift specks before baking.
- For white or light clay, keep a dedicated “clean” tile and roller.
Three shaping methods
All of these work. Pick the one that matches the look you want and the tools you have.
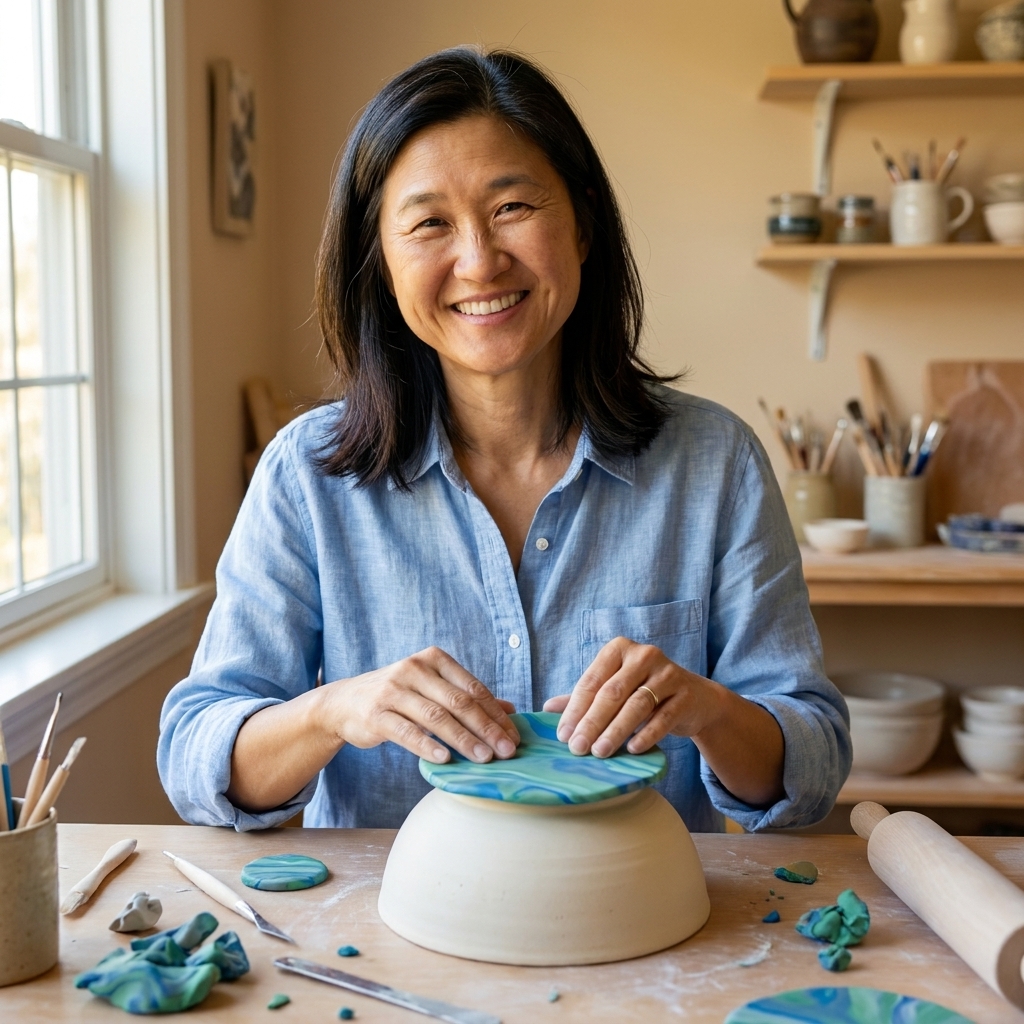
1) Drape over a bowl
This gives you that modern shallow bowl shape that feels like it belongs on a nightstand.
- Roll clay to an even thickness: 3 mm for light jewelry, 4 to 5 mm if keys will live here.
- Cut a circle or organic blob shape.
- Dust the outside of an oven-safe bowl lightly with cornstarch if sticking is a concern.
- Drape the clay over the upside-down bowl.
- Gently smooth and adjust the rim. If you want a wavy edge, pinch and nudge now.
Tip: If you get pleats, lift and reposition instead of stretching. Stretching makes thin weak spots along the rim.
Support note: If your dish wants to slump, you can nestle it on a little “pillow” of polyester fiberfill or a shallow bed of cornstarch on a baking surface. It helps support curves without leaving harsh marks.
2) Press into a mold
If you want a sturdier catchall, pressing clay into a mold makes a strong base and smooth curve.
- Choose a silicone cupcake liner, small ramekin, or ceramic bowl.
- Press clay in from the center outward to avoid trapped air.
- Keep thickness consistent, especially on the bottom.
- Trim the rim with a blade for a crisp edge.
Tip: For crisp, clean rims, chill the shaped clay for 10 minutes before trimming. It firms up and cuts like butter instead of chewing up the edge.
3) Slab plus wall strips
This is my favorite for geometric dishes: hexagons, squares, arches, little cloud trays. You make a flat base, then add walls like a tiny pie crust.
- Cut your base shape from an even slab.
- Cut long strips for the walls, about the same thickness as the base.
- Score and press walls onto the base edges (lightly scratch both surfaces first).
- Blend the seam inside with a fingertip or silicone tool for strength.
Strength note: Score-and-press matters. Polymer clay bonds best when the surfaces have a little texture and are pressed firmly together.
Shapes that work
Pretty is wonderful, but trinket dishes should also be useful. Here are shapes that balance both.
Easy shapes
- Classic circle: easiest to smooth and paint
- Organic blob: hides tiny imperfections and looks artsy
- Oval: perfect for a watch plus rings
Design-forward shapes
- Hexagon: modern, crisp lines
- Scalloped rim: sweet, vintage feel
- Arch tray: cute for minimalist decor
- Heart dish: surprisingly chic in neutral colors
Functional add-ons
- Ring cone: add a small cone in the center for stacking rings
- Key notch: cut a tiny dip in one side so a keychain can hang slightly out
- Textured base: a subtle texture helps prevent jewelry from sliding
Baking without scorching
Baking is where most heartbreak happens, so let us make it boring in the best way.
Temperature and timing
Always follow the temperature on your clay package. It varies by brand and line, and it may be listed in Fahrenheit or Celsius. Use an oven thermometer. Many ovens run hot or cycle wildly.
- General guideline: many brands use something like 30 minutes per 1/4 inch (6 mm) thickness, but your package directions are the final word.
- My rule for dishes: I would rather bake a little longer at the correct temperature than underbake. Underbaked clay is the most brittle.
Set up a safe bake
- Bake on a ceramic tile or parchment on a baking sheet.
- To prevent shiny spots, place a sheet of plain copy paper or cardstock over the piece like a little tent. Keep it away from the heating element.
- If your dish is draped over a bowl, make sure the bowl is truly oven-safe (ceramic and glass usually are, plastic is not).
Cooling
Let the dish cool completely before removing it from a mold or form. Warm polymer clay is slightly flexible and you can accidentally warp your perfect curve.
Refine the edges
This is the unglamorous step that makes your dish look ridiculously polished.
When to sand
Sand after baking and cooling. If you try to sand unbaked clay, you will just smear it.
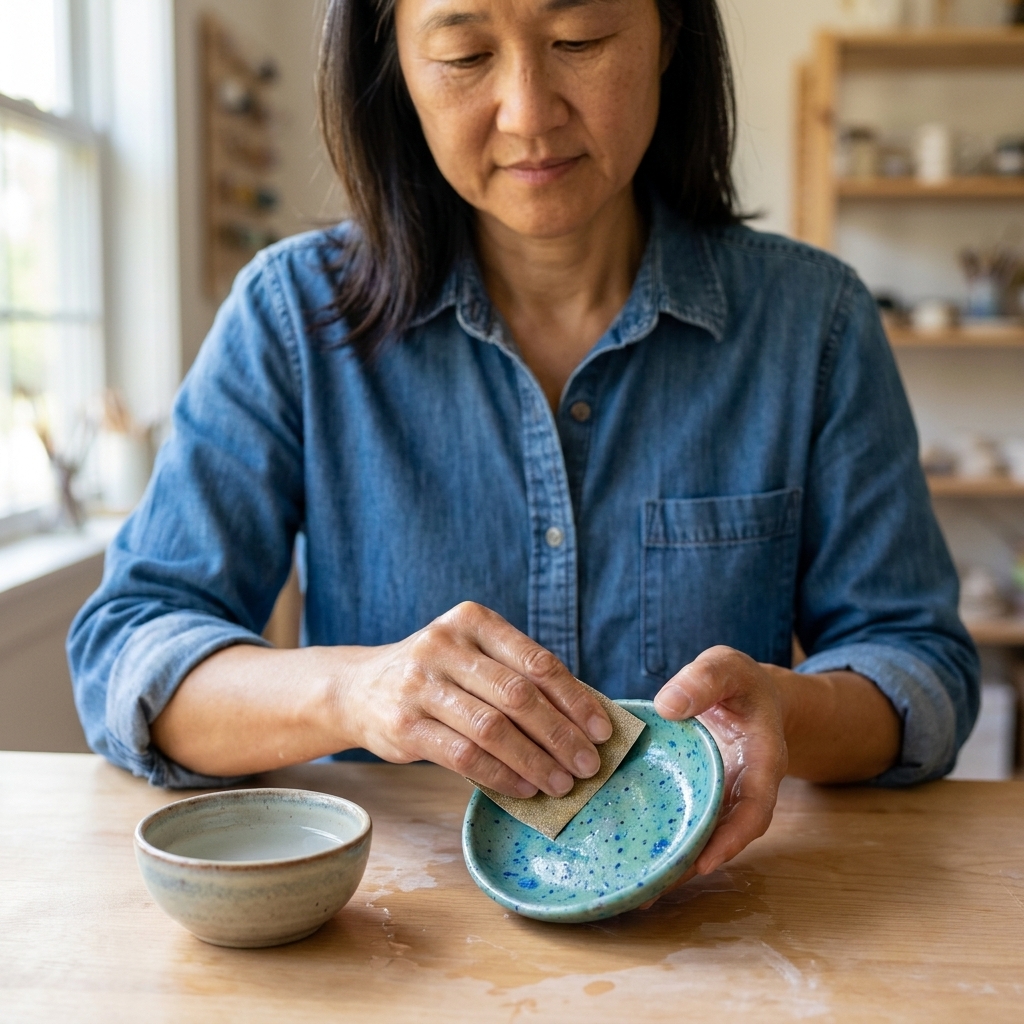
How to wet-sand
- Start with 400 or 600 grit for rough spots or fingerprints.
- Move up through 800, 1000, 1500, and 2000 for a silky finish.
- Dip sandpaper in water and sand gently in small circles.
- Rinse the piece and wipe frequently so you can see your progress.
Tip: If you only want to soften a rim, sand just the edge with 600, then 1000. You do not have to sand the whole dish unless you want a glassy finish.
Decorating that looks fancy
Marble
Marble is forgiving and gorgeous. Twist two to three colors together lightly, then roll into a slab. Stop before colors fully blend. Cut your dish shape from the slab.
- For modern marble: white, gray, a tiny pinch of black
- For warm marble: cream, tan, a whisper of brown
- For bold marble: navy and white with a dot of gold leaf after baking
Terrazzo
Terrazzo is the best use of leftovers. Chop raw scraps of polymer clay into little “chips,” then press them into a base slab. Roll lightly so chips sit flush. Because everything is raw, it bonds beautifully when baked.
If you want to use baked chips (it can be cute), embed them deeper and plan to seal well. Otherwise they can pop out over time if they are only sitting on the surface.
Impressed texture
Press lace, a textured rubber stamp, a clean leaf, or even the edge of a metal ruler into the surface before baking. Keep texture subtle for trinket dishes so jewelry still slides on and off comfortably.
Foil and gold leaf accents
Add foil flakes after baking with a thin layer of sealant, then seal again on top. For gold edges, gently brush metallic paint along the rim after sanding.
Painting and sealing
You can absolutely paint polymer clay, and it is a great option if you want patterns without mixing a dozen clay colors.
Prep
- Sand first if the surface is bumpy or you have fingerprints.
- Wipe with a damp cloth and let dry.
- If you used cornstarch, wash gently with mild soap and water, then dry fully.
Paint that works
- Acrylic craft paint: best all-around
- Acrylic paint pens: great for line art, dots, and checkerboards
- Metallic acrylics: lovely for rims and tiny details
Avoid thick oil paints for this kind of project, since cure times can be long and they can stay tacky under some sealers.
Smooth coverage
- Use thin coats. Two to four thin coats beat one thick coat every time.
- Let coats dry fully before adding another.
- Use a soft flat brush and paint in one direction for the final coat.
Crisp patterns (without rage)
- Painter’s tape: burnish the edge with a fingernail to prevent bleed, then remove tape while paint is still slightly wet.
- Stencils: use a nearly dry sponge brush and dab lightly.
- Dot tools: a bobby pin, toothpick, or the end of a paintbrush handle makes cute polka dots.
Sealing
For trinket dishes, I want a seal that dries hard, resists scratches, and does not stay tacky months later.
- My favorite: water-based polyurethane (gloss or satin). Apply 2 to 3 thin coats with dry time between.
- Polymer clay glaze: can work well, but softness and scuff resistance vary by brand. Test if you are making a heavy-use catchall.
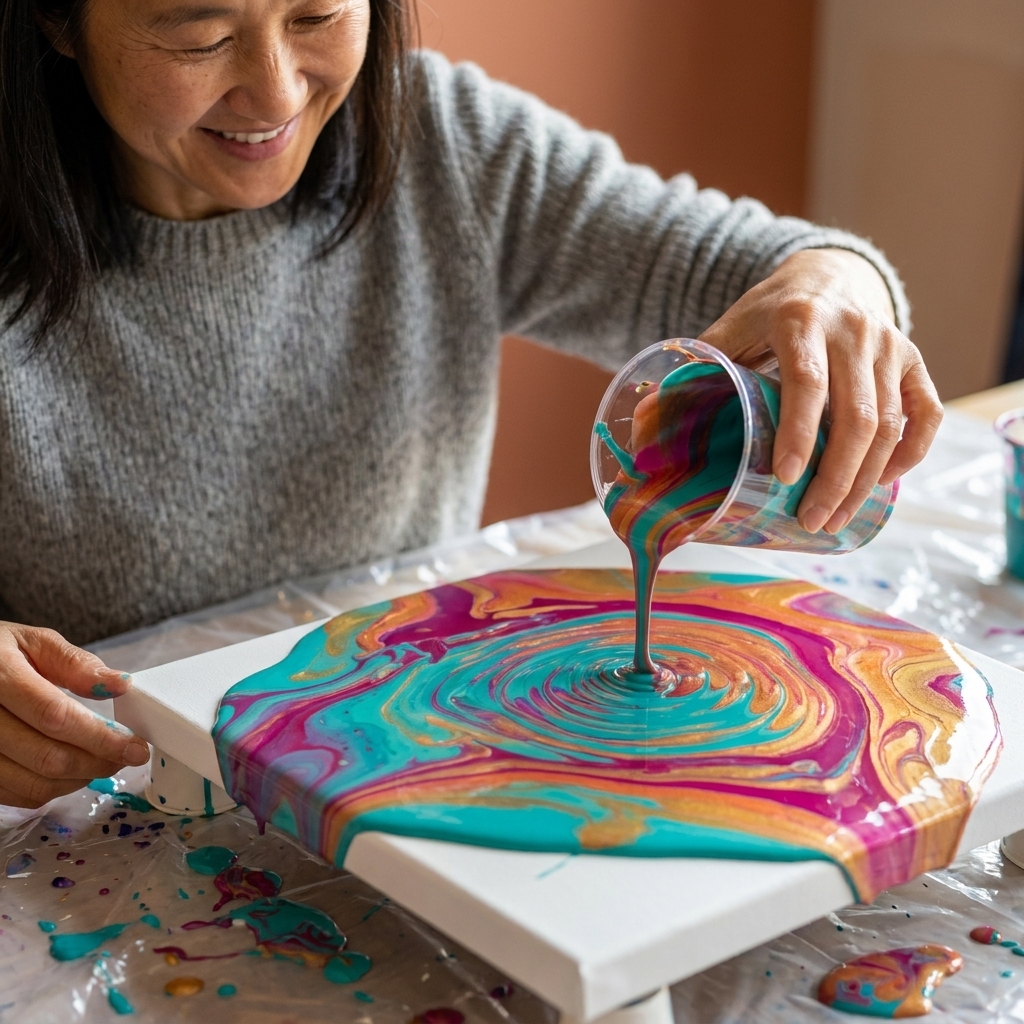
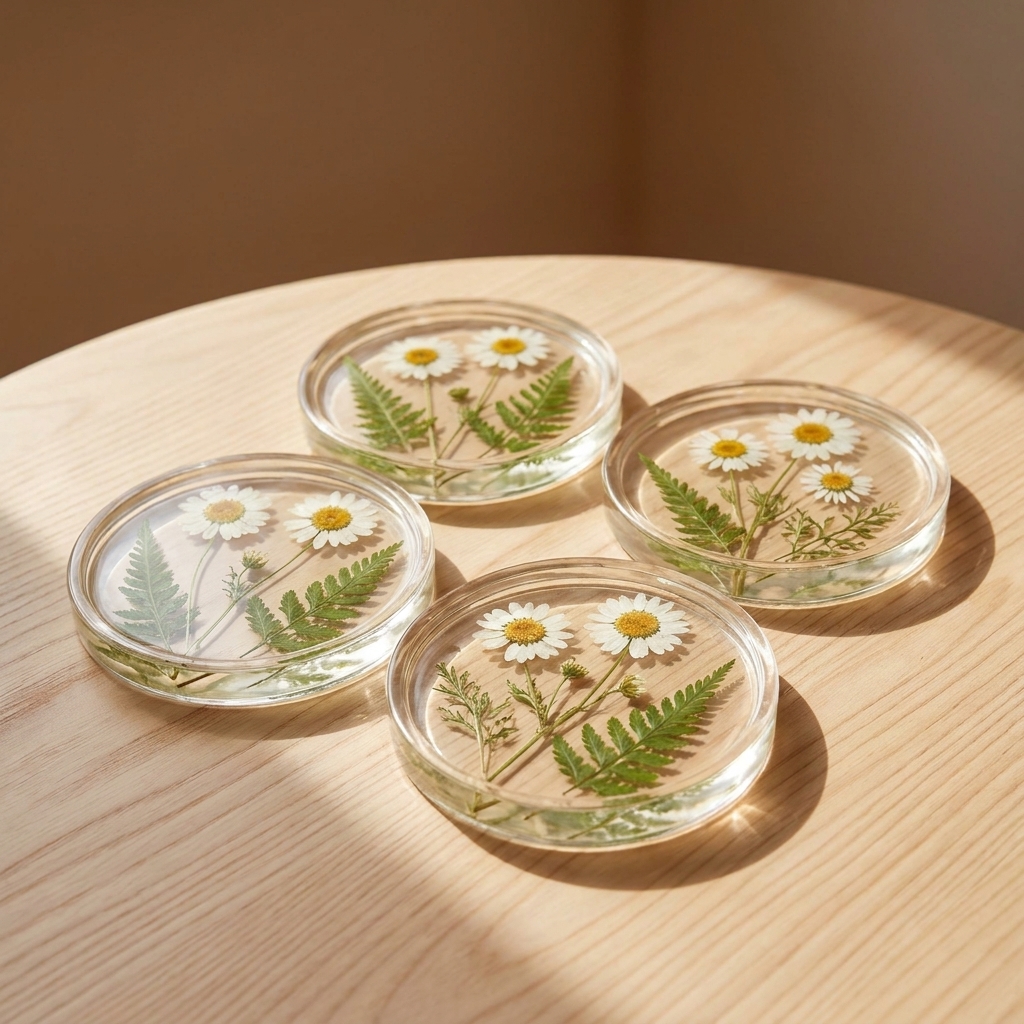
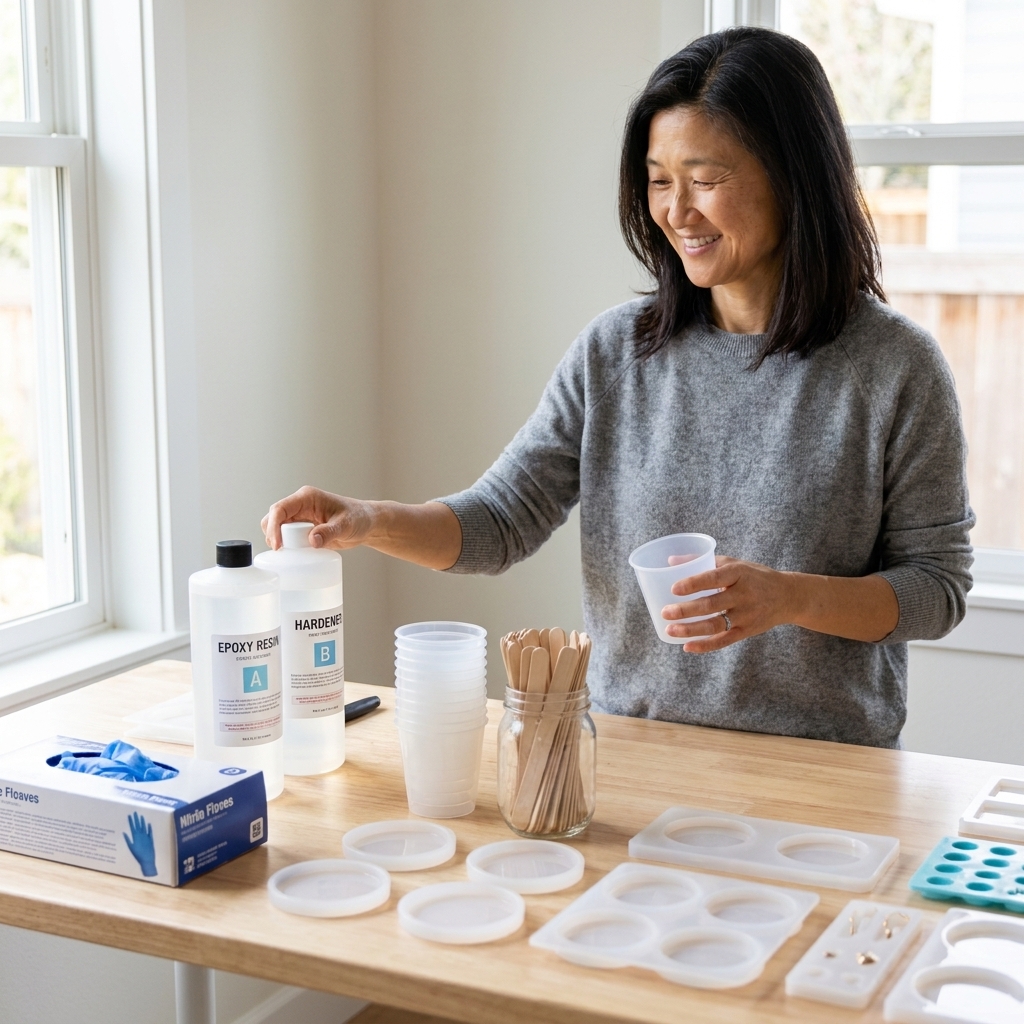
- Resin: gives a glassy finish, but it is a whole separate hobby. Only use it if you already like resin work.
Important: Some clear nail polishes and some spray sealants can react with polymer clay or stay tacky depending on the formula. Sprays can be especially unpredictable because of solvents and propellants. If you want to try a new sealer, test it on a baked scrap first and give it a full week to prove it is truly dry.

Fixes for common problems
My dish warped after baking
- It may have been moved while warm. Let pieces cool fully on the baking surface.
- If it is slightly warped, you can sometimes re-bake: warm the piece in the oven, then gently press it into the correct shape using an oven-safe form. Re-bake at the proper temperature for your clay.
Brown spots or scorching
- Oven temp is too hot or spiking. Use an oven thermometer.
- Tent your piece with paper to reduce direct heat.
- Consider baking on a tile, which helps stabilize temperature.
Cracks near the rim
- Clay may have been too thin or under-conditioned.
- Increase thickness at the rim next time, and condition thoroughly.
- For small cracks, you can fill with a tiny bit of raw clay or liquid polymer clay and re-bake.
Paint scratches off
- Seal it. Acrylic paint needs a protective topcoat for daily use items.
- Make sure paint is fully dry before sealing.
Three easy ideas
1) Minimal speckle dish
Use a light base color. Flick watered-down black acrylic paint with a stiff brush for fine speckles. Seal with satin polyurethane.
2) Wavy rim sunset bowl
Blend two to three clay colors into a gradient slab. Cut a circle, drape over a bowl, then pinch the rim into soft waves. Keep it unpainted and buff after sanding for a glowy finish.
3) Checkerboard tray
Make a flat slab dish. Paint a checker pattern with tape, or build it with clay squares if you love a puzzle. Add a thin gold rim for extra drama.
Care and cleaning
- Wipe with a damp cloth for everyday dust.
- For deeper cleaning, use mild soap and water, then dry right away.
- Avoid soaking for long periods, especially if you used a water-based sealer.
- Do not put polymer clay in the dishwasher or microwave.
Safety notes
- These dishes are for jewelry, keys, and little life things, not for food. Polymer clay is not considered food-safe, and sealers definitely are not.
- Use dedicated craft tools, trays, and a dedicated toaster oven if you have one. If you bake in a kitchen oven, keep clay on its own baking surface and follow your clay brand’s safety guidance.
- Bake in a well-ventilated area and avoid overheating, which can create unpleasant fumes.
FAQ
Can polymer clay trinket dishes hold keys?
Yes, if you build them with a thicker base (4 to 5 mm) and bake thoroughly according to your package instructions. Sealers help with scuffs, but thickness and proper curing do the heavy lifting.
Do I need to seal polymer clay?
Unpainted polymer clay does not strictly need sealing, but a topcoat can add sheen and help resist scratches. If you paint the dish, sealing is strongly recommended.
What is the best way to get a glossy finish?
Sand up to 2000 grit, then apply a gloss water-based polyurethane in thin coats. You can also buff unpainted clay after sanding for a natural sheen, then add gloss sealer if you want it extra shiny.
Can I bake polymer clay on a regular baking sheet?
Yes, but I prefer a ceramic tile on top of the sheet for more even heat. Always use dedicated craft tools and surfaces, and follow the clay brand’s safety guidance.
A little encouragement
Your first dish does not have to be flawless to be wonderful. If you can roll dough and pinch a pie crust, you can make a polymer clay trinket dish. And if it turns out slightly wonky, congratulations. You made something with your hands that will catch your rings at the end of a long day. That is the whole point.