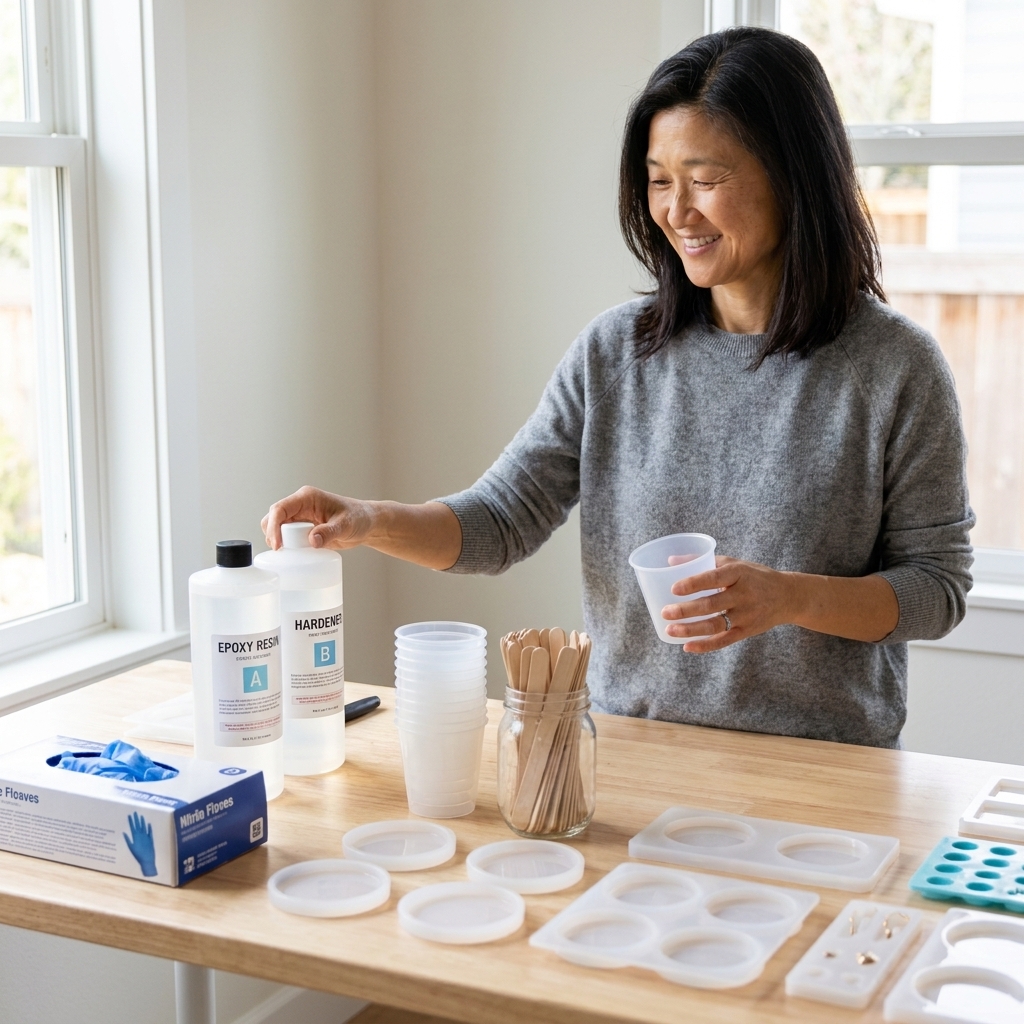
A beginner-friendly resin supply checklist, from the right epoxy and molds to mixing tools, resin-safe colorants, safety gear, and simple finishing basics.
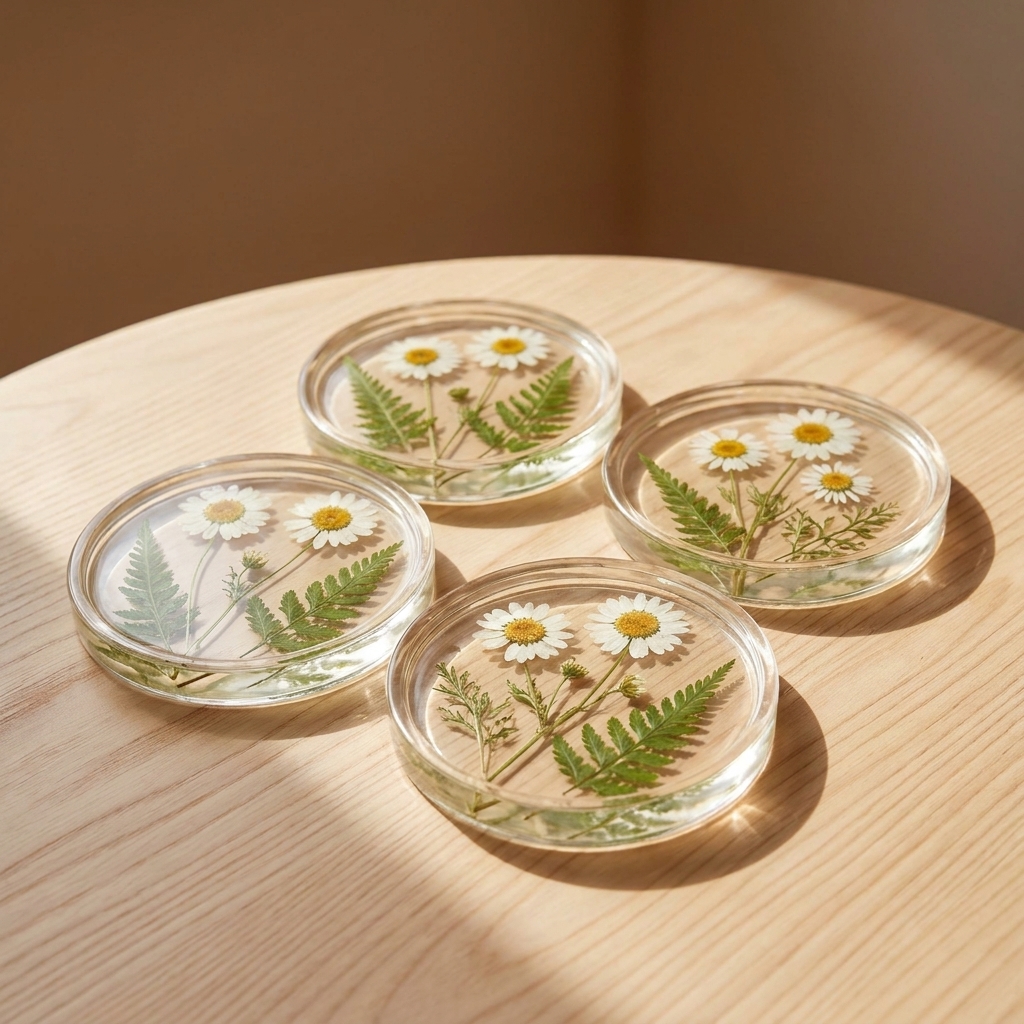
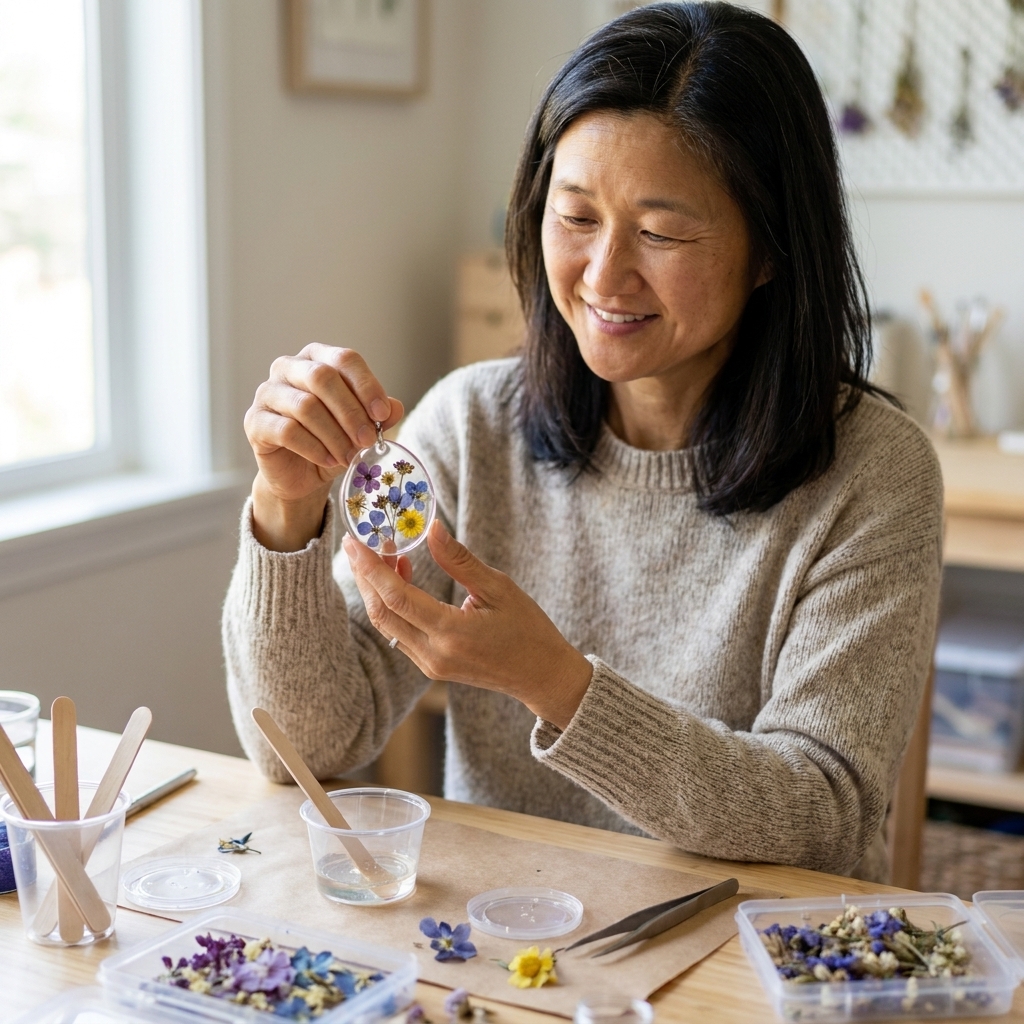
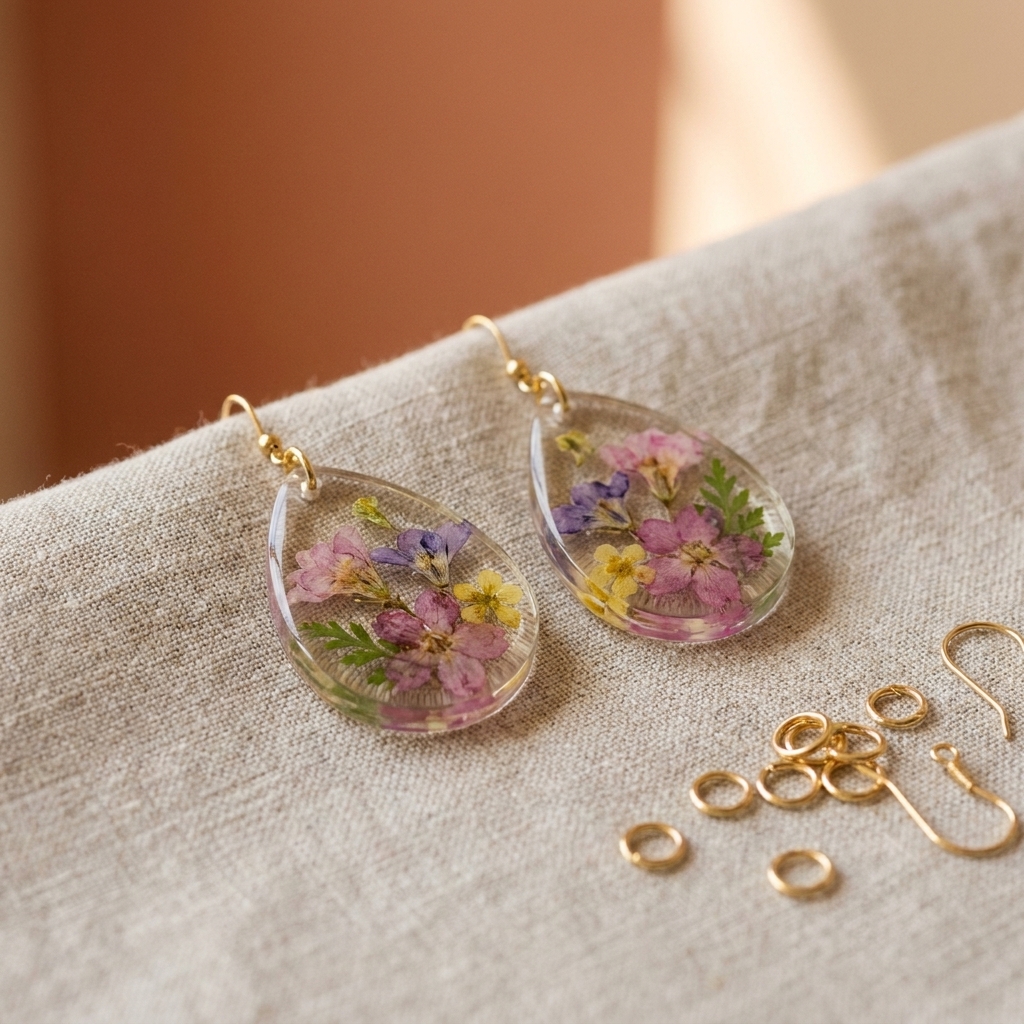
Pressed flower resin jewelry is one of those crafts that looks impossibly fancy, but the process is actually very learnable once you know a few “resin rules.” My biggest goal for you: clear pieces, flowers that stay put, and zero panic when you see a tiny bubble trying to ruin your day.
This tutorial walks you through the exact supplies I recommend, the mixing ratios you actually need to follow, and beginner-safe pouring techniques for pendants and earrings. We will also cover how to seal delicate flowers, how to avoid the dreaded “floating petals,” and what to do if your resin comes out tacky.
Before you start: safety and setup
I know, I know, safety talk is not the sparkly part. But resin is chemistry, and good habits make it a fun hobby instead of a headache.
Ventilation and protection
- Work in a well-ventilated space near an open window with a fan pulling air away from you.
- Wear nitrile gloves. Latex is more likely to degrade or allow resin through, so nitrile is the go-to choice.
- Avoid skin contact. Epoxy can sensitize you over time, and once that happens, even tiny exposures can trigger a reaction. If you get resin on your skin, wipe it off right away and wash with soap and water.
- Protect your eyes with safety glasses, especially when trimming, drilling, or sanding cured pieces.
- Protect your lungs based on what you are doing:
- For frequent resin work or less-than-ideal ventilation, follow your resin brand guidance. Many crafters use a respirator with organic vapor cartridges.
- For sanding, drilling, or polishing cured resin, wear a P100 (or equivalent) particulate filter or mask. Resin dust is not something you want in your lungs.
- Keep resin away from food, drinks, and pets. Set up a dedicated craft zone and cover your curing pieces so nothing curious can investigate.
- Protect surfaces with a silicone mat, freezer paper (shiny side up), or plastic sheeting.
Temperature and humidity
Resin behaves best around 70 to 75°F (21 to 24°C), but always check your brand’s label. Cold rooms make resin thicker (more bubbles, slower curing). High humidity can cause cloudiness, surface issues (like amine blush), or a tacky surface with some formulas. If your resin is being dramatic, your weather might be the culprit.
Supplies checklist
You can absolutely start small. If you buy just a few correct basics, you will get better results than a huge pile of random tools.
Resin and measuring
- Two-part epoxy resin labeled for jewelry or casting
- Mixing ratio tools: graduated mixing cups or a digital scale (choose based on your resin’s directions)
- Silicone mixing cups (reusable) or disposable plastic cups
- Stir sticks (wooden or silicone)
Molds and findings
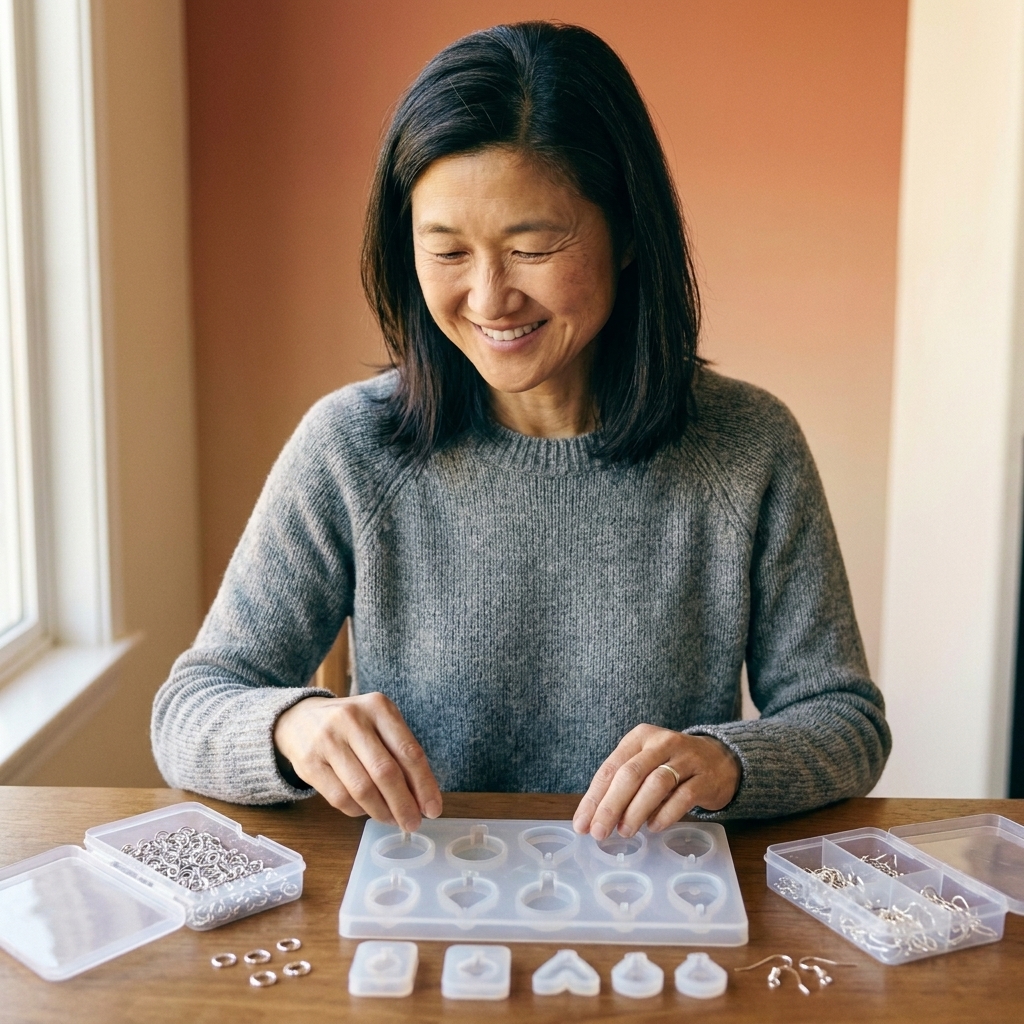
- Silicone molds: pendants, earring shapes, or small open bezels
- Jump rings (usually 6 to 8 mm)
- Earring hooks or stud posts (stainless steel is a great sensitive-skin choice)
- Jewelry pliers (chain nose and round nose are ideal)
Flowers and placement tools
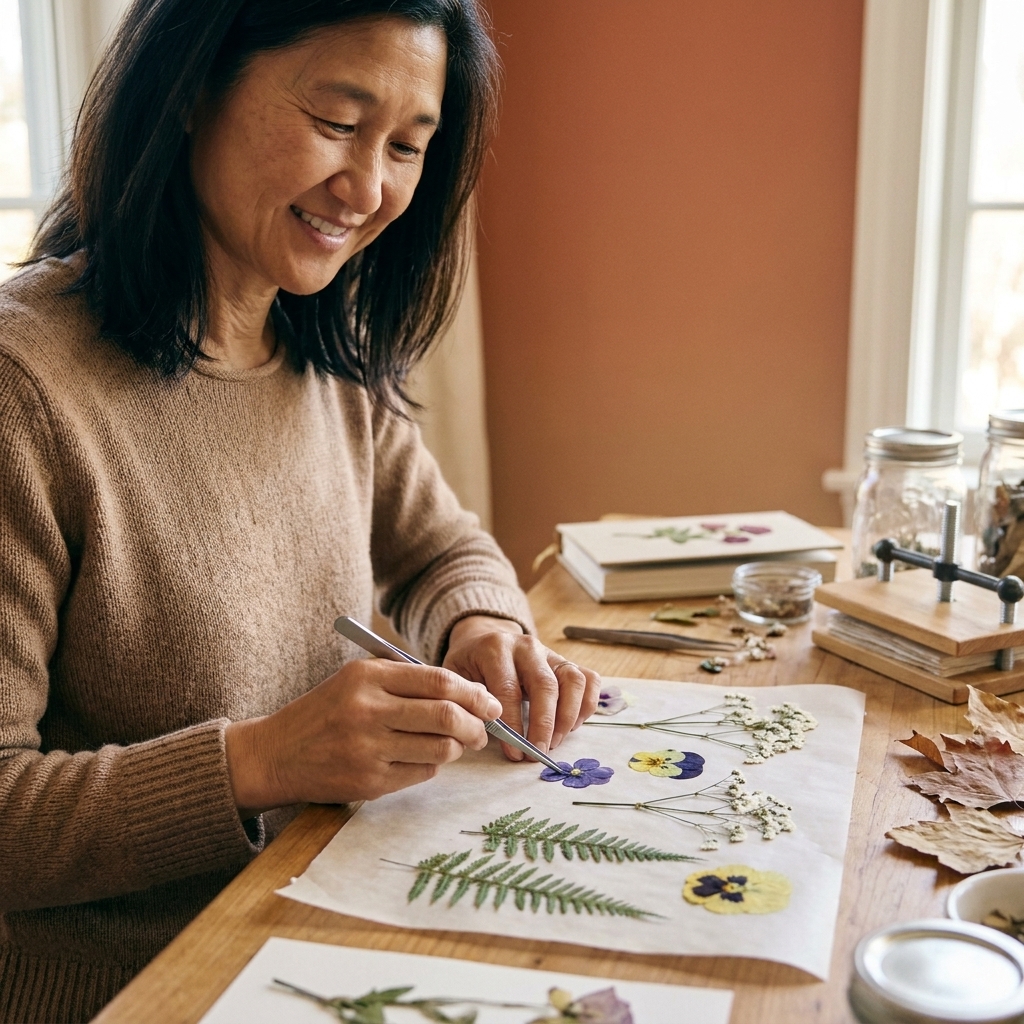
- Pressed, fully dried flowers and leaves
- Tweezers (pointed craft tweezers help so much)
- Toothpicks for nudging petals
Bubble control and finishing
- Heat tool: a small butane torch or a heat gun (a lighter works in a pinch, but it is easier to scorch resin)
- Isopropyl alcohol in a fine mister bottle (optional). Use a very light mist and test with your resin first. Do not soak the surface.
- Sandpaper in grits 400, 800, 1200, 2000 (wet/dry is best)
- Polishing compound or a resin topcoat (optional)
Choosing resin
This is where beginners get tripped up. Not all epoxy resin is meant to be poured thick.
- Casting resin is designed for thicker pours and tends to release bubbles more easily. It usually cures slower, which gives bubbles time to rise.
- Coating resin is made for thin layers on surfaces like tabletops and art panels. It can overheat or cure strangely if poured thick in a mold.
For jewelry molds, look for a resin that specifically says casting or mold use, and check the label for a maximum pour depth. When in doubt, do your pieces in layers. Layers are your secret weapon.
UV resin can be great for quick, thin projects (more on that in the FAQ). For beginners doing molded pendants and earrings, two-part casting epoxy is usually the easiest path to consistent results.
Pressed flower prep
Flowers must be fully dry before they go into resin. Any leftover moisture can cause browning, cloudiness, or tiny bubbles that appear later.
How dry is “dry”?
Petals should feel papery, not cool or flexible. If you are pressing your own, give most flowers 1 to 3 weeks in a flower press or between heavy books, depending on thickness.
Should you seal flowers?
Often, yes, especially for delicate blooms. Sealing helps prevent:
- Color bleeding into the resin
- Microbubbles clinging to fuzzy petals
- Flowers turning translucent (resin soaks in and can darken details)
Easy sealing options:
- Clear-drying glue (like Mod Podge): Brush on a thin coat front and back, let dry completely. If you can, let it cure a full day before embedding.
- Acrylic spray sealer: Light coats, fully dry before embedding. Different sprays behave differently under epoxy, so do a small test flower first.
- A thin “resin dip”: Brush a tiny amount of mixed resin over the flower, let it gel slightly before placing. This is my favorite, but it requires patience.
Mixing resin
Your resin’s label is the law here. Different brands use different ratios, and the chemistry only works if you follow that exact ratio.
Common ratios
- 1:1 by volume: Measure equal parts resin and hardener in graduated cups.
- 2:1 by volume: Measure two parts resin to one part hardener.
- By weight: Use a digital scale and follow the brand’s weight ratio exactly. Weight ratios are often different from volume ratios.
If your resin says 1:1 by volume, do not switch to “1:1 by weight” unless the brand explicitly allows it. That little shortcut is a classic reason pieces stay tacky.
Mixing technique for fewer bubbles
- Pour Part A and Part B into your cup.
- Stir slowly for the full time recommended (often 3 to 5 minutes).
- Scrape the sides and bottom as you stir. Unmixed resin likes to hide there.
- Optional but helpful: After mixing, pour into a second clean cup and stir again for 30 to 60 seconds. This “double-cup” method is messy but magical for curing consistency.
Working time
Resin has a “pot life,” which is how long you have before it thickens. When it starts to feel like warm honey instead of thin syrup, it is telling you to stop fussing and pour.
Step-by-step: pendants
This method makes clean, professional-looking pendants even if you are brand new.
Step 1: Prep your mold and layout
Place your silicone mold on a level surface. Do a quick dry layout of flowers so you are not trying to design while the resin clock is ticking. Trim stems or petals if needed.
Step 2: Pour a thin base layer
Pour a thin layer of resin into the mold, just enough to cover the bottom. This layer acts like glue for your flowers.
Pop surface bubbles with a quick pass of a torch or heat gun held several inches away. Keep heat moving so you do not warp the mold or overheat the resin.
Step 3: Let the base get tacky
Wait until the resin is gel-like, not fully hard. Depending on your resin, your room temperature, and the pour depth, this can be 20 minutes to a couple hours. The goal is for flowers to stay where you place them instead of floating.
Step 4: Place flowers
Use tweezers to gently set your pressed flowers onto the tacky layer. Tap them down lightly with a toothpick so the petals make contact.
Step 5: Top pour in stages
Pour resin slowly along the side of the mold, letting it flow over the flowers. If your mold is deep, do this in two layers instead of one thick pour. Thick pours are more likely to overheat and trap bubbles.
Pop any new bubbles, then cover your mold to protect it from dust. I use an upside-down plastic container like a little curing dome.
Step 6: Cure fully
Most epoxies need 24 to 72 hours to fully cure, but follow your brand’s schedule. It may feel hard sooner, but give it time before sanding or drilling.
Step-by-step: earrings
Earrings are basically pendants with better balance and a little hardware strategy.
Option A: Molded earrings with hole
If your mold has a hole area, you are set. Follow the pendant steps above, then add jump rings after curing.
Option B: Drill holes after curing
If your mold does not include a hole:
- Let the piece cure for at least 48 hours (harder resin drills cleaner).
- Put on eye protection and a P100 (or equivalent) dust mask.
- Mark the hole spot with a fine marker.
- Use a pin vise hand drill or a small rotary tool on low speed.
- Drill slowly and back out often to clear dust. (Drilling over a damp paper towel helps keep dust from going everywhere.)
Option C: Open bezel earrings
Open bezels are metal frames you fill with resin. Tape the back with strong packing tape or bezel tape, press down firmly, then pour in thin layers. They are gorgeous for floating petal looks.
Bubble-free pouring
Bubbles happen, but you can absolutely get that glassy look with a few habits.
Warm resin gently
If your resin is thick, set the tightly closed bottles in a warm water bath for 5 to 10 minutes before measuring. Warm resin mixes smoother and releases bubbles faster. Keep water out of your resin at all costs, and dry the bottles before opening. Do not overheat it, since warmer resin can shorten pot life.
Stir slowly
Fast stirring whips in air. Think folding, not beating cake batter.
Pour low and slow
Pour close to the mold in a thin stream. High pours make bubbles.
Use heat sparingly
- Torch: Great for quick surface bubbles, but keep it moving.
- Heat gun: Gentler, but can push resin around and expose flowers if you blast too hard.
Time your layers
Flowers float when resin is too thin. They can also trap bubbles when resin is too thick. Aim for that tacky gel phase for flower placement, then top off later.
Demolding and finishing
Demolding
When fully cured, gently peel the silicone away from the resin rather than yanking the piece out. If it feels rubbery or bends easily, it is not done curing yet.
Fixing edges and backs
- Trim any thin “flash” (that papery overflow edge where resin crept into a seam) with small scissors or a craft knife, carefully.
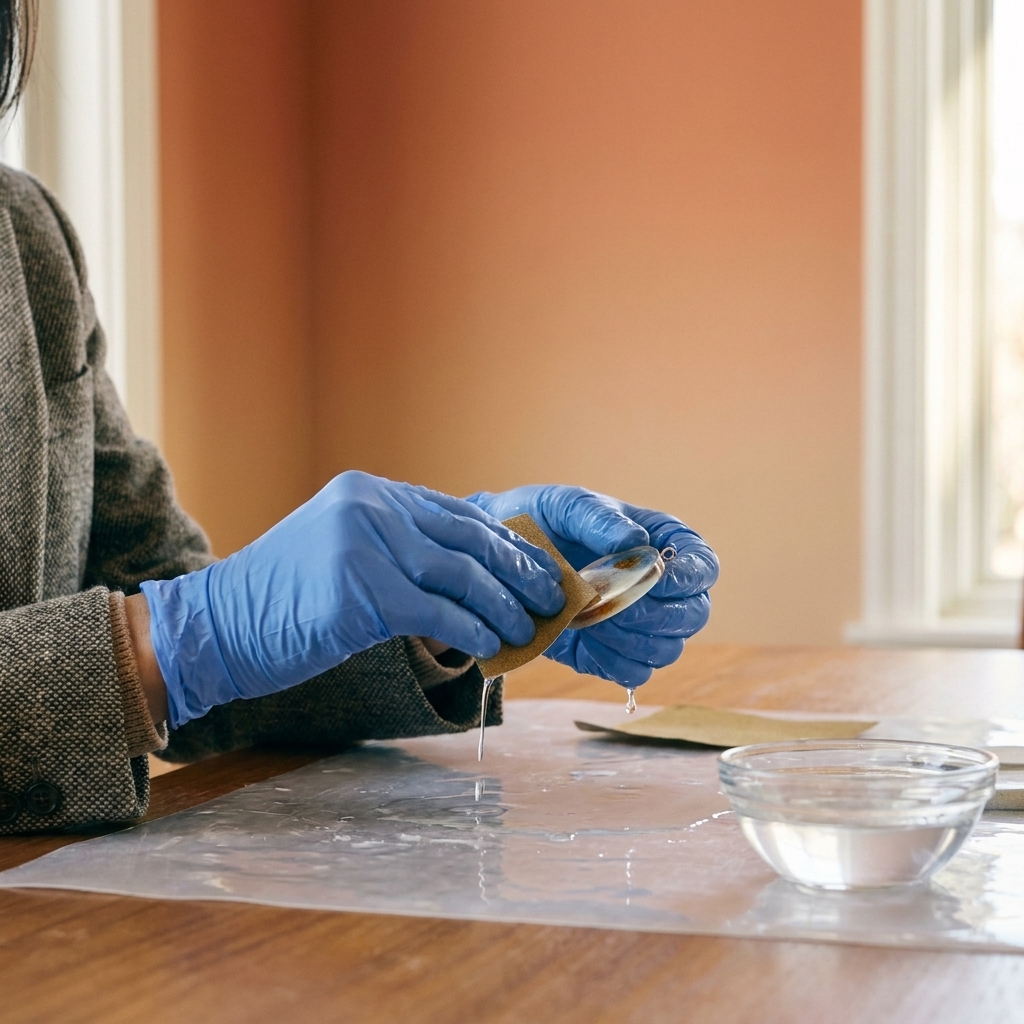
- Sand rough edges starting at 400 grit and working up to 2000 grit. Wet sanding keeps dust down and gives a smoother finish. Wear eye protection and a dust mask even if you wet sand.
- Polish with plastic polish or buffing compound for shine.
Doming (optional)
If your piece looks slightly dull after sanding, you can add a thin dome coat of resin on the front to restore a glassy surface. Place the piece level, add a small amount of resin, and guide it to the edges with a toothpick. Pop bubbles and cover to cure.
Adding findings
Pendants
- If your pendant has a built-in hole, add a jump ring and a chain.
- If not, you can glue on a bail using a strong jewelry epoxy, or drill a hole.
Earrings
- Use two pairs of pliers to open jump rings sideways (not outward).
- Attach the resin piece, then attach the earring hook, then close the ring fully.
- For stud posts, lightly sand the back where the post will sit, then glue with a jewelry-grade adhesive and let cure overnight.
My tiny teacher habit: always hold up your pair before the glue sets and make sure the flowers face the same direction. I have made mismatched twins more times than I can count.
Pigments and extras
If you want to add sparkle or color, keep it resin-friendly. Some additives can interfere with curing, especially if you add a lot.
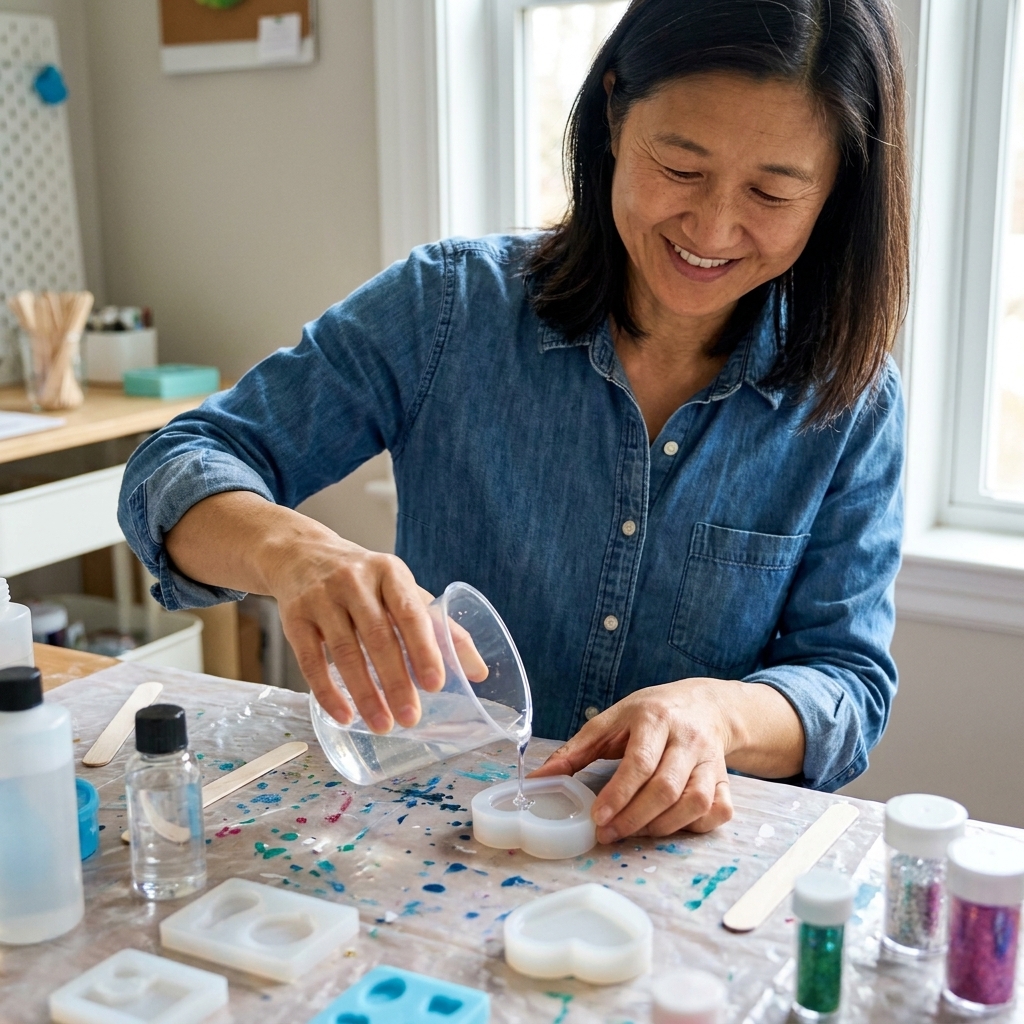
- Use pigments made for epoxy (resin dyes, mica powder, resin tints).
- Go light. A little colorant goes a long way, and overloading can cause soft or sticky spots.
- Test new mixes before you commit to sentimental flowers.
Troubleshooting
My resin is tacky or soft
- Cause: Incorrect ratio, under-mixing, cold temperatures, or incompatible additives.
- Fix: If it is only slightly tacky on the surface, extra cure time in a warm area can help. If it is still soft after the full cure time on your label (often 72 hours), it likely will not fully cure. In many cases, the best fix is to remake and focus on precise measuring, longer mixing, and resin-safe colorants.
My flowers floated
- Cause: Flowers placed into resin that was too thin.
- Fix: Use a tacky base layer next time, or pour in layers. You can sometimes reposition flowers with a toothpick if you catch it early.
I have cloudy resin
- Cause: Moisture, high humidity (depending on formula), or overheating.
- Fix: Make sure flowers are fully dry and sealed. Pour in thinner layers and keep your workspace in your resin’s recommended temperature range.
Tiny bubbles around petals
- Cause: Air trapped in textured petals or resin poured too quickly.
- Fix: Seal flowers first, then place into a tacky layer. After placement, use a toothpick to gently coax bubbles away before the top pour.
My resin overheated or warped
- Cause: Pouring too thick, too warm of a workspace, or using coating resin in deep molds.
- Fix: Switch to casting resin and pour in layers. Avoid leaving curing resin in direct sunlight.
Cleanup and disposal
A little cleanup strategy saves a lot of mess.
- Do not pour leftover resin down the drain. Let any extra resin cure in the cup, then dispose of it as solid waste according to your local rules.
- Wipe tools while resin is still wet with isopropyl alcohol on a paper towel (in a ventilated area), then wash with soap and water. Do not soak silicone tools in alcohol for long periods.
- Keep resin off sinks and countertops. Cover your workspace and use dedicated craft supplies.
Care tips
- Avoid prolonged direct sun. UV light can yellow many resins over time. If you want extra protection, choose a resin labeled UV resistant.
- Store dry. Do not leave pieces soaking in water or stored in damp bathrooms.
- Wipe gently with a soft cloth. Avoid harsh chemicals and acetone.
- Perfume and hairspray first, jewelry last. That simple habit keeps pieces clearer longer.
Beginner projects
- Mini birth-flower studs with tiny pressed blossoms
- Botanical confetti pendants using small petal scraps (a no-waste favorite)
- Leaf skeleton earrings for a delicate, lacy look
- Memory pieces: a petal from a bouquet or a meaningful garden bloom (fully dried and sealed)
If you are using sentimental flowers, make a test piece first with similar petals. It takes the pressure off and saves heartbreak.
FAQ
Can I use fresh flowers in resin?
I do not recommend it. Fresh flowers contain moisture that can cause browning, bubbles, and cloudiness. Press and fully dry them first, or dry them with silica gel, then seal.
How do I keep flowers from turning brown?
Start with properly dried flowers, seal them, and avoid overheating your resin with thick pours. Some flowers naturally darken a bit in resin, so testing is your friend.
Is UV resin okay for pressed flower jewelry?
UV resin can work for small, thin pieces and quick projects, but it can be tricky for thicker molds because light may not reach every spot evenly. For beginners making pendants and earrings in molds, two-part casting epoxy is usually easier for consistent results.
How long should I wait before wearing my resin jewelry?
Even if it feels hard at 24 hours, many epoxies continue curing for 48 to 72 hours. For best hardness and scratch resistance, follow your resin brand’s cure schedule and, when in doubt, wait 48 hours.
Your first set
If you want a low-stress first win, do this: pick a small pendant mold, seal two or three tiny pressed flowers, pour a thin base layer, wait for tacky, place flowers, then do a final top pour. Keep your workspace warm, mix slowly, and do not rush the cure.
And if your first piece has one slightly crooked petal or a rogue bubble, welcome to the club. That is not a failure, that is you learning the material. The next one gets easier, and the one after that starts looking like it came from a boutique.