A step-by-step beginner guide to pressed flower resin jewelry, including the right supplies, mixing ratios, and pouring techniques for crystal-clear, bubble-...
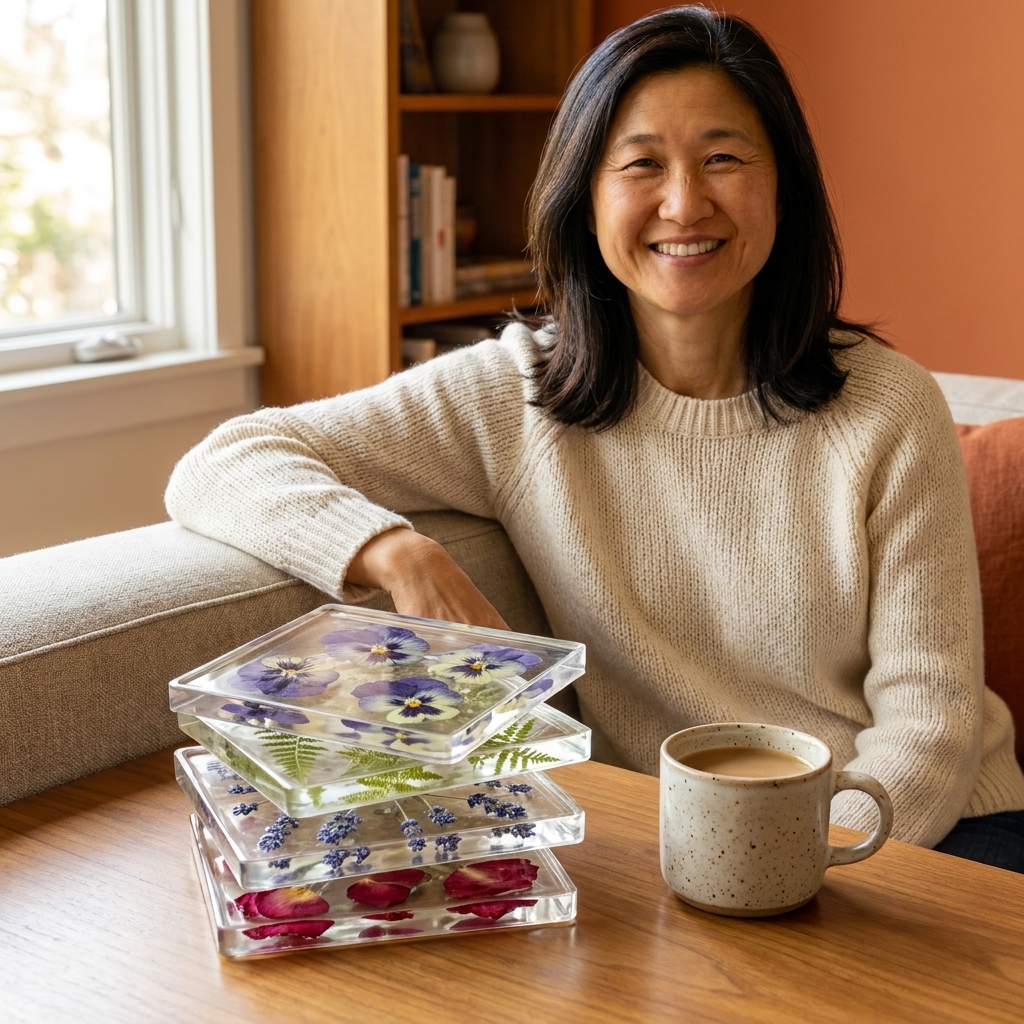
There is something downright magical about suspending a tiny bouquet in crystal-clear resin and turning it into something you use every day. Resin floral coasters look fancy, but the process is totally learnable with a little patience and a few bubble-busting tricks. I will walk you through supplies, mixing ratios, timing, and the small details that make the difference between cloudy coaster chaos and glassy, gift-worthy results.
Before you start: safety and setup
Epoxy resin is a chemical reaction. That sounds intimidating, but it mainly means two things: measure carefully and work safely. Also, always follow your specific resin label and safety sheet. Brands vary more than you would think.
Ventilation and protection
- Work in a well-ventilated area, ideally near an open window with a fan pulling fumes away from you.
- Wear nitrile gloves. Latex is often less resistant and can swell or become permeable.
- Protect your eyes with safety glasses if you are new or clumsy like me.
- Wear long sleeves or an apron you do not love. Resin finds fabric.
Protect your surface
Cover your table with a silicone mat, freezer paper (shiny side up), or a trash bag taped down. Resin drips cure like little plastic fossils.
Temperature matters
Most craft epoxies behave best in a comfortable room temperature range, often around 70 to 75°F (21 to 24°C). That said, it is brand-dependent, so treat this as a starting point and check your label. Too cold and you will get thick resin and more bubbles. Too warm and your resin may cure too fast, trapping bubbles and overheating.
Supplies you will need
You do not need a studio full of tools. Here is what I recommend for smooth, low-stress coasters.
Resin and molds
- Two-part epoxy resin labeled for casting or coaster projects
- Silicone coaster mold (round, hex, or geode style)
Flowers and add-ins
- Dried or pressed flowers (fully dry is non-negotiable)
- Optional: small leaves, baby’s breath, gold foil, mica flakes
Measuring and mixing
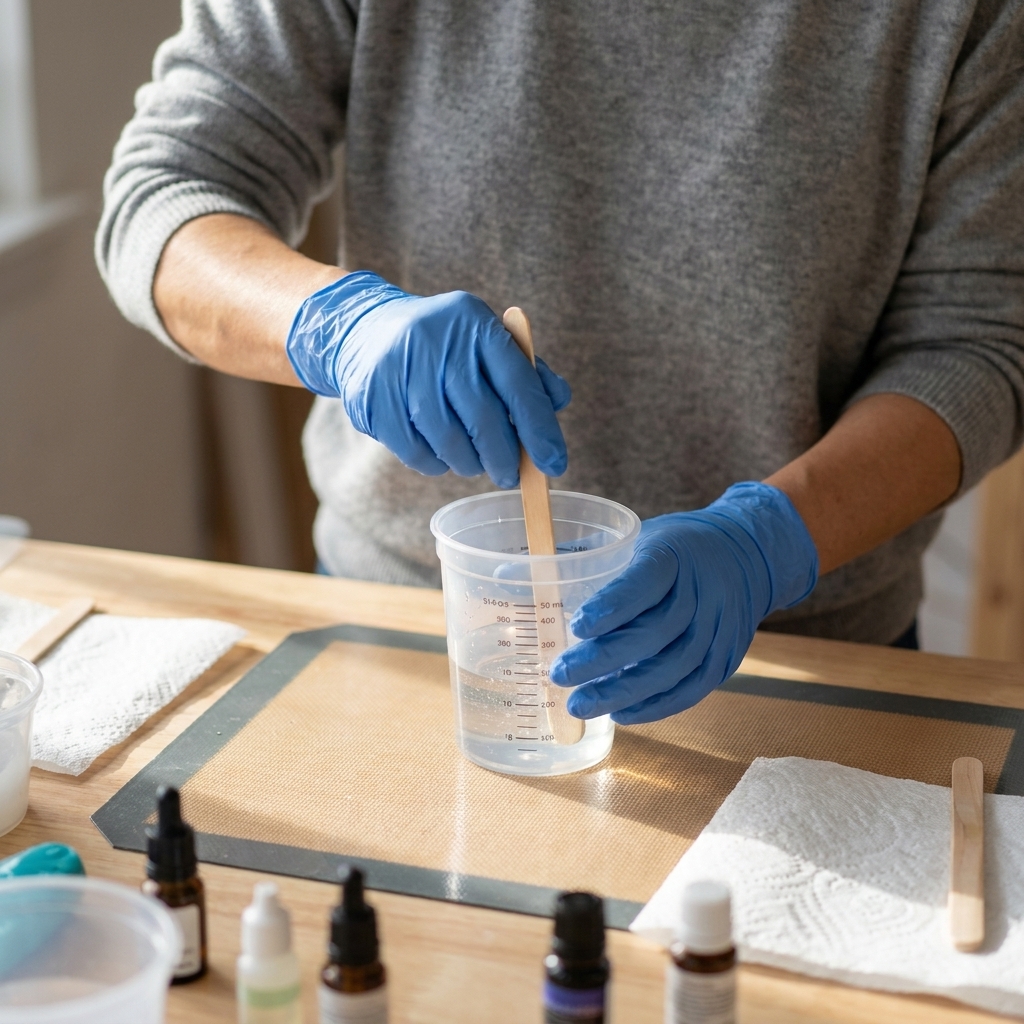
- Graduated measuring cups or resin mixing cups
- Stir sticks (silicone or wooden)
- Digital scale (optional but great if your resin mixes by weight)
Bubble control and finishing
- Heat gun or small butane torch (I prefer a heat gun for beginners)
- Isopropyl alcohol in a fine mist spray bottle (many makers like 91%, but some resins can react and leave surface issues, so do a quick test spritz on a small piece first)
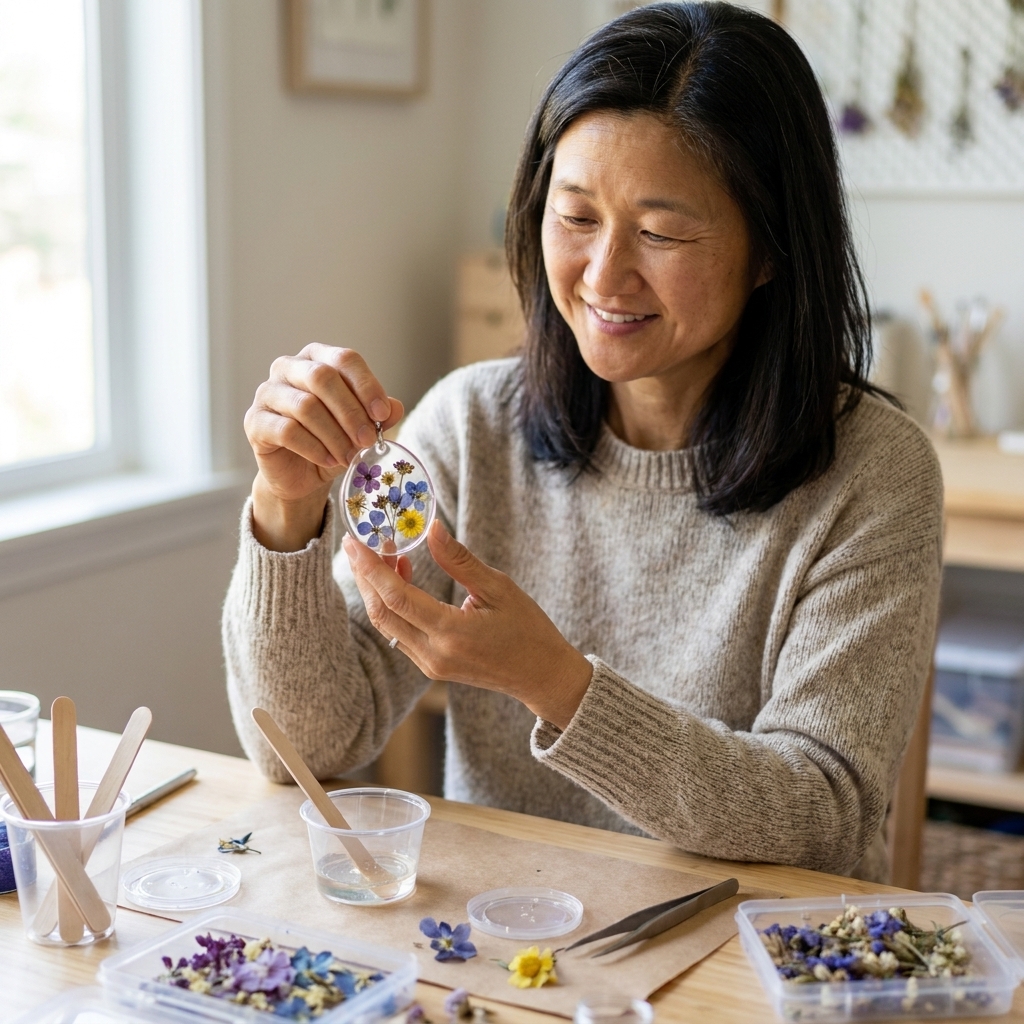
- Tweezers for flower placement
- Toothpicks for nudging details and popping stubborn bubbles
- Level (yes, really) to make sure your coasters cure evenly
- Box or tub to cover molds while curing (keeps dust and curious pet hair out)
Picking and prepping flowers
If your resin project ever turns cloudy, brownish, or develops weird halos around the petals, moisture is usually the culprit.
Choose flowers that behave well
Some flowers keep their color beautifully. Others fade or turn translucent. Great beginner choices:
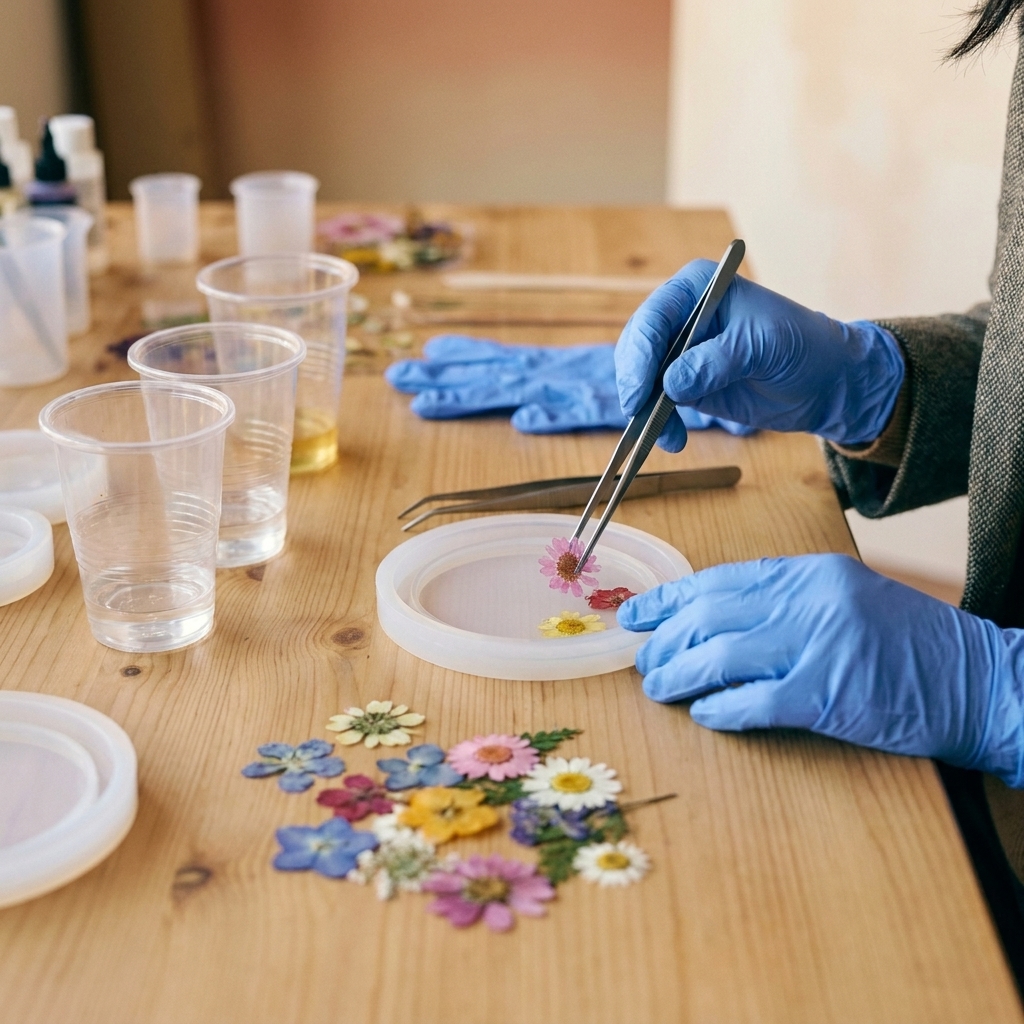
- Pressed daisies and cosmos
- Baby’s breath
- Fern or small greenery
- Small flat wildflowers
Trickier choices (still doable, just test first):
- Roses (thicker, can trap air)
- Hydrangea (can brown)
- Very juicy-looking petals (often not fully dry)
Make sure they are fully dry
Your flowers should feel papery, not flexible or cool to the touch. If you pressed them yourself, give them plenty of time. If you bought them, still check for softness.
Seal delicate flowers (optional but recommended)
This is my favorite “why didn’t I do this sooner” step. Sealing helps prevent petals from releasing tiny air bubbles and helps them stay put instead of floating.
- Lightly coat flowers with clear-drying glue (like Mod Podge) and let dry fully, or
- Spray with a clear acrylic sealer in thin coats and let dry completely
Let anything you use to seal dry for at least a few hours, ideally overnight.
Resin ratios and measuring
Every resin brand is a little different, so the golden rule is: follow the label. Most beginner-friendly epoxies mix either 1:1 by volume or 2:1 by volume. Some mix by weight.
Volume vs weight (do not mix this up)
This one trips people up fast. If your resin says 1:1 by volume, that does not automatically mean 1:1 by weight. Part A and Part B can have different densities. Use the method your resin specifies:
- By volume: use graduated cups and fill to the lines.
- By weight: use a digital scale and measure in grams.
If you use a scale on a resin meant to be measured by volume, you can end up with soft, sticky coasters that never fully cure. No one wants that kind of suspense.
How much resin per coaster?
Coaster molds vary, but a common round coaster uses about 2 to 3 ounces (60 to 90 ml) of mixed resin. For a set of four, plan for roughly 10 to 12 ounces total so you are not scraping the cup for the last drizzle.
My no-drama mixing method
- Measure Part A and Part B precisely. Resin is not forgiving about “close enough.”
- Pour into a mixing cup and stir slowly for 3 to 5 minutes, scraping the sides and bottom often.
- Transfer to a second clean cup and stir another 1 minute. This “double-cup mix” prevents sticky spots caused by unmixed resin clinging to the first cup.
Stirring slowly feels like it takes forever, but fast stirring whips in extra bubbles. Think “gentle folding,” not “panicking with a spoon.”
How to make floral coasters
We are going to do this in layers. Thin layers make bubble control easier and keep flowers from floating to the top like they are trying to escape.
Step 1: Level your surface
Set your mold on a sturdy tray or board and check with a level. If your table is even slightly off, resin will cure thicker on one side, and you will see it.
Step 2: Pour a thin base layer
Pour just enough mixed resin to cover the bottom of each coaster cavity, usually 1 to 2 mm. This layer is your “flower glue.”
Step 3: Pop bubbles in the base layer
- Heat gun: Use low heat and keep it moving 4 to 6 inches above the resin.
- Alcohol mist: One light spritz can pop surface bubbles. If you plan to use a torch later, let the alcohol flash off fully first.
- Toothpick: Poke stubborn bubbles near petals or corners.
Do not overheat. Too much heat can warp silicone molds or cause a wavy, rippled surface.
Step 4: Wait for tacky resin
This is the patience part. Let the base layer sit until it thickens like honey or gel. A simple test is to touch the surface lightly with a toothpick. It should drag slightly and feel tacky, not fully liquid. For many epoxies, this can be roughly 20 to 60 minutes, depending on temperature and brand.
Why wait? Because tacky resin grips your flowers so they do not float.
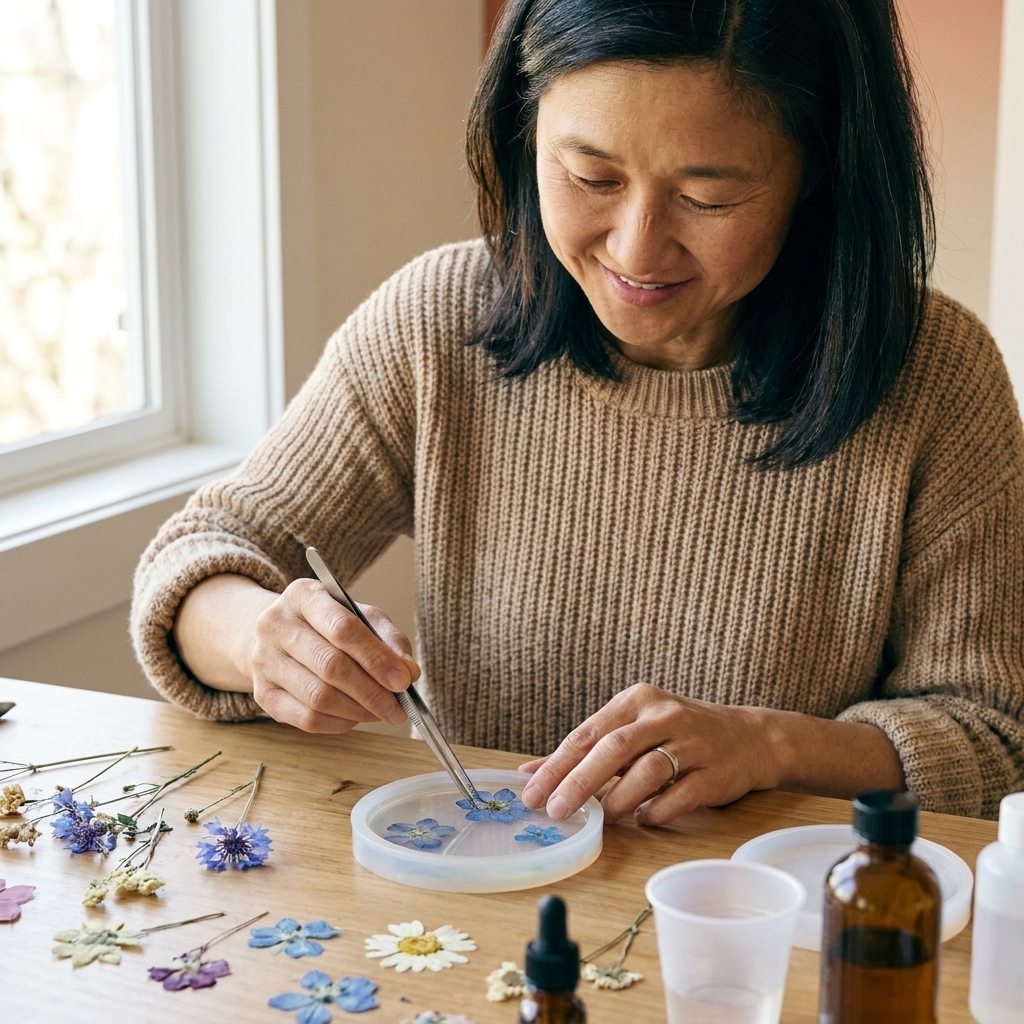
Step 5: Arrange your flowers
Use tweezers to place flowers face-down if you want the prettiest side visible from the top. Press them gently into the tacky layer.
Design tip: Make one “hero bloom” and then tuck tiny filler flowers and leaves around it. Odd numbers often look more natural.
Pour the top layer
Step 6: Pour slowly
To avoid bubbles, pour resin in a thin stream and let it run down a stir stick or the side of the cup into the mold. This helps prevent splashing air into the pour.
Step 7: Cover the flowers
Pour until the mold is full and the flowers are fully submerged. If a petal is poking out, it will cure weird and may feel scratchy later.
Step 8: Bubble-popping round two
Give the surface a quick pass with a heat gun, then wait 2 to 3 minutes and look again. Bubbles often rise in waves.
- If you see microbubbles clinging to petals, use a toothpick to gently dislodge them, then apply a tiny bit of heat.
- If your flowers are releasing bubbles nonstop, that is a sign they were not fully dry or not sealed. You can still save the coaster by babysitting the bubbles for the first 20 minutes.
Quick safety note: If you used alcohol mist, do not bring in an open flame until you are sure the alcohol has fully evaporated.
Step 9: Cover and cure
Place a clean box or plastic tub over your mold to keep out dust. Let cure untouched for the full time listed on your resin. Many resins are typically ready to demold around 24 hours and reach full hardness around 72 hours, but some are faster or slower. Your label is the boss here.
Demolding and finishing
Demold without bending
Peel the silicone away from the resin instead of pulling the coaster up by force. If it is still bendy, wait a few more hours.
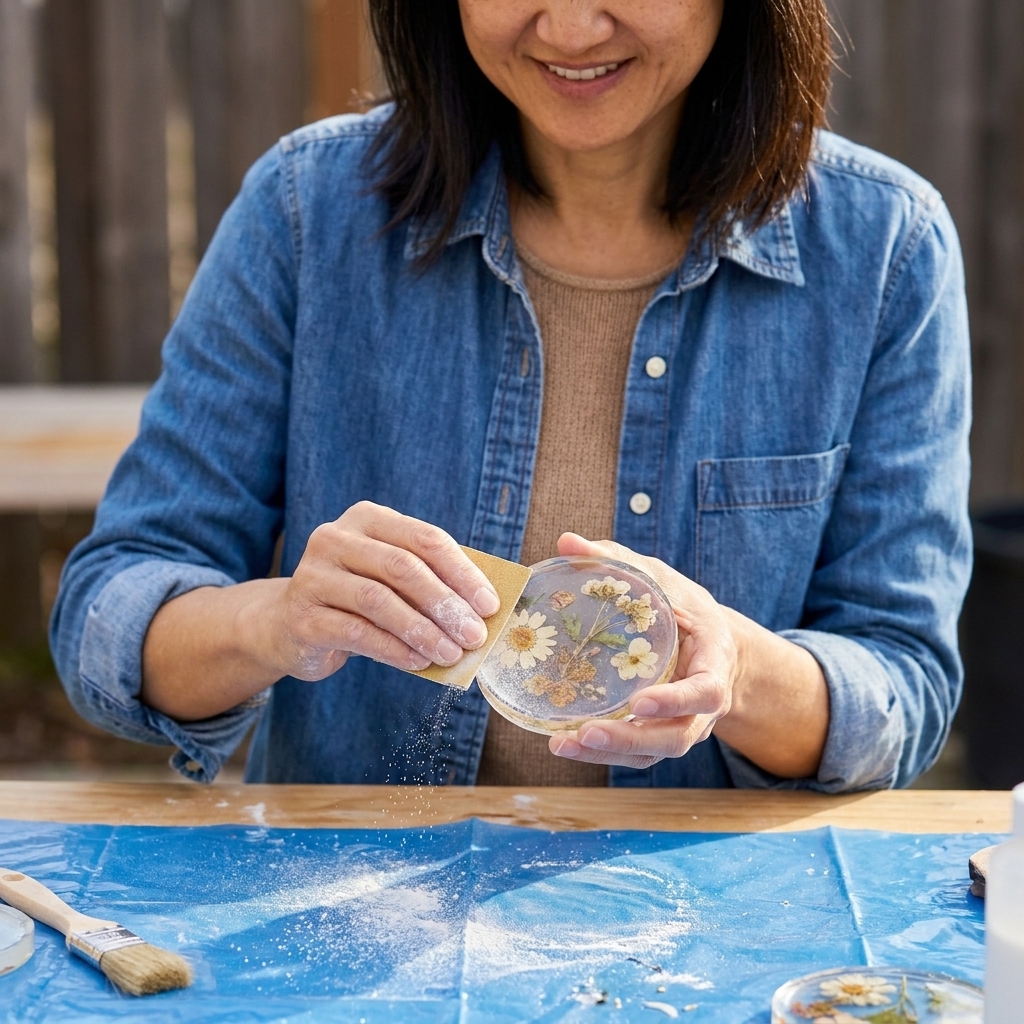
Fix sharp edges
Some molds leave a thin lip called “flash.” You can:
- Trim carefully with small scissors or a craft knife once fully cured, or
- Lightly sand edges with 400 to 800 grit sandpaper
If you sand, you may need a thin “top coat” of resin to bring back shine. Sanding makes resin look frosty until it is re-coated.
Add cork backing (optional but wonderful)
Cork circles keep coasters from sliding and protect furniture from scratches. Attach with a strong craft glue once the resin is fully cured.
Bubble tricks that work
Bubbles are the number one beginner frustration, so here is my honest bubble toolkit and when to use each method.
Heat gun
- Best for: general surface bubbles
- How: quick, sweeping passes on low heat
- Watch out for: overheating and rippling the surface
Small torch
- Best for: fast surface bubble removal
- How: keep the flame moving, do not hover
- Watch out for: scorching flowers, warping molds, and soot if you linger
- Also: avoid torching right after alcohol mist. Give it a minute to fully evaporate.
Isopropyl alcohol mist
- Best for: micro surface bubbles
- How: one light spritz from a distance
- Watch out for: too much can create surface issues in some resins, so test first
Warm resin bottles (preventative)
If your resin is thick, set the sealed bottles in warm water for 10 to 15 minutes before measuring. Thinner resin releases bubbles more easily. Dry the bottles well so no water sneaks into your mix.
Troubleshooting
Resin is tacky or soft
- Most common cause: wrong ratio or incomplete mixing, including mixing by weight when the resin requires volume (or vice versa).
- Fix: Let it sit longer in a warm space. If it never hardens, you may need to remake the coaster.
Flowers floated to the top
- Cause: poured too much resin at once or placed flowers too early
- Fix: Use a tacky base layer and embed in stages.
Cloudy resin or halos
- Cause: moisture in flowers, or flowers not sealed
- Fix: Use fully dried flowers and consider sealing before embedding.
Tiny bubbles around flowers
- Cause: air trapped in petals and stems
- Fix: Seal flowers, pour in layers, and use a toothpick to coax bubbles out early in the cure.
Dust or lint on top
- Cause: uncovered curing
- Fix: Cover with a clean tub or box. If already cured with debris, sand and apply a thin top coat.
Design ideas
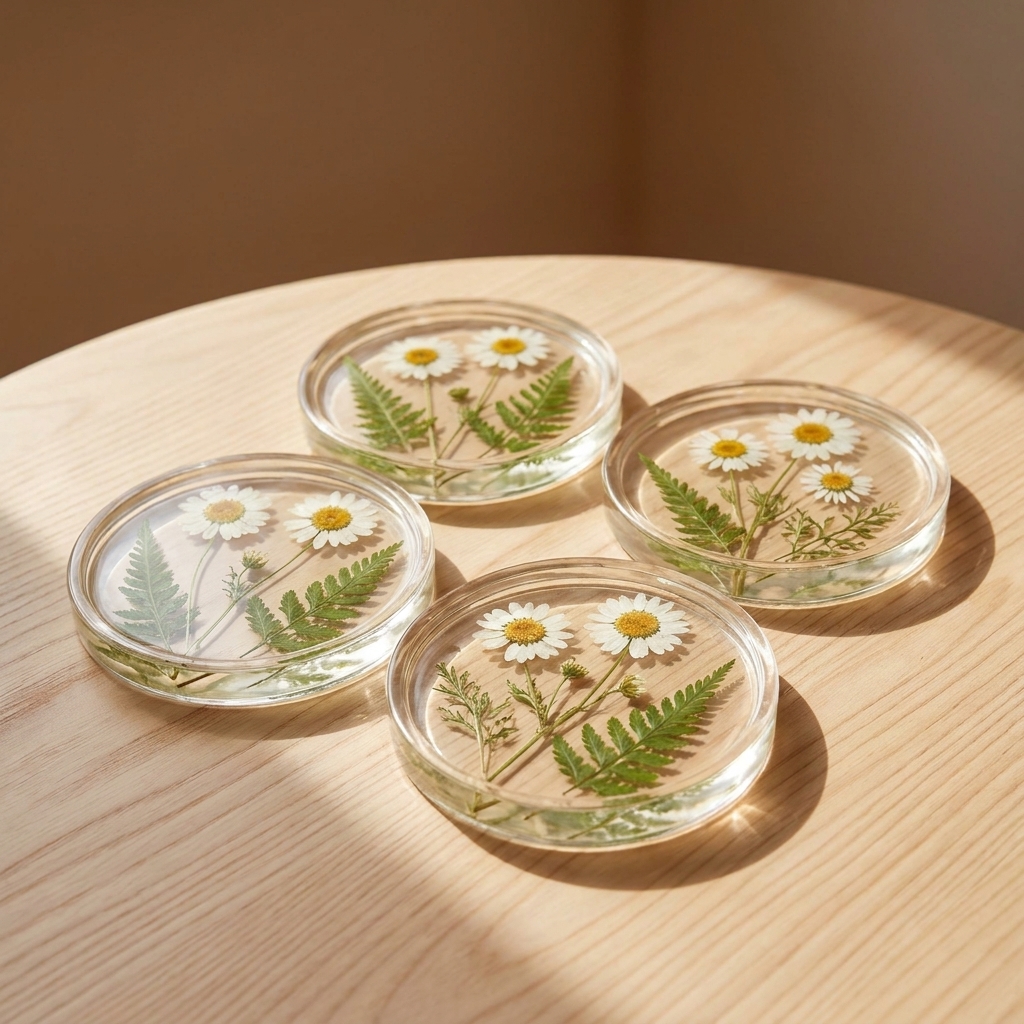
- Minimal single bloom: one pressed daisy centered with a tiny leaf accent
- Botanical corner: cluster flowers in one corner and leave negative space
- Garden confetti: sprinkle tiny petals and baby’s breath throughout
- Gold foil highlight: a few flecks near the flower center for warmth
- Seasonal sets: spring pastels, summer wildflowers, autumn leaves, winter evergreen sprigs
If you are gifting these, making a coordinated set of four feels extra special without extra work. Pick one “signature” flower and vary the layout slightly.
FAQ
Do I need UV resin or epoxy resin?
For coasters, two-part epoxy resin is usually the best choice because it cures thicker and more evenly in molds. UV resin is great for small, thin pieces but can be finicky for deep pours unless you cure in layers with a strong UV lamp.
Can I use fresh flowers?
I do not recommend it. Fresh flowers contain moisture that can discolor, bubble, or even cause curing problems. Dry or press them first until fully moisture-free.
How do I keep flowers from turning brown?
Start with well-dried flowers, avoid direct sunlight for finished coasters, and consider sealing the flowers before embedding. Some flowers naturally shift color, so do a test coaster if you are using a new type.
Are resin coasters heat resistant?
They are great for cold and warm drinks, but very hot mugs can soften some resins over time or leave marks. Heat resistance varies a lot, so if you want coasters for truly hot beverages, check your resin’s spec sheet (look for heat deflection temperature) and let the coasters fully cure before using.
Are resin coasters food-safe or dishwasher-safe?
Think of resin coasters as decorative drink protection, not kitchen cookware. Many craft resins are not certified food-safe, and coasters are not dishwasher-safe. Hand-wipe them, avoid soaking, and keep them out of prolonged direct sun or high heat if you want them to stay crystal clear.
A final pep talk
Your first set might have one coaster that is perfect, one with a tiny bubble constellation, and one where the flower floated like it had places to be. That is normal. Resin is part craft, part timing, part “learning your specific brand.” Keep notes on what worked, especially your room temperature, your measuring method (volume or weight), and how long it took to reach that tacky stage.
Once you nail your process, these become the easiest, most satisfying handmade gifts. And you will start looking at every tiny flower on the sidewalk like, “Well hello there, future coaster.”