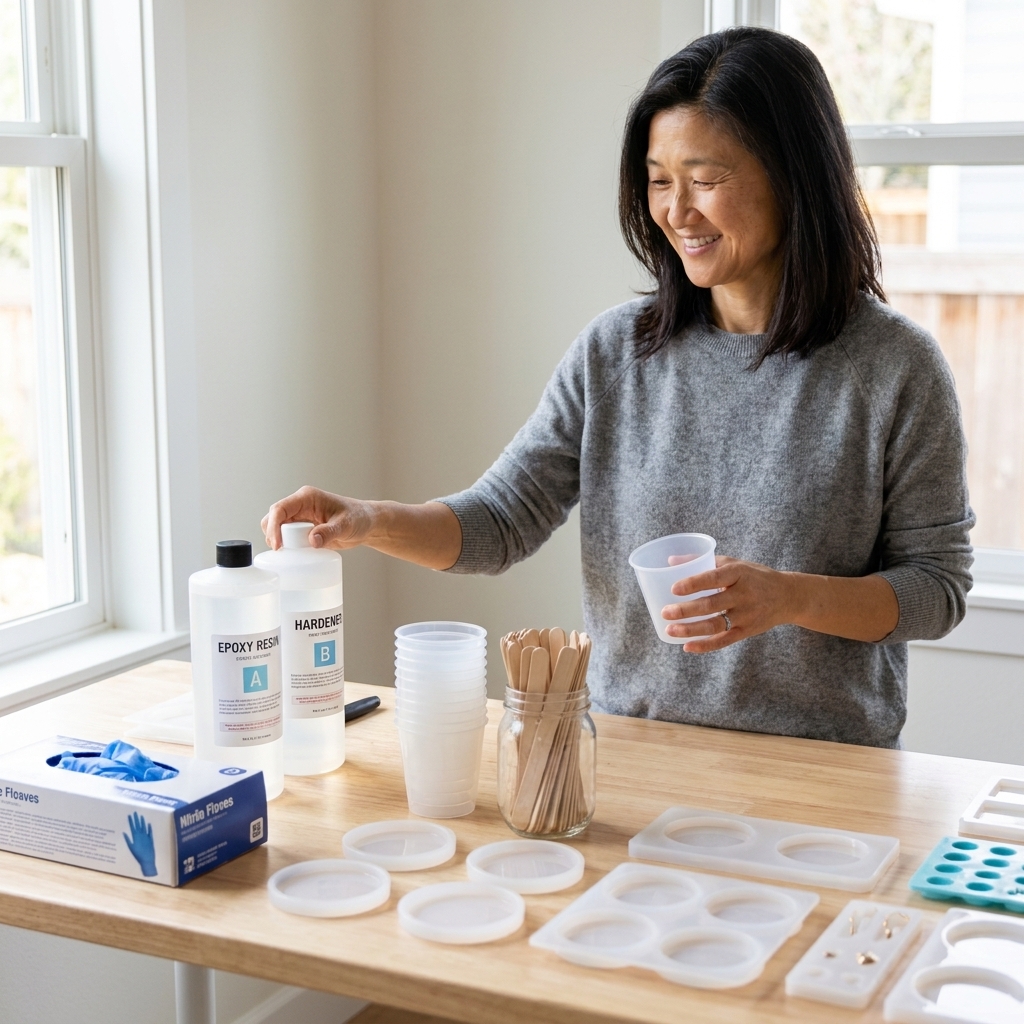
A beginner-friendly resin supply checklist, from the right epoxy and molds to mixing tools, resin-safe colorants, safety gear, and simple finishing basics.
Cold process soap is one of those crafts that looks a little intimidating from the outside (hello, lye), but once you understand the safety rules and the rhythm of the steps, it becomes wonderfully meditative. You measure, you stir, you watch a creamy batter transform, and within 24 to 48 hours you can often unmold a real loaf of soap you made with your own two hands.
In this guide, I’ll walk you through the cold process method from the very beginning: how to handle lye safely, what equipment actually matters, and a simple starter recipe that makes a hard, gentle bar with a rich lather. We’ll keep it beginner-friendly, budget-conscious, and realistic for an average kitchen workspace.
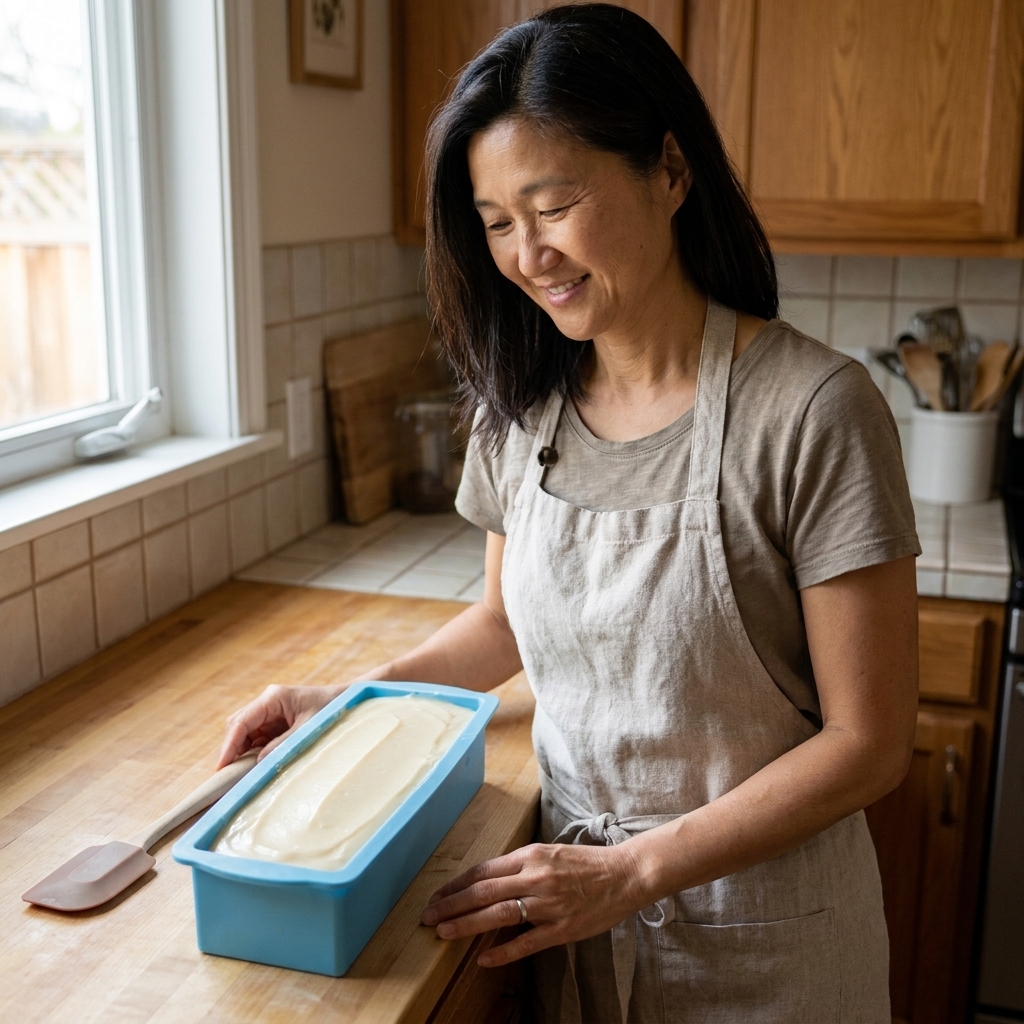
What cold process soap is
Cold process soap is made by combining oils (like olive oil and coconut oil) with a lye solution (sodium hydroxide mixed with water). When lye and oils meet, a chemical reaction called saponification begins. The oils turn into soap, and glycerin is naturally created in the process.
It’s called “cold process” because you’re not cooking the soap batter the way you would with hot process soap. The mixture warms up on its own during the reaction, then it sets up in the mold, and the bars cure over several weeks to become mild and long-lasting.
- Pros: Beautiful, customizable bars with a smooth finish and lots of design options later on.
- Cons: You must follow lye safety rules, and you need patience for curing time.
Lye safety, without the panic
Let’s take the mystery out of it. Lye is caustic, which means it can burn skin and damage eyes. The good news is that soap makers work with lye safely every day by using proper protective gear, good ventilation, and smart habits.
Set up your zone
- Choose a distraction-free time. No rushing, no multitasking, no tiny helpers underfoot.
- Ventilation matters. Open a window, turn on a fan, or work near a stove hood.
- Protect surfaces. Lay down freezer paper (shiny side up), cardboard, or a washable mat.
- Keep pets and kids out. Lye water is not a “quick look” situation, because splashes happen fast and curiosity tends to put faces and hands too close.
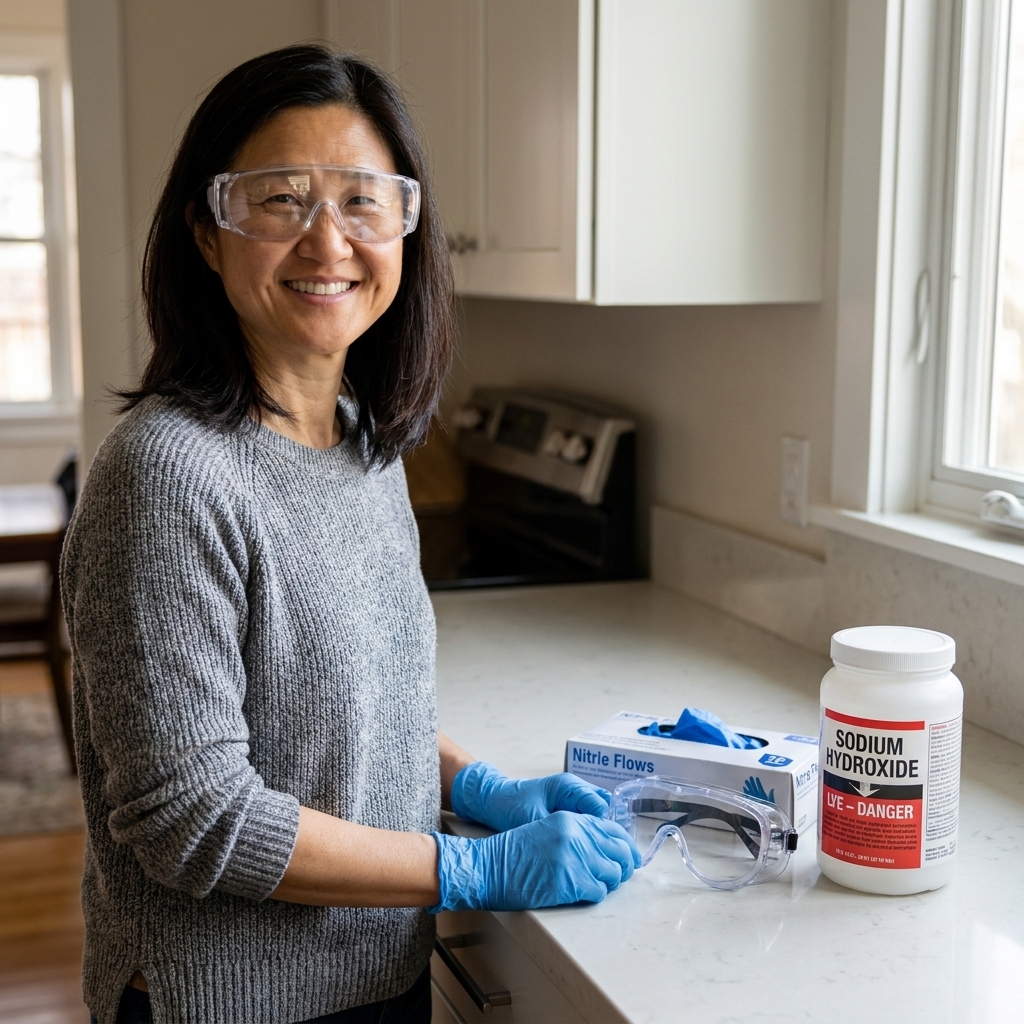
Wear the right protection
- Safety glasses or goggles (non-negotiable)
- Gloves (nitrile gloves are great)
- Long sleeves and closed-toe shoes
- Optional but helpful: an apron and a face mask if you’re sensitive to fumes
The golden rule: add lye to water
Always add lye to water, never water to lye. Pouring water onto lye can cause a violent reaction and splash. When you sprinkle lye into water, it dissolves more predictably.
What to expect when mixing lye water
When lye dissolves, the solution heats up fast and releases fumes for the first minute or two. That’s normal. Stir gently, keep your face back, and let it sit somewhere safe to cool. Label the container while it cools, and keep it out of reach.
If you get a splash
- On skin: Rinse under cool running water for several minutes. Remove contaminated clothing or gloves. Do not try to neutralize skin with vinegar.
- In eyes: Rinse immediately with cool water for 15 minutes and seek medical care.
- On counters (small splashes or residue): While wearing gloves, wipe up with paper towels. Many soap makers follow with a quick wipe using a dilute vinegar solution, then wash with soap and plenty of water. If you have a larger spill or you are unsure, treat it seriously, keep others away, and follow local safety guidance.
Important: Use sodium hydroxide (NaOH) for bar soap. Do not substitute drain cleaner unless it is clearly labeled as 100% sodium hydroxide with no additives. When in doubt, buy soap-making lye from a reputable supplier.
Equipment you actually need
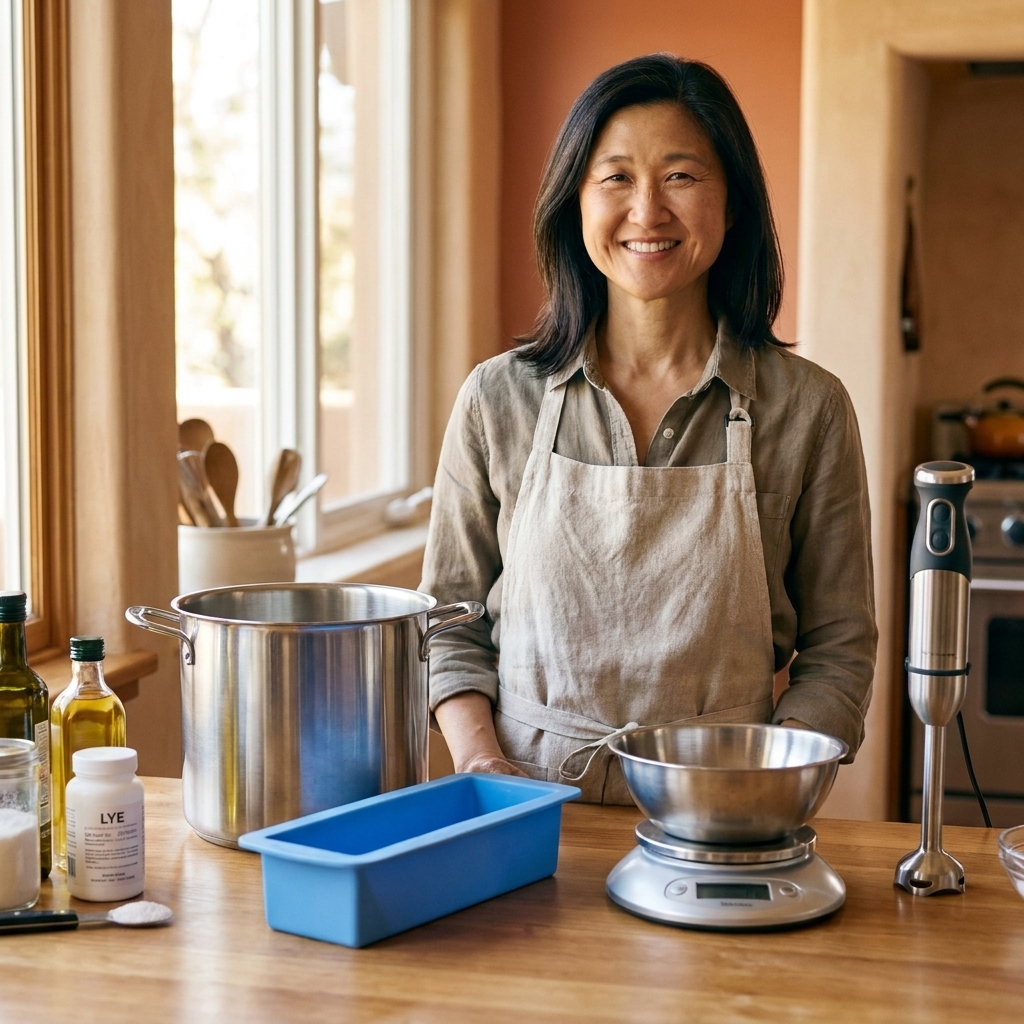
Soap making is not the place for guessing measurements. A few specific tools make the process safer and far less stressful.
Must-haves
- Digital scale (grams preferred): Soap is made by weight, not volume.
- Heat-safe containers: One for lye water (stainless steel or heavy-duty polypropylene #5 plastic), one for oils.
- Stainless steel pot for melting and combining oils (or a dedicated soap pot).
- Stick blender (immersion blender): Makes trace happen efficiently.
- Thermometer: An instant-read or infrared thermometer helps a lot.
- Silicone spatula and a sturdy spoon.
- Soap mold: Silicone loaf mold is beginner-friendly.
- Safety gear: Gloves and goggles.
Nice-to-haves
- Silicone liners if using a wooden loaf mold
- Small pitchers for colorants
- Isopropyl alcohol (91%): Spritzing the top can reduce soda ash
- Bench scraper or soap cutter for clean slices
What not to use
- Aluminum: Lye reacts with it.
- Glass for lye mixing: It can crack from thermal shock.
- Wooden spoons you want back for cooking: Dedicated utensils are recommended because soap batter and lye residue can linger in porous materials, and lye can damage finishes over time.
The beginner recipe
This is a simple, nourishing blend that behaves nicely in the pot and makes a firm bar. It’s also easy to customize once you’ve made it once as written.
Before you mix
- Check your mold size. This is a 1,000 g oils batch, which is larger than many “2 lb” loaf molds. A common silicone loaf mold often holds around 900 to 1,100 g oils worth of batter depending on shape. The easiest way to confirm is to fill your mold with water, weigh that water, then use that number as your approximate maximum batter weight. Scale the recipe if needed.
- Verify recipes in a lye calculator. Different calculators use slightly different SAP values, and oil types can vary. If you change anything, re-calculate before you make it.
Recipe: 1,000 g oils
- Olive oil: 450 g
- Coconut oil (76 degree): 250 g
- Shea butter: 150 g
- Castor oil: 150 g
Lye solution
- Sodium hydroxide (NaOH): 140 g
- Distilled water: 330 g
Superfat: About 5% (when calculated with typical NaOH SAP values for these oils in common lye calculators). Lye concentration: About 29.8%. Water:lye ratio: About 2.36:1. Fragrance: Optional, up to about 30 g (3% of oil weight) if your fragrance or essential oil is soap-safe.
Note: This is a publish-and-make recipe, but you should still confirm it in a trusted lye calculator (SoapCalc, Soapee, or another reputable calculator), especially if your olive oil is pomace vs refined, or if you substitute any oils.
Step-by-step: start to mold
1) Prep the mold and add-ins
Set your mold on a tray or cutting board so you can move it without bending the soap. If you’re using colorants, pre-mix them in a little lightweight oil (like a spoonful of olive oil taken from your batch) so they blend smoothly later.
2) Make the lye solution
Put on gloves and goggles. Weigh the distilled water into your lye-safe container. In a separate container, weigh the lye. Slowly sprinkle lye into the water while stirring gently.
Set the lye solution aside to cool in a safe spot where nobody will bump it. It will be cloudy at first, then turn clear as it dissolves.
3) Melt and combine the oils
Weigh your solid oils and melt them gently (low heat). Add your liquid oils, and stir to combine. Make sure hard butters are fully melted and the oils are clear and uniform. If your oils cool too far below the melt point of your hard fats, you can get thickening that looks like trace (false trace) before the soap is actually emulsified.
4) Check temperatures
For beginners, I like working when both the oils and lye solution are roughly in the 90°F to 110°F range (about 32°C to 43°C). They don’t need to be identical, just not wildly far apart. Cooler temps usually give you more time to work; very hot temps can speed things up quickly.
5) Combine and reach trace
Pour the lye solution into the oils (not the other way around). Insert your stick blender, tap it to release air bubbles, then blend in short bursts, alternating with hand stirring.
You’re looking for light trace, when the batter thickens to a thin pudding consistency and a drizzle leaves a faint line on the surface for a second before sinking in.
6) Add fragrance or color (optional)
At light trace, stir in your soap-safe fragrance or essential oil. If you’re coloring, add your pre-mixed colorant and blend briefly. Keep it simple on your first batch so you can focus on the feel of trace.
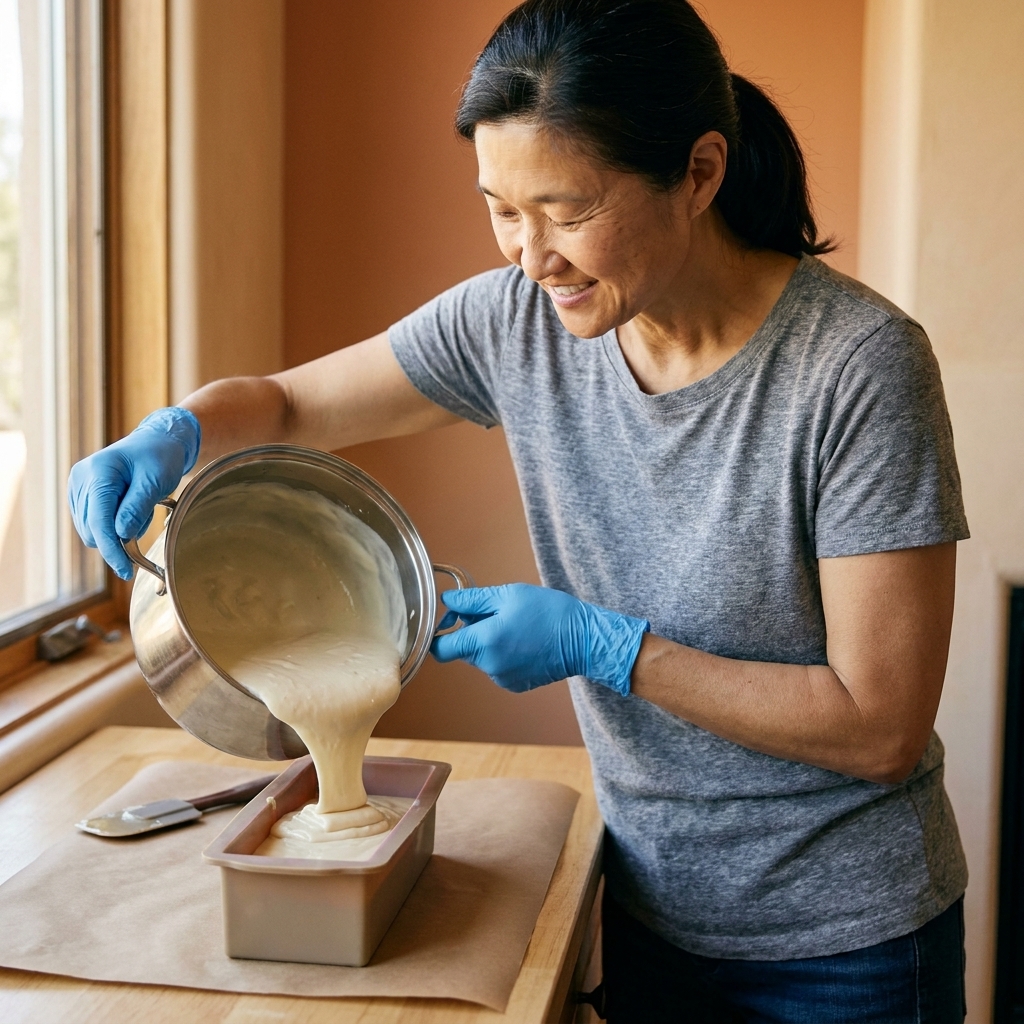
7) Pour into the mold
Pour the batter into the mold, tap it gently on the counter to release air pockets, and smooth the top with a spatula.
8) Cover and let it set
Soap often warms up in the mold as saponification continues. You can cover the mold lightly with a piece of cardboard or a lid, then drape a towel over it to help it gel evenly. If your room is already warm, you may skip heavy insulation to prevent overheating.
Unmold, cut, cure
When to unmold
Most loaf soaps are ready to unmold in 18 to 48 hours. If it feels soft, leave it another day. If it feels rock hard and you can’t dent it, you might have waited a bit long, but you can still cut it with a sharp knife.
How to cut
Slice bars about 1 inch thick. A kitchen knife works; a bench scraper also gives nice straight cuts. If your recipe includes lots of hard oils and the loaf is firm, cutting sooner is easier.
Curing
Cold process soap needs time to finish drying out and mellowing. Place bars in a single layer with airflow on all sides (a wire rack is perfect). Cure for 4 to 6 weeks. The longer cure usually means a harder bar that lasts longer in the shower and feels milder on skin.

Beginner troubleshooting
My batter thickened too fast
- Blend less. Stick blenders are powerful.
- Work a little cooler next time.
- Some fragrance oils accelerate trace. Try a different scent or skip fragrance until you’re comfortable.
There’s a white layer on top
That’s usually soda ash. It’s cosmetic and safe. Reduce it by covering the soap after pouring, spritzing the top lightly with isopropyl alcohol, and avoiding drafts during the first 24 hours.
My soap is soft and won’t unmold
- Give it more time. Some recipes just need 48 hours.
- Make sure your scale measurements were accurate.
- Too much water or not enough lye can create a softer loaf.
My soap cracked on top
Cracking often means it got too hot in the mold. Next time, use lighter insulation, move the mold to a cooler spot, or soap at cooler temperatures.
It zaps my tongue
Some soap makers do a careful “zap test” on a tiny bit of soap to detect excess lye. If you feel an obvious electric zap sensation, treat the batch as potentially lye-heavy and do not use it on skin.
If a fresh loaf zaps in the first day or two, it may simply be too early to judge. But if it zaps after 48 hours, or later during cure, time alone may not fix it. Re-check your recipe in a lye calculator, review your measurements, and consider rebatching with additional oils (or discarding the batch) rather than hoping curing will solve true lye excess.
Simple customizations
Once you’ve made the recipe once as written, customizing is where the fun starts. Keep changes small at first so you learn what caused what.
Color
- Kaolin clay: silky feel, soft matte look
- Activated charcoal: gray to black
- Turmeric: warm yellow (can morph over time)
- Micas: vibrant colors (use only soap-stable micas)
Scent
- Use only fragrances or essential oils rated as soap-safe.
- Start low. Many beginners over-scent their first batch.
- If using essential oils, research dermal limits and common sensitizers.
Add-ins
- Oatmeal: gentle exfoliation (use finely ground for less scratch)
- Honey: lovely but can heat up the batch; use small amounts
- Dried botanicals: pretty at first, but some can discolor or feel scratchy. Use sparingly.
Cleaning up safely
My no-waste heart wants to tell you to wipe every last drop into the mold, and yes, do that. But also, safety first.
- Let tools sit: Many soap makers let their tools sit for 12 to 24 hours so residue finishes saponifying, then wash with hot water and dish soap.
- Wipe before washing: Use paper towels to wipe out excess batter from bowls and pots before rinsing, which keeps plumbing happier.
- Keep a soap-only set: If you make soap often, dedicate your stick blender and containers to soap.
Cold process soap FAQ
Can I make cold process soap without a stick blender?
Yes, but it takes a long time to reach trace by hand. For most beginners, a stick blender makes the process smoother, faster, and less frustrating.
Do I have to use distilled water?
Distilled water is strongly recommended because minerals in tap water can react with soap and contribute to soap scum, discoloration, and inconsistent results. Distilled water keeps your batches more predictable.
Is cold process soap safe for sensitive skin?
Many people love it because you can control ingredients and keep things simple. That said, everyone’s skin is different. Start with an unscented bar, cure it fully, and patch test. If you have a skin condition, check with a medical professional.
How long does homemade soap last?
Cured bars can last a year or more when stored in a cool, dry place. Scent may fade over time, especially with essential oils.
Why cure if saponification happens quickly?
Saponification mostly finishes within a day or two, but curing allows excess water to evaporate and the bar to become harder, milder, and longer-lasting.
A calm first batch
If you take nothing else from this guide, take this: soap making is a craft of careful measuring and slow confidence. Suit up, weigh everything, and give yourself permission to make a plain first loaf. You’ll learn the feel of trace, the timing, and the little cues that don’t show up in a Pinterest photo.
Then, once you’ve got that first batch curing on a rack like a row of tiny handmade trophies, we can talk swirls, clays, and all the fun stuff.