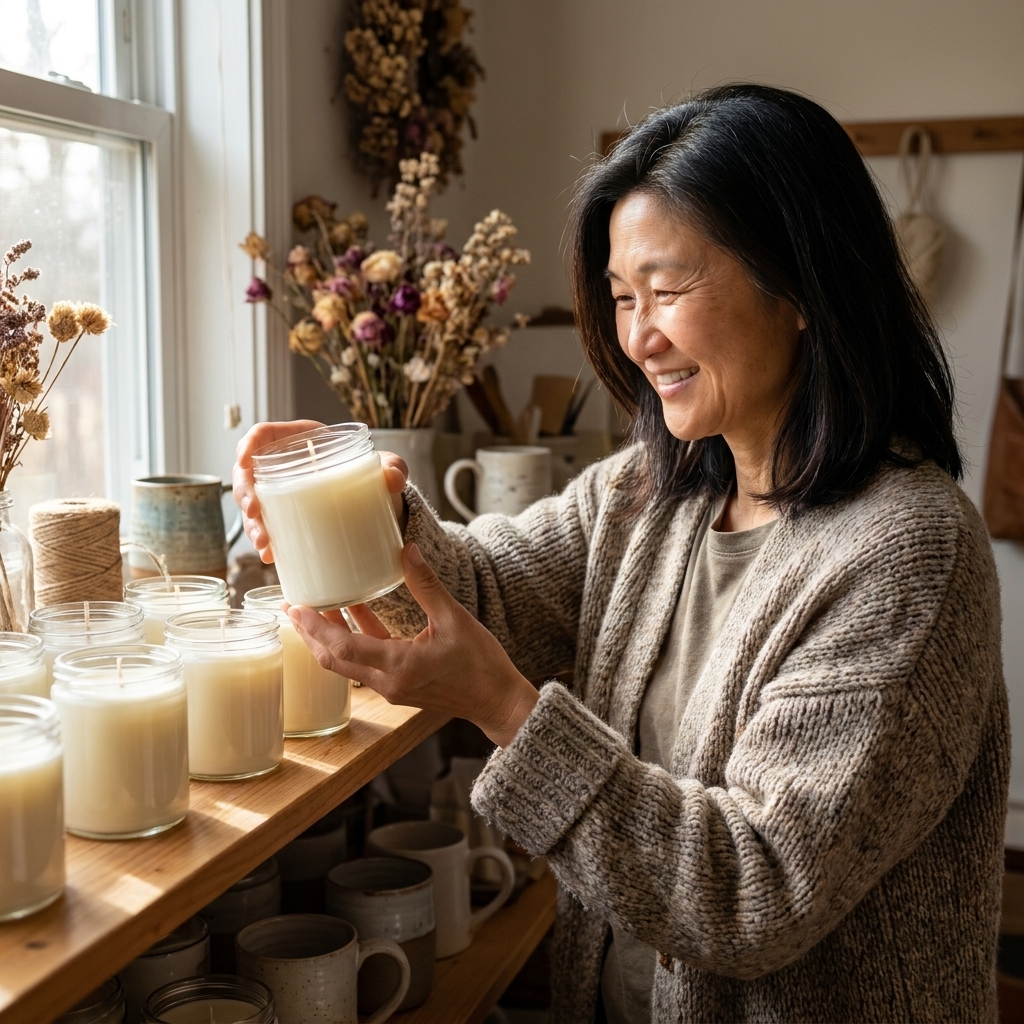
From chalk-style paint and distressed finishes to lanterns and wall vases, these mason jar upcycles turn glass jars into rustic home decor on a budget.
I love soy wax for its creamy look and clean vibe, but soy also has a personality. It wants to frost. It wants to show every temperature swing in your kitchen. And the second you start blending fragrances like a tiny candle perfumer, it can suddenly feel like your “simple hobby” turned into chemistry class.
Good news: you do not need a lab. You just need repeatable math, a consistent process, and a few tricks that make soy behave. I will walk you through fragrance load calculations, how I blend scents that smell intentional (not muddy), and my most reliable ways to reduce frosting and get that smooth, swoony top.
Before you blend: what “fragrance load” means
Fragrance load is the percentage of fragrance oil (FO) relative to the wax weight in most candle making instructions, not the total candle weight. This is where a lot of makers accidentally over-fragrance and then wonder why their candles sweat, crater, or smell weirdly faint when burned.
Quick sanity check: most wax and FO suppliers calculate FO % based on wax-only weight, but not all do. If your wax manufacturer defines it differently, follow their spec sheet so your math matches their testing.
The formula (save this in your notes)
Fragrance oil (oz or g) = Wax weight (oz or g) × Fragrance load (%)
- Example: 16 oz wax × 0.08 = 1.28 oz FO
- Example: 454 g wax × 0.07 = 31.8 g FO
Typical soy range: 6% to 10% depending on wax, vessel, and the specific fragrance. Many soy container waxes are happiest around 7% to 9% for a clean burn and strong hot throw.
Do not skip wax limits and safety limits
Every wax has a recommended max load, and every fragrance behaves differently. Some oils are potent at 6%. Others smell like nothing until 9%. If you push past what your wax can hold, the excess oil can separate and cause:
- Oily tops or “sweating”
- Sinkholes and craters
- Weak hot throw (yes, too much FO can mute throw by seeping, clogging the wick, or burning inefficiently)
- Smoking, sooting, or unstable flames
Also, max load is not the same as safe load. Respect the fragrance supplier documentation and applicable IFRA guidance for each oil, especially for skin exposure (candles still get handled) and respiratory sensitivities.
If you are not sure where to start, make your first test at 8%, then adjust based on burn results.
Quick safety basics (worth the 30 seconds)
Melted wax is hot, sticky, and not forgiving. Work in a ventilated space, wear eye protection, and keep sleeves and hair out of the way. Never leave melting wax unattended, and keep water away from hot wax. If you spill, let it cool and harden before you scrape it up.
How to build a custom scent blend
When a blend smells “fancy,” it is usually because it has structure. The easiest way to get there is to think in roles, not in an endless list of “nice” scents.
Use a simple three-part structure
- Base note (anchor): vanilla, amber, cedar, sandalwood, patchouli, musk
- Middle note (body): lavender, rose, jasmine, spices, tea, most fruits
- Top note (sparkle): citrus, mint, light herbs, ozone, some greens
You do not need three notes every time, but you do want a plan. Otherwise blends often turn into “fruit salad” or “perfume counter.”
My beginner-friendly advanced ratios
These are blending ratios inside your fragrance portion (not of the total candle). Example: if your candle uses 30 g total FO, the ratio tells you how to divide that 30 g among oils.
- Balanced: 50% main + 30% support + 20% accent
- Clean and simple: 70% main + 30% accent
- Bold accent (use carefully): 60% main + 25% support + 15% “wild card”
Tip from my classroom days: if you cannot describe your blend in one sentence, it is probably too busy. “Lavender tea with lemon peel” is a plan. “Lavender vanilla citrus cedar fresh laundry ocean breeze” is chaos.
Calculating a blend (step by step)
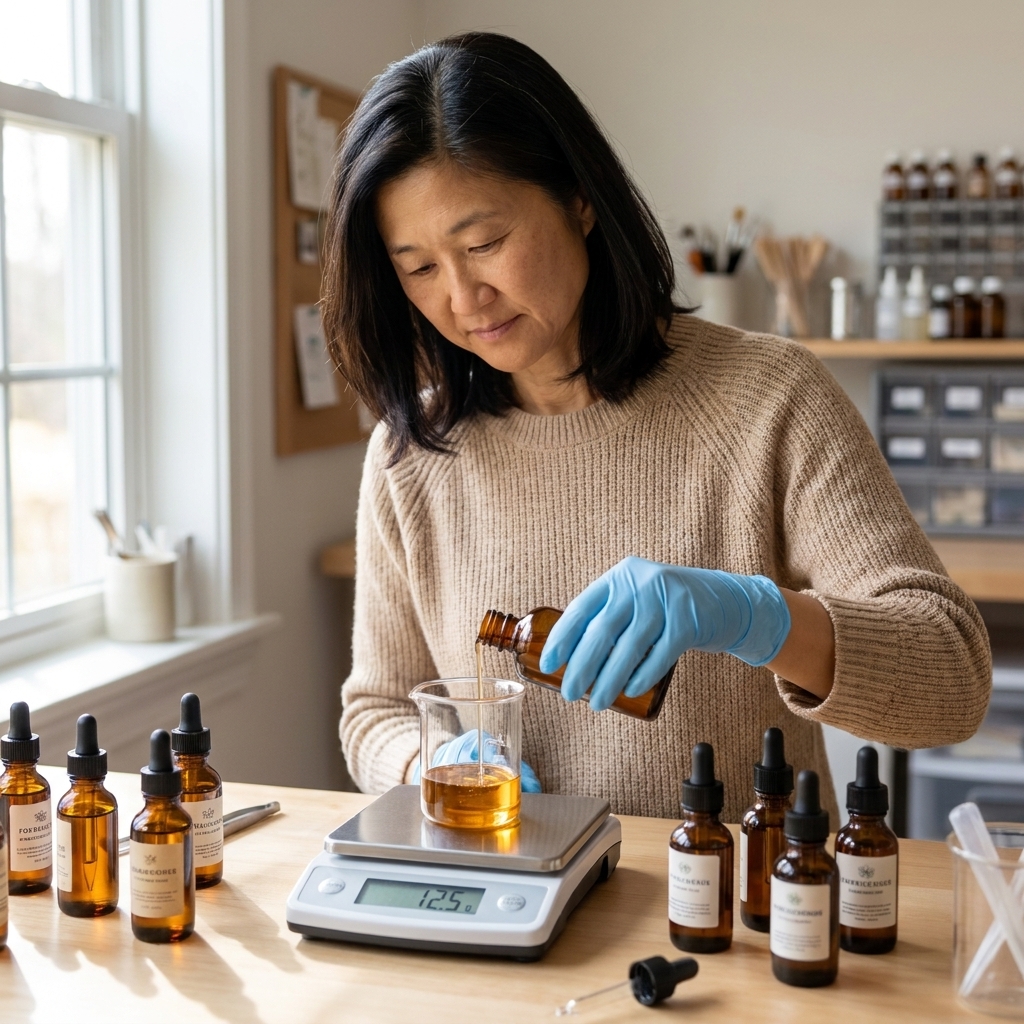
Let’s say you are making a single candle with 300 g wax at 8% load.
Total FO needed: 300 g × 0.08 = 24 g FO
Now pick a blend ratio. Let’s do 50/30/20:
- Main (50%): 12 g (example: Vanilla)
- Support (30%): 7.2 g (example: Lavender)
- Accent (20%): 4.8 g (example: Bergamot)
Weigh each oil on your scale, combine them, then add the full 24 g blend to your wax at the right temperature (more on that next).
When to add fragrance: temp and mixing
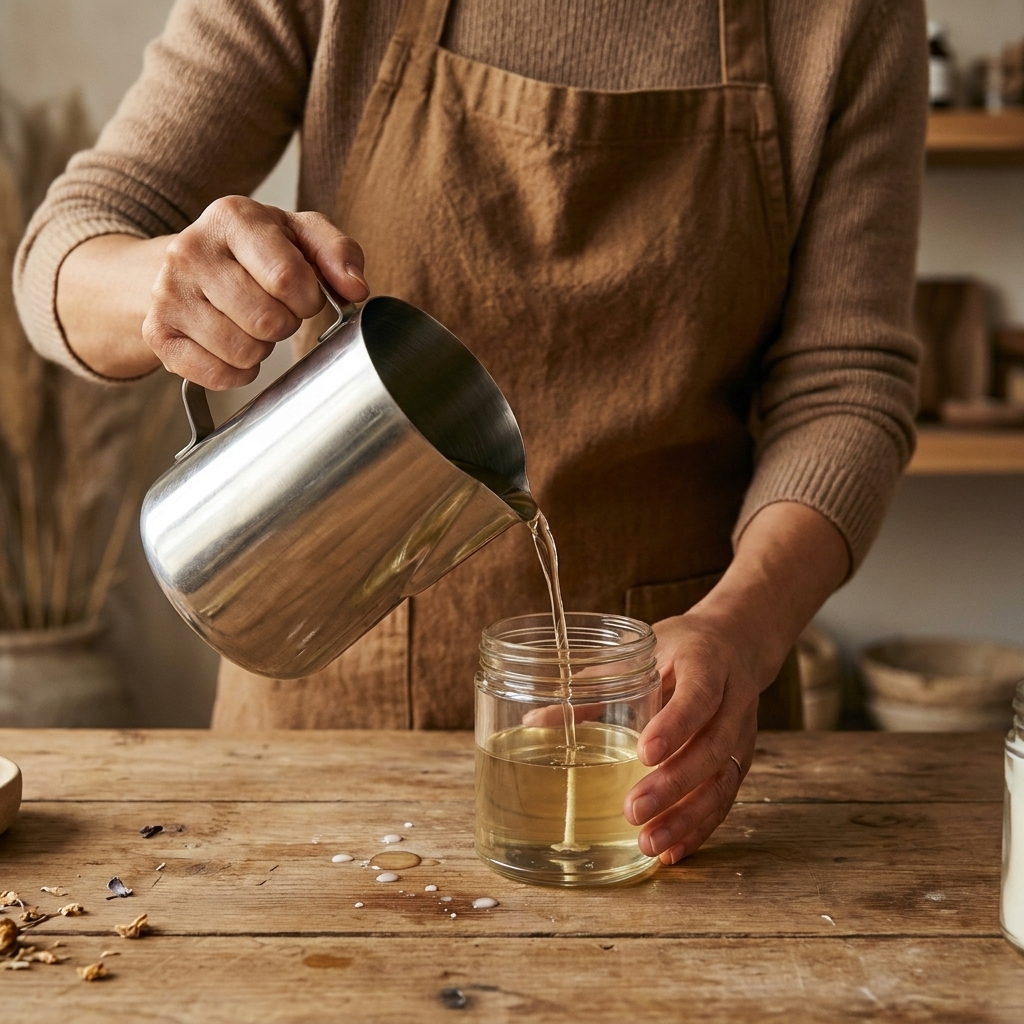
Soy wax is picky about temperature. Too hot and you can flash off lighter components and change the balance of your blend. Too cool and the fragrance may not incorporate as evenly, which can affect scent throw and surface quality.
General temperature targets
These are common ranges for many soy container waxes, but they vary a lot by formula (including popular soy types and soy blends). Your wax manufacturer’s spec sheet is the boss here.
- Melt: often 170°F to 185°F (77°C to 85°C)
- Add fragrance: commonly 160°F to 175°F (71°C to 79°C)
- Pour: often 120°F to 145°F (49°C to 63°C) depending on wax and jar
Those ranges sound wide because different soy waxes behave differently. The key is consistency: pick a process, document it, and only change one variable at a time.
My “no-mystery” mixing method
- Measure FO by weight, not volume.
- Add FO at your chosen temp.
- Stir slowly but thoroughly for 2 full minutes. Set a timer. I know it feels long. Do it anyway.
- Scrape the sides and bottom of the pouring pitcher while stirring.
Fast stirring can whip in micro-bubbles. Gentle stirring helps you get a uniform blend without turning your candle into a foam party.
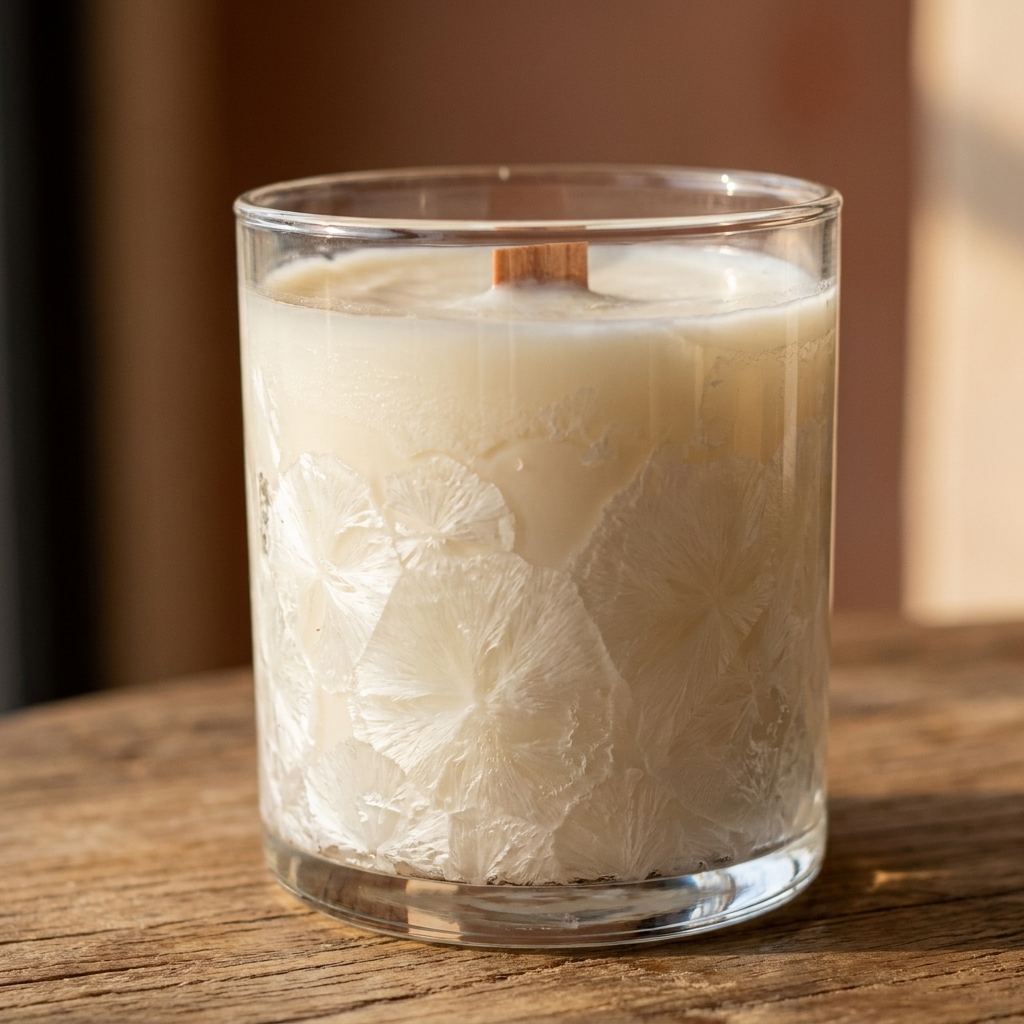
Preventing soy frosting
Frosting is that white, crystalline look on the surface or sides. It is a natural characteristic of soy as it cools and forms crystals. You can reduce it a lot, but you cannot always eliminate it 100%, especially if the candle gets moved between hot and cold rooms.
Why frosting happens
- Wax cools too quickly and crystals form visibly.
- Temperature swings after the candle sets (hello, drafty windows).
- High fragrance loads or certain oils that change crystallization.
- Overheating wax, then cooling it fast.
My most reliable anti-frosting routine
- Warm your jars. Not hot, just cozy. I like about 90°F to 110°F (32°C to 43°C). A quick pre-warm reduces shock cooling.
- Pour cooler, not hotter. Many soy waxes look smoother when poured in the low to mid 130°F range, but test for your specific wax.
- Control drafts. Cool candles in a stable room away from AC vents and open windows. If you like a target, many makers aim for a steady room around 68°F to 75°F (20°C to 24°C).
- Insulate the cooling. I often place filled jars in a cardboard box and loosely cover the top. Slower cooling usually means less frosting.
- Do not move them. Let them set undisturbed for at least 12 to 24 hours.
Fixes for frosting you can see
- Heat gun: Warm the surface just until it turns glossy and re-levels. Keep the gun moving so you do not scorch the wax.
- Second pour: If frosting is paired with sinkholes, do a thin second pour at a slightly warmer temp than your first pour.
- Accept the “soy signature” (sometimes): If your candle burns beautifully and smells great, a little frosting is not a failure. It is soy being soy.
Smooth tops: stop craters and sinkholes
A smooth top is mostly about heat management. Think of your candle like a tiny pond freezing. If the top hardens while the center is still warm and shrinking, you can get sinkholes or cracks.
Common causes
- Pouring too hot, then cooling too fast
- No wick centering tool and the wick shifts, creating uneven cooling
- Fragrance added too cool and not fully mixed
- Jars too cold
My go-to fixes
- Skewer test: If you suspect a sinkhole under a set top, poke 2 to 4 small holes around the wick with a bamboo skewer, then use a heat gun to re-melt the top and let it settle.
- Reserve wax for a top-off: Save 5% to 10% of your wax. If a sinkhole forms, re-melt the reserved wax and pour a thin layer to level.
- Heat gun finish: For minor bumps and ripples, a gentle heat gun pass makes a huge difference.
Wicks: the mini-primer you actually need
You can have a perfect scent blend and still get a weird candle if the wick is wrong. Wick choice depends on jar diameter, wax type, fragrance load, dyes, and even how heavy your base notes are.
- Start with the wick manufacturer chart for your jar diameter and wax type.
- Test in a tight range (usually 2 to 3 wick sizes). Do not jump around randomly.
- Change one variable at a time. Keep jar, wax, FO %, and pour process the same while you dial in wick.
- Watch the story the candle tells: mushrooming, soot, too-hot jar, tunneling, and weak throw are all wick clues.
Custom blends that burn clean
Not every gorgeous scent blend makes a good candle. Here is what I watch during testing so my candles smell strong without turning into smoky little drama queens.
Signs your blend or load needs adjustment
- Mushrooming wick: Try a smaller wick, reduce fragrance load, or adjust the blend away from heavy, resinous oils.
- Soot on jar: Often wick too large, but over-fragrancing can contribute.
- Weak hot throw: Could be under-wicking, pouring too hot or too cold, not curing long enough, or a blend that is top-note heavy.
- Sweating or oily top: Reduce load, ensure thorough mixing, and check your fragrance compatibility.
Test burn like a grown-up (even if you craft like a goblin)
- Let candles cure: many soy candles improve after 7 to 14 days.
- Do a burn cycle of 2 to 4 hours.
- Watch melt pool width, flame stability, and jar temperature.
- Take notes. Future you will feel so loved.
Advanced blending tips
1) Pre-blend your fragrance oils
If you are making multiple candles with the same custom scent, mix your oils together first in a separate container, then weigh out from the pre-blend for each batch. It improves consistency and reduces measuring errors.
2) Keep one “bridge” note on hand
When two scents fight, a bridge note helps them hold hands. Vanilla, amber, and light woods are my favorite bridges for making blends feel cohesive.
3) Use tiny test batches
I know it is tempting to make six full-size jars. Instead, test blends in small tins or 4 oz jars. Your nose will thank you, and your shelf space will survive.
4) Do not chase cold throw too hard
Cold throw can be deceiving. Some blends smell amazing unlit and go shy when burning. Hot throw and burn performance are what matter most.
5) Additives: optional, not magic
If you are tempted to “fix soy” with additives, go slow. Small amounts of common modifiers (like harder wax additives or blending waxes) can improve tops and reduce frosting, but they can also change burn rate and wick needs. I treat additives like spices: start tiny, test, and write everything down.
FAQ
What fragrance load is best for soy candles?
Many soy container candles perform well at 7% to 9%. Start at 8% for testing unless your wax supplier recommends otherwise, then adjust based on hot throw and burn behavior.
Why did my soy candle frost overnight?
Frosting often shows up as the wax finishes crystallizing, especially if the room cooled quickly overnight or the jar was cold. Slow the cooling, warm jars, and avoid drafts to reduce it.
Can I mix essential oils to make custom scents?
You can, but essential oils are variable and can be tricky for candles. Performance and safety depend on the specific oil, supplier guidance, and recommended usage rates. Some essential oils throw poorly in soy, and some can be irritating at higher concentrations. If you try them, test in small batches and follow the supplier documentation and applicable IFRA guidance when provided.
How long should I cure soy candles for the best scent?
For most soy waxes, 7 to 14 days often improves hot throw and overall burn. You can usually burn-test after 48 hours, but final results commonly get better with a full cure.
Next batch checklist
- Choose a fragrance load (start at 8%).
- Check wax max load and fragrance supplier guidance (including IFRA info when available).
- Calculate total FO based on wax weight.
- Blend scents using a clear ratio (50/30/20 is a favorite).
- Add FO at a consistent temp and stir for 2 minutes.
- Warm jars, pour at a controlled temp, and cool slowly in a stable room.
- Cure, test burn, and take notes like the crafty scientist you are.
- Practice basic safety: ventilation, eye protection, and never leave melting wax unattended.
If you try a new blend, write down the exact grams and your pour temps. That simple habit is what turns “random luck” into repeatable, gift-worthy candles.