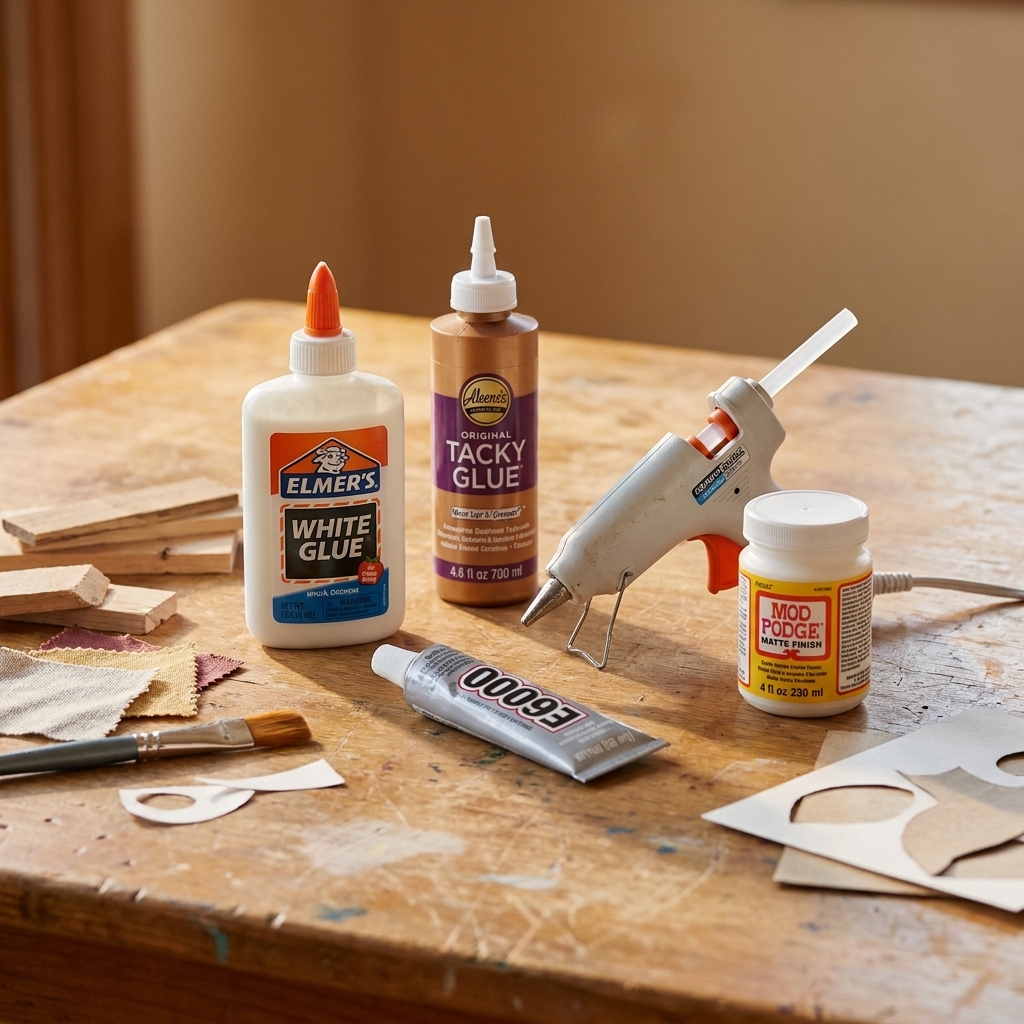
Stop guessing in the glue aisle. Here’s exactly when to use PVA, tacky glue, Mod Podge, super glue, E6000, epoxy, hot glue, spray adhesive, and more by mat...
There is something wildly comforting about hanging a fall wreath, even if the rest of life feels a little chaotic. It is a small, cozy signal that says: welcome, come on in, we have snacks. And the best part is you do not need fancy skills or expensive supplies to make one you genuinely love.
Most of these wreaths take 30 to 60 minutes and land around $10 to $30 if you use faux stems (often less if you shop your stash).
Below are 20 beginner-friendly fall wreath ideas you can customize with faux foliage, pinecones, wire frames, and burlap. I will also share the simplest ways to attach everything, keep it from shedding all over your porch, protect your door, and store it so you can reuse it next year.

Before You Start: Supply Shortcuts
You can make every wreath on this list with one simple approach: pick a base form, then swap the decorations. If you are a true beginner, I recommend choosing one base and sticking to it:
- Wire wreath frame (great for tying on stems and bundles)
- Grapevine wreath (great for tucking in pieces, very forgiving)
- Foam wreath form (great for wrapping with burlap or ribbon)
Beginner attachment cheat sheet:
- Floral wire or paddle wire: strongest, easiest to adjust, best outdoors
- Zip ties: quick and sturdy for chunky bundles
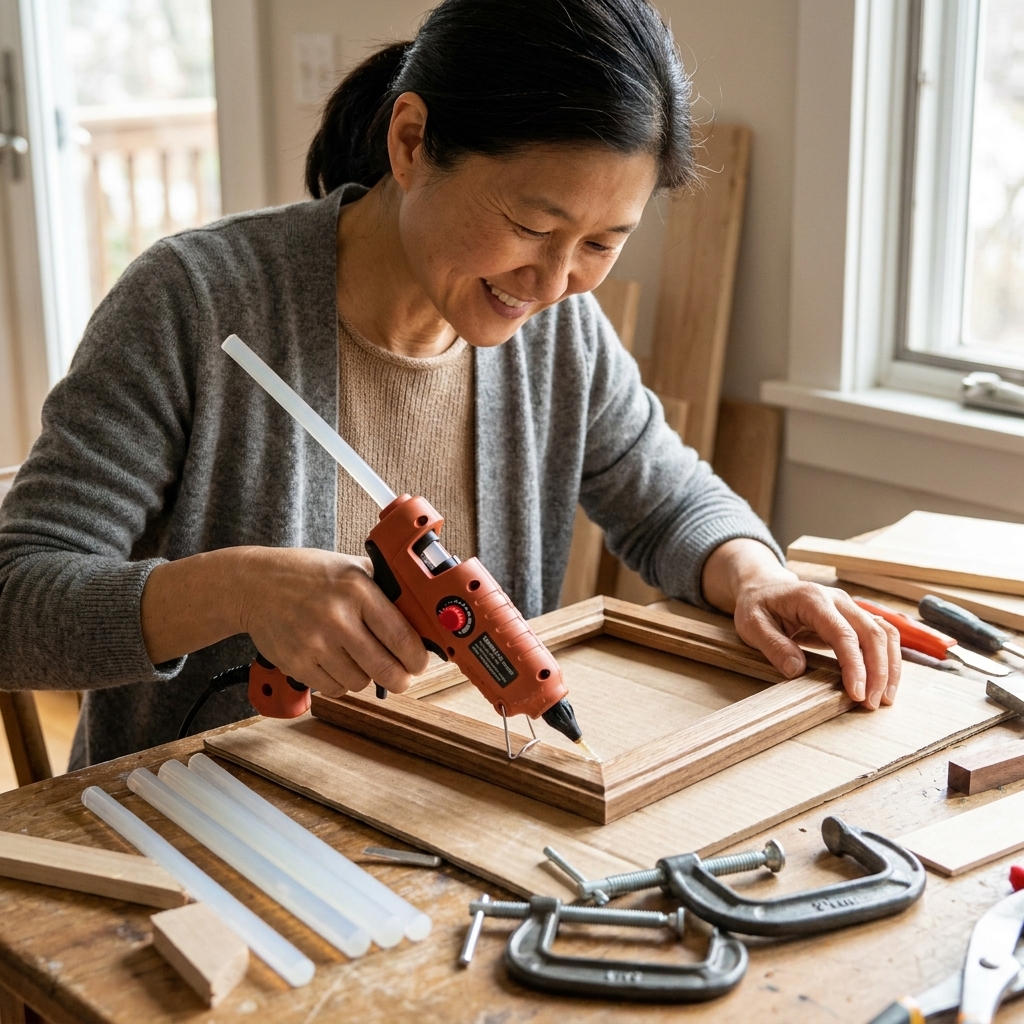
- Hot glue: fast for small accents, but it can soften in heat and get brittle in cold. UV and moisture can also weaken it over time, so treat it as a helper, not the only support for heavy pieces outdoors.
- Pipe cleaners: handy for quick indoor projects or temporary holds, but they can rust or degrade outside
If your porch gets full sun or weather, lean more on wire and zip ties. If you want extra-strong hold for heavier pieces, consider an exterior-rated adhesive (like a weather-resistant epoxy) plus wire support.
Quick safety note: Hot glue is hot (ask me how I know), and wire ends can be sharp. Use wire cutters, tuck cut ends inward, and consider gloves if you are working with lots of stems.
20 Cozy DIY Fall Wreath Ideas
Each idea includes a quick build plan and an easy upgrade if you want it to look extra full without extra stress.
1) Classic Faux Maple Leaf Wreath
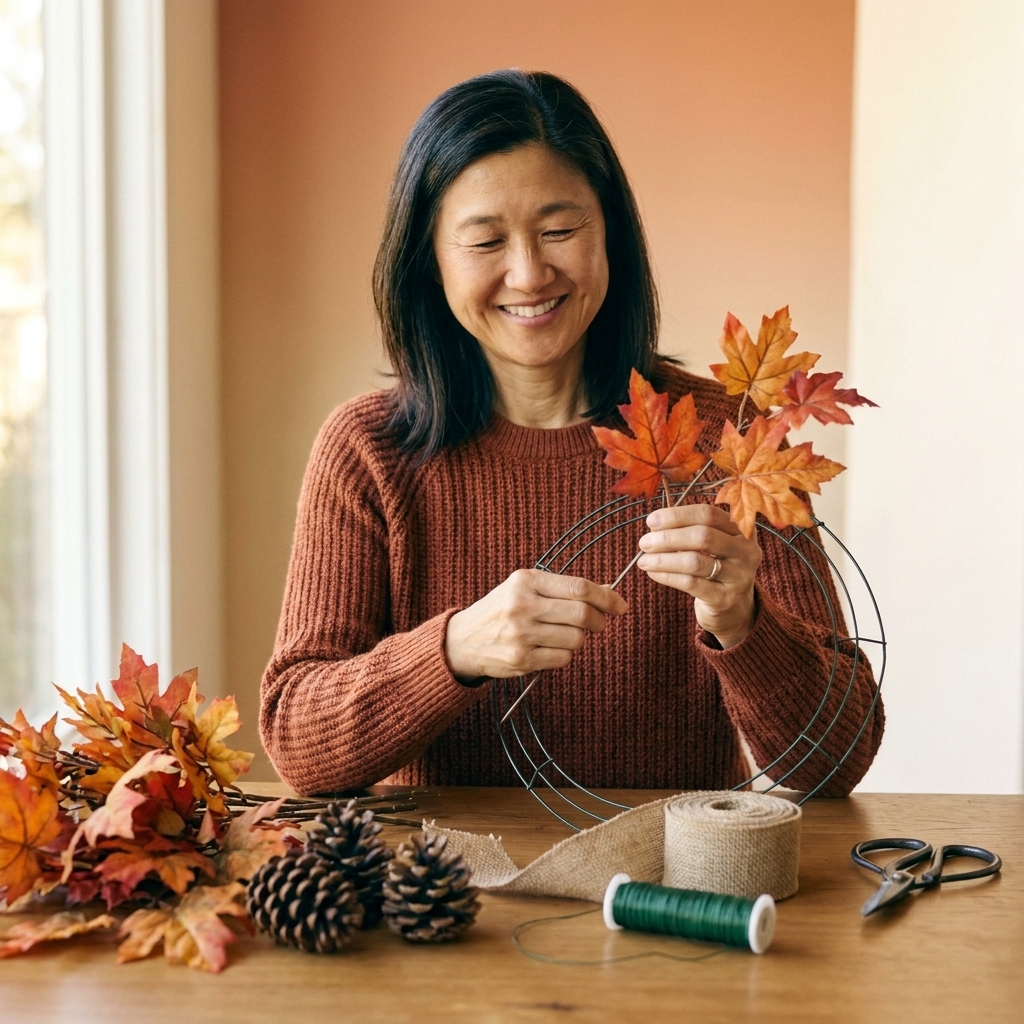
How to make it: Start with a grapevine or wire frame. Attach faux maple leaf stems around the wreath in one direction, overlapping like shingles. Secure with floral wire at the thick stem points.
Cozy upgrade: Add 3 pinecones clustered at the bottom and a simple burlap bow.
2) Burlap-Wrapped Foam Wreath
How to make it: Wrap wide burlap ribbon around a foam wreath form, pinning or gluing the start and end. Tuck faux leaves into the folds and spot-glue them.
Easy upgrade: Add a few cinnamon sticks (real or faux) tied with twine.
3) Pinecone and Burlap Bow Wreath
How to make it: On a grapevine base, glue or wire pinecones in clusters of 3 to 5, leaving negative space so it does not look too heavy.
Easy upgrade: Make an oversized burlap bow and wire it on instead of only gluing.
4) Half-Swag Fall Wreath
How to make it: Decorate only the bottom half or one side with faux foliage. This looks high-end and is easier because you use fewer supplies.
Easy upgrade: Add a trailing piece of faux berry garland for movement.
5) Pumpkin Accent Wreath
How to make it: Attach a small faux pumpkin to the lower center of a wire frame with zip ties. Build leaves and greenery around it to hide the ties.
Easy upgrade: Add mini pumpkins off to one side for an asymmetrical look.
6) Neutral Fall Wreath in Cream and Tan
How to make it: Use cream faux hydrangea (or similar) mixed with tan leaves and wheat stems. Keep the palette simple for a calm, welcoming vibe.
Easy upgrade: Swap the bow for a knotted linen ribbon tail.
7) Plaid Bow + Leaf Base
How to make it: Build a basic leaf wreath first. Then add a plaid ribbon bow as the main focal point.
Easy upgrade: Layer two ribbons: plaid on top, burlap underneath.
8) Rustic Wheat and Grass Wreath
How to make it: Bundle faux wheat stems into mini sheaves. Tie each bundle with floral wire, then wire the bundles around a wire frame.
Easy upgrade: Add a single cluster of deep orange leaves for a pop of color.
9) Apple Orchard Wreath
How to make it: Use faux greenery as your base, then glue in faux apples spaced evenly. Keep it simple: green plus red reads instantly fall.
Easy upgrade: Add tiny pinecones between apples to fill gaps.
10) Sunflower Pop Wreath
How to make it: Use 3 to 5 faux sunflowers as your statement pieces on one side. Fill around them with leaves and a few pinecones.
Easy upgrade: Add a burlap ribbon tail that hangs down 6 to 10 inches.
11) Farmhouse Cotton Stem Wreath
How to make it: Mix cotton stems (faux) with warm-toned leaves. Cotton instantly adds a soft, cozy texture.
Easy upgrade: Include a couple of eucalyptus-style stems for contrast.
12) Orange Slice Look Wreath
How to make it: Use faux dried orange slices or real dried slices (sealed). Attach in a cluster, then surround with leaves and pinecones.
Easy upgrade: Add a few bay leaves or faux greenery sprigs to balance the orange.
13) Minimalist Leaf Ring Wreath
How to make it: Use a metal ring (or a wire frame) and decorate only the bottom third with a neat bundle of leaves and berries.
Easy upgrade: Tie on a small velvet ribbon in rust or mustard.
14) Sweater Weather Yarn Wrap Wreath
How to make it: Wrap a foam form with chunky yarn (cream, oatmeal, or heather gray). Glue the ends securely. Add a small leaf and pinecone cluster.
Easy upgrade: Add a tiny knit scrap bow if you have sweater leftovers.
15) Pinecone-Heavy Woodland Wreath
How to make it: Start with mixed greenery, then add lots of pinecones in different sizes. Clusters look more natural than evenly spaced singles.
Easy upgrade: Dust pinecone tips with a tiny bit of craft paint for a soft highlight.
16) Lantern-Style Oval Wreath
How to make it: Use an oval wreath form or build one by gently shaping a wire frame. Keep decor to the lower half so it feels like a lantern swag.
Easy upgrade: Add a long bow tail that hangs down the center.
17) Thrifted Scarf Bow Wreath
How to make it: Use a basic leaf wreath base, then tie on a cozy scarf scrap as a bow. Thrift stores are full of soft plaid and flannel you can cut up guilt-free.
Easy upgrade: Add two small pinecone clusters near the bow ends.
18) Corn Husk and Burlap Texture Wreath
How to make it: Wrap sections of the wreath with burlap, then add faux corn husks or husk-like florals in a fan shape.
Easy upgrade: Add a few dark berry picks for contrast.
19) Monochrome Rust Wreath
How to make it: Choose one color family, like rust and copper. Mix different textures (leaves, berries, grasses) so it does not look flat.
Easy upgrade: Add one cream element (cotton or hydrangea) to make the rust glow.
20) No-Waste Scrap Stem Wreath
How to make it: Gather leftover faux stems and cut them into short pieces. Build little mini bundles and wire them on. This is my favorite use-what-you-have method.
Easy upgrade: Repeat one element throughout (like pinecones or berries) so the mix looks intentional.

Make It Look Full
- Work in clusters: Group three similar picks together, then repeat that cluster around the wreath.
- Hide mechanics early: Put your wire ties and zip ties where big leaves or pinecones will cover them.
- Use a base green layer: One inexpensive leafy garland cut into pieces can bulk up a wreath fast.
- Turn it as you work: Every few additions, hang it up or prop it on a chair and step back. It saves you from the why-is-it-lopsided moment at the end.
Common Beginner Mistakes
- Everything points in different directions: Choose a flow, clockwise or counterclockwise, and make most stems follow it.
- The bow is floating: Attach bows with wire or a zip tie through the wreath base, then add foliage around it to blend.
- Glue-only outdoors: If it is going on a door that gets sun or weather, reinforce big items with wire. Hot glue is great support, but it is not always the best long-term anchor outside.
- Too many tiny things: Pick one star element (pumpkin, sunflower, big bow) and let the rest support it.
Hanging and Storing
Hanging: Use a wreath hanger, an over-the-door hook, or a removable hook rated for outdoor use. If your door gets slammed a lot, a soft ribbon loop can reduce bouncing. To protect the door finish, add a small felt pad where the wreath might bump or choose a hanger with padding.
Storing: The easiest method is a large trash bag or a wreath storage bag. Store flat if possible, or hang it in a closet where it will not get squished. If your wreath sheds glitter or bits, wrap it loosely in kraft paper first.
Make It Last Outdoors
- Go faux for the porch: Real organics can mold or fade fast outside unless fully dried and sealed.
- Seal dried accents: If you use real dried orange slices, give them a protective sealant so they hold up better.
- Pick UV-tough pieces: Sunlight can bleach faux florals over time, so use higher-quality stems for the sunny side of your wreath.
- Weatherproof bows: A light fabric protector spray can help bows resist moisture and spotting. Let it dry fully before hanging.
FAQ
What is the easiest wreath base for beginners?
A grapevine wreath is the most forgiving because you can tuck stems in quickly and adjust without leaving obvious holes. A wire frame is also great if you like the security of tying pieces on.
Can I make a fall wreath without floral wire?
You can, but I recommend at least having zip ties on hand for the heavy pieces. Hot glue is wonderful, but outdoors it is best as backup rather than the only attachment.
How do I keep pinecones from falling off?
Wire them on if you can. If you are gluing, use a generous amount of hot glue, press firmly, and let it cool fully before you move the wreath. Pinecones have bumpy surfaces, so a little extra patience helps.
How many picks do I need for a full wreath?
For an average 18 to 20 inch wreath, plan on about 6 to 10 full-size picks plus a bit of greenery, or roughly 10 to 16 smaller stems if your picks are on the skinnier side. Half-swag styles often work with 4 to 6 fuller picks.