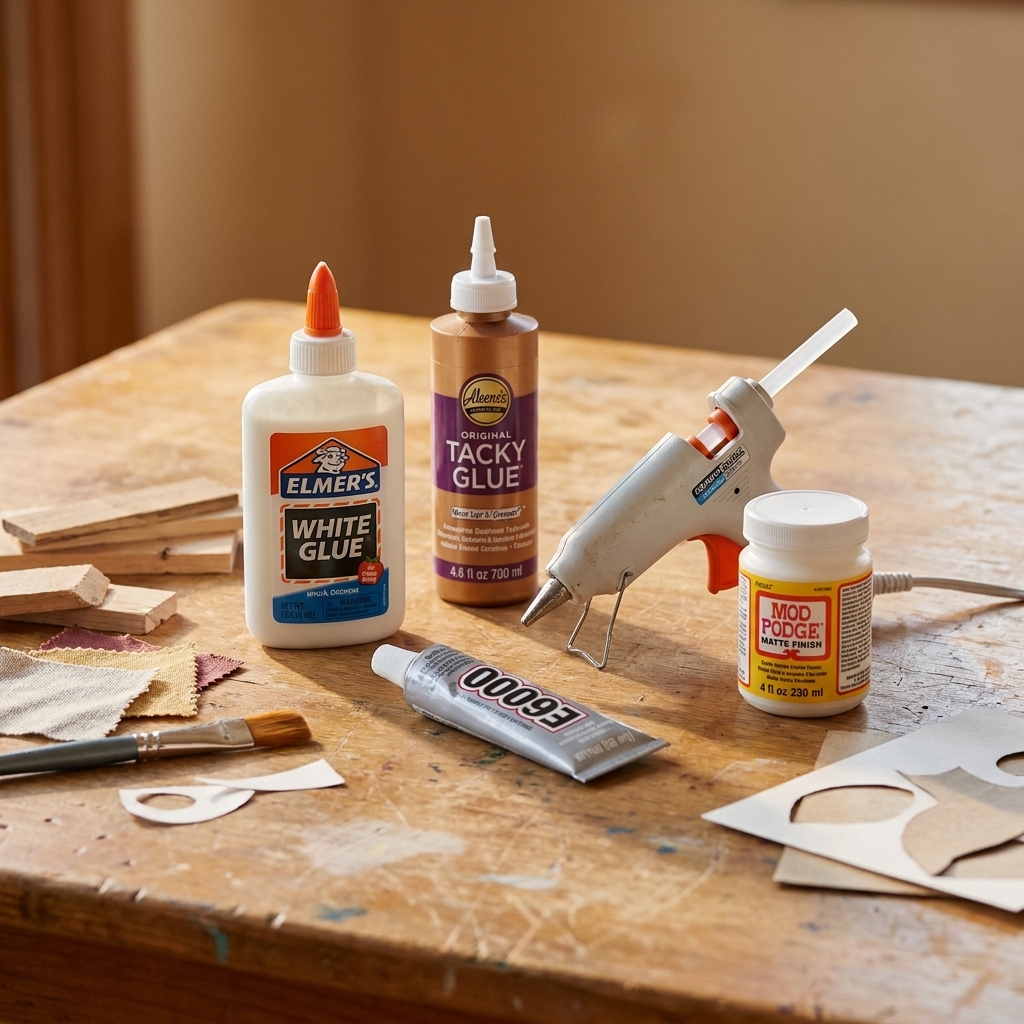
Stop guessing in the glue aisle. Here’s exactly when to use PVA, tacky glue, Mod Podge, super glue, E6000, epoxy, hot glue, spray adhesive, and more by mat...
I love a big, joyful craft mess as much as anyone, but I also love not sending a trail of microplastics and mystery chemicals out into the world after craft time. The good news is you do not have to go full-on minimalist to craft more sustainably. A few smart swaps can make a big difference, and most of them work just as well as the conventional versions.
Below are my favorite eco-friendly alternatives for the supplies many of us reach for every week. Pick one swap to try now, then build from there as you run out of things. Sustainable crafting is a marathon, not a guilt trip.
Before you swap anything
My former art-teacher heart has to say this first: the greenest supply is the one you already own. If you have a bin of acrylic paint or a drawer full of foam sheets, use them up for the projects you love. Then, when it is time to replace, choose a better option.
- Start with your biggest repeat purchases. Glue, glitter, paint, markers, paper, and wipes add up fast.
- Buy smaller bottles and refill when possible. Less waste, less dried-out product.
- Choose multipurpose supplies. One good paint can replace five specialty tubes.
1) Swap plastic glitter for biodegradable glitter
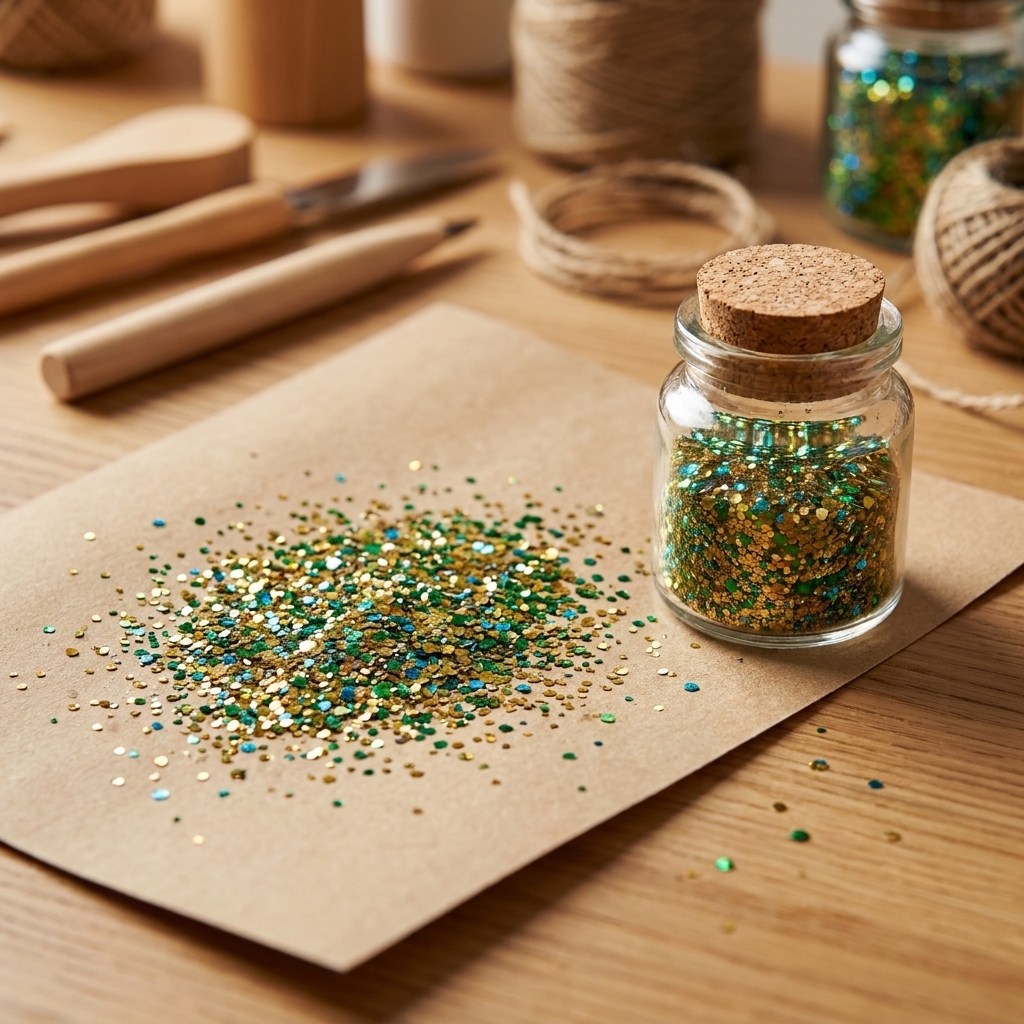
Most conventional craft glitter is plastic (often PET), and it is infamous for ending up where it should not. Biodegradable glitter is typically made from plant-based cellulose (often derived from eucalyptus) and can break down more readily than plastic glitter, depending on the conditions.
What to look for
- “Biodegradable” plus a clear material description (cellulose-based is common).
- Third-party testing claims when available, such as TÜV certifications (for example, OK compost). Also note that “biodegradable” does not mean it disappears quickly in waterways.
- Cosmetic-grade options if it might touch skin, especially for kids crafts and face gems.
- Chunk size that matches your project. Fine for painting accents, chunky for shaker cards and ornaments.
How I use it
Mix a pinch into water-based glue for sparkle outlines, sprinkle onto wet paint for a sugar-crystal look, or use it inside sealed ornaments and shaker elements so it stays contained.
2) Swap conventional acrylic paint for lower-odor, water-based paints
Not all acrylics are created equal. Many water-based paints are already relatively low in VOCs, but some brands are formulated with fewer concerning additives and have stronger safety certifications. If you paint a lot or craft with kids, this swap can make your workspace feel a lot less stinky.
What to look for
- AP Certified Seal from the Art and Creative Materials Institute (ACMI), which indicates the product is certified non-toxic when used as intended (based on toxicological evaluation, including potential chronic hazards).
- Low-VOC or non-toxic labeling with clear manufacturer info.
- Concentrated or refill options when available.
Extra-sustainable tip
Rinse water is sneaky waste. When I paint, I keep a “dirty water” jar, let pigment settle, pour off clearer water for the next session, then let the remaining residue dry out. Dispose of dried paint residue according to your local guidance, and avoid sending paint solids down the drain.
3) Swap disposable wipes for washable rags
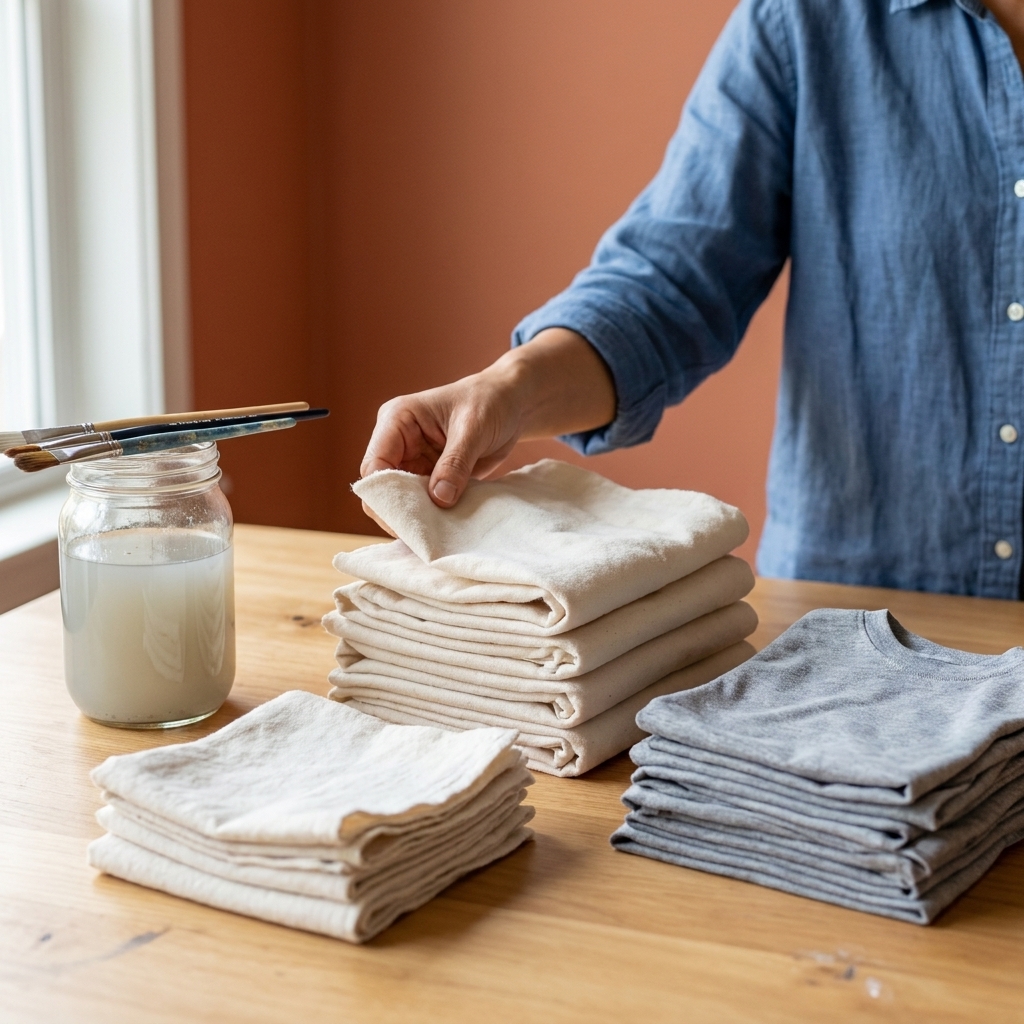
This is the least glamorous swap on the list and the one that saves the most trash in my house. Paint sessions, Mod Podge days, and glitter emergencies all create wipe waste. Washable rags turn that into laundry instead of landfill.
My go-to setup
- Cut-up old T-shirts or flannel sheets as general rags.
- One “mess bucket” or small lidded bin for dirty rags until laundry day.
- A designated craft towel for hands only, so your good towels stay good.
If you are worried about stains, congrats, you have a towel that is clearly living its best crafting life.
4) Swap solvent-based glues for water-based adhesives
We all love a glue that grabs fast, but many strong adhesives rely on solvents that can be harsh to breathe and tricky to clean up. For most paper crafts, kid projects, and light DIY, water-based glues do the job with less odor and easier cleanup.
Better options for common needs
- Paper and cardstock: PVA school glue or glue sticks (look for non-toxic labels).
- Fabric to fabric: Water-based fabric glue, or sewing when possible for true longevity.
- Wood and general building: Wood glue (PVA) for porous surfaces.
When you still need the big guns
Sometimes you truly need contact cement or super glue. In those cases, use it intentionally: ventilate well, cap it tightly, and choose the smallest bottle that fits your project so less expires in a drawer.
5) Swap dye kits for clearer, lower-toxicity dyeing
Dyeing is magical, but some all-in-one kits can be a mystery cocktail. If you want more control and a gentler process, look for dyes with clear safety info and an accessible Safety Data Sheet. Or try plant-based dyeing for soft, earthy color.
Two approachable directions
- Fiber-reactive dyes with clear SDS: Great for cotton, linen, and rayon. They bond well and can be very colorfast when used correctly. Even when a dye is marketed as “non-toxic,” treat dye powders and soda ash with respect: avoid breathing dust, protect skin, and ventilate.
- Botanical dyeing: Onion skins, avocado pits and skins, black tea, turmeric, and red cabbage can tint natural fibers. Colors tend to be more muted and can fade faster, but the process is soothing and surprisingly kid-friendly with supervision (and clothing you do not mind staining).
Beginner-friendly plant dye recipe
Simmer yellow onion skins in water for 30 to 45 minutes, strain, add pre-wet cotton fabric, and simmer another 30 minutes. For better staying power, research mordants carefully and follow safety guidance. Alum is often used, but any mordant deserves a quick safety check before it comes anywhere near kids or your favorite stockpot.

6) Swap virgin paper for recycled or FSC paper
Paper crafts are my comfort zone, so this is a big one. You can keep making cards, collages, and classroom-style projects while choosing paper that supports better forestry and reduces demand for virgin pulp.
Easy sustainable paper sources
- Recycled cardstock and sketch paper for everyday crafting.
- FSC-certified paper when recycled is not available in the weight you need.
- Reclaimed paper like packaging, paper bags, cereal boxes, and the blank side of misprints.
My no-waste paper trick
I keep a “scrap bin” sorted by size: tiny (tags and punched shapes), medium (cards), large (collage bases). It makes scraps feel like supplies, not clutter.
7) Swap plastic extras for natural embellishments
Those little plastic extras are fun, but they add up quickly in both cost and waste. Natural and reclaimed embellishments give you texture and personality with a lighter footprint.
Try these instead
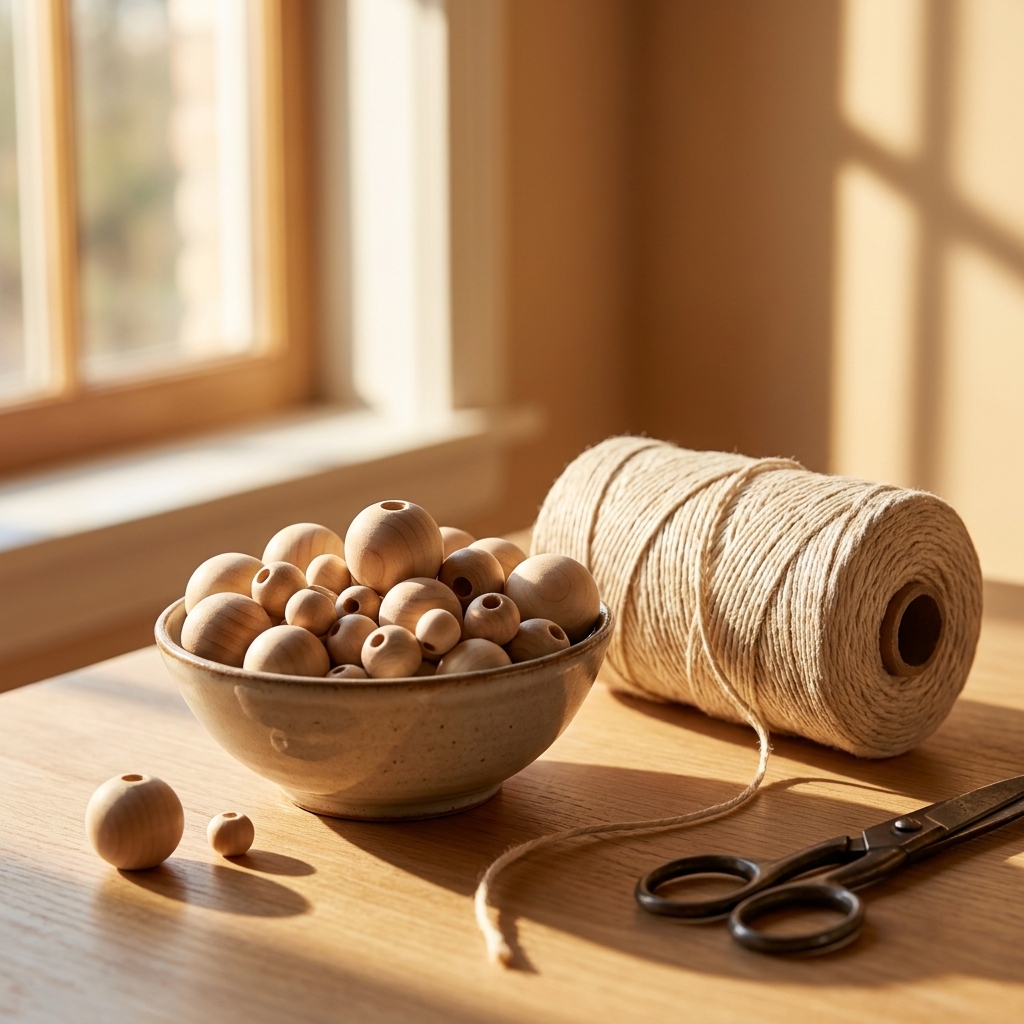
- Wood, cork, or paper beads for garlands and jewelry.
- Felted wool balls as pom-poms and banner accents.
- Buttons from thrift stores or the legendary button tin from a relative.
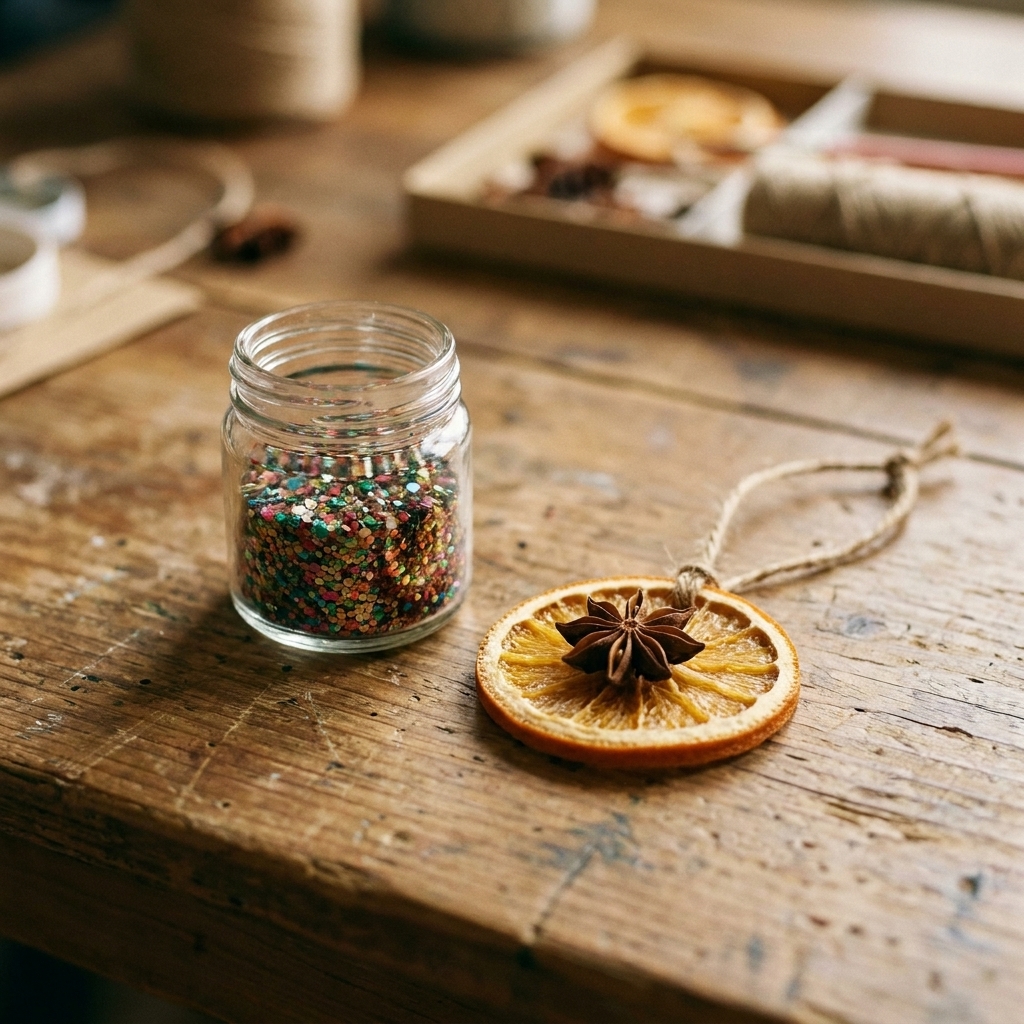
- Dried orange slices, cinnamon sticks, and pinecones for seasonal decor.
- Fabric scraps twisted into rosettes, bows, or tassels.
One quick note if kids are involved: natural items can be choking hazards too. Also, be sure anything botanical is fully dry before storing, so you do not accidentally craft yourself a science experiment.
FAQ
Is biodegradable glitter really better?
Generally, yes, especially cellulose-based glitter compared to PET plastic glitter. It is still best used thoughtfully. The most eco-friendly glitter is the glitter that stays in your project, so I love using it in sealed shakers, ornaments, and other contained elements.
Are “non-toxic” labels regulated?
Labels vary by country and category, so I look for clearer third-party signals when possible. For art materials, the ACMI AP Seal is a helpful indicator, and reputable manufacturers will provide Safety Data Sheets and detailed use instructions.
Can I make my own glue?
For paper crafts, some homemade starch pastes work in a pinch, but they can mold and are not always as strong. If you want a lower-waste option that is still dependable, prioritize water-based glues in right-sized bottles and use washable tools to reduce waste around the glue.
A gentle way to start
If you want the biggest impact with the least overwhelm, start here: switch to washable rags, choose recycled or FSC paper on your next restock, and treat glitter like the special effect it is rather than an everyday seasoning.
Crafting is supposed to feel good. A more sustainable stash helps your projects feel even better, because the joy lasts past the final sprinkle of sparkle.