From biodegradable glitter to clearer, lower-toxicity dyeing, these 7 simple swaps help you craft with less waste without losing the fun.
There are two kinds of crafters: the ones who have a “button jar,” and the ones who used to have a button jar until it turned into a glittery, tangled mystery soup. If your beads roll under the table, your brads vanish into another dimension, and you buy duplicates because you cannot find the ones you already own, you are in the right place.
My organizing goal is always the same: sorted, visible, and easy to put away. Because the real magic is not having a perfect craft room, it is having a craft room you will actually use.
Quick safety note: Tiny supplies are tiny hazards. If kids or pets are ever in your craft space, pick containers with secure latches and store them up high.
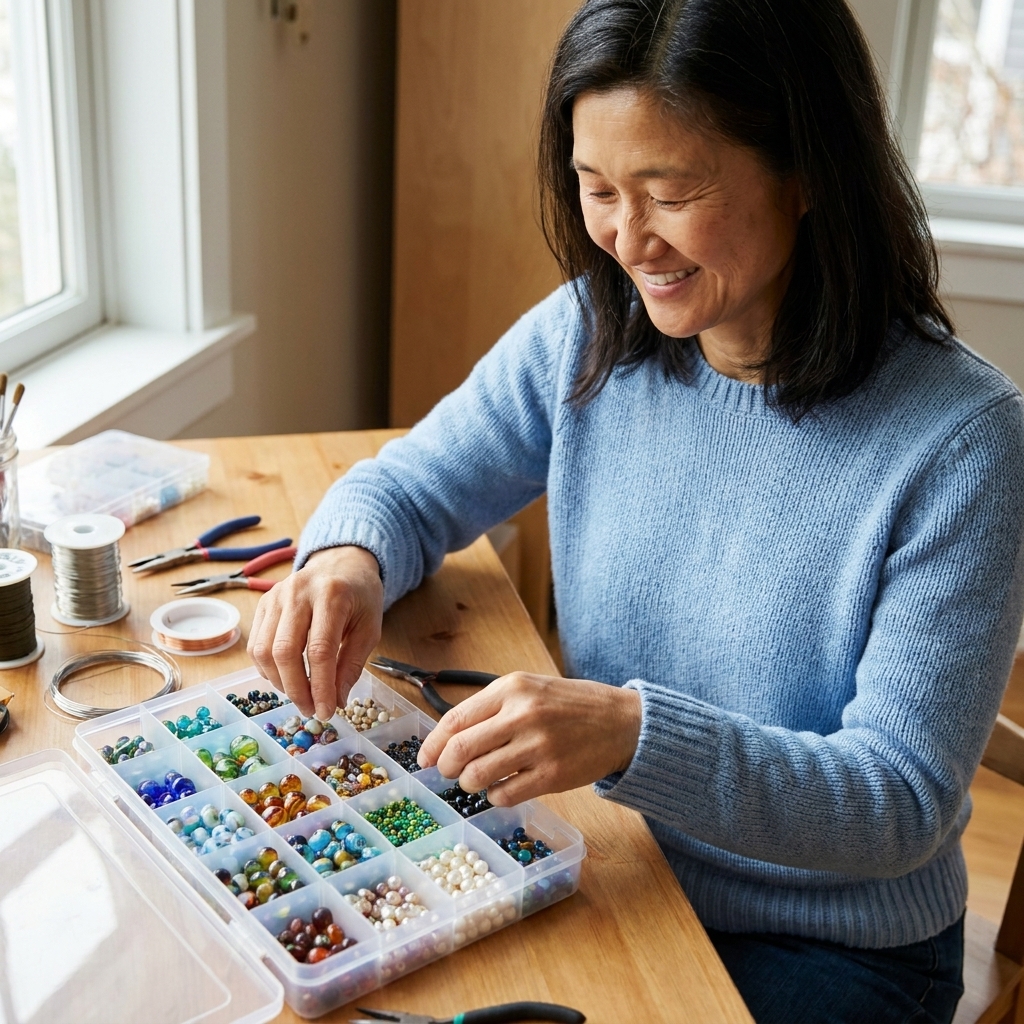
Start with a 15-minute reset
I love a good storage aisle moment, but the fastest way to get organized is to do a mini reset first. Set a timer, grab three bowls or small trays, and do this:
- Sort by type: beads in one, buttons in one, brads and metal findings in one.
- Pull out the “hazards”: rusty brads, broken shanks, cracked beads. If it can snag thread or stain fabric, it is not worth the headache.
- Group by how you use them: jewelry beads vs. embroidery beads, garment buttons vs. craft buttons, scrapbook brads vs. mini hardware.
This quick sort tells you what kind of storage you actually need. (Spoiler: it is usually more small compartments and fewer big bins.)
The rule: small items, small spaces
If tiny supplies live in a big container, they migrate, mix, and hide. Look for storage with tight-fitting lids and many small compartments. If you can pick up the container and gently shake it without everything blending together, you are on the right track.
My favorite quick-win containers
- Adjustable compartment boxes (bead organizers, hardware organizers): best all-around solution.
- Stackable mini drawers: great for daily-use items you reach for constantly.
- Small jars with screw lids: perfect for overflow, bulk, or sets that stay together.
- Binder pages with pockets: surprisingly awesome for flat items like button cards and small packs of brads.
Beads: sort by size and vibe
Beads are the ultimate escape artists. The trick is to store them in a way that matches how you build projects. Most of us choose beads by color family, size, and material, not by whatever bag they came in.
Best storage options for beads
- Compartment bead boxes: Use one compartment per bead type. If you mix sizes in one spot, they will nest together and you will hate it later.
- Little lidded pots inside a bigger case: Perfect for seed beads and tiny spacer beads. Bonus: you can pour without spilling as much.
- Test tube style containers (tall, narrow tubes with caps): Great for small rounds and uniform beads, especially if you like to pour onto a bead mat.
- Snack-size zip bags inside a photo case (a photo storage box with small snap-shut cases): A budget-friendly combo that keeps bags upright and visible.
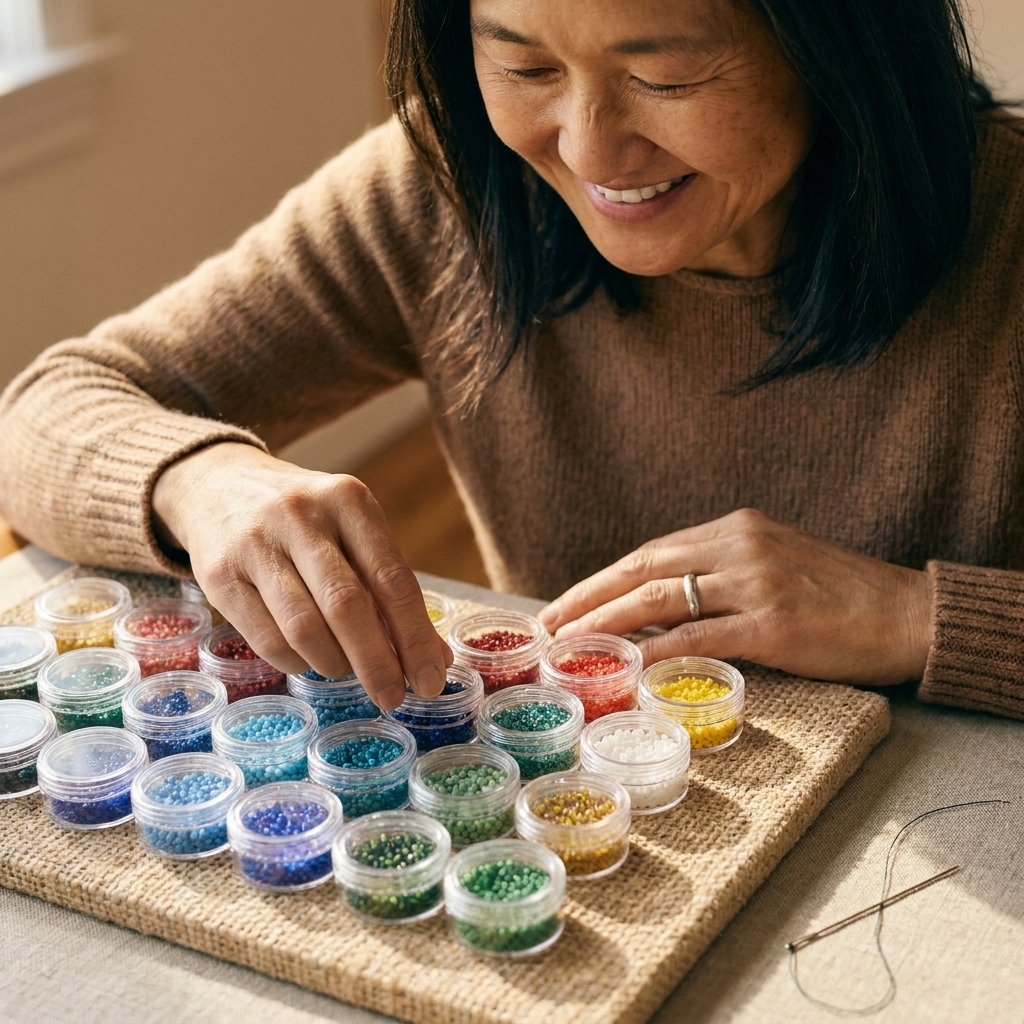
How to label beads for reordering
If you ever want to remake a pair of earrings or restock a favorite color, labeling matters. I like a tiny slip of paper inside the compartment or pot that includes:
- Color or finish name (even if you make it up)
- Size (like 8/0 seed beads or 6 mm rounds)
- Brand or source (store name is enough)
No-waste tip: Cut labels from packaging cardboard and tuck them in. Free and it uses scraps that usually head to the recycling bin anyway.
A less-spill setup
Keep a bead mat or a piece of craft felt stored right inside your bead case. When you open the box, you already have a soft surface that stops beads from rolling. Felt is my go-to because it is grippy, cheap, and forgiving.
If you want to level up, stash a tiny funnel or bead scoop in the case too. It makes “put it back where it belongs” feel way less annoying.
Buttons: size first, then color
Buttons feel easy until you need four matching ones, and you only have three. Or you find the fourth two months later in a different container, living its best life.
Three button systems that work
- By size in compartment boxes: One compartment for 1/2 inch, one for 5/8 inch, one for 3/4 inch, and so on. Within each, sort by color if you have a lot.
- By garment type in small jars: “Cardigan buttons,” “jeans buttons,” “kid clothes,” “decorative.” This is very practical if you sew.
- On cards in a binder: Thread matched sets onto a small cardstock card (or reuse the original button card), then store in baseball card sleeves or small-pocket pages.
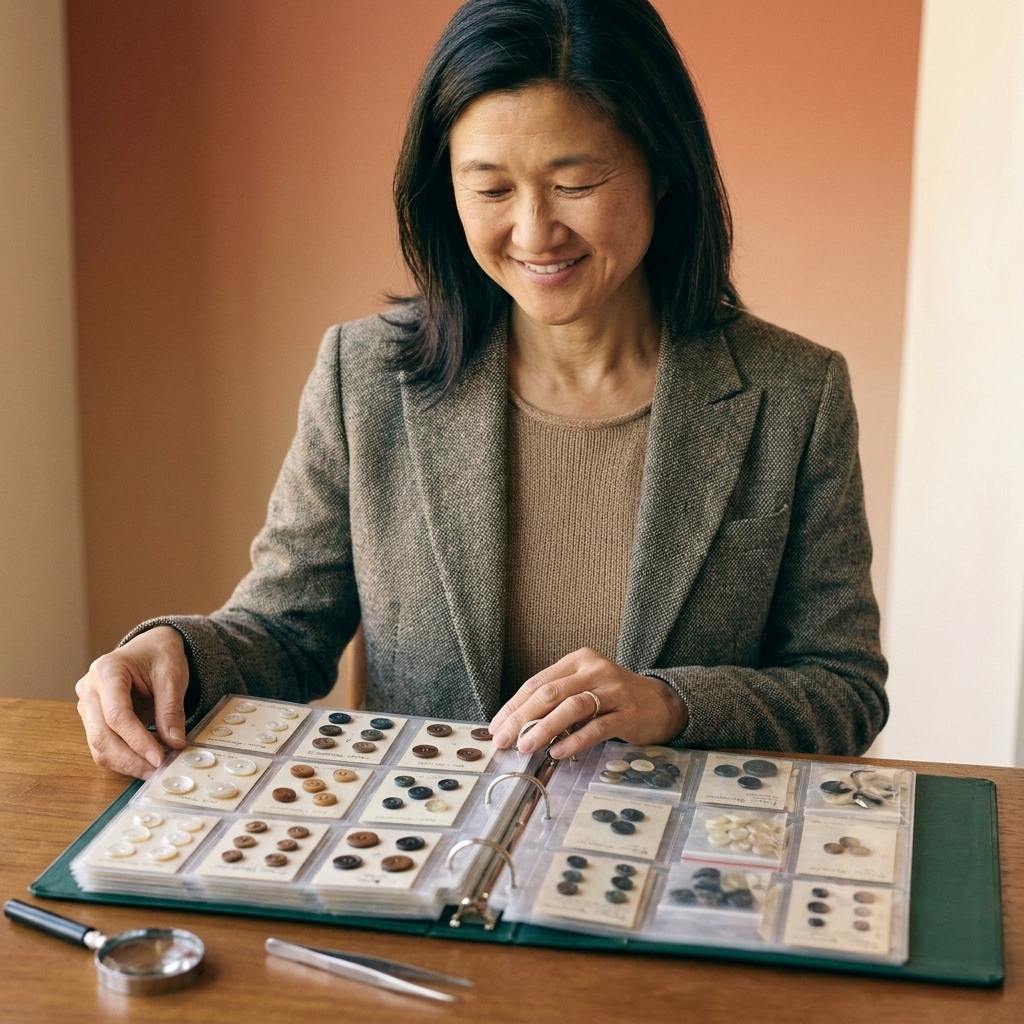
My favorite way to keep sets together
For matched sets, I thread the buttons onto a short piece of scrap yarn, tie a bow, and tuck them into their compartment. It is soft, it does not scratch, and it is easy to undo when you are ready to sew.
What to do with random cute buttons
Those novelty buttons are a joy and also a trap. Give them a dedicated home labeled decorative only. That way, when you need functional shirt buttons, you are not digging through tiny strawberries and unicorns.
Brads: finish and leg length
Brads are small but mighty. They also scratch easily, bend if they rattle around, and look identical until you try to use them on thick chipboard and realize the legs are too short.
Storage that prevents bending
- Shallow compartment organizers: This is ideal because brads stay mostly flat.
- Magnetic dishes (inside a drawer): Great for temporarily holding brads while you work so they do not skitter away.
- Mini tins: If you love tins, add a small circle of felt inside to reduce scratching and noise.
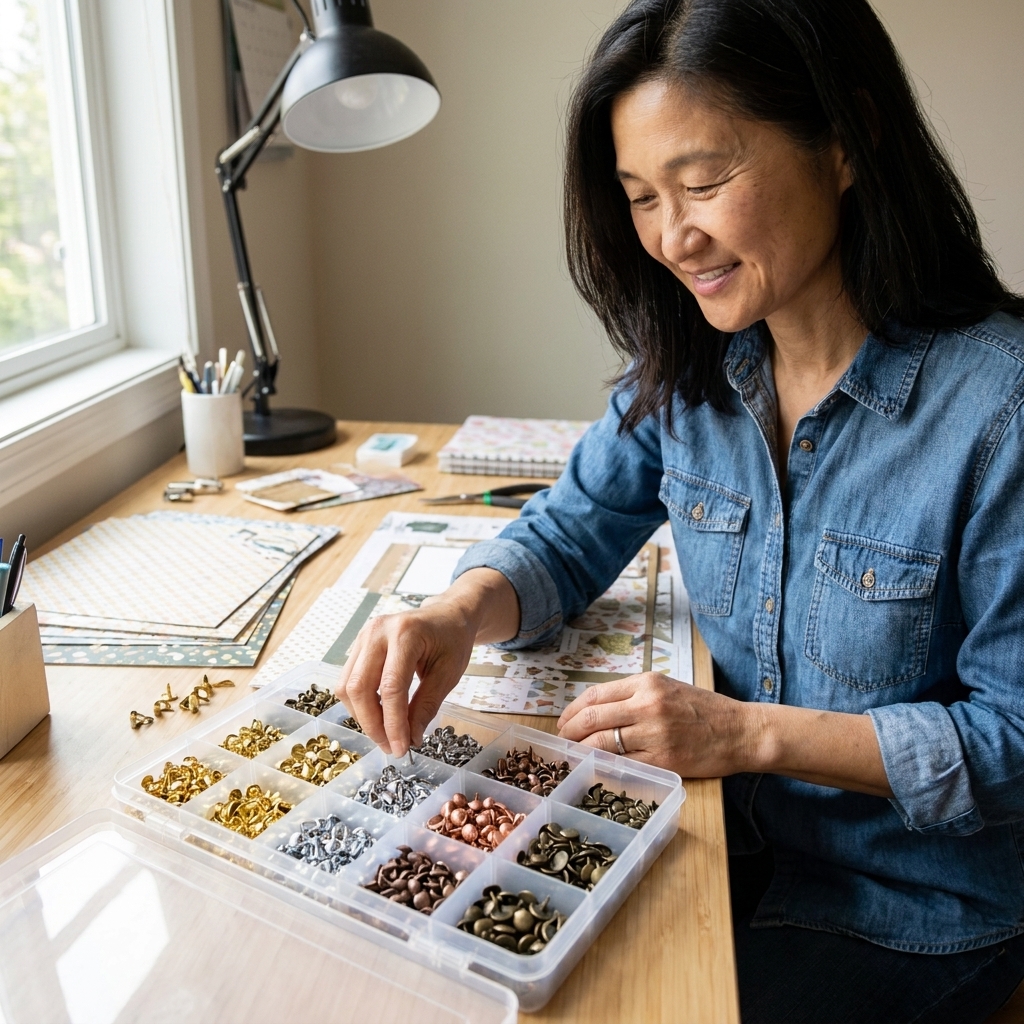
A sorting system that saves time
- Finish: silver, gold, bronze, black, colored, specialty.
- Size: mini vs. standard vs. jumbo.
- Leg length: short legs for paper, longer legs for chipboard or fabric layers.
- Sturdiness: lightweight craft brads vs. heavier-duty brads that hold up to thick stacks.
If you do mixed media or memory books, those last two categories are the difference between smooth crafting and frustrated crafting.
Use zones that match your habits
Even the cutest organizer will fail if it lives across the room from where you craft. Create mini zones based on your routines:
- Jewelry zone: beads, findings, wire, pliers, bead mat.
- Paper crafts zone: brads, eyelets, adhesive dots, paper trimmer, rulers.
- Sewing zone: buttons, snaps, needles, thread, seam ripper.
If you craft in a shared space, use a portable caddy with one container per zone so you can grab one bin and go.
Budget storage hacks
You do not need a fancy craft room to be organized. Some of my favorite solutions come from the kitchen and hardware store.
Repurpose wins
- Mint tins: Ideal for brads and small metal findings. Add felt to reduce rattling.
- Baby food jars or spice jars: Great for button overflow and bulk beads.
- Egg cartons (temporary sorting): Perfect for a quick sorting session before you commit to permanent storage.
- Pill organizers: Surprisingly good for micro beads, sequins, and tiny embellishments.
Dollar store MVPs
- Stackable bead containers
- Small drawer units
- Clear pencil boxes for project kits
- Label stickers and a fine-tip permanent marker
Clear storage gets a gold star from me because it reduces out of sight, rebuy it again syndrome.
Labels that stay readable
I have learned this the hard way: labels need to survive messy hands, sticky supplies, and the occasional craft table snack.
My reliable labeling method
- Write on masking tape with a fine-tip permanent marker.
- Cover with clear tape so it does not smudge.
- Place labels on the front edge of drawers and the flat side of boxes so they are visible when stacked.
If you want to be extra organized, add a simple code like B for beads, BTN for buttons, BR for brads. Future-you will thank you.
Stop buying duplicates
If “I swear I already have this” is your crafting catchphrase, give yourself one tiny inventory habit. Nothing intense, just enough to keep your stash honest.
- Keep a running list: Tape a small note inside your bead case or button binder with your most-used basics (favorite black seed bead, common shirt button sizes, go-to brad finishes). When you run low, jot it down right there.
- Use a simple restock line: Pick a point that triggers a reorder, like “less than one compartment left” or “fewer than 6 matching buttons.”
- One in, one out (optional but powerful): When a new organizer comes in, one random overflow jar gets sorted or donated. It keeps the mystery soup from returning.
A 1-minute put-away routine
The difference between organized and chaotic is rarely a better container. It is the habit of resetting after you make something.
- Work from a tray: Put the small things you are using on a shallow tray so they do not spread across the table.
- Close lids as you go: If it has a lid, it is not optional. (Ask me about the time I sneezed near seed beads.)
- Do a quick sweep: Use a small dry paintbrush to sweep beads into a pile and funnel them back into the right compartment.
Make it a little ritual. Crafting is already therapeutic. A calm cleanup can be too.
Common issues and fixes
My compartments mix when I travel
Choose organizers with snap-tight lids, and store them flat in a tote. If your box has gaps between compartments, add a thin sheet of craft foam on top before closing the lid.
I inherited a huge button stash
Start with three categories only: sewable basics, decorative, discard or donate. Get those separated first, then refine by size and color later.
My brads tarnish
Some metal brads can tarnish over time, especially in humid spaces. Store them in a dry spot and avoid damp basements. If you have a silica gel packet from packaging, toss it into the container to help reduce moisture. Keep packets away from kids and pets.
I do not have space for big organizers
Go vertical: a slim drawer unit on a shelf, a binder with pocket pages, or stackable boxes that fit into a single cube. Tiny supplies do not need a big footprint. They need smart divisions.
A simple setup to copy
If you want a no-brainer starting point, here is a setup I recommend for most crafters:
- One adjustable compartment box for beads you use often
- One shallow organizer for brads and metal findings
- One binder with pocket pages for button sets and specialty packs
- One small jar labeled To Sort for the random handfuls that show up mid-project
That last jar is the secret sauce. It keeps your system from collapsing the first time you are in a hurry.