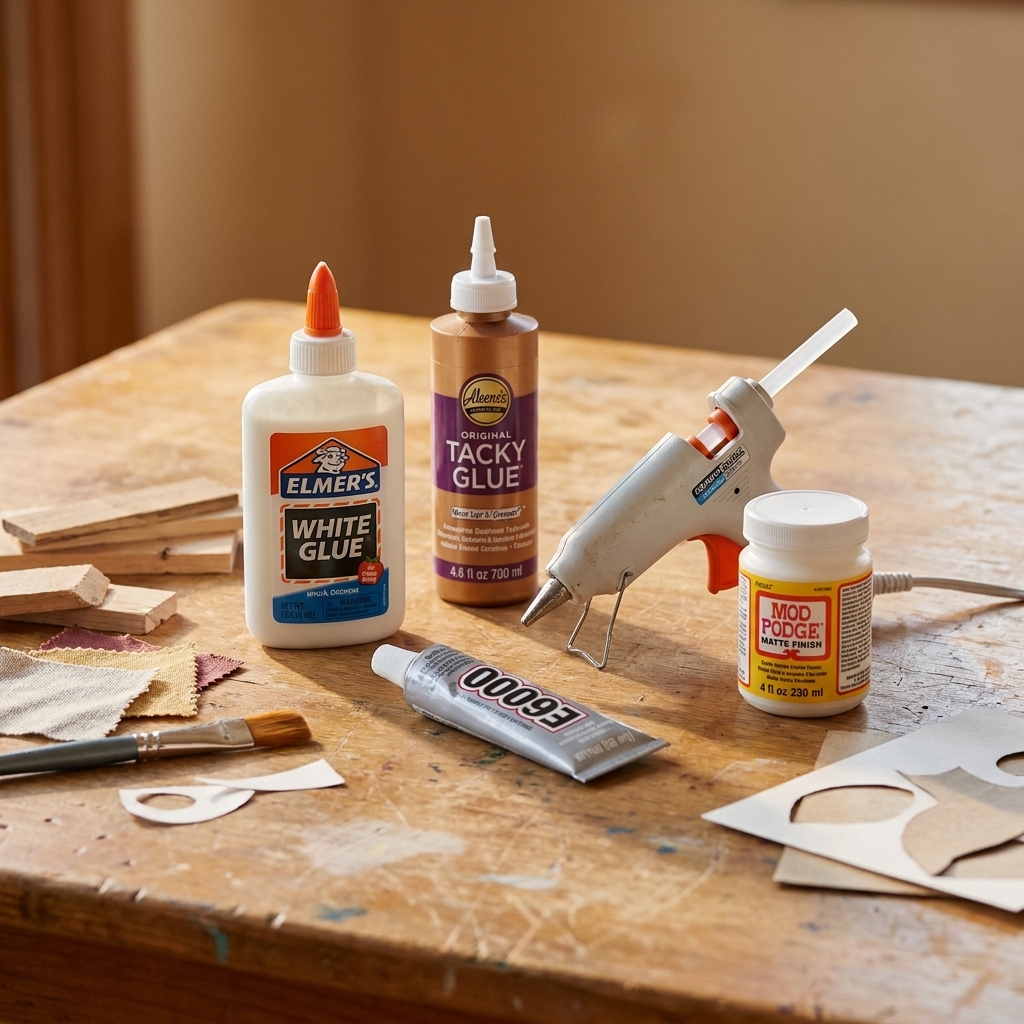
A practical, beginner-friendly comparison of Cricut and Silhouette cutting machines, including software, materials, print-then-cut, and real-world crafting p...
If you have ever wondered why your card fronts look a tiny bit wavy (even when you swear you measured twice), it is usually not you. Paper crafting is one of those hobbies where a millimeter matters, and the right cutter makes clean edges feel almost effortless.
Below is my curated, crafter-tested lineup of precision cutting tools for scrapbooking and card making, plus exactly what each one is best at. I am also sharing the small setup tweaks that make a huge difference, because even the fanciest trimmer can misbehave if the blade is dull or your paper is sliding around.
Quick pick guide
Quick definitions (so we are talking about the same tools): A rotary trimmer is a tabletop trimmer with an enclosed blade that glides along a rail. A guillotine or bypass cutter has a hinged arm that slices down. A handheld rotary cutter is the quilting-style wheel you roll along a ruler on a mat.
- Best for perfect card bases and panels: a high-quality rotary trimmer with a sturdy base
- Best for fast, dead-straight cuts on stacks: a guillotine or bypass cutter with a sharp, stable arm
- Best for tiny details and tight corners: a precision craft knife with a fresh blade (small scissors also work beautifully for fussy cutting)
- Best for photo mats and repeated sizing: a trimmer with a reliable ruler grid and a good fence (or add a metal ruler stop)
- Budget-friendly, easiest upgrade: a basic rotary trimmer plus a pack of fresh blades and a metal ruler
Top craft knives
Craft knives are for the moments when a trimmer simply cannot get into a nook, like trimming around shaker windows, cutting clean corners on frames, or tidying up intricate layers. Some crafters also use them for fussy cutting stamped images, although small detail scissors are often the more comfortable choice there. The key to precision is blade sharpness, handle comfort, and a cap that actually stays on so you are not playing “where did my blade go?” in the supply bin.
Olfa AK-1 Art Knife
This is a classic for a reason. The slim, pen-like handle gives you great control for delicate curves and tight pivots. Pair it with a self-healing mat and you will get those crisp turns that are tough to achieve with bulky scissors.
- Best for: tiny notches, paper piecing details, cleaning up corners and windows
- Why it feels precise: lightweight handle, fine-point blade, steady grip
- My tip: swap blades sooner than you think you need to. A “mostly sharp” blade is how paper starts tearing instead of slicing.

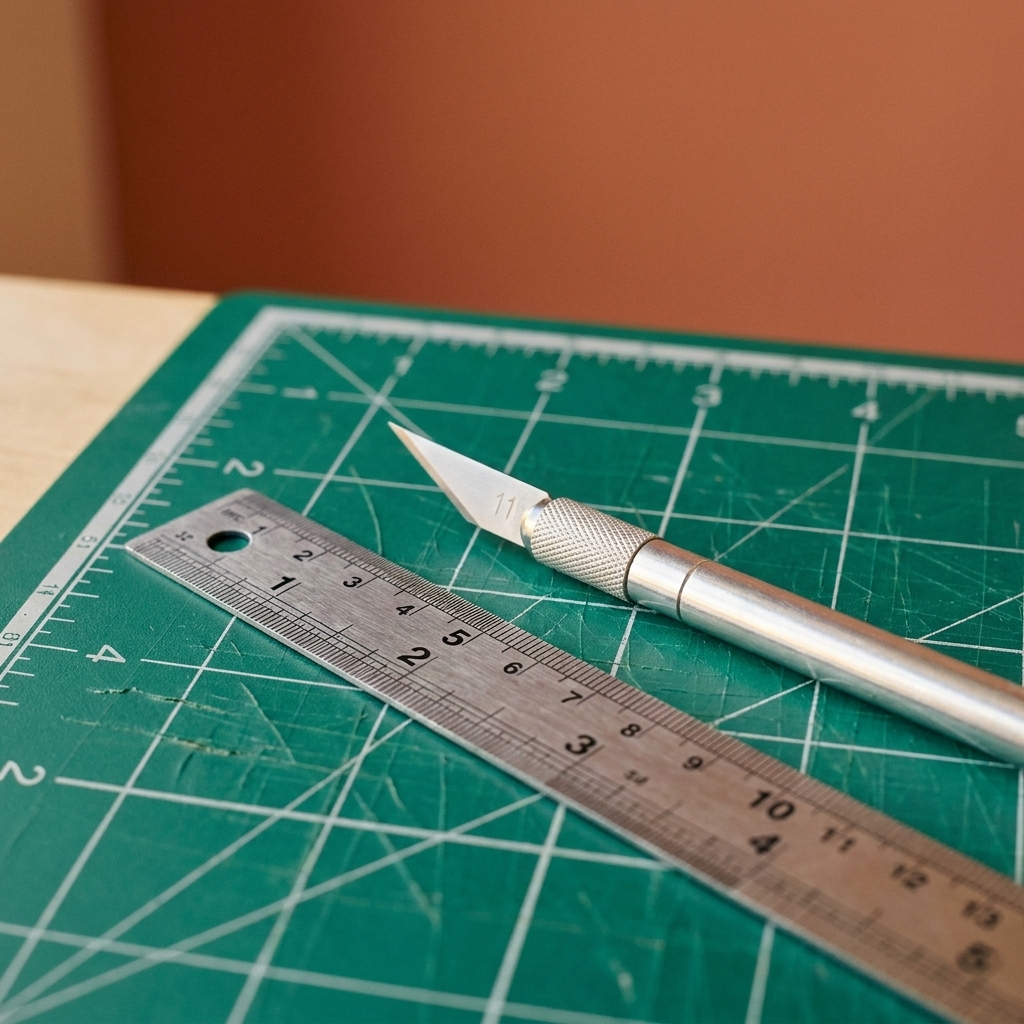
X-Acto No. 1 Knife (with No. 11 blades)
The workhorse. It is easy to find replacement blades, and it handles everything from straight cuts with a ruler to quick trimming around embellishments. If you craft with kids or in a classroom setting, this is also the one most people already understand how to use safely, with close supervision and a proper mat.
- Best for: general paper trimming, cutting openings for windows, quick straight cuts
- Why it feels precise: predictable blade shape, firm handle, widely available blades
- My tip: use a metal ruler (not plastic) for straight cuts, and keep your fingers up and away from the blade edge.
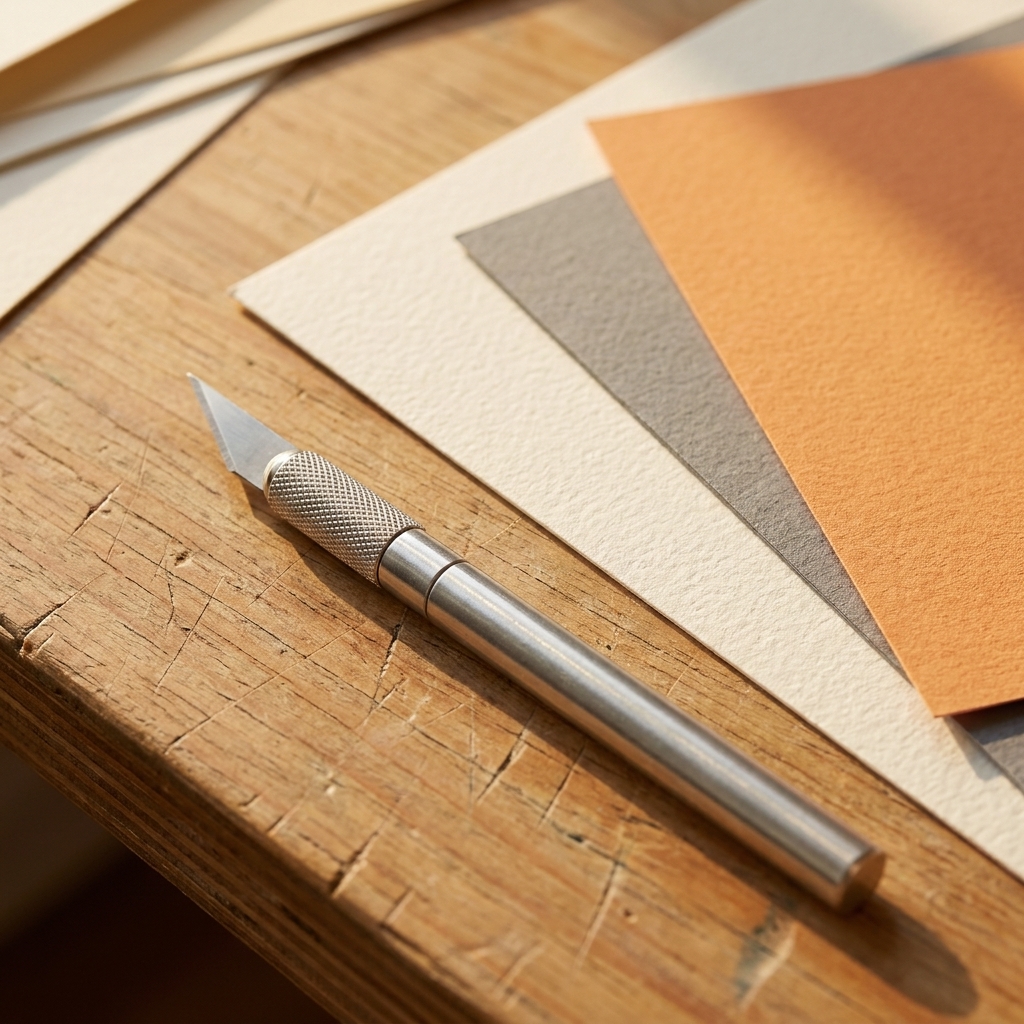
Olfa SVR-1 Stainless Steel Graphic Knife
If you like a little more weight and a very secure feel, the stainless body is lovely. It is especially nice for controlled straight lines, like trimming thick watercolor paper or chipboard-backed embellishments where you want the knife to feel stable rather than flimsy.
- Best for: heavier papers, slow controlled slicing, straight cuts with a ruler
- Why it feels precise: sturdy body, secure grip, less flex
Top guillotine and bypass cutters
Guillotine and bypass cutters are fantastic when you want speed and straightness, especially for cutting multiple sheets of paper, trimming full 12x12 scrapbook sheets down, or batching card fronts for a workshop. The downsides are usually bulk and the fact that not all cutters are created equal. A wobbly arm equals a slightly angled cut.
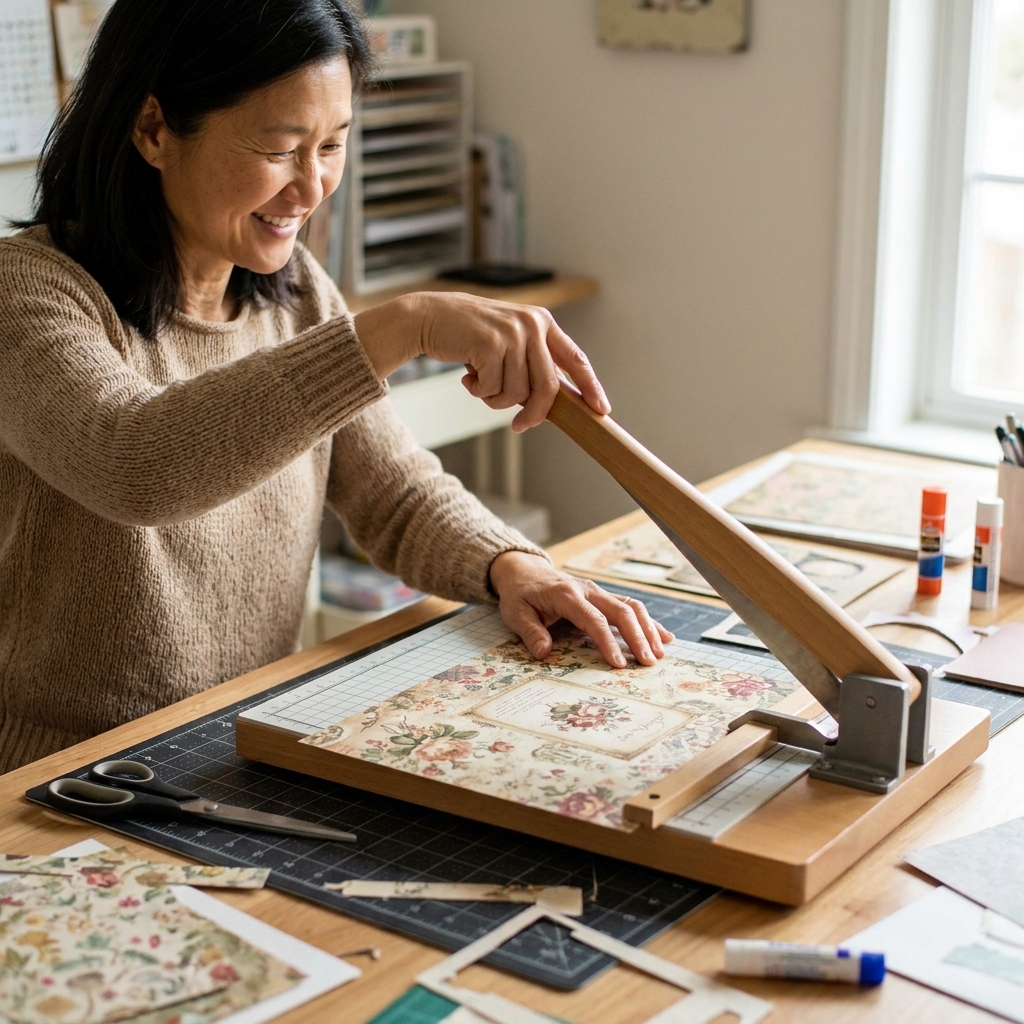
Fiskars ProCision bypass trimmer
Fiskars has released several ProCision cutters and bypass-style trimmers over the years, so I am using this as the category shorthand for a Fiskars ProCision-style bypass cutter rather than promising one exact model name. The bypass slicing action tends to cut cleanly through paper instead of crushing it, which helps prevent fuzzy edges on softer cardstock.
- Best for: clean edges on cardstock, repeated straight cuts, medium stacks
- Why it feels precise: stable base, smooth slicing motion
- My tip: always square your paper against the guide before dropping the blade. Tiny shifts are the biggest cause of “mystery” uneven panels.
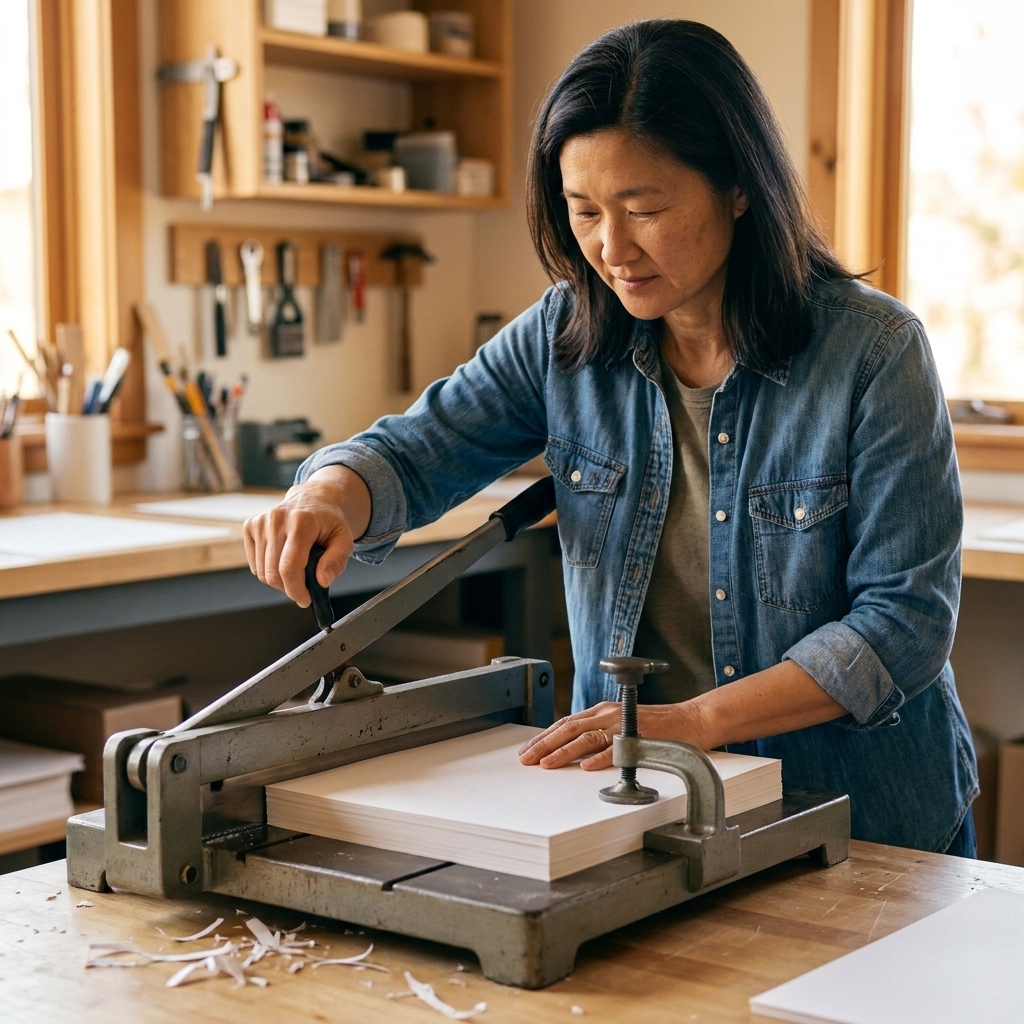
Carl heavy-duty paper cutter
If you make a lot of cards, invitations, or party printables and you want a cutter that feels like it belongs in a print shop, Carl cutters are known for solid build and consistent cuts. They are an investment, but with basic care they tend to stay accurate for years.
- Best for: high-volume crafting, thick cardstock, repeated cuts where accuracy matters
- Why it feels precise: a stable cutting arm and strong hold-down helps prevent drifting
- My tip: if your model includes a clamp or paper holder, use it. Holding paper with your fingertips is how corners slide.
Top rotary trimmers
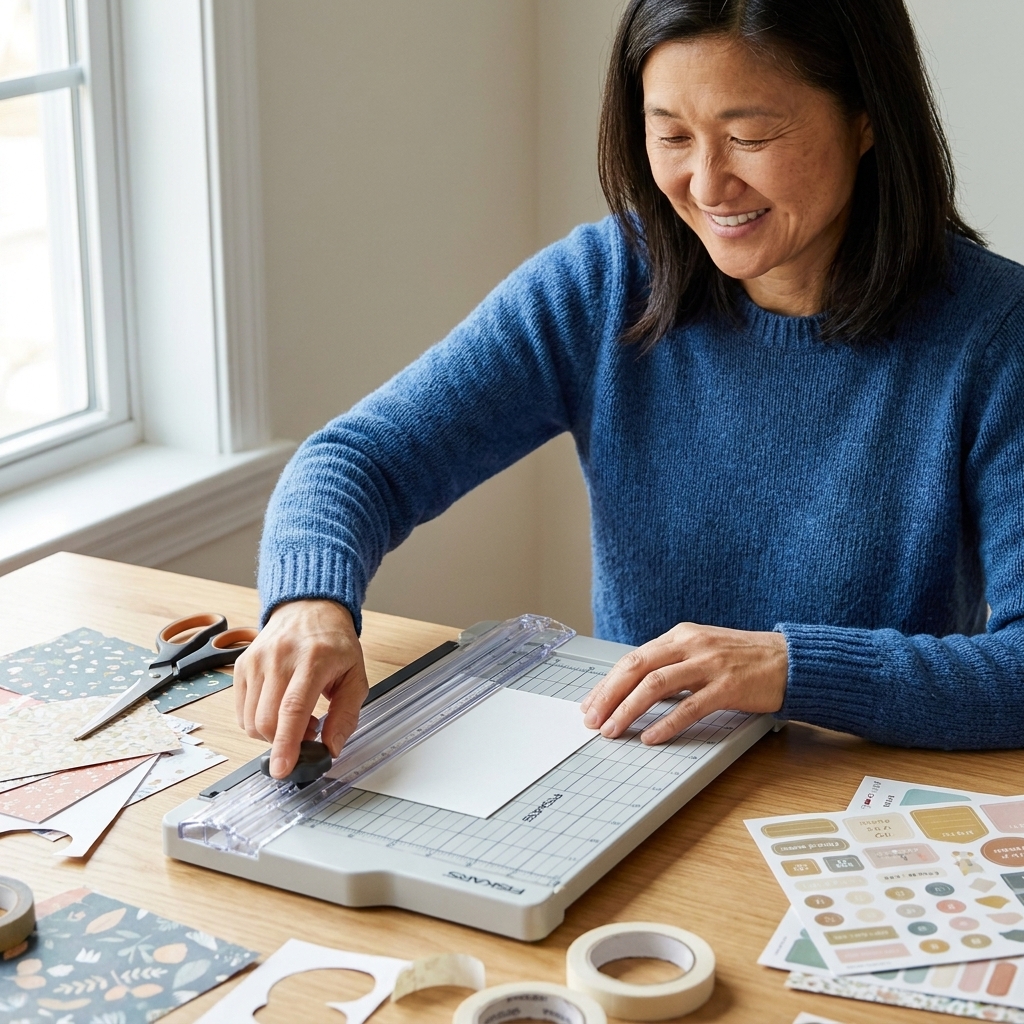
Rotary trimmers are my everyday choice for card making because they are controlled and forgiving. Instead of a chopping motion, you glide a blade along a rail. They shine for single sheets, cardstock panels, and precision trimming where you want to shave off a sliver.
Fiskars SureCut Deluxe Craft Paper Trimmer
This is a favorite in many craft rooms because the alignment features make it easier to cut exactly where you intend. For beginners especially, anything that reduces “is my paper lined up?” stress is a win.
- Best for: card fronts, mat layers, trimming photos, general paper crafting
- Why it feels precise: consistent blade track, clear measuring guides
- My tip: if you notice fraying, replace the blade immediately. Dull blades are sneaky.
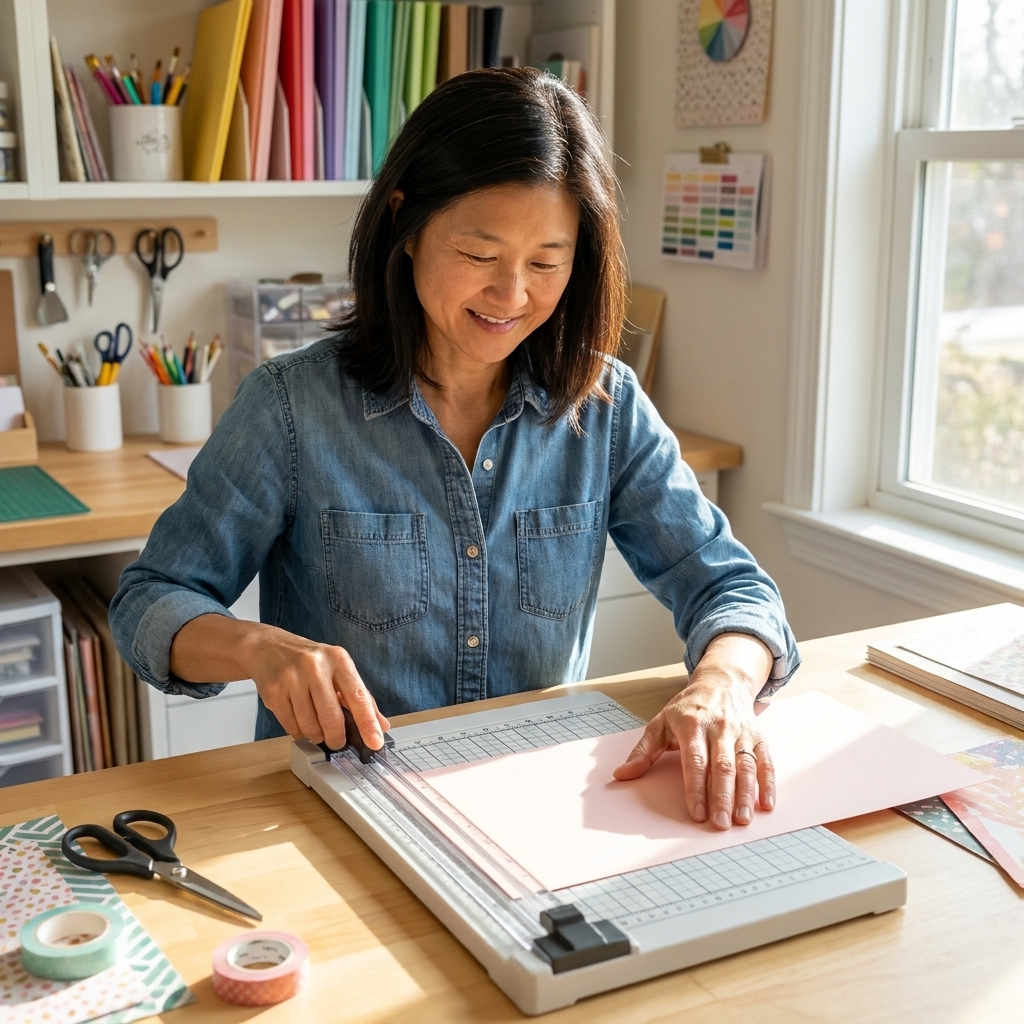
Dahle rotary trimmer (select self-sharpening models)
Dahle trimmers are well-loved for smooth cutting and a more “studio tool” feel. Select models use a self-sharpening rotary mechanism that helps maintain clean cuts over time, especially if you craft frequently. If you are shopping, double-check the model details so you get the features you actually want.
- Best for: consistent repeated cuts, crafters who want a long-lasting tool
- Why it feels precise: stable base, smooth glide, reliable straight tracking
- My tip: keep the cutting rail free of paper dust. A tiny buildup can affect how smoothly the blade travels.
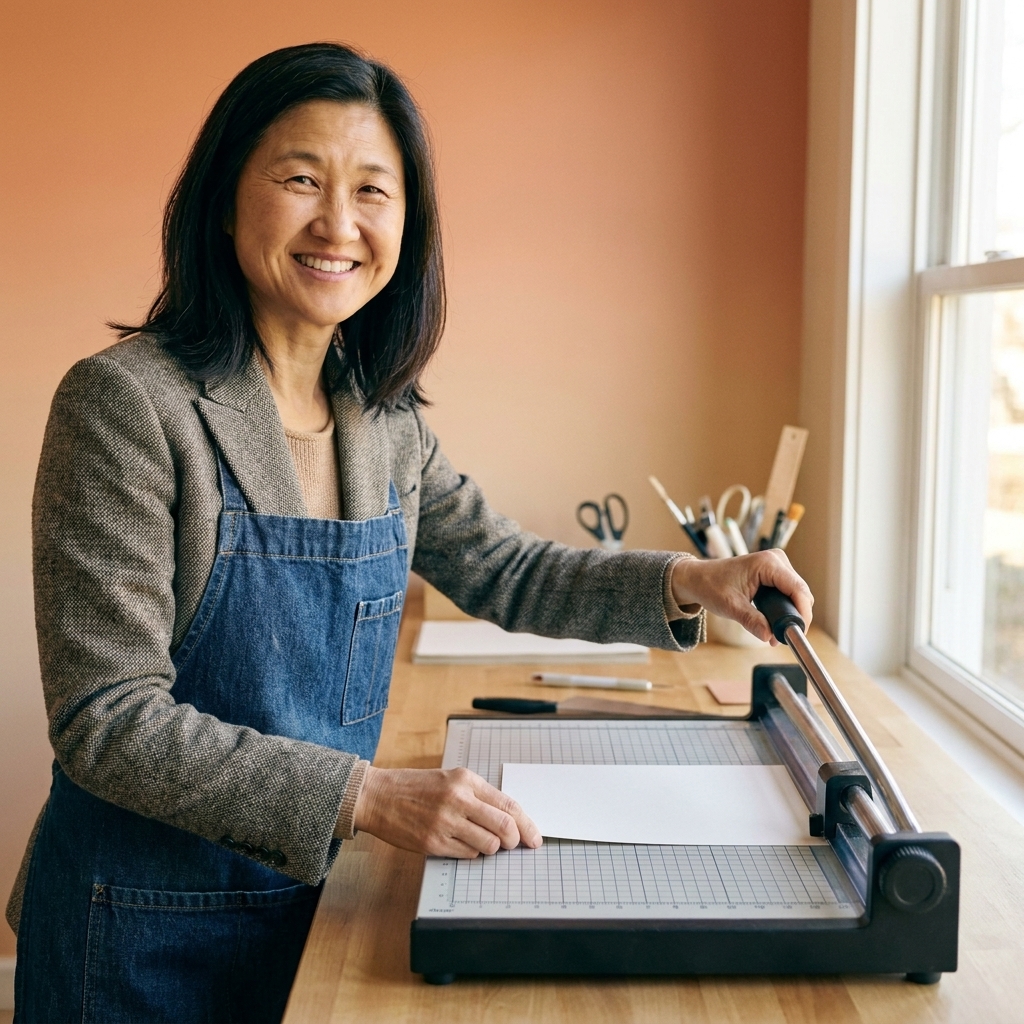
Handheld rotary cutters
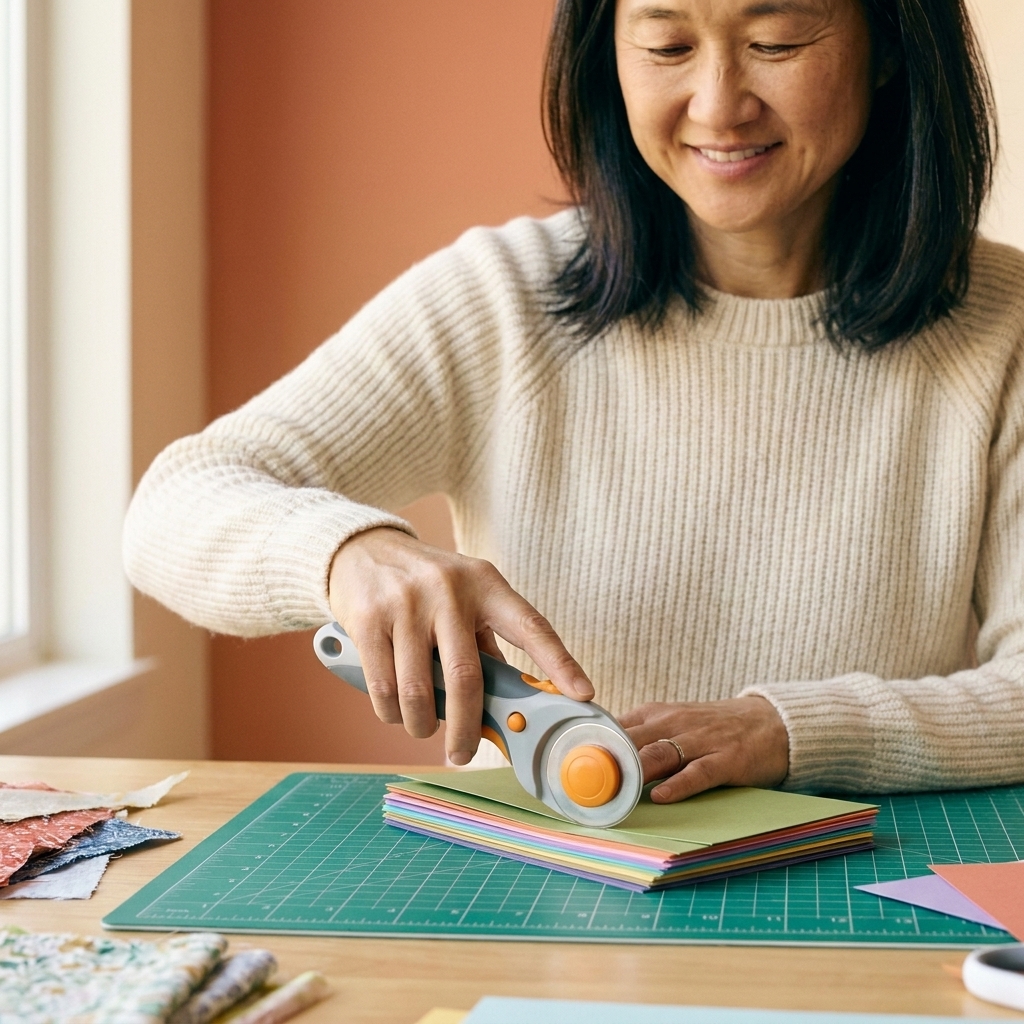
Handheld rotary cutters are technically a sewing tool, but I reach for mine constantly in papercrafting when I need long, straight cuts on oversized paper or when I want to cut multiple sheets with a ruler. The trick is using the right surface and ruler so nothing shifts.
Olfa 45mm rotary cutter
Sharp, smooth, and easy to find replacement blades for. It is a reliable choice if you want one rotary cutter that can do double-duty across crafts.
- Best for: long straight cuts, trimming down 12x12 sheets, cutting multiples at once
- What you need with it: a self-healing mat and a metal ruler with a non-slip backing
- My tip: press the ruler down firmly before you roll the blade, and cut away from your body.
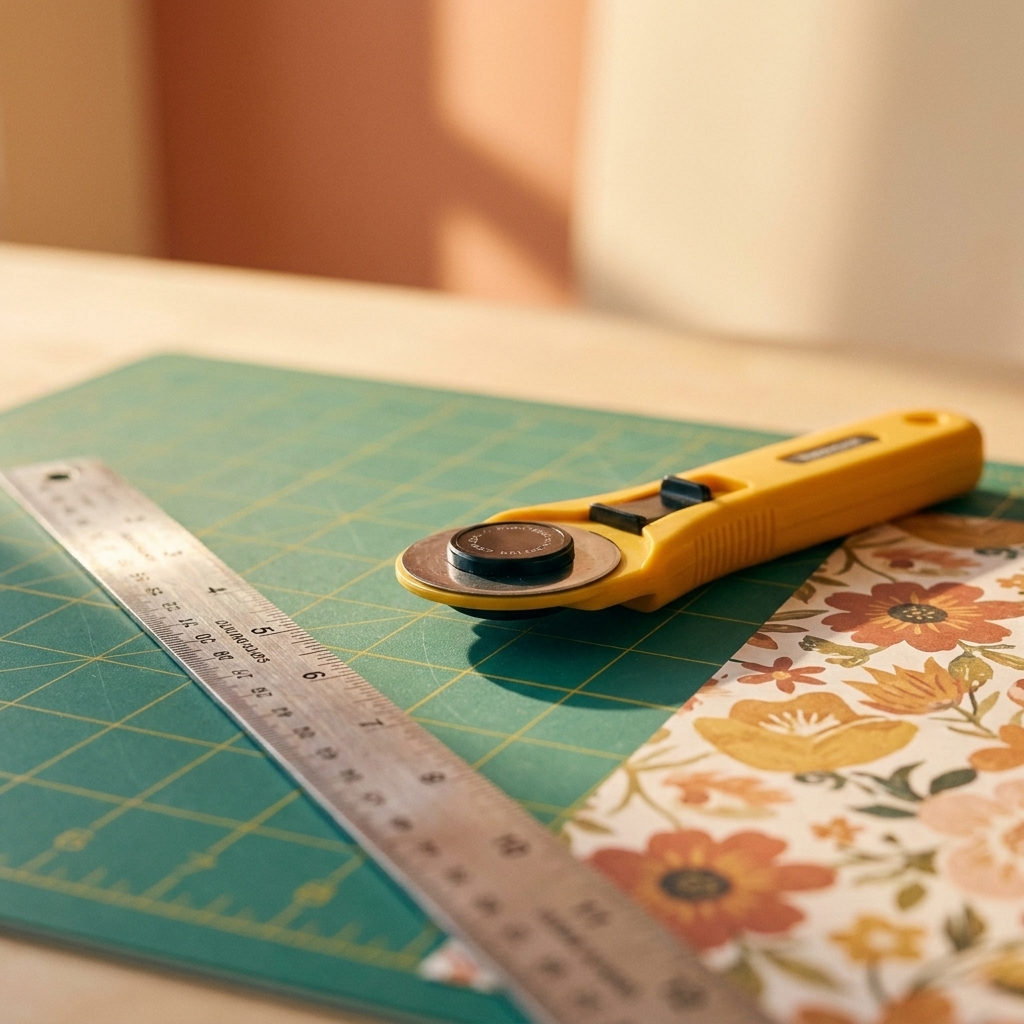
Fiskars 45mm rotary cutter
If hand fatigue is a real thing for you, look for an ergonomic handle. A comfortable grip helps accuracy because you are not tensing up while you cut.
- Best for: longer crafting sessions, crafters who prefer a softer handle feel
- My tip: change blades more often than you think. Paper dulls blades too, especially if you cut glitter cardstock, which is basically sandpaper in disguise.
Budget and one-tool picks
If you are building your toolkit slowly, here is what I would prioritize.
- If you only buy one tool: a solid rotary trimmer with a clear grid and easy-to-replace blades. For most card makers, that is the biggest day-to-day improvement.
- Most affordable precision upgrade: a basic rotary trimmer plus fresh blades and a metal ruler. A new blade and better alignment do more than people expect.
- When it is worth saving for heavy duty: if you regularly batch cut, make kits, or teach classes, a sturdy guillotine or bypass cutter is a time saver and helps keep stacks square.
Features that matter
When you are shopping, it is easy to get distracted by the extras. These are the features that genuinely affect accuracy and cut quality.
- A sturdy base that does not flex: If the base bows, your cut can curve slightly.
- A clear, readable grid and ruler: Crisp markings reduce alignment errors, especially for small mats and layers.
- A dependable fence or paper guide: A good guide helps you keep cardstock square so your card panels do not lean.
- Easy blade replacement: Precision is mostly about sharp blades. If changing a blade is annoying, you will put it off.
- Cutting capacity that matches your habits: If you cut stacks, get a tool built for stacks. For single sheets, prioritize smoothness and accuracy.
Common cutting issues
When cuts start looking off, it is usually one small thing. Here is what to check first.
Crooked cuts
- Cause: paper is not fully against the fence, or you are pulling it slightly as you cut.
- Fix: square the paper to the guide, hold it flat, and make one steady pass instead of a stop-and-start motion.
Fuzzy or torn edges
- Cause: dull blade, abrasive paper (glitter, heavy texture), or cutting too many sheets at once.
- Fix: replace the blade, reduce stack thickness, and consider keeping a separate blade just for specialty papers.
Measurements seem inconsistent
- Cause: your grid or fence is slightly off, or you are trusting the printed grid more than the actual cut line.
- Fix: test your trimmer by cutting a strip and checking it with a known square ruler. If the grid is off, use a ruler and mark your cut line on the paper, then align to the cut line instead of the grid.
Ragged cuts on slide trimmers
- Cause: paper dust in the rail or a nicked cutting track.
- Fix: clean the rail and base, and replace the blade. If your model uses a replaceable cutting strip, check whether it is worn and due for replacement.
My setup for cleaner cuts
These tiny habits solve most of the “why is my edge fuzzy?” problems.
1) Use the right blade
Keep separate blades for regular cardstock and specialty papers if you can. Glitter cardstock, foiled paper, and sanded textures dull blades fast. If your tool starts chewing instead of slicing, it is blade time.
2) Stop the paper from sliding
Wipe your trimmer base clean and make sure any grippy feet are actually gripping. For knife and rotary cutter work, use a non-slip ruler or add a strip of grippy tape to the back of a metal ruler.
3) Score first, then cut
For card bases, scoring creates a fold that behaves. It also helps your cut edges line up more neatly because the paper is not fighting you during folding.
4) Cut with the grain
Cardstock has a grain direction. Cutting and folding with the grain reduces cracking and gives a cleaner finish. If your fold cracks even after scoring, rotate the paper 90 degrees and test again.
Safety and blade care
- Cap and store blades immediately: Craft knives roll. I learned this the hard way.
- Use a self-healing mat: It protects your surface and helps your blade glide smoothly.
- Engage safety locks: On rotary cutters, use the guard or lock every time you set it down.
- Watch finger placement: On guillotine and bypass cutters, keep fingers clear of the clamp and blade path. Let the hold-down do its job.
- Dispose of blades responsibly: A sealed sharps container or a dedicated blade tin keeps trash day safe.
- Slow down on tiny cuts: Precision comes from control, not speed.
FAQ
What is better for card making: rotary trimmer or guillotine?
For most card makers, a rotary trimmer is the best everyday tool because it is controlled and great for single sheets and small panels. A guillotine or bypass cutter shines when you want speed and you cut stacks often, like prepping supplies for a class or a big batch of holiday cards.
Why does my trimmer leave a rough edge?
Almost always, the blade is dull or the paper is shifting as you cut. Replace the blade first, then check that you are holding the paper firmly against the guide. Specialty papers like glitter and heavily textured cardstock can also cause rough edges.
Can I use a rotary cutter for paper instead of fabric?
Yes. Many crafters do. Use a self-healing mat and a sturdy ruler, and expect to change blades more frequently if you cut abrasive papers.
What is the most precise tool for tiny shapes?
A sharp craft knife on a self-healing mat is hard to beat for tiny, detailed cuts. For repeated shapes, metal dies with a die-cutting machine can also be extremely consistent.
My honest takeaway
If you want one tool that will improve your projects immediately, start with a reliable rotary trimmer and keep fresh blades on hand. Add a precision craft knife for detail work, and consider a guillotine or bypass cutter only if you routinely cut stacks or large sheets and want speed.
Clean cuts are one of those small wins that make crafting feel calmer and more satisfying. And you deserve that kind of peaceful, crisp-edge energy at your table.