A step-by-step beginner guide to Cricut Maker basics: Design Space, blades, mats, materials, test cuts, weeding, and clean finishing for pro-looking projects.
You did it. You brought home a smart cutting machine, set it up, and now it is staring at you like, “So… what are we making?” If you are anything like me, your first instinct is to try something ambitious, immediately cut a 12x24 sheet upside down, and then act like it was a creative choice.
Let’s keep your first week with your Cricut or Silhouette fun, confidence-boosting, and very low-drama. These 10 beginner-friendly vinyl projects are perfect for learning the basics: cutting, weeding, layering, and applying vinyl to different surfaces.
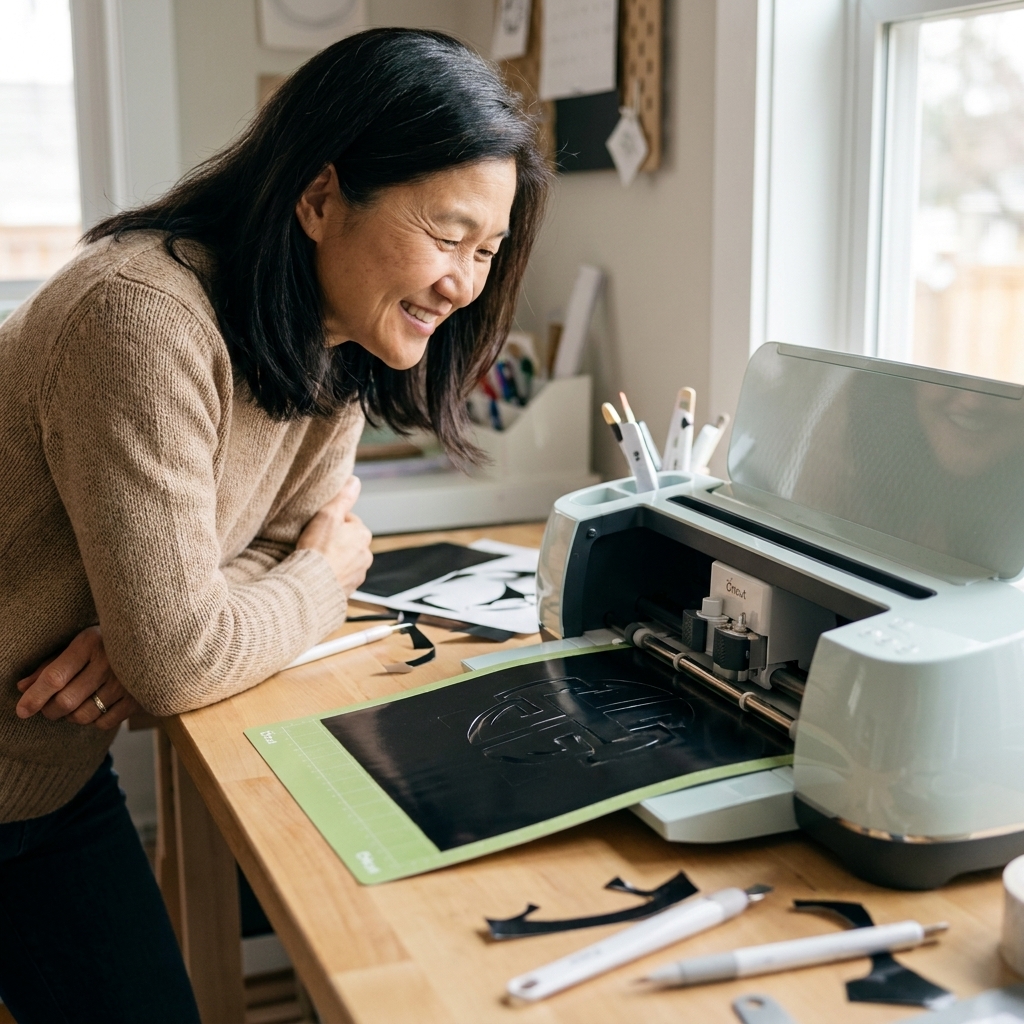
Before you start: vinyl basics
Vinyl projects get way easier when you match the vinyl type to the surface. Here is my simplified guide.
- Permanent adhesive vinyl: best for hard surfaces like mugs, tumblers, signs, and bins. Think Oracal 651 style vinyl. Note: “permanent” usually needs time to fully cure, so it does not reach its best stick right away.
- Removable adhesive vinyl: great for temporary labels, wall decals, and anything you may want to change later. Quick caution: it can still pull paint, especially on fresh paint or delicate finishes, so test first.
- Heat transfer vinyl (HTV): for fabric. This is the one you press onto shirts, totes, and hats.
- Printable vinyl: for stickers and full-color designs if you have a printer. Most printable vinyl is not automatically waterproof, so plan to laminate if you want water resistance.
My biggest beginner tip: Run a tiny test cut when you switch vinyl brands or finishes. It saves so much frustration.
Quick care note: For most adhesive vinyl projects, let the decal cure for 24 to 48 hours before washing or heavy handling. Some surfaces and brands do better with even longer.
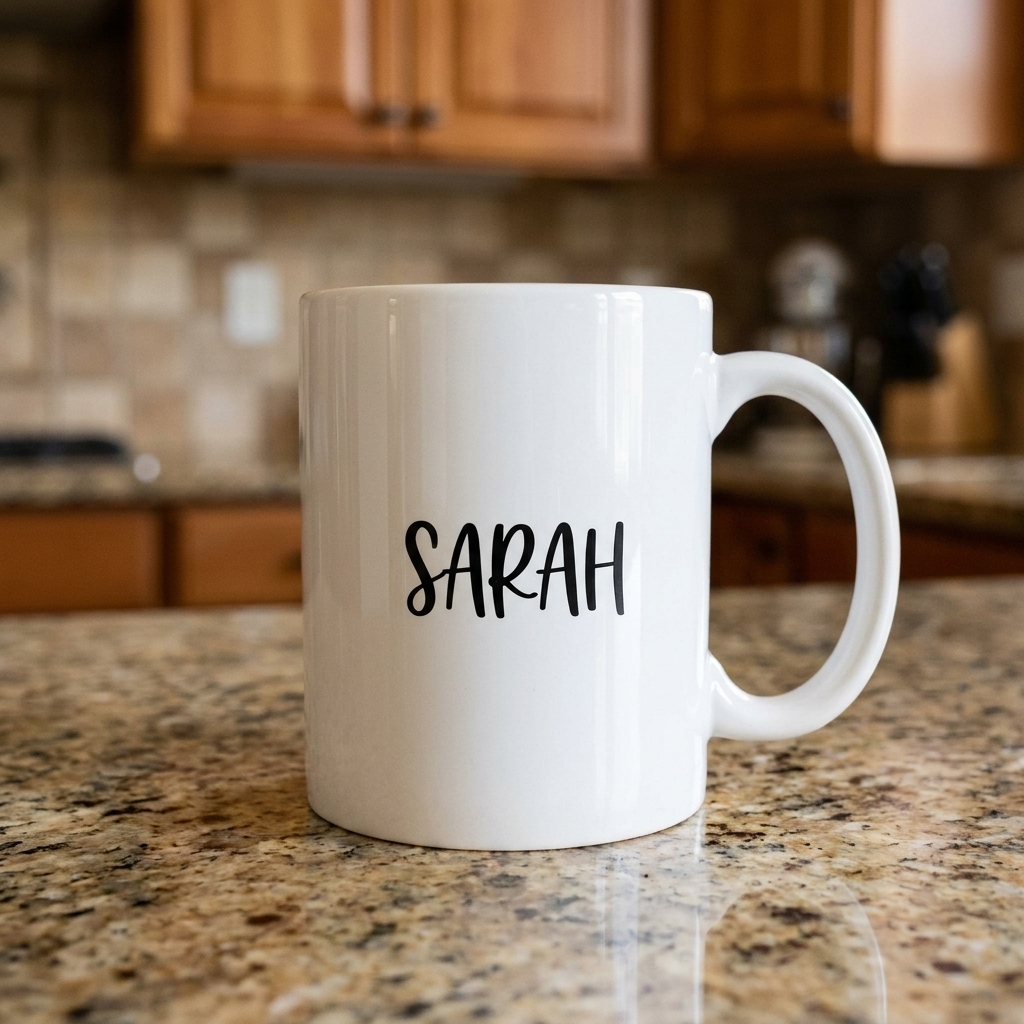
1) Custom coffee mug (adhesive vinyl)
If you want a quick win, start here. A name, a simple icon, or a short phrase looks adorable and teaches you clean weeding and smooth application.
Make it beginner-proof
- Use permanent adhesive vinyl and standard transfer tape.
- Keep the design small and avoid super-thin script at first.
- Clean the mug with isopropyl alcohol and let it dry fully before applying.
Care note: Vinyl on mugs lasts longest when hand-washed. If you use the dishwasher, the top rack and a gentle cycle can help, but results vary a lot by vinyl brand, prep, and cure time.
Also: Avoid placing adhesive vinyl where it will touch food or the inside rim. Stick to the outside of the mug only.
2) Personalized water bottle or tumbler (adhesive vinyl)
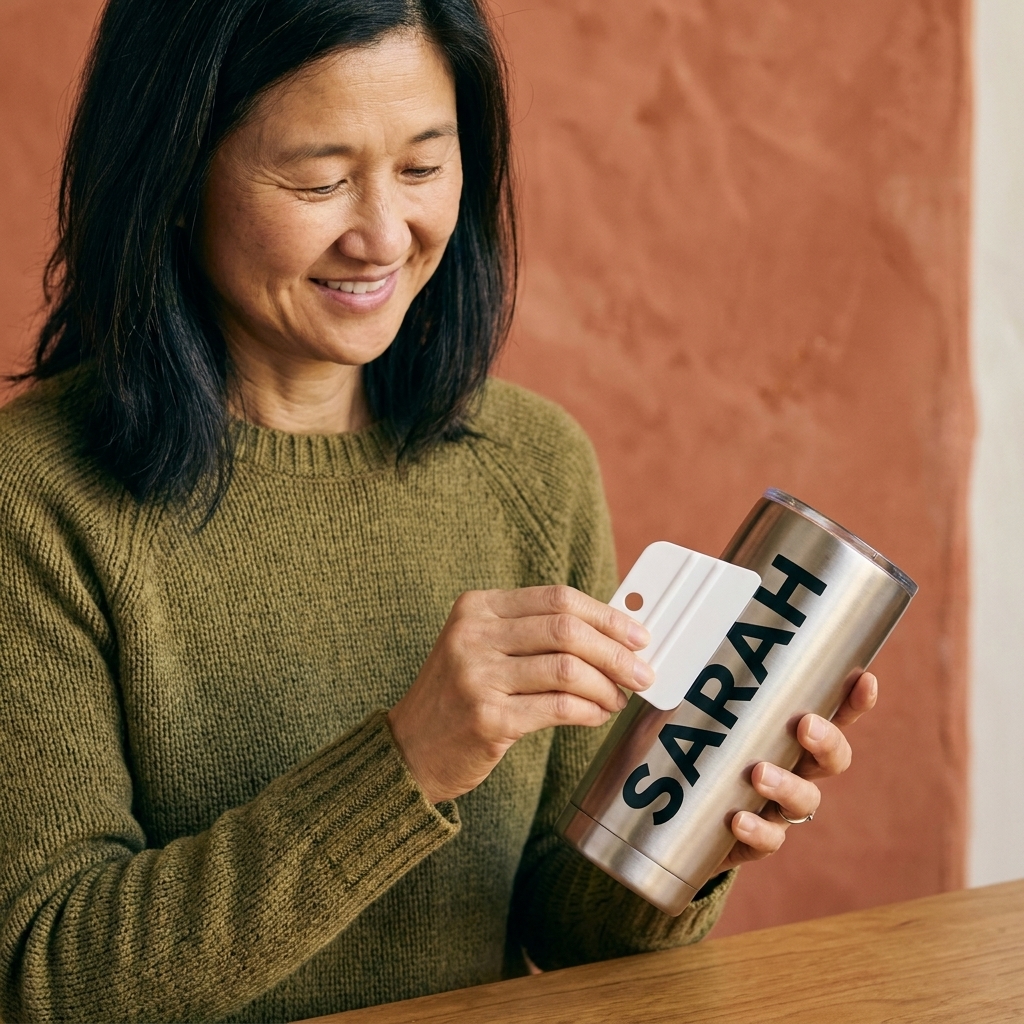
This is the project that turns your cutting machine into a daily-life upgrade. It is also a great place to practice centering and working on curved surfaces.
Pro tips for curves
- Use the hinge method: tape your decal in place, lift, peel backing, then lay down slowly.
- Burnish from the center outward to push out air bubbles.
- For heavily tapered tumblers, choose a shorter, wider design so it can flex.
3) Pantry labels (adhesive vinyl)
Labels are the crafting equivalent of “clean your room by buying matching hangers.” Deeply satisfying and surprisingly quick once you get a system.

Keep it consistent
- Pick one font and two sizes, then repeat.
- Use a measuring tape or a strip of painter’s tape as a placement guide across multiple containers.
- If you are labeling textured plastic, choose smoother bins or use a tag instead. Vinyl dislikes heavy texture.
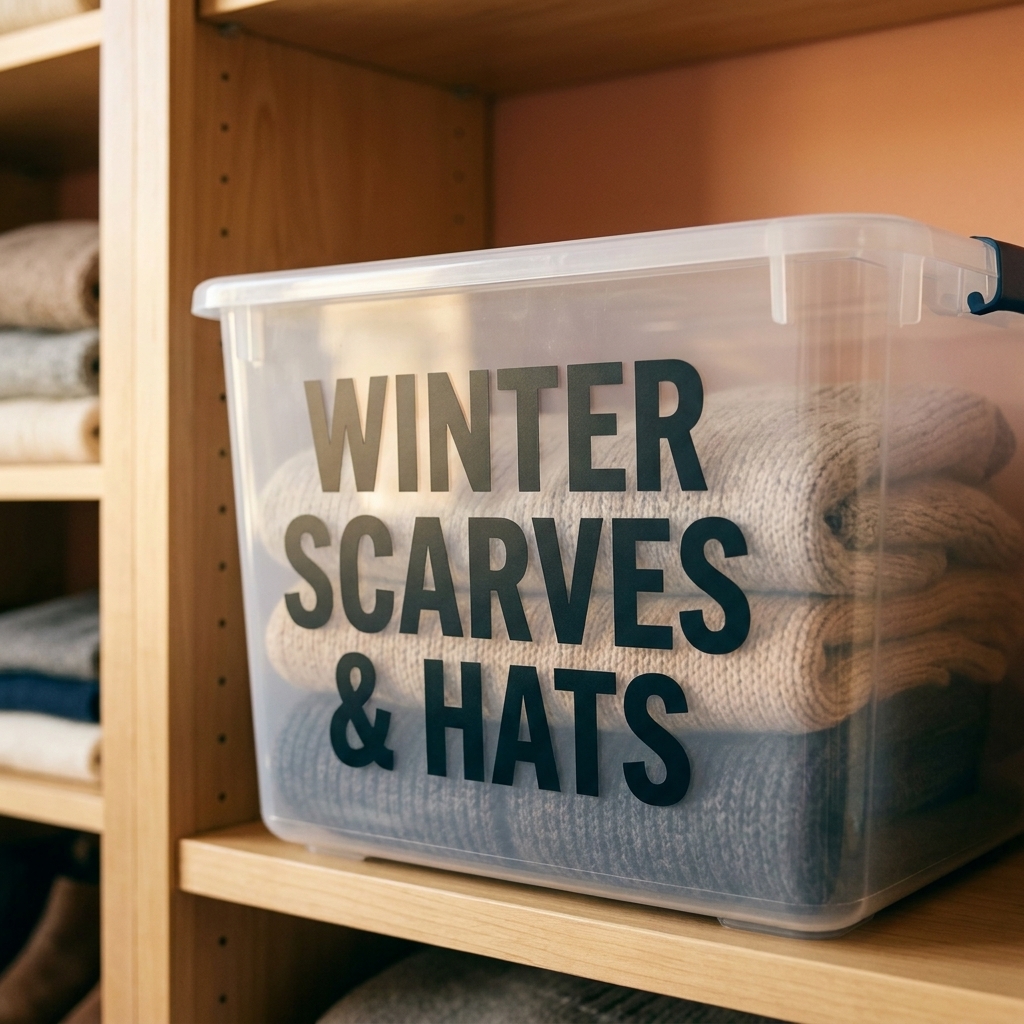
4) Storage bin decals (adhesive vinyl)
Closets, craft rooms, kids’ toys, seasonal decor. This project is pure practical magic, and it teaches you big, easy weeding with high readability.
Design idea
Try a large word plus a small icon, like “Batteries” with a simple lightning bolt. It looks polished without being complicated.
5) Welcome mat stencil (vinyl stencil)
This one is such a crowd-pleaser. Instead of leaving the vinyl on, you use it as a stencil and paint through it. It feels fancy, but it is totally doable.
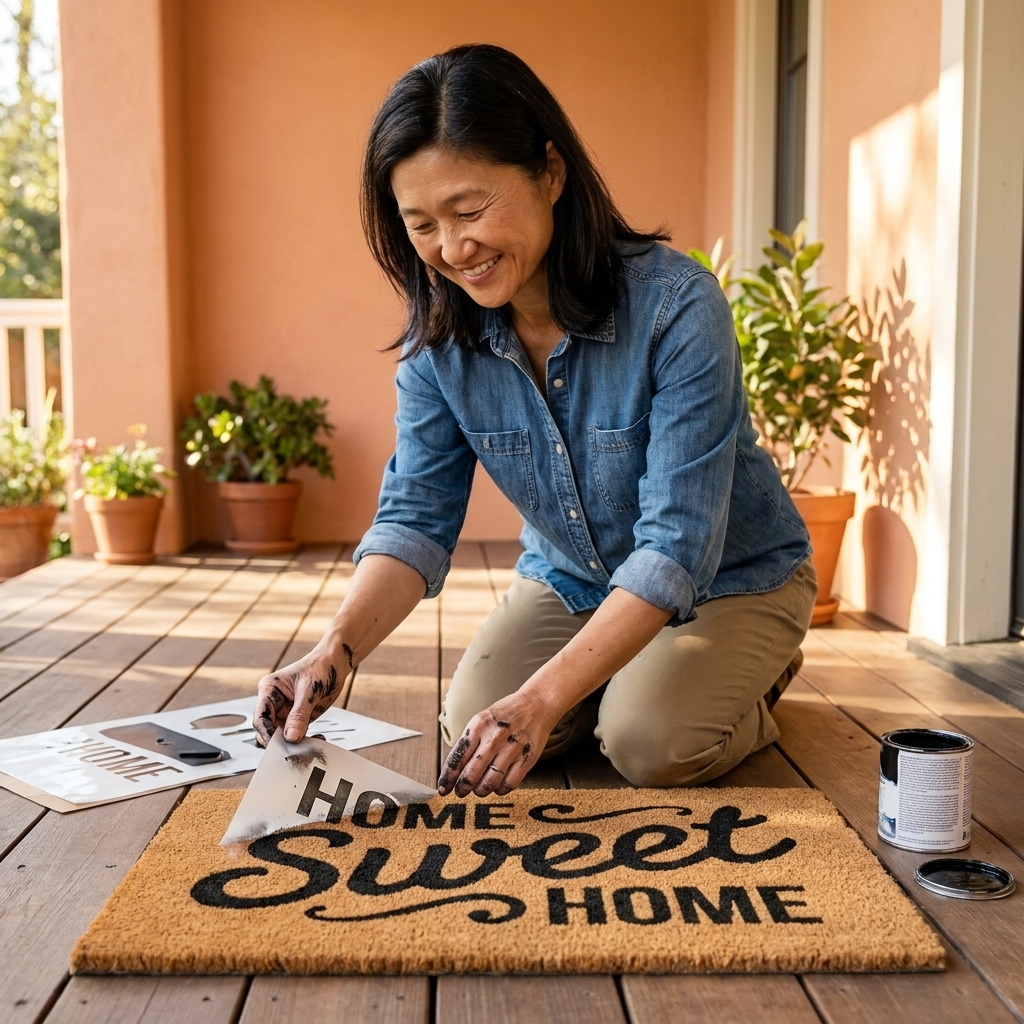
What makes it work
- Use removable vinyl so it peels off cleanly.
- Burnish stencil edges really well to prevent paint bleed.
- Use a stencil brush or sponge and pounce up and down with less paint than you think you need.
Time to switch: HTV projects
Adhesive vinyl sticks to things. HTV becomes part of the fabric with heat. The steps are a little different, but once you nail them, it is wildly satisfying.
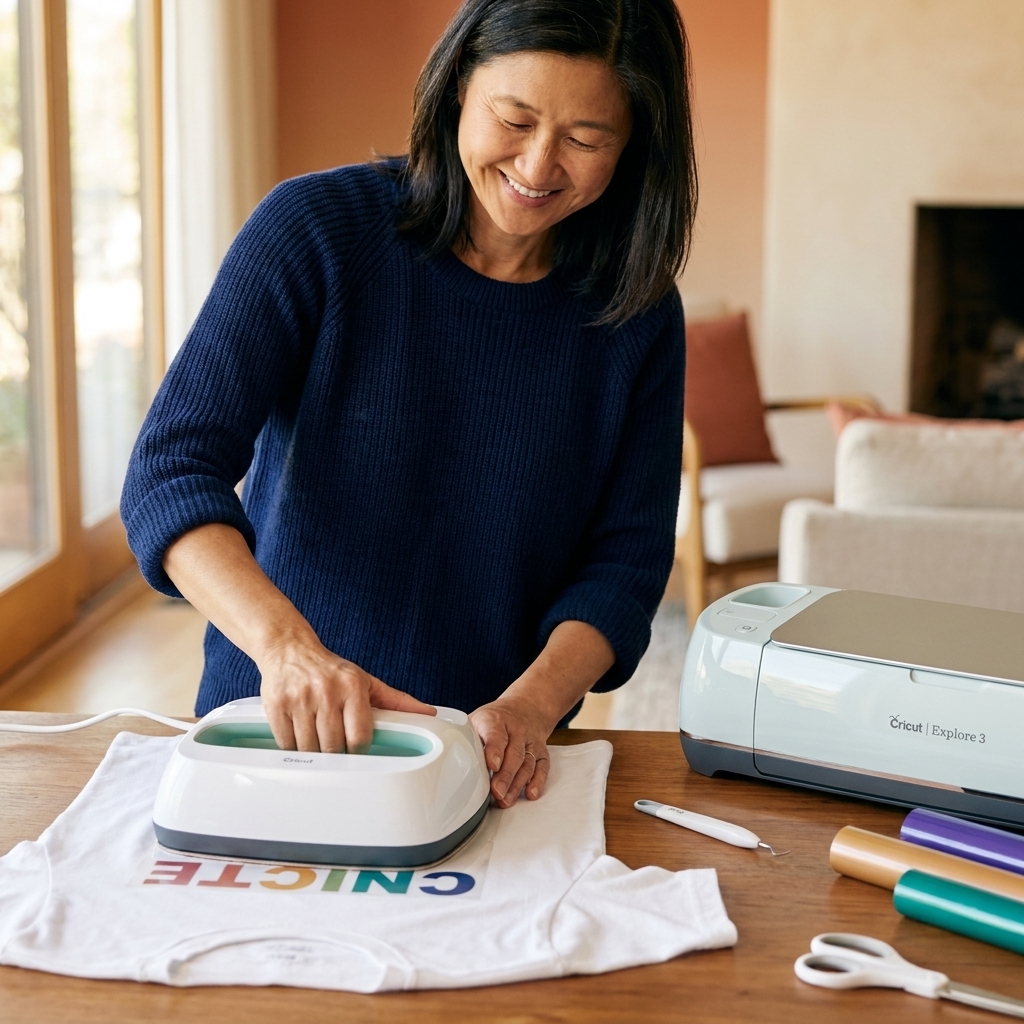
6) Simple graphic tee (HTV)
If adhesive vinyl is your gateway craft, HTV is the moment you realize you can customize your entire wardrobe. Start with a one-color design and get comfortable with mirroring and pressing.
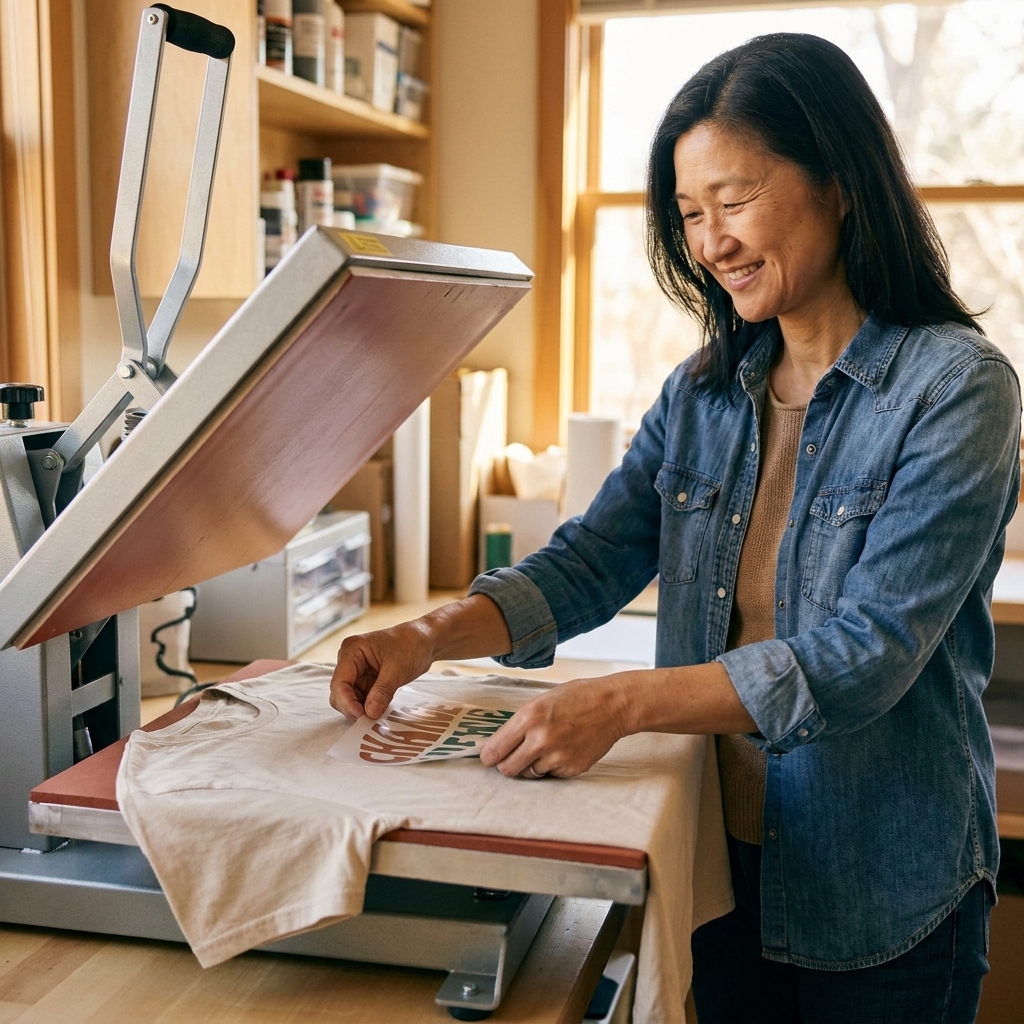
HTV must-dos
- Mirror your design before cutting.
- Cut HTV shiny side down for most standard HTV (the shiny carrier sheet goes against the mat). If your brand is different, follow the package directions.
- Do a quick pre-press (5 to 10 seconds) to remove moisture and wrinkles.
- Use the recommended time and temperature for your vinyl brand, then let it cool if it is a cold-peel carrier.
Confession: The first time I used HTV, I forgot to mirror and made myself a shirt that read like a secret code. You only do that once.
7) Tote bag or library bag (HTV)
A tote is the best “practice fabric” because it is flat, sturdy, and forgiving. Plus, you will actually use it.
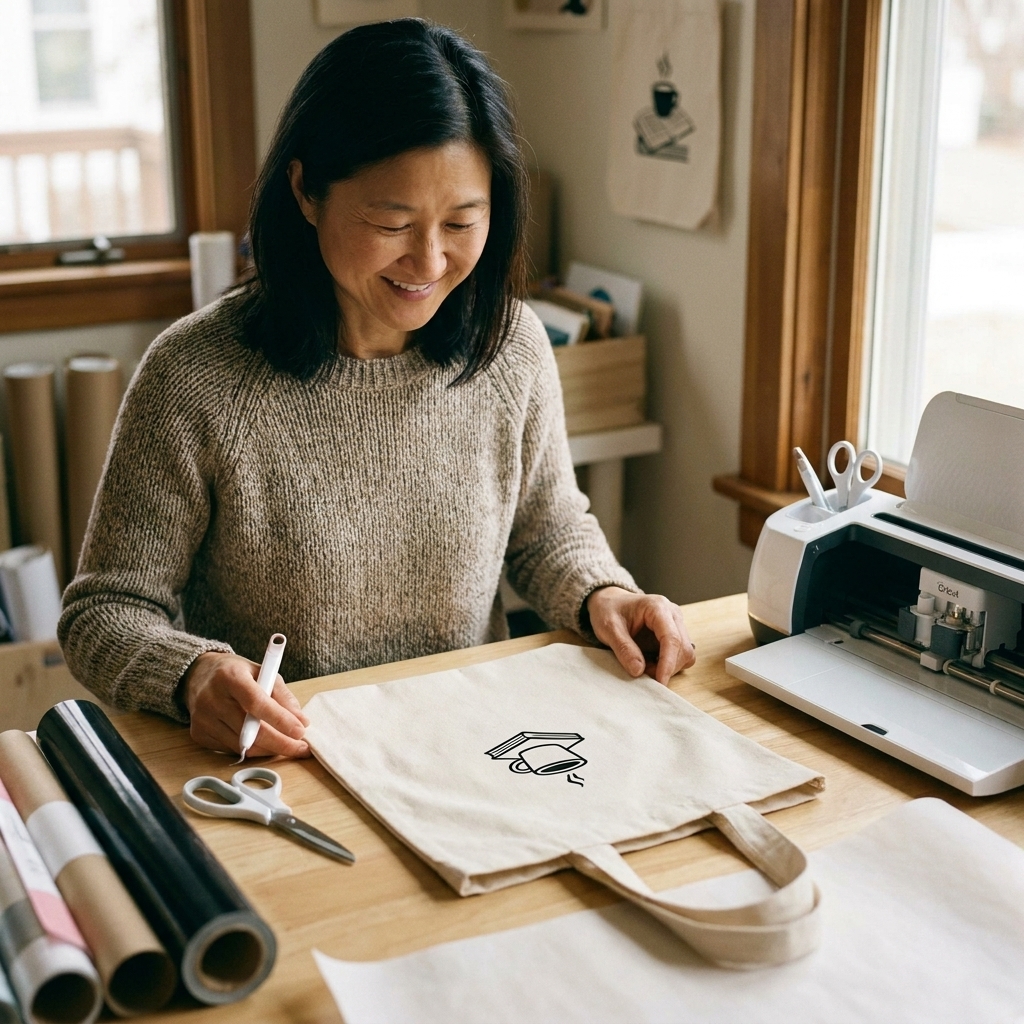
Easy, cute designs
- One word in block letters
- A simple line art plant
- Initial monogram
- A short phrase in a chunky sans serif font
8) Phone case decal (adhesive vinyl)
This is a tiny project with a big payoff. It is also a great lesson in choosing the right level of detail.
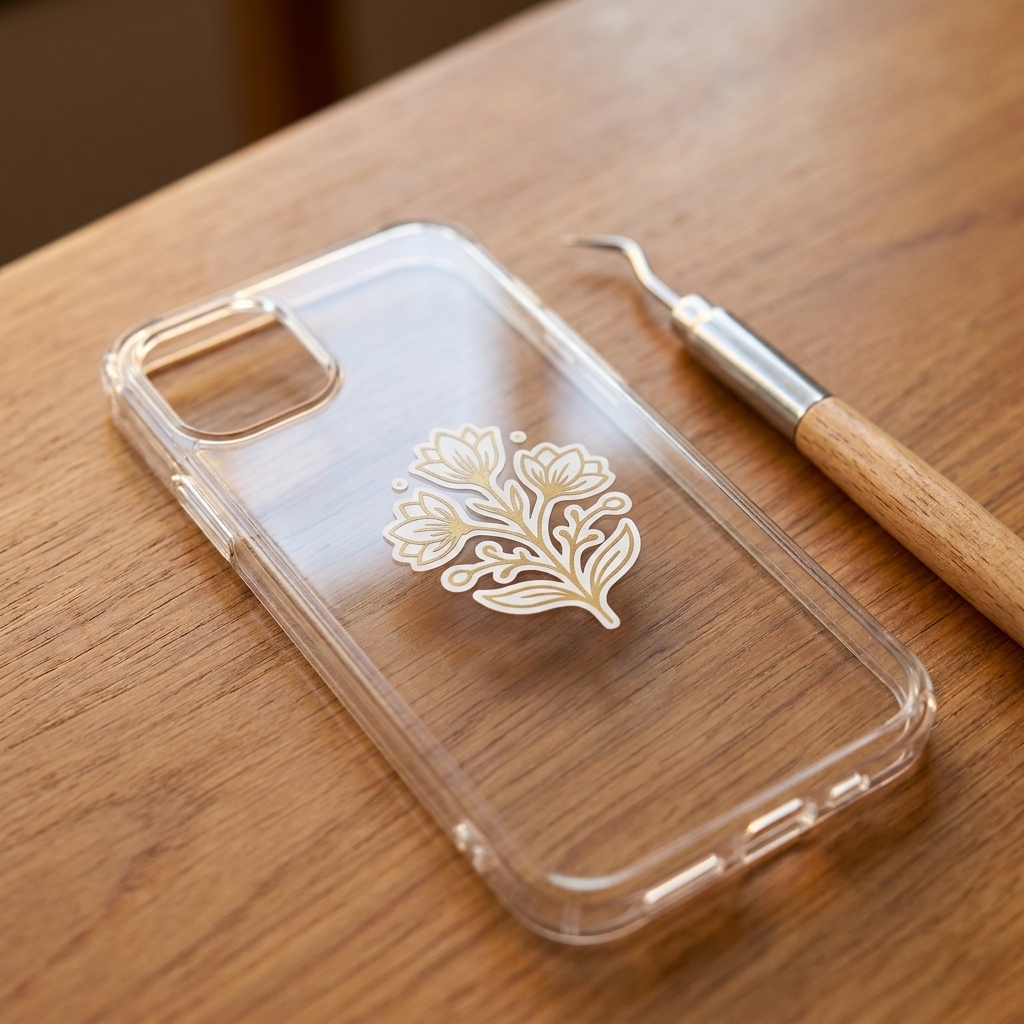
Make it last
- Clean the case with alcohol first.
- Avoid placing vinyl where your hand constantly rubs (corners and edges wear fastest).
- Choose a simple shape with thicker lines, especially on flexible silicone cases.
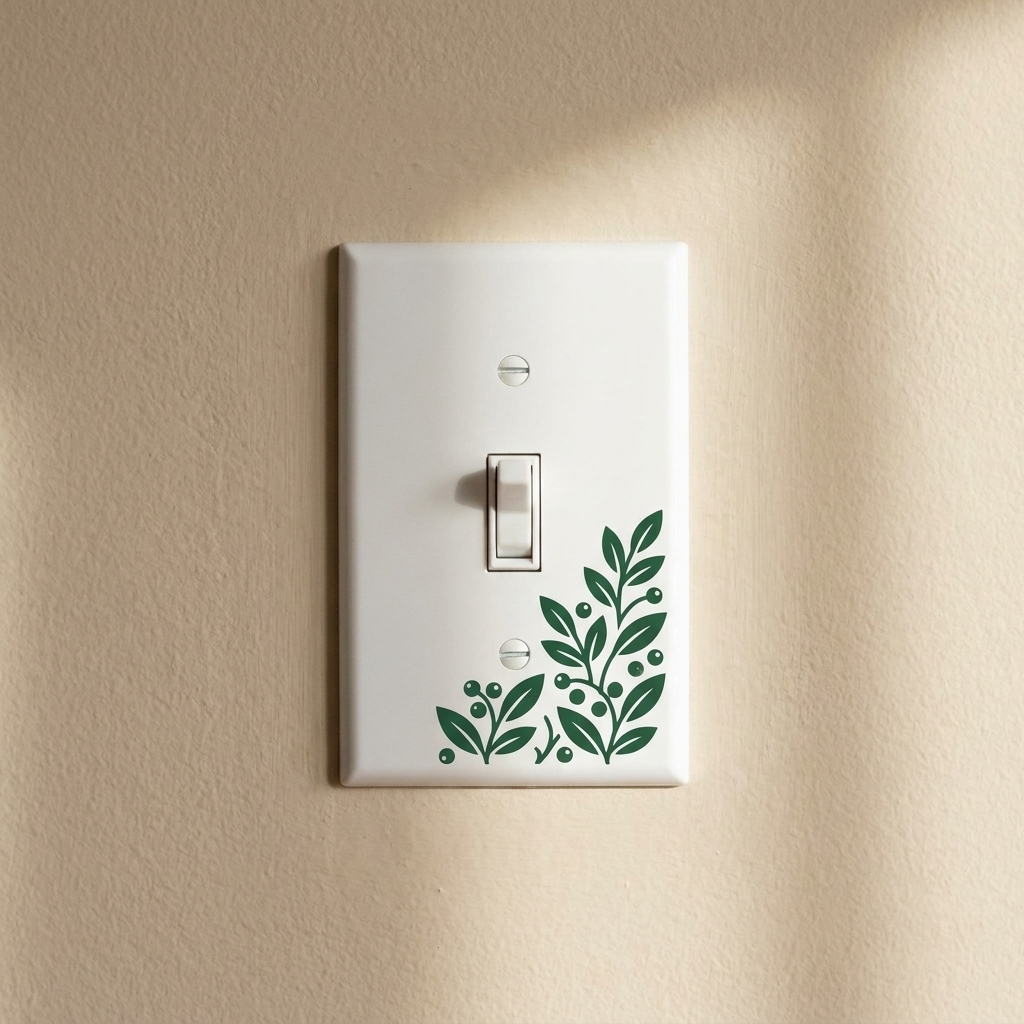
9) Switch plate decal (adhesive vinyl)
It is such a small thing, but it instantly makes a room feel more put-together. Great for nurseries, playrooms, craft spaces, or a home office.
Do it clean and safe
Turn off power at the breaker if you are at all unsure, then remove the plate and apply the vinyl on a flat surface. Trim around the opening with a craft knife for crisp edges. Avoid covering screw holes, and keep vinyl from wrapping too tightly around edges where peeling can start.
10) Seasonal window decal (removable vinyl)
If you love decorating but hate storing bulky decor, removable vinyl is your best friend. You can make snowflakes, fall leaves, party stars, or cute birthday messages.

Glass-friendly tips
- Use removable vinyl so it comes off easily later.
- Apply to clean glass and smooth out with a scraper or an old gift card.
- Store extra decals on wax paper or the vinyl backing sheet so you can reuse them.
My go-to beginner supplies
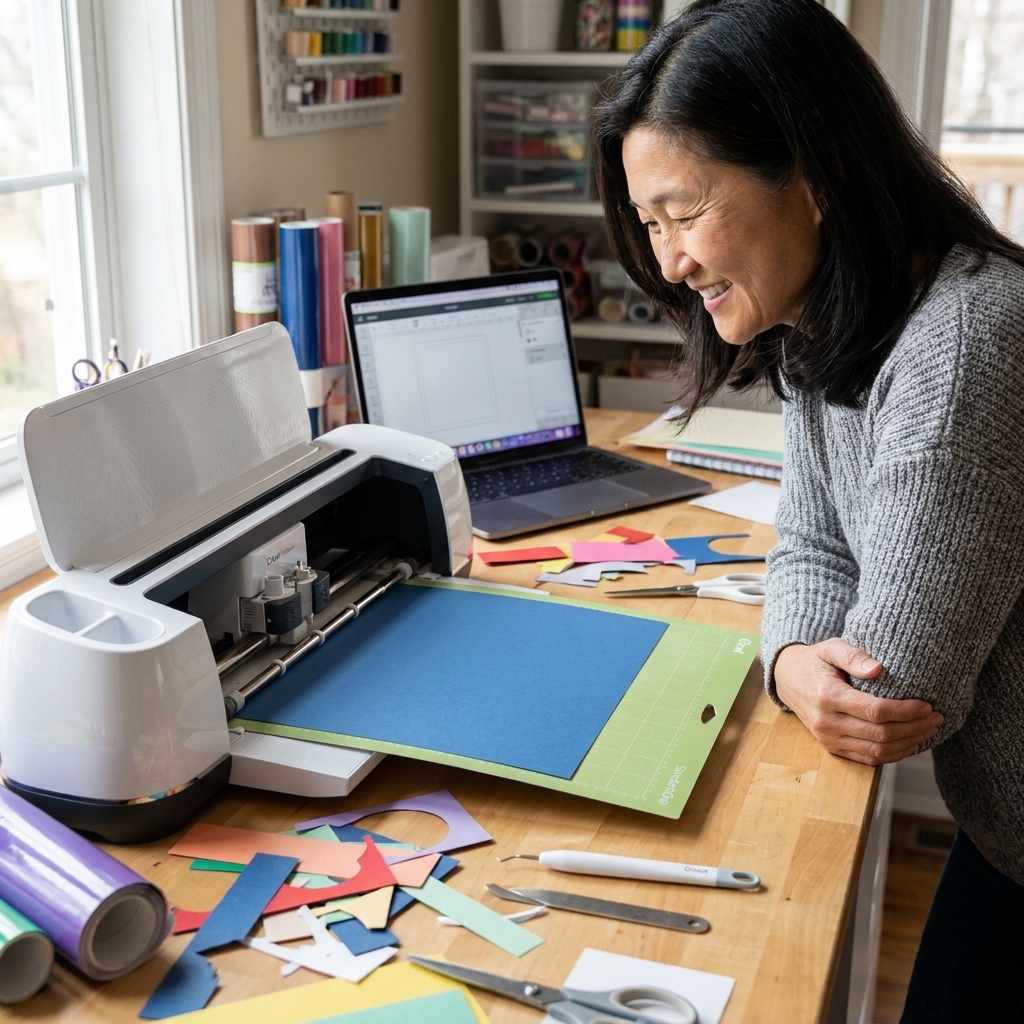
You do not need a craft store’s worth of gear to get great results. These are the items I reach for constantly.
- Weeding tool (or a pin pen)
- Scraper (or an old plastic card)
- Small scissors for trimming vinyl pieces
- Transfer tape for adhesive vinyl
- Teflon sheet or parchment paper for HTV pressing
- Lint roller for shirts and totes before pressing
- Isopropyl alcohol and a lint-free cloth for cleaning surfaces
Troubleshooting: quick fixes
My vinyl will not weed cleanly
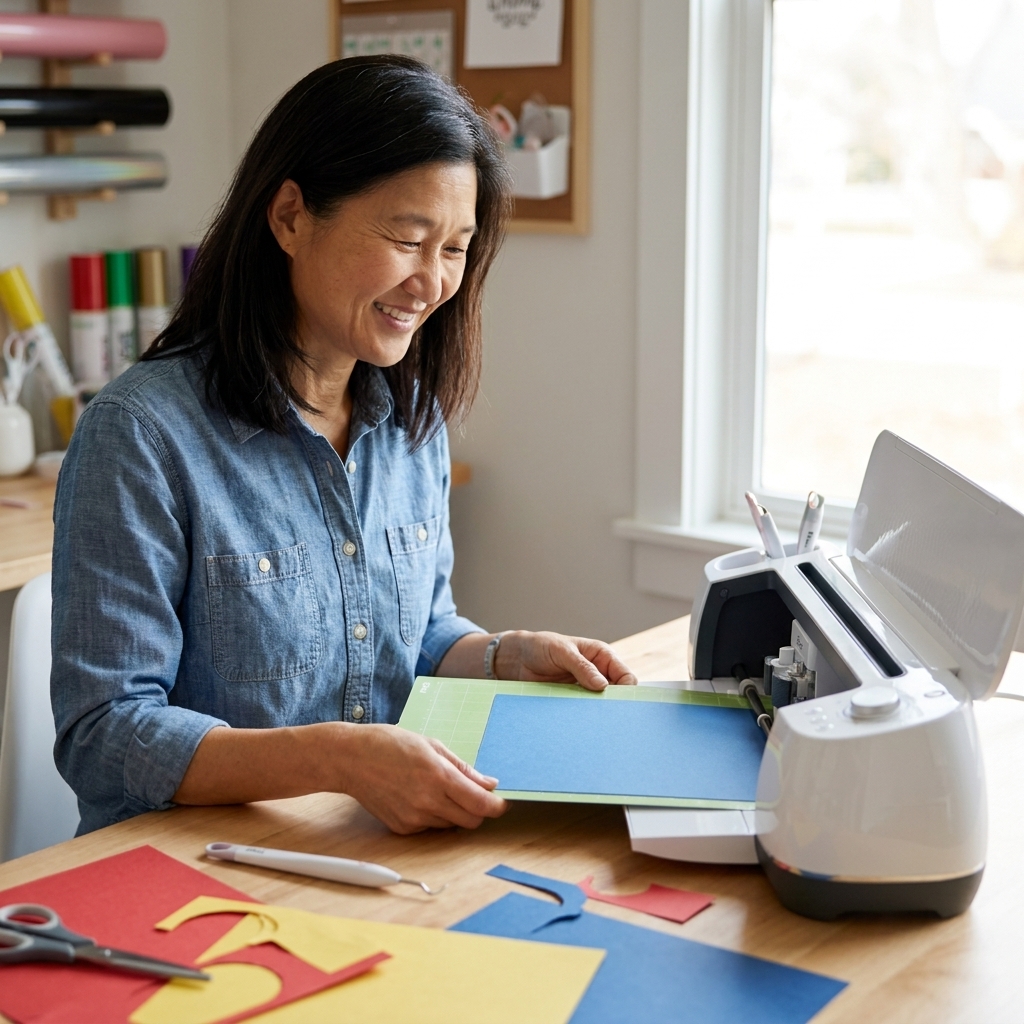
- Try a slightly deeper cut, or replace a dull blade.
- Use a bigger font and thicker lines while you are learning.
- Weed slowly under bright light, and rotate the material instead of your wrist.
My decal is not sticking
- Clean with alcohol first, then let it dry fully.
- Use permanent vinyl for most hard surfaces.
- Give it time to cure. Many “permanent” adhesives build strength over 24 to 72 hours.
- Press and burnish more than you think you need to, especially on lightly textured items.
My vinyl is lifting with transfer tape
- Burnish the decal onto the surface first, then peel transfer tape back on itself at a low angle.
- If it is cold, warm the surface slightly with your hands. You can also use a hair dryer on low heat, but be careful with plastic surfaces and do not overheat.
- For delicate vinyl finishes, switch to a lower-tack transfer tape.
My HTV peeled after washing
- It likely needed more heat, more time, or firmer pressure.
- Pre-press your fabric and make sure the design area is lint-free.
- Wait 24 hours before washing when possible, and wash inside out on cold.
Pick one project and press start
If you are feeling overwhelmed, choose one project from this list and keep it simple: one color, one font, one surface. That first successful cut and smooth application is all it takes to get your momentum.
If you tell me what machine you have and what you want to make first, I can help you pick the easiest project and the right vinyl to match.