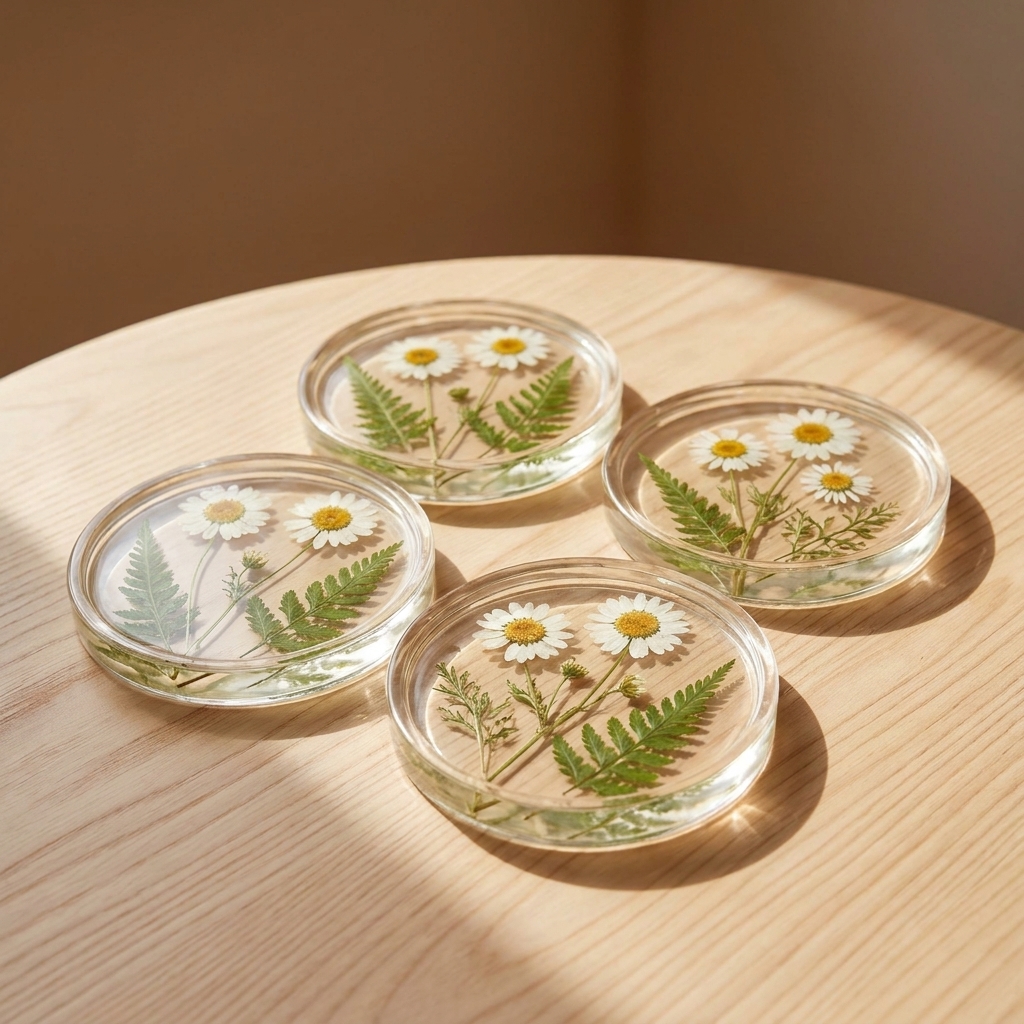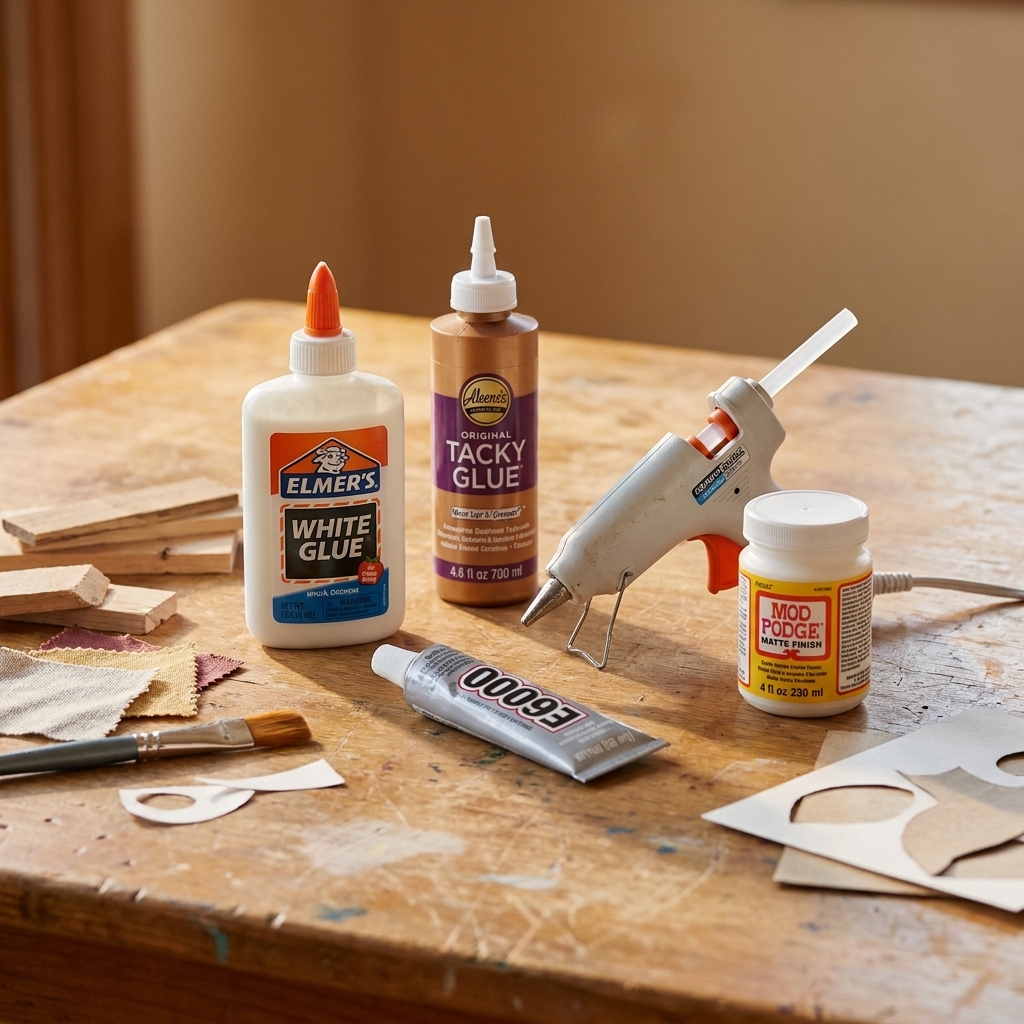
A beginner-friendly resin supply checklist, from the right epoxy and molds to mixing tools, resin-safe colorants, safety gear, and simple finishing basics.
Resin has a funny way of making you feel like a crafting wizard one day and a confused goblin the next. If you have ever popped a piece out of the mold only to find bubbles, bendy corners, or that dreaded sticky finish, you are in very good company.
This guide walks through the 10 most common resin crafting mistakes I see (and have personally made while muttering into my silicone molds), plus exactly how to fix them and how to prevent them so your next pour feels calm and predictable.
Before we troubleshoot: safety and setup
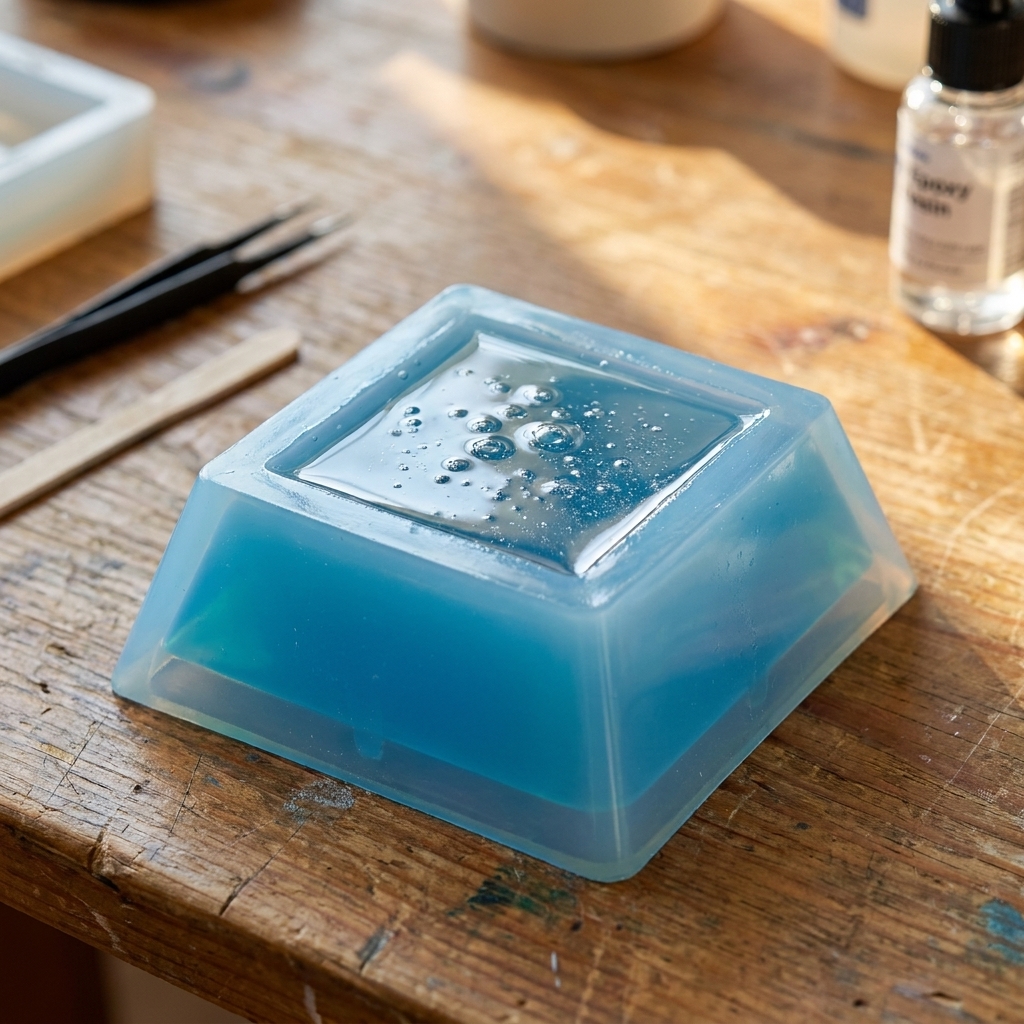
Most resin problems start before the pour. A few basics will save you hours of heartbreak.
- Measure precisely using the method your resin requires (by volume or by weight). Do not guess. Also, a resin that is 1:1 by volume is not automatically 1:1 by weight.
- Mix thoroughly, scraping the sides and bottom, then mix again in a second cup if needed.
- Watch temperature. Many brands cure best in the low- to mid-70s°F (around 21 to 24°C), but check your label. Cold resin traps bubbles and cures slowly.
- Keep moisture away. Humidity can cause cloudiness, amine blush, and other surface issues depending on the formula.
- Ventilation and PPE: gloves always. Follow your resin’s SDS and instructions for use. If you cannot ventilate well, you are sensitive to fumes, or you are sanding cured resin, use appropriate respiratory protection. Organic vapor cartridges are common for uncured resin vapors, and a P100 particulate filter is important for resin dust (especially while sanding). Open windows help, but they are not always enough on their own.
Quick sanding note: cured resin dust is not your friend. Wet sand when you can, and wear particulate protection. Your lungs deserve better than a “just one quick sand” moment.
1) Micro-bubbles everywhere
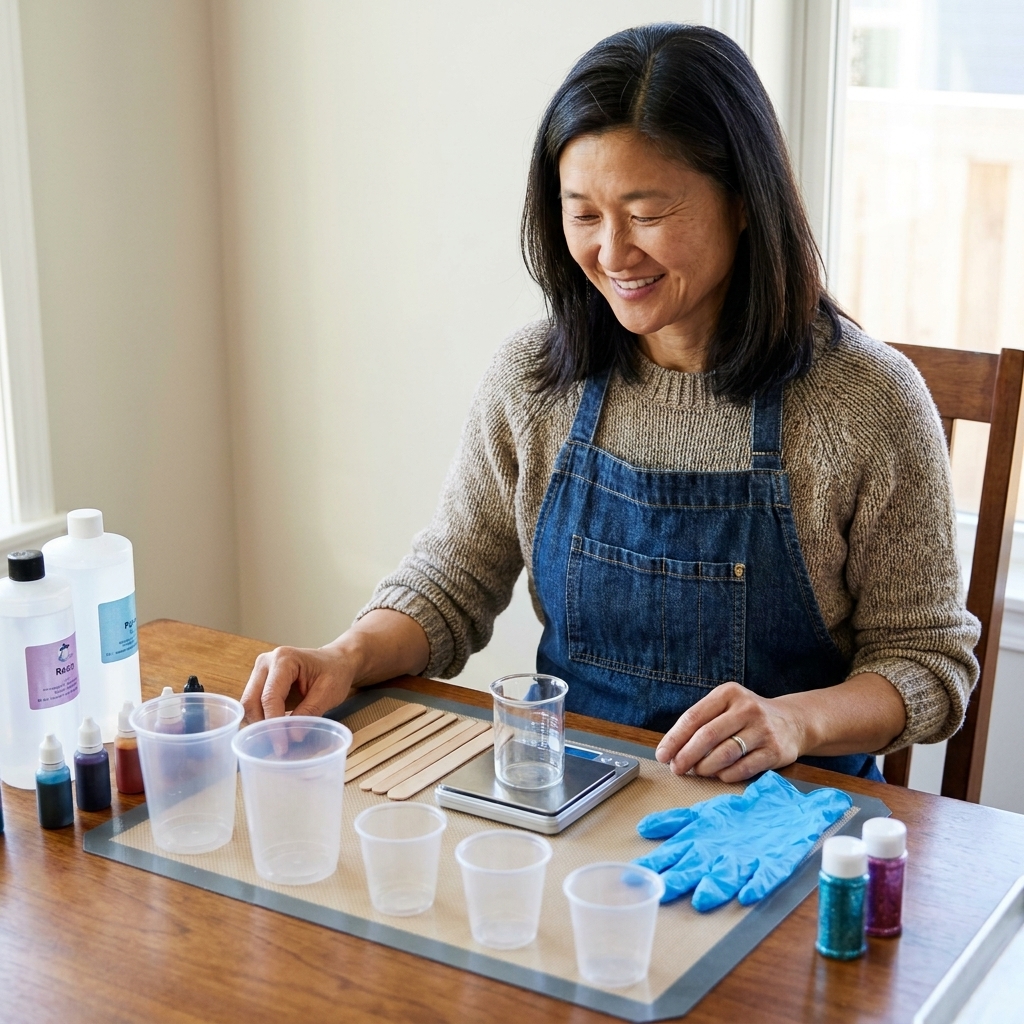
What it looks like: tiny bubbles suspended throughout the piece, or a fizzy layer near the top.
Why it happens: cold resin, vigorous stirring, pouring from too high, or bubbles clinging to textured molds and embed items.
Fix it (right now)
- Surface bubbles: pass a heat tool quickly over the top (mini butane torch, heat gun on low, or a long-neck lighter). Keep it moving so you do not scorch the resin or warp the mold. Also, be mindful of flammable surroundings and fumes when using an open flame.
- Bubbles stuck to a mold wall: use a toothpick to tease them away, then do a brief heat pass.
- Bubbles around embeds: pull the embed out, brush on a thin coat of mixed resin, then place it back and pour.
- Bubbles inside a cured piece: you cannot remove them, but you can camouflage them with glitter, pigment, mica, or an intentional frosted look. Sanding creates a diffuse finish that hides some visual “noise,” but it will not remove internal bubbles.
Prevent it next time
- Warm Part A and Part B bottles in a shallow bath of warm water for 5 to 10 minutes (caps tight).
- Stir slowly, like folding cake batter, and scrape the cup walls.
- Pour in a thin stream close to the mold surface.
- For deep molds, pour in layers so bubbles can rise and escape.
2) Resin stays tacky or sticky on top
What it looks like: the piece is mostly cured but the surface feels gummy, fingerprints happen easily, or dust sticks like crazy.
Why it happens: incorrect ratio, under-mixing, cold room temps, high humidity, or inhibition from certain materials (some paints, sprays, and silicones). Some epoxies can also develop amine blush, a waxy or greasy film on the surface, especially in cool or humid conditions.
Fix it (right now)
- First, figure out what kind of “sticky” you have:
- Amine blush often feels waxy or slick, and the resin underneath may actually be hard.
- Uncured resin feels truly gummy, like it never set, and you can often dent it.
- If you suspect amine blush: wash the surface with warm water and a little dish soap, then rinse and dry completely. (Soap and water are usually more reliable for blush than alcohol.) Once dry, scuff sand lightly and top coat.
- If it is just a slightly tacky surface from inhibition or minor mixing issues: you can try wiping gently with 91% isopropyl alcohol on a lint-free cloth, let it fully evaporate, then apply a thin correctly mixed flood coat. Caution: if the resin is truly under-cured, alcohol can smear sticky resin around and make a bigger mess, so go gently and stop if it feels like you are spreading goo.
- If it is tacky through the whole piece: it is usually a ratio or mixing issue. Your best option is to remove resin from the mold (if possible), scrape what you can, clean the mold thoroughly, and re-pour.
Prevent it next time
- Confirm whether your resin measures by volume or by weight. This is a big one.
- Mix for the full time recommended, scraping sides and bottom. If your arm gets tired, you are probably doing it right.
- Try a double-cup mix: mix in Cup 1, pour into Cup 2, mix again.
- Keep your workspace warm and steady while curing.
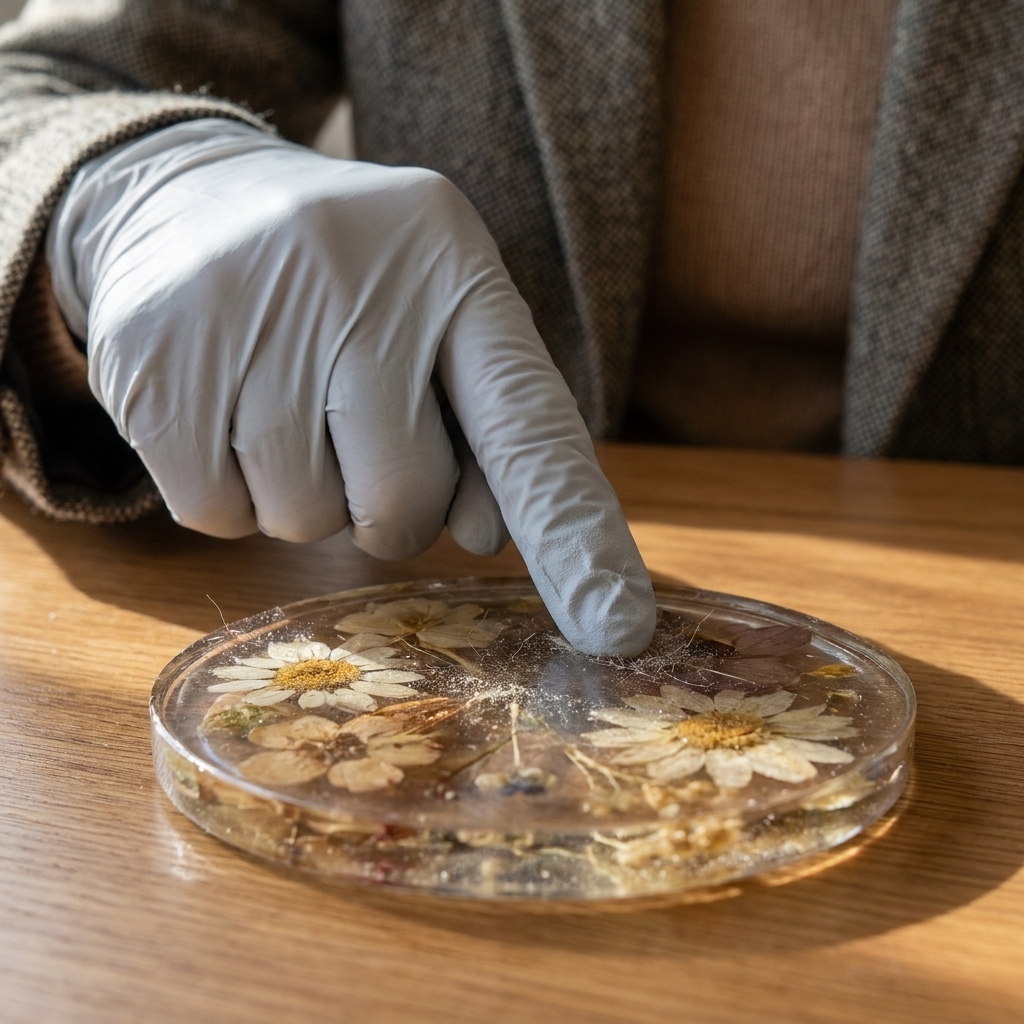
3) Soft or bendy cure
What it looks like: your piece feels rubbery, flexes, or dents with a fingernail even after the cure time.
Why it happens: inaccurate measuring, poor mixing, resin not suited for deep pours, or curing too cold.
Fix it (right now)
- Give it more time and warmth: move it to a warmer spot for 24 to 72 hours. Some pieces do harden fully with extra cure time.
- Top coat for minor softness: if the piece is mostly solid but slightly dent-prone, a properly mixed top coat can add hardness.
- If it is truly floppy: unfortunately, it is usually a remake. Keep it as a “test tile” for pigments and finishes.
Prevent it next time
- Use a digital scale if your resin calls for weight measurements.
- Do not pour thicker than your resin’s recommended depth per layer.
- Warm the room and the resin components before mixing.
Also helpful: demold time and full cure are not the same thing. Many craft resins can be handled or demolded in about 24 hours, but full hardness can take 72 hours to 7 days depending on the brand and conditions. When in doubt, wait.
4) Too much heat: yellowing or cracks
What it looks like: resin cures very hot, turns amber, shrinks away from edges, cracks, or even damages the mold.
Why it happens: resin cures through an exothermic reaction. Large volumes in one pour build heat fast, especially with fast-cure formulas or warm rooms.
Fix it (right now)
- If it is heating up in the cup: carefully move it to a heat-safe area and decant it into a wide, shallow container (like a disposable aluminum tray) to spread the mass and slow the runaway heat. Be aware: if it is already kicking hard, pot life may be nearly gone, fumes can increase, and the batch may not be usable for fine work.
- If it is already in the mold: increase airflow and move it to a cooler surface. Do not add water, and skip the fridge. (Temperature swings and moisture are not your allies here.)
- For yellowing or cracks: once it happens, you cannot reverse it. You can sand and re-coat, but severe cracks usually mean re-pouring.
Prevent it next time
- Pour in thin layers and let each layer reach a gel stage before adding the next. Gel stage means it is thick like jelly and tacky to the touch, not sloshy liquid, but not stringy either.
- Use a deep-pour resin for thick casts.
- Avoid leaving resin cups sitting in a warm sunbeam or near heaters.
Bonus reality check: even a perfectly poured piece can yellow over time if it lives in direct sunlight. If your project will be in a bright window, look for a resin with UV inhibitors and consider a UV-protective clear top coat.
5) Cloudy resin or hazy finish
What it looks like: resin looks milky instead of crystal clear, or the surface cures with a foggy cast.
Why it happens: moisture (humidity, wet inclusions), overheated resin, mixing too aggressively, or incompatible colorants.
Fix it (right now)
- Surface haze: sand with progressive grits (for example 400, 800, 1200, 2000), then polish, or apply a thin clear top coat to restore shine. Wet sanding helps keep dust down.
- Cloudiness throughout: you can sometimes disguise it with pigment or mica for an intentional “opal” look, but true internal cloudiness is difficult to undo.
Prevent it next time
- Dry your inclusions completely (flowers, wood, paper). Seal porous items first with a thin resin coat or an appropriate sealer.
- Craft in lower humidity when possible, and keep lids on Part A and Part B.
- Use colorants made for resin.
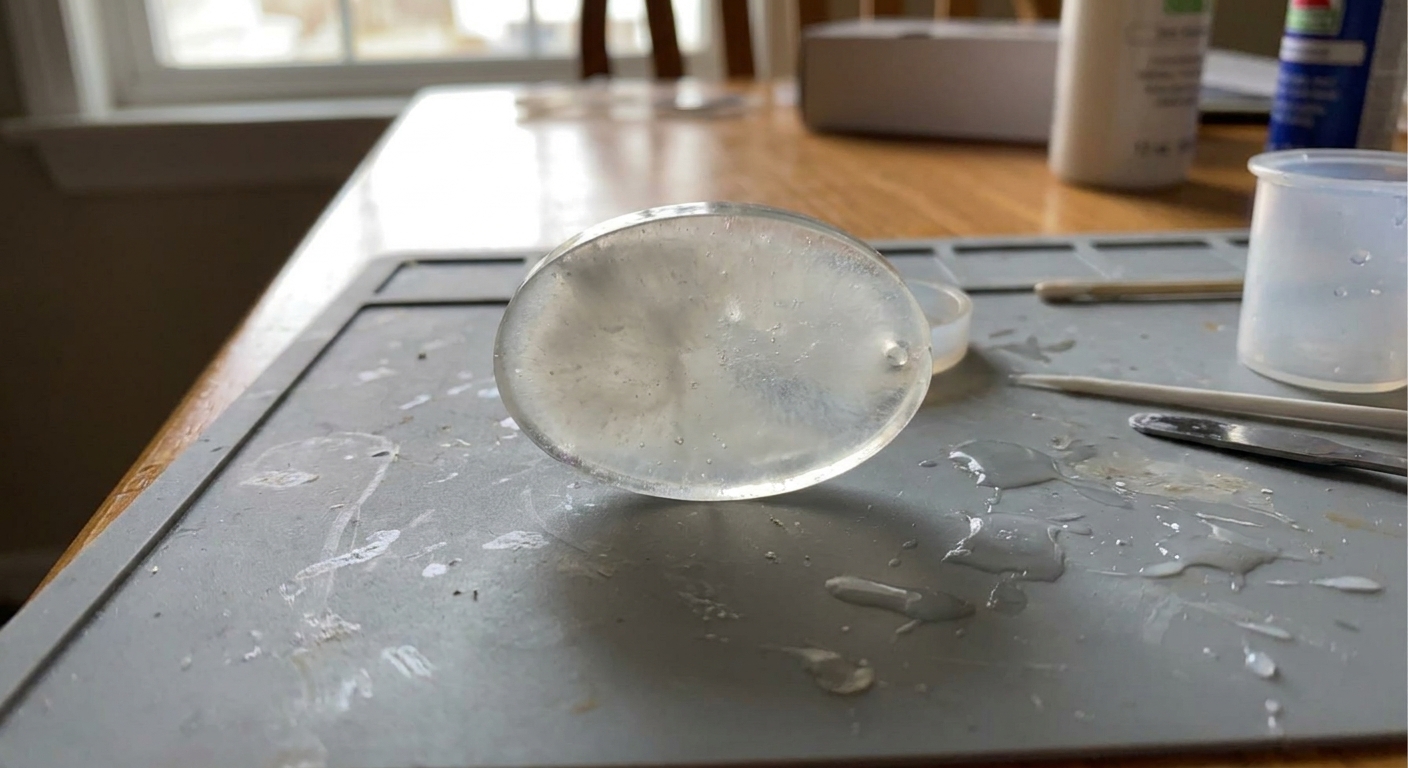
6) Fish eyes and bald spots
What it looks like: little craters or circles where resin refuses to coat evenly, usually on a flat top coat.
Why it happens: contamination. The usual culprits are silicone residue, oil from fingers, dust, or certain sprays and polishes.
Fix it (right now)
- Let the coat cure.
- Sand lightly to scuff the surface (so the next layer can grip).
- Clean with isopropyl alcohol and let it fully evaporate.
- Re-coat with a fresh, thin flood coat.
Prevent it next time
- Wear gloves when handling pieces you plan to top coat.
- Avoid silicone-based sprays anywhere near your resin workspace.
- Cover curing resin to keep airborne oils and dust off the surface.
7) Dust, hair, or lint in the finish
What it looks like: the piece is gorgeous except for one cat hair that looks like it signed the artwork.
Why it happens: resin is a magnet while it cures, and most of us craft in real homes with real air movement.
Fix it (right now)
- If you catch it early (still liquid): use tweezers to lift the debris out, then do a quick heat pass to re-level.
- If it is cured in place: sand the area flat and add a top coat. Wet sanding is ideal when possible.
Prevent it next time
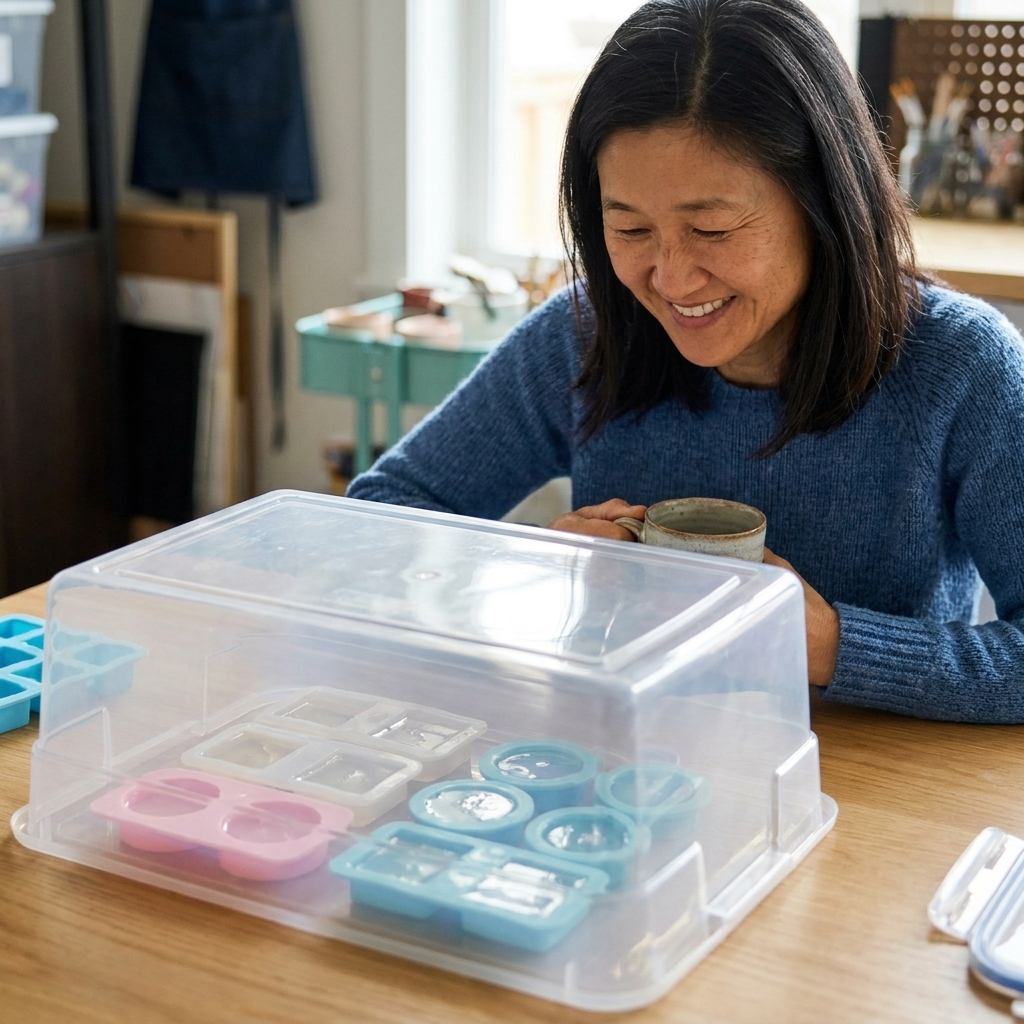
- Cover pieces with a clean plastic tub or cardboard box while curing.
- Wipe your workspace before mixing.
- Keep pets out during pours if possible, or at least during the first hour of cure.
8) Pieces will not release
What it looks like: you peel and tug and the resin feels glued into the mold, or the mold tears.
Why it happens: resin not fully cured, mold worn out, undercuts in the mold shape, or a mold that is not actually silicone. Some molds are “silicone-like” (TPR or TPE) or low-quality silicone that can grab resin and tear easily.
Fix it (right now)
- Wait longer: if the piece feels at all soft, give it more cure time.
- Try the freezer trick: put the mold in the freezer for 10 to 20 minutes, then flex and release. If you are in a humid climate, let it come back toward room temp in a sealed bag to reduce condensation on the piece.
- Use gentle pressure: flex the mold from the edges rather than pulling the piece by delicate details.
Prevent it next time
- Replace molds once they get cloudy, scratched, or sticky.
- Avoid sharp tools inside the mold (they create micro-tears that grab resin).
- Choose molds with fewer extreme undercuts if you are new.
9) Uneven curing or slanted tops
What it looks like: one side is thicker, the resin pools, or the top cures with a noticeable slope.
Why it happens: the work surface is not level, molds are flexing, or you moved the piece during the early cure stage.
Fix it (right now)
- If resin is still liquid: re-level your surface immediately. Slide a shim (cardstock, folded paper) under the low side of your mold tray.
- If it cured slanted: sand the top flat, then top coat. For coasters and trays, a leveling top coat can make it look brand new.
Prevent it next time
- Use a small bubble level on your work surface.
- Set molds on a rigid tray or board so they stay flat when moved.
- Do not carry curing pieces around the house. Ask me how I learned that one.
10) Pigment problems
What it looks like: glitter sinks to the bottom, mica forms little freckles, or colors blend into a dull mess.
Why it happens: adding too much colorant, using water-based dyes, mixing at the wrong time, or working with resin that is too thin (low viscosity) for suspending glitter. Too much liquid colorant of any kind can also interfere with curing.
Fix it (right now)
- Sinking glitter: wait a few minutes after mixing until the resin thickens slightly, then stir in glitter and pour. You are aiming for the honey stage, when resin drizzles slowly like warm honey instead of pouring like water.
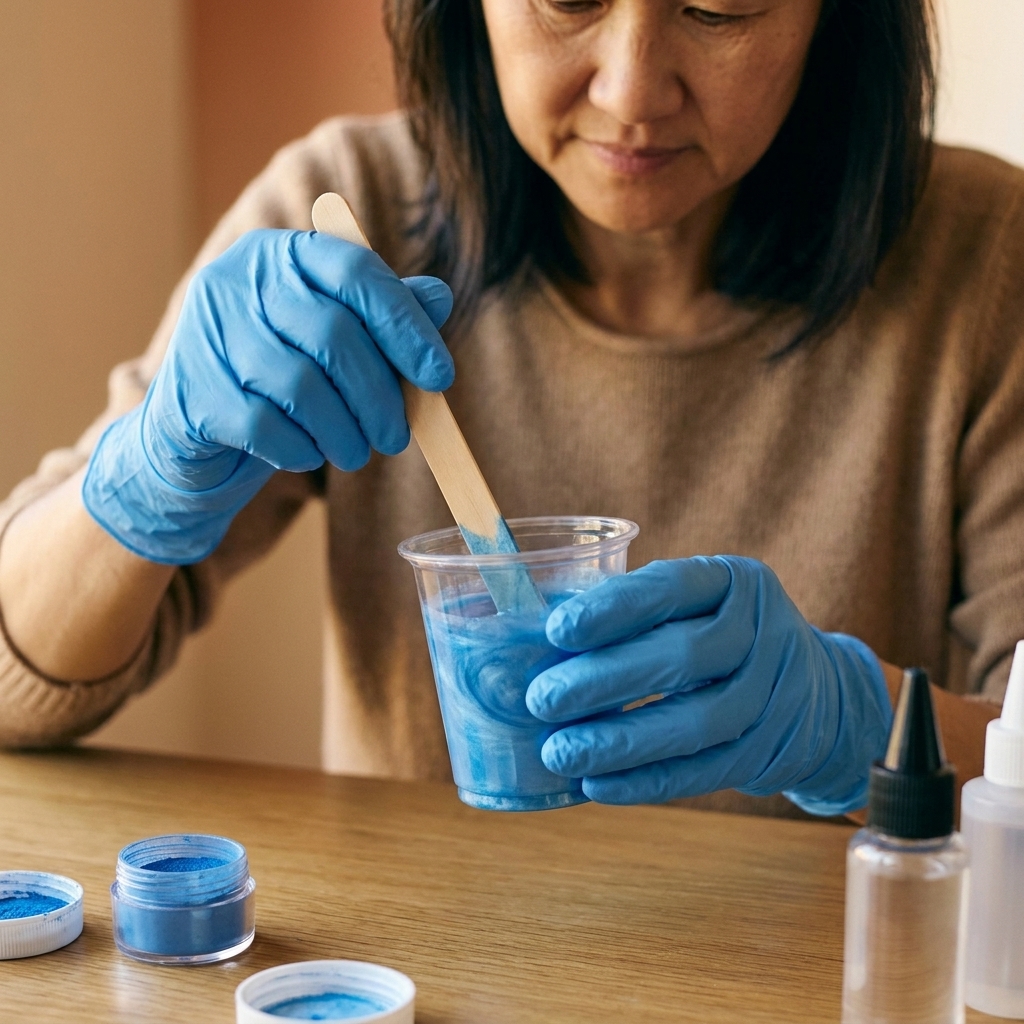
- Clumpy mica: pre-mix mica into a small portion of resin to make a smooth paste, then blend that into the full batch.
- Muddy colors: separate your colors into different cups, pour intentionally, and stop swirling sooner than you think.
Prevent it next time
- Use resin-specific pigments, and dry mica powders. Alcohol inks can work if compatible with your resin, but some can fade over time or bleed, so test first.
- Follow the manufacturer’s maximum pigment load. Too much pigment can inhibit curing.
- For clean color separation, pour at the honey stage when it is thicker and moves more slowly.
My quick resin rescue checklist
If something goes sideways mid-project, run through this list before you panic-repour.
- Is it warm enough? Cold slows curing and traps bubbles.
- Did I measure correctly? Volume vs weight matters.
- Did I mix long enough? Scrape sides and bottom, then mix again.
- Is the surface contaminated? Oils and silicone cause fish eyes.
- Is the piece protected while curing? Cover it from dust and hair.
FAQ: quick answers
Can I fix sticky resin by adding another layer?
Sometimes. If the stickiness is only on the surface and the resin underneath is hard, clean it first (soap and water for amine blush, or a careful alcohol wipe for light surface tack), scuff sand, and add a correctly mixed top coat. If the whole piece is uncured, a new layer usually will not save it because the base never fully hardens.
Why does my resin look fine in the cup but bubbles appear in the mold?
Textured molds and porous embeds release trapped air after the pour. Brush a thin coat of resin into the mold first, especially into corners and details, then pour the rest.
Is a heat gun or torch better for bubbles?
For most small projects, a quick torch pass pops surface bubbles fast. A heat gun is gentler but can blow resin around or create ripples if you hold it too close. Either works if you keep it moving, keep it brief, and pay attention to heat and fire safety.
How do I know when resin is safe to demold?
If it feels cool, firm, and does not dent with a fingernail, it is usually ready. When in doubt, wait. Demolding early is a top cause of warped, bendy pieces.
One last pep talk
Resin is not “easy,” but it is learnable. Most mistakes come down to three things: measuring, mixing, and environment. Keep a little notebook of what brand you used, the room temperature, and how long you mixed. Your future self will feel like a resin detective in the best way.
If you want, tell me what went wrong with your piece (what resin, what mold, room temp, and what it looks like), and I can help you narrow it down to the most likely fix.