Smart, budget-friendly ways to store beads, buttons, and brads so you can see what you have, stop spilling, and actually enjoy your craft time again.
Wire wrapping and beading are two of my favorite “tiny wins” crafts. You can sit down with a handful of beads, a few feet of wire, and a mug of something warm and end up with a bracelet that looks like it came from a boutique. The secret is not magic hands. It’s the right tools doing the hard work for you.
This guide walks you through the must-have jewelry making tools for wire wrapping and beading, what each one actually does, and how to choose budget-friendly options that still give you clean, professional-looking results.
The core five tools to start with
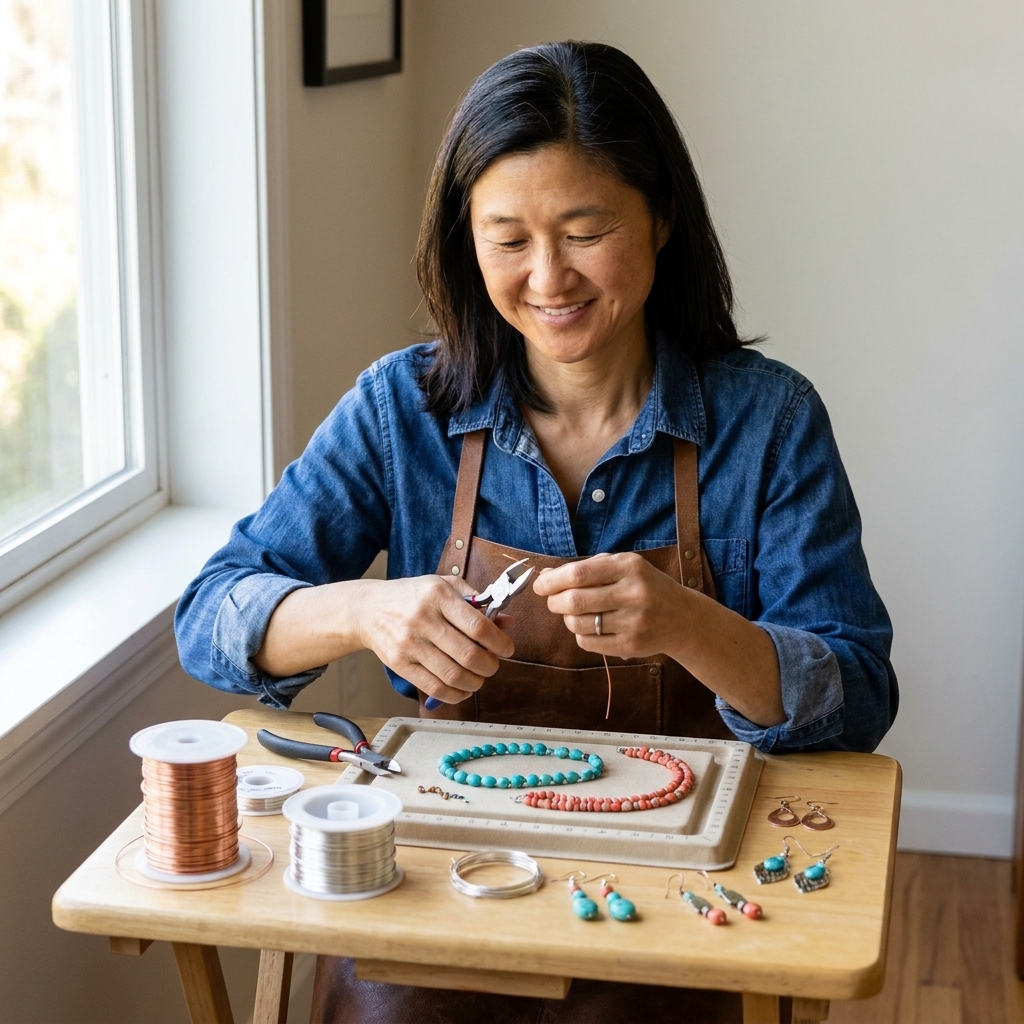
If you buy nothing else, start with this small set. These tools cover most beginner wire wrapping and beading tasks, and they’re the ones I reach for constantly.
- Chain-nose pliers
- Round-nose pliers
- Flat-nose pliers (or bent chain-nose as an alternative)
- Flush cutters
- Bead reamer or fine awl (tiny, but mighty)
If you’re shopping in sets, look for a set that includes chain-nose, round-nose, flat-nose, and flush cutters. Then add the small bead tool separately.
Pliers for wire wrapping
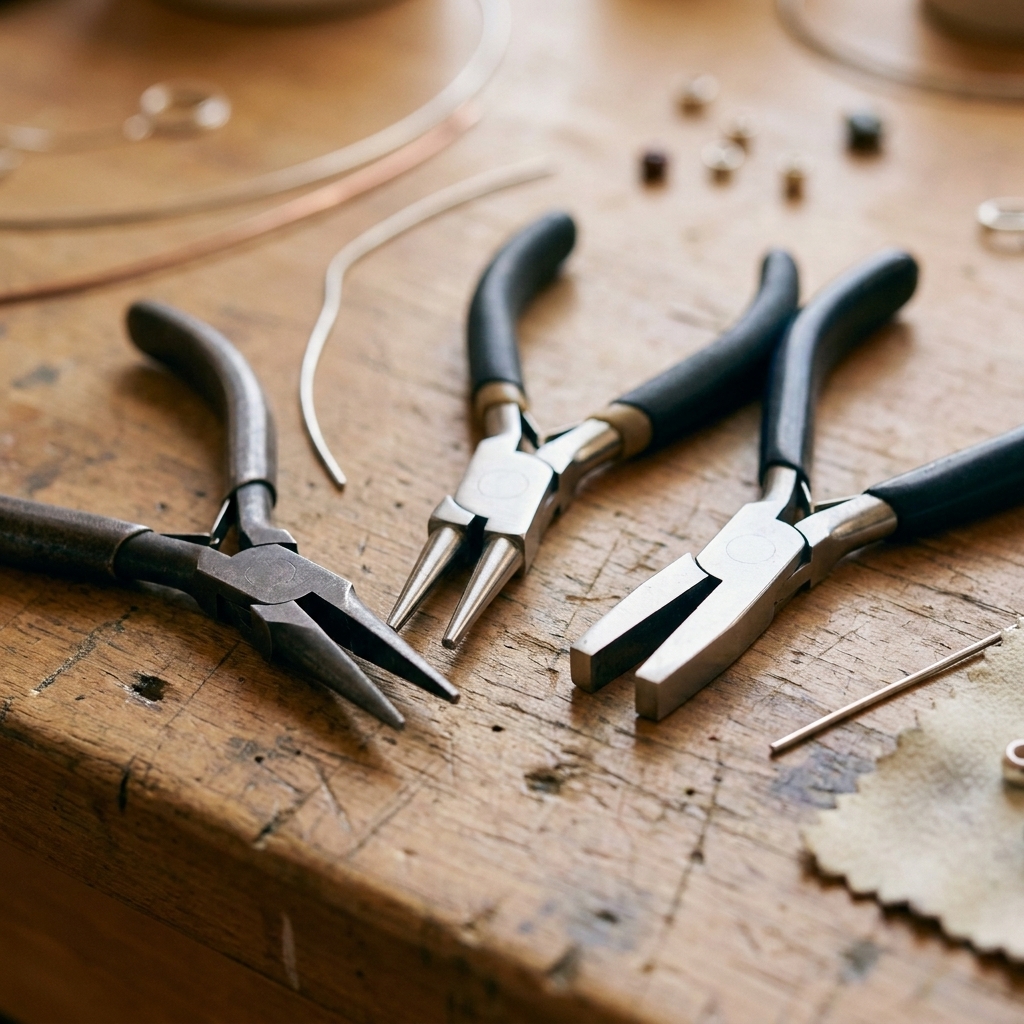
Pliers are where “professional-looking” starts. The right jaw shape helps you grip without chewing up your wire, make consistent loops, and tuck ends down neatly.
Chain-nose pliers (everyday workhorse)
Chain-nose pliers have tapered, smooth jaws that meet flat. They’re perfect for:
- Opening and closing jump rings
- Gripping wire while you wrap
- Making sharp bends and tidy angles
- Tucking wire ends down so they don’t snag (gently)
What to look for: Smooth jaws (no serrations), a spring-loaded handle if your hands get tired, and tips that meet evenly when closed.
Quick jump ring note: For cleaner rings and fewer scratches, use the two-plier technique. Twist open side-to-side, then twist closed the same way. Don’t pull the ring open like a tiny mouth.
Round-nose pliers (loops and coils)
Round-nose pliers are the ones with cone-shaped round jaws. They create:
- Simple loops and wrapped loops
- Eye pin and head pin loops
- Spirals and decorative curves
My tip: If your loops come out different sizes, you’re not “bad at it.” You’re just grabbing a different spot on the cone each time. Use a fine-tip permanent marker to add two tiny dots on the jaws where you want to form most of your loops. Instant consistency.
Flat-nose pliers (crisp bends)
Flat-nose pliers have a wide, flat gripping surface. I love them for:
- Straightening wire
- Flattening and aligning wraps
- Holding components steady while you twist or wrap
Alternative: Bent chain-nose pliers are a nice upgrade later. The angled head helps you reach into tight spots and hold awkward angles more comfortably.
Nylon-jaw pliers (optional, very worth it)
If you plan to work with softer craft wire, colored wire, or plated wire, add nylon-jaw pliers when you can. The plastic jaws help you grip and straighten without leaving tool marks.
Best for: Straightening wire, smoothing kinks, and gently tightening wraps without scratching the finish.
Cutters and clean ends
Clean cuts matter. A rough cut leaves a sharp little wire burr that catches on sweaters, snags hair, and scratches skin. This is one of the quickest upgrades you can make for comfort and quality.
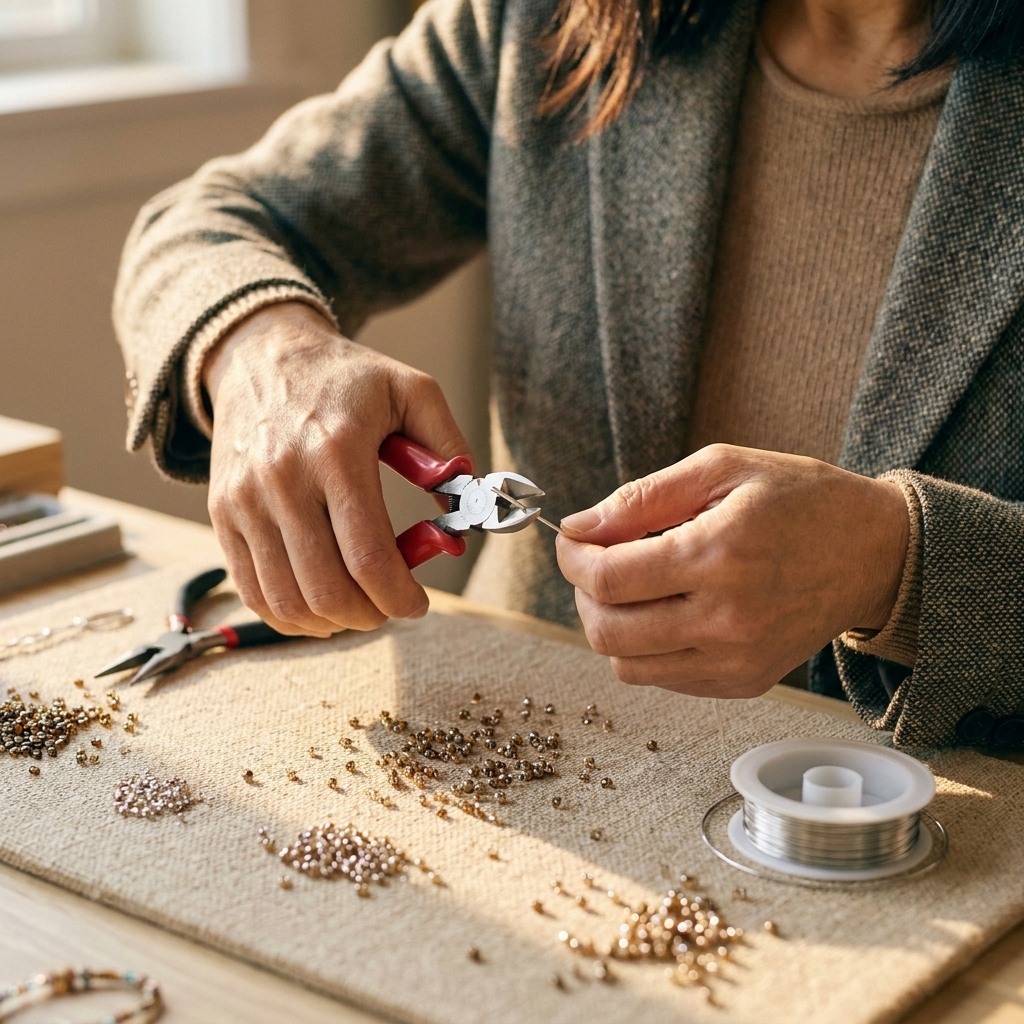
Flush cutters (non-negotiable)
Flush cutters create a flat, clean cut on one side of the wire. They’re essential for:
- Trimming wire tails close to your work
- Cutting head pins and eye pins to size
- Getting neat ends on jump rings (especially if you make your own)
How to use them: Most flush cutters have one “flush” side and one angled side. Position the flush side toward the piece you’re keeping, so the kept end is as flat as possible.
Important: Don’t use your good flush cutters on memory wire or thick steel wire. That’s a fast way to chip the blades.
Safety: When cutting hardened wire (especially memory wire), wear eye protection and point the cut end away from your face. Those little ends can launch.
Memory wire cutters (only if you use memory wire)
If you want those coil bracelets and chokers made from memory wire, buy dedicated memory wire cutters. Memory wire is hardened steel and it will destroy regular flush cutters.
Heavy-duty cutters (for thicker gauges)
If you plan to work with thicker wire (like 14 to 16 gauge for bangles or structural frames), a small pair of heavy-duty cutters saves your hands and keeps your flush cutters from suffering. Some bangle designs go even thicker, and wire temper matters too, so think of this as your “strong wire” category rather than a strict rule.
Wire gauges and what to buy
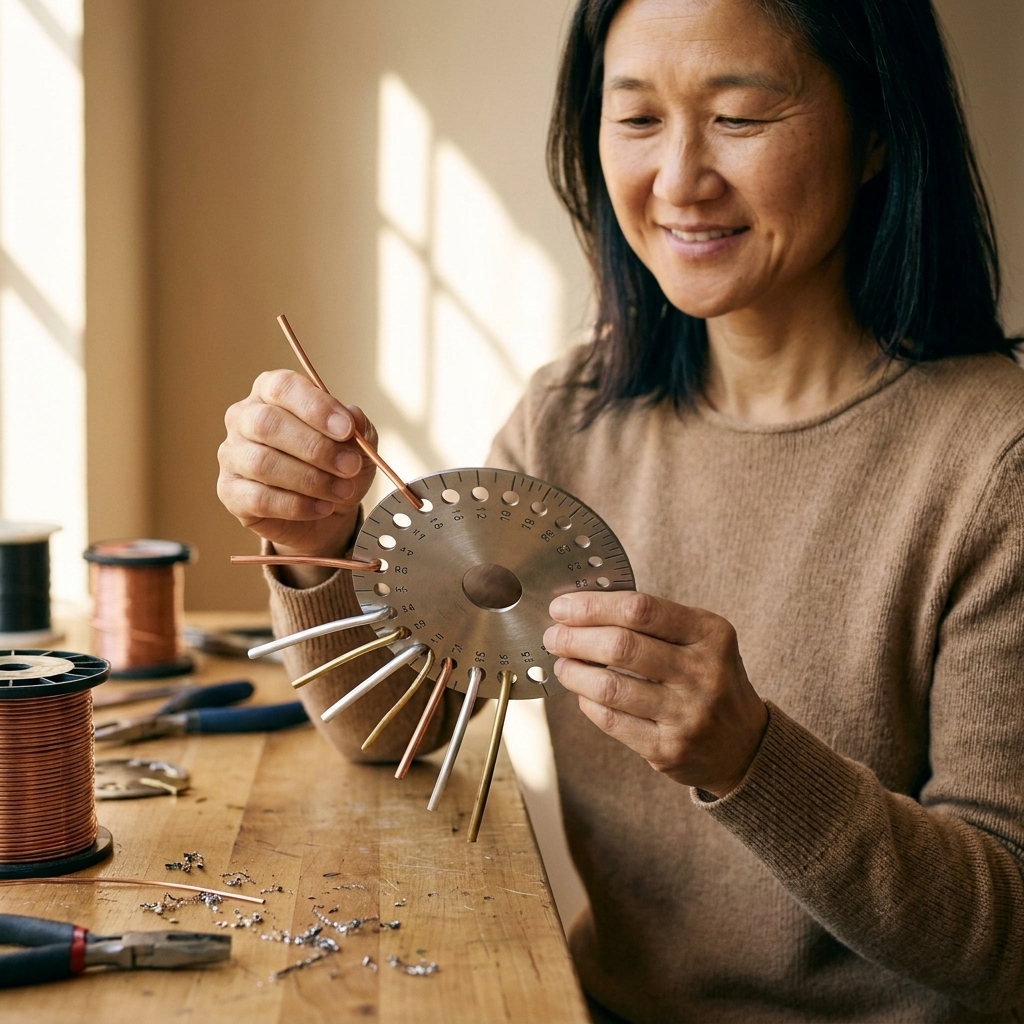
Wire gauge trips up almost everyone at first because the numbers feel backwards. In most jewelry wire gauge systems you’ll see online and in bead shops, a higher number means thinner wire. (Gauge standards can vary by system and country, so if something seems off, measure with a gauge tool or calipers.)
My starter wire gauge shopping list
- 20 gauge: Great all-purpose wire for simple loops, light wire wrapping, and many ear wire styles.
- 21 to 22 gauge: Popular for ear wires and delicate links, but it can feel a bit light depending on the design and how well the wire holds its shape.
- 24 to 26 gauge: For weaving and wrapping around frames (like wrapping a cabochon or bundling multiple wires).
- 18 gauge (optional): For sturdier jump rings, clasps, and some bracelet components.
Wire temper (this changes everything)
If your wire feels either too floppy or weirdly stubborn, it might be the temper:
- Dead-soft: Bends easily. Lovely for intricate wrapping and weaving, but won’t hold shape as firmly.
- Half-hard: Springier and holds shape better. Great for ear wires, clasps, frames, and anything structural.
You can also work-harden wire as you manipulate it, and lightly hammering can harden it further.
Wire material basics (quick and practical)
- Copper: Affordable, great for practice, work-hardens nicely. Bare copper will darken over time, which can be beautiful or not, depending on your vibe.
- Brass: Similar to copper, slightly stiffer, warm gold tone.
- Sterling silver: Gorgeous and classic, but pricey for learning. Save it for when you want to gift or sell.
- Gold-filled: Higher cost, excellent wear, wonderful for finished pieces.
- Craft wire (colored or plated): Fun and budget-friendly, but the finish can scratch. Nylon-jaw pliers help.
Tools that help you read wire
- Wire gauge tool: A small measuring plate that confirms the gauge of mystery wire you inherited or thrifted.
- Digital calipers (optional): Very handy if you like precision or buy wire from mixed sources.
Beading tools that smooth your workflow
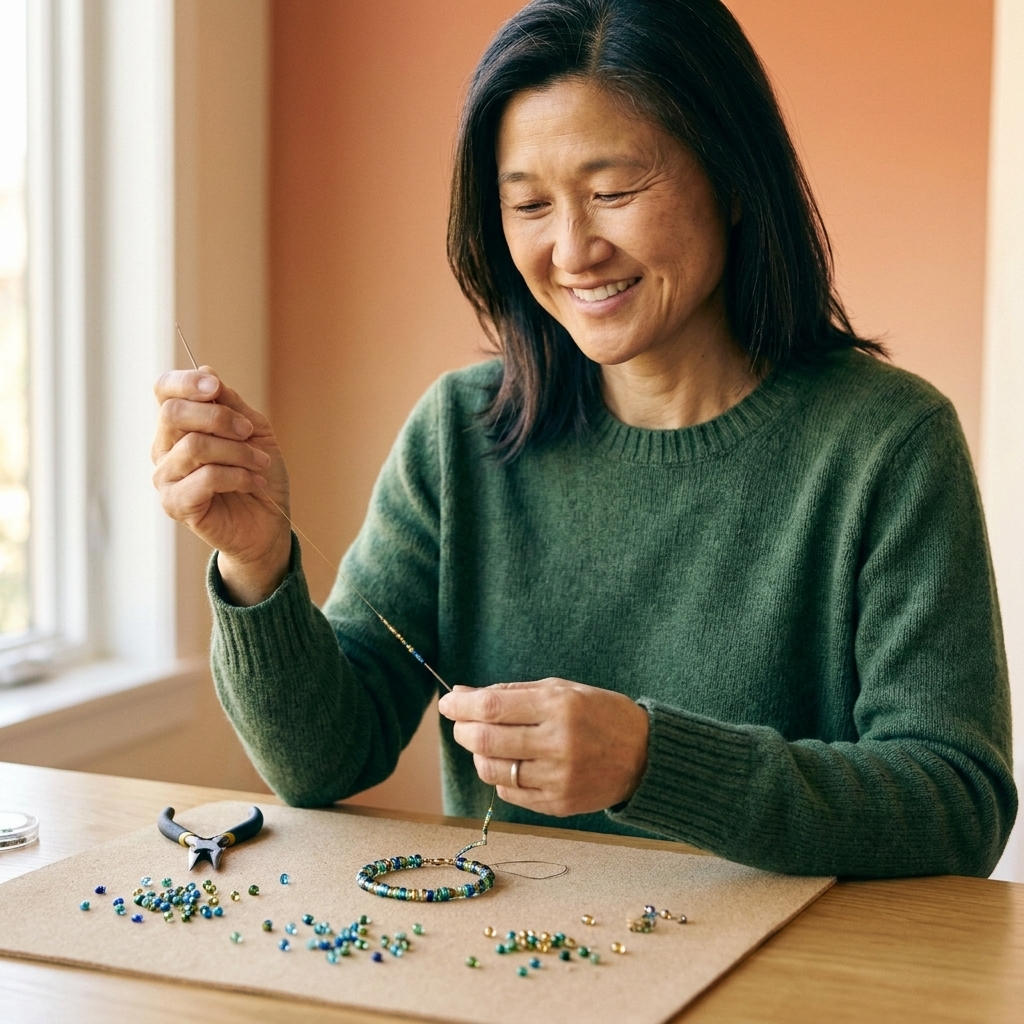
Wire wrapping gets the spotlight, but beading is where your workflow can either feel calm and organized or like you’re chasing runaway seed beads across the floor. These tools keep things tidy.
Bead mat or bead board
A bead mat (usually soft flocked fabric) stops beads from rolling. A bead board adds channels and measurements for laying out necklaces and bracelets.
- Get a bead mat if you do a little of everything.
- Get a bead board if you design a lot of strands and want to plan lengths quickly.
Beading needles
For seed beads or tiny holes, you want slender needles designed for beadwork. If you only buy one type, choose a flexible, fine beading needle that fits your most common bead sizes.
Thread or stringing tools (depending on your style)
- Beading thread for weaving and stitching
- Stretch cord for simple bracelets
- Beading wire (coated multi-strand) for necklaces and bracelets with crimps
Crimping pliers (a next step tool that feels like a cheat code)
If you use beading wire and crimp beads, crimping pliers create neat, secure crimps that look professional instead of lumpy. Can you flatten crimps with chain-nose pliers? Yes. Will crimping pliers make your life easier and your results cleaner? Also yes.
Don’t forget crimp covers: They’re optional, but they hide the crimp bead and help the finish look intentional. Think of them as the “lipstick” of stringing projects.
Bead reamer (tiny hero)
A bead reamer gently widens or cleans out bead holes. This is especially helpful with stone beads and some glass beads where the hole is slightly rough or too snug for your wire or cord.
Mandrels and shaping tools
When you want repeatable shapes, these tools do the measuring for you.
Ring mandrel
If you make wire rings, a ring mandrel helps you form consistent sizes and smooth circles. A metal mandrel is sturdier, but even an inexpensive option works for learning.
Bracelet mandrel
Great for bangles and cuff shaping. It helps your bracelets look intentionally round instead of “I wrestled this into a shape with my hands” round.
Step mandrel or bail-making pliers
These create consistent loop sizes for:
- Bails for pendants
- Uniform loops in links
- Ear wire curves
Wire jig (optional, fun for repeats)
A wire jig is a board with pegs you arrange to form repeatable shapes like links, hearts, or connectors. It’s not necessary, but it’s a satisfying upgrade if you like making multiples.
Measuring and finishing tools
These are the small add-ons that take your work from “cute” to “wow, that looks store-bought.”
Ruler or measuring tape
For spacing beads, planning necklace lengths, and cutting consistent wire pieces.
Fine-tip permanent marker
For marking where to bend wire, where to form loops on your round-nose pliers, or how long to cut repeated components.
Jewelry file or cup burr
If you ever end up with a slightly sharp wire end, a small file or cup burr smooths it quickly. This is especially useful for ear wires and any place that touches skin.
Chasing hammer and steel block (optional)
Light hammering can:
- Harden wire slightly (work-hardening)
- Flatten and widen wire for a decorative look
- Help components lay flatter
If you try this, start gently. Jewelry hammering is more “tap tap” than “build a deck.”
How to choose pliers
Two pliers can look identical online and feel wildly different in your hands. Here’s what I check:
- Smooth jaws for jewelry wire. Serrated jaws grip hard but leave marks.
- Aligned tips that meet evenly when closed.
- Spring-loaded handles if you craft for long stretches.
- Comfort grip that doesn’t dig into your palms.
- Jaw length: Longer, tapered jaws reach into tight wraps. Short jaws feel sturdier for gripping.
If you’re budget-shopping, I’d rather you buy fewer tools that feel good than a giant kit where everything pinches and slips. Your hands deserve better.
A simple starter kit checklist
Here’s a practical, no-clutter shopping list for a beginner setup that can grow with you.
Minimum kit
- Chain-nose pliers (smooth)
- Round-nose pliers (smooth)
- Flat-nose pliers (smooth)
- Flush cutters
- Bead mat
- Assorted wire: 20g, 21 to 22g, 24g (copper or brass for practice)
- Assorted jump rings, head pins, and ear wires (or wire to make your own)
Best next upgrades
- Nylon-jaw pliers
- Crimping pliers and crimp covers (if using beading wire)
- Wire gauge tool or calipers
- Jewelry file or cup burr
- Step mandrel or bail-making pliers
- Ring mandrel (if making rings)
Common beginner mistakes
- Using the wrong cutter for the wire. Memory wire is the biggest culprit. Use memory wire cutters.
- Buying serrated-jaw pliers for jewelry wire. They leave bite marks that are hard to unsee.
- Over-gripping. White-knuckle squeezing causes dents in wire and hand fatigue. Let the tool do the work.
- Skipping a bead mat. It sounds optional until you spill seed beads once.
- Using too-thick wire for delicate wraps. If your wraps look bulky, try 24g or 26g for the wrapping wire.
- Ignoring temper. If something won’t hold shape (or keeps kinking), try half-hard for structure and dead-soft for detailed wraps.
FAQ
Do I need three different pliers to start wire wrapping?
For clean results, yes, I recommend at least chain-nose and round-nose plus flush cutters. Flat-nose pliers make gripping and straightening easier, but if your budget is tight, you can start with chain-nose and round-nose and add flat-nose soon after.
What wire gauge is best for beginners?
Start with 20 gauge for learning loops and basic components, and keep 21 to 22 gauge and 24 gauge on hand for wrapping, links, and lighter work. That trio covers a lot of starter projects.
Why do my wire loops look uneven?
Most often it’s because you’re forming loops at different spots on the round-nose plier cone. Mark your preferred spot with a tiny dot and practice forming loops at that same point each time.
How do I avoid tool marks on wire?
Use smooth-jaw pliers, grip gently, and consider nylon-jaw pliers for soft or colored wire. Also, keep your tools clean. A tiny bit of grit can scratch surprisingly deep.
Can I use hardware store wire for jewelry?
You can practice shaping with it, but for wearable pieces it’s usually not a great choice. Hardware wire may be galvanized, coated, oily, or made from unknown alloys. For anything worn against skin all day (especially ear wires), stick with wire labeled for jewelry making.
My no-waste tip
When you’re learning, buy inexpensive copper wire and treat it like sketch paper. Save short offcuts in a jar. Those “too small” pieces are perfect for:
- Practicing loops and wrapped loops
- Making tiny dangles
- Testing patina or polishing methods
- Creating mini connectors for earrings
Jewelry making is one of the easiest crafts to keep nearly zero-waste, and that’s a small joy I’ll never get tired of.