A beginner-friendly guide to using the color wheel for harmonious craft palettes, plus easy formulas, value tips, and fixes when colors feel off.
If you can fake a thick downstroke with a normal pen, you already understand the most important rule of brush lettering: downstrokes are thick, upstrokes are thin. The jump to brush pens is less about “talent” and more about teaching your hand a new kind of pressure control. (Also: accepting that your first few pages will look like a baby giraffe learning to skate. Totally normal.)
In this guide, I’ll walk you from faux calligraphy habits into brush pen muscle memory with drills that build on each other, plus the paper and pen choices that will save your nib and your sanity.
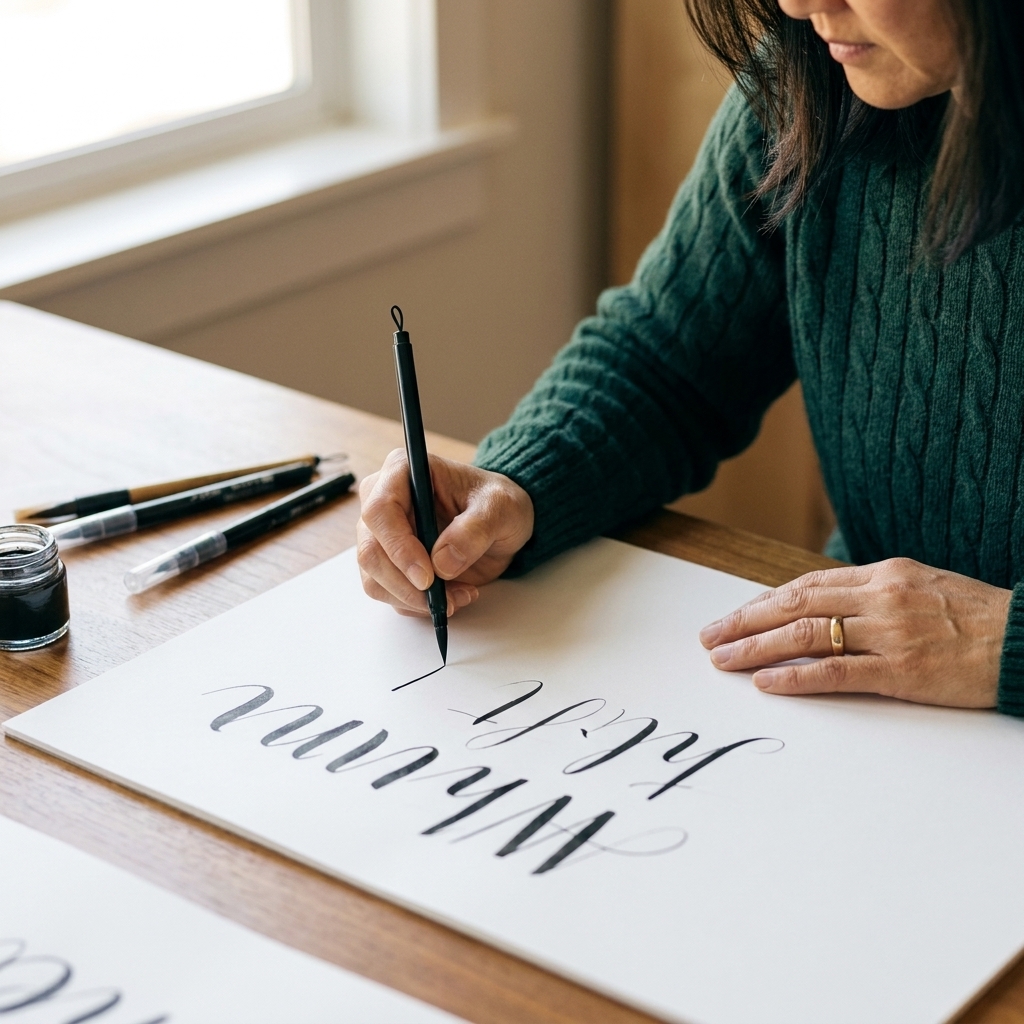
What changes when you switch to a brush pen
Faux calligraphy is basically two steps: write a letter, then add thickness to the downstrokes. Brush lettering is one step: the tool makes the thickness change as you write. That means your brain has to think about pressure while also thinking about shapes and spacing.
- Pressure replaces adding a second line. Thick lines come from pressing down so the brush tip spreads.
- Speed matters more. If you move very slowly with heavy pressure, ink can pool and edges can get bumpy, especially with juicier pens.
- Paper matters a lot. Rough paper will fray felt tips fast, and even nylon tips can feel scratchy on toothy paper.
- Your grip usually needs to loosen. A death-grip makes shaky transitions and accidental blobs.
Supplies that make the transition easier
You do not need a 40-marker set to learn. One brush pen, one smooth practice surface, and something to keep your hand from smudging is plenty.
Beginner-friendly brush pens
If you are coming from faux calligraphy, smaller or firmer tips tend to feel more controllable at first. A few popular, easy-to-find options:
- Tombow Fudenosuke (hard or soft tip). Small, firm felt tip, great for learning pressure changes without feeling like the pen is skating away.
- Pentel Sign Pen Touch. Small felt brush with a smooth feel and good control for lowercase practice.
- Tombow Dual Brush Pen. Bigger and softer, but still very learnable once you can make consistent thin upstrokes and clean downstrokes.
- Kuretake Zig Clean Color Real Brush. Nylon bristles with flexible control, great for smooth transitions and expressive strokes.
Quick note on tip types: felt tips are convenient and beginner-friendly but can fray faster on textured paper. Nylon bristles are springy and durable, and they often handle texture a little better. Either works, but smooth paper makes both happier.
Paper that will not chew up your pen
- Smooth marker paper (excellent for felt brush tips)
- Rhodia or other super-smooth notepads (great for daily drills)
- Laser printer paper for budget practice (surprisingly decent)
Avoid: watercolor paper, most sketchbook paper, and anything with a fuzzy, fibrous surface. Recycled paper can be totally fine, the real issue is texture.
Two tiny helpers I swear by
- A scrap sheet under your hand to prevent oils and smudges.
- A micron or gel pen for planning. Sketch words lightly first if your brain freezes mid-letter.
Maintenance tip: Cap your brush pens promptly so they do not dry out, and store them the way the manufacturer recommends (many are happiest stored horizontally).

How to hold a brush pen
Brush pens respond best to a gentler approach than regular pens.
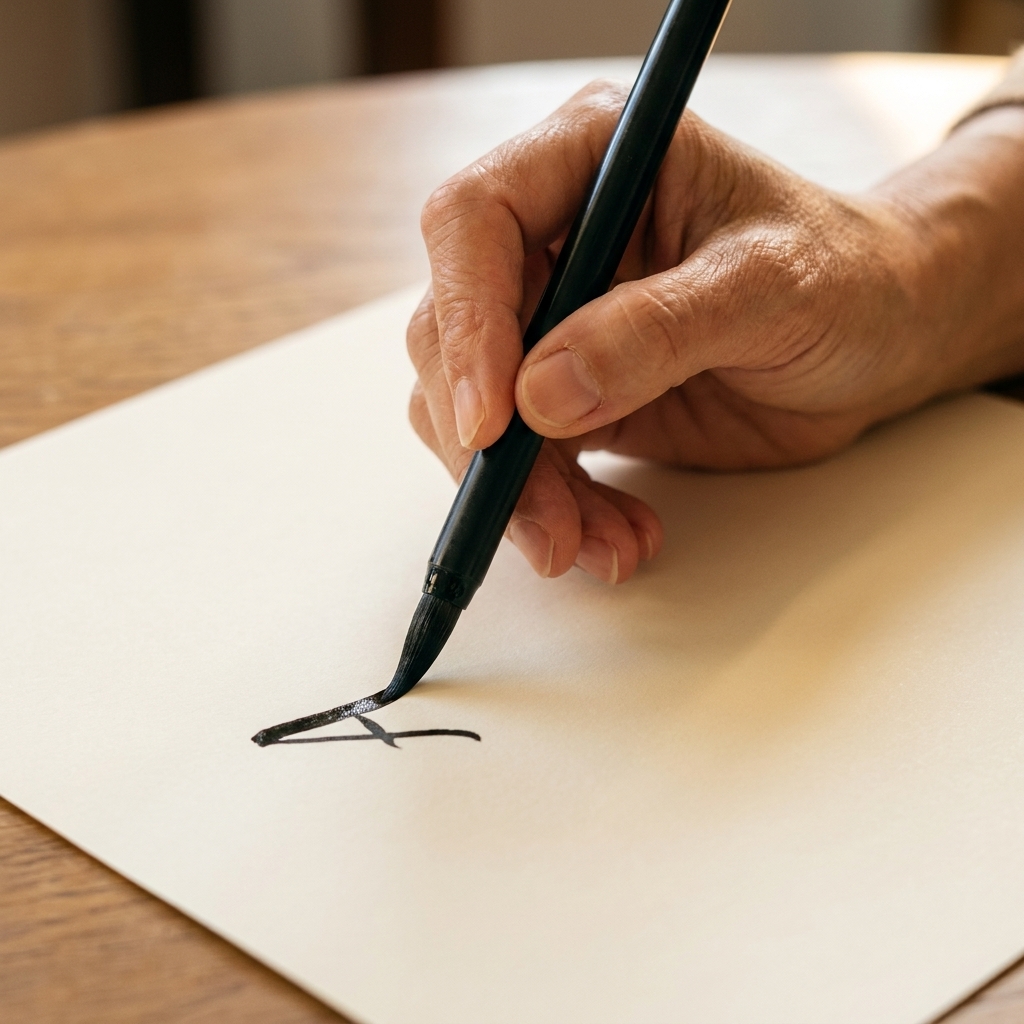
- Relax your grip. Hold it like you are holding a paintbrush, not clamping a test pencil.
- Angle the pen. Try about a 45-degree angle to the paper. Too upright can make scratchy hairlines.
- Use your arm, not just fingers. For longer strokes, let your forearm glide. Your letters will instantly look smoother.
- Keep the tip pointed the direction you are traveling. If the tip twists sideways, you will get accidental thick spots.
Step-by-step drills
These drills are sequenced on purpose. If your strokes are inconsistent, do not practice harder. Go back one step and repeat it for two minutes. That is the secret.
Step 1: Pressure ladders
Draw a row of short vertical strokes. Each one gradually gets thicker, then gradually gets thinner.
- Start with a whisper-light touch.
- Press down slowly to widen the stroke.
- Release pressure to return to a hairline.
Goal: smooth transitions, no sudden steps.
Step 2: Basic strokes
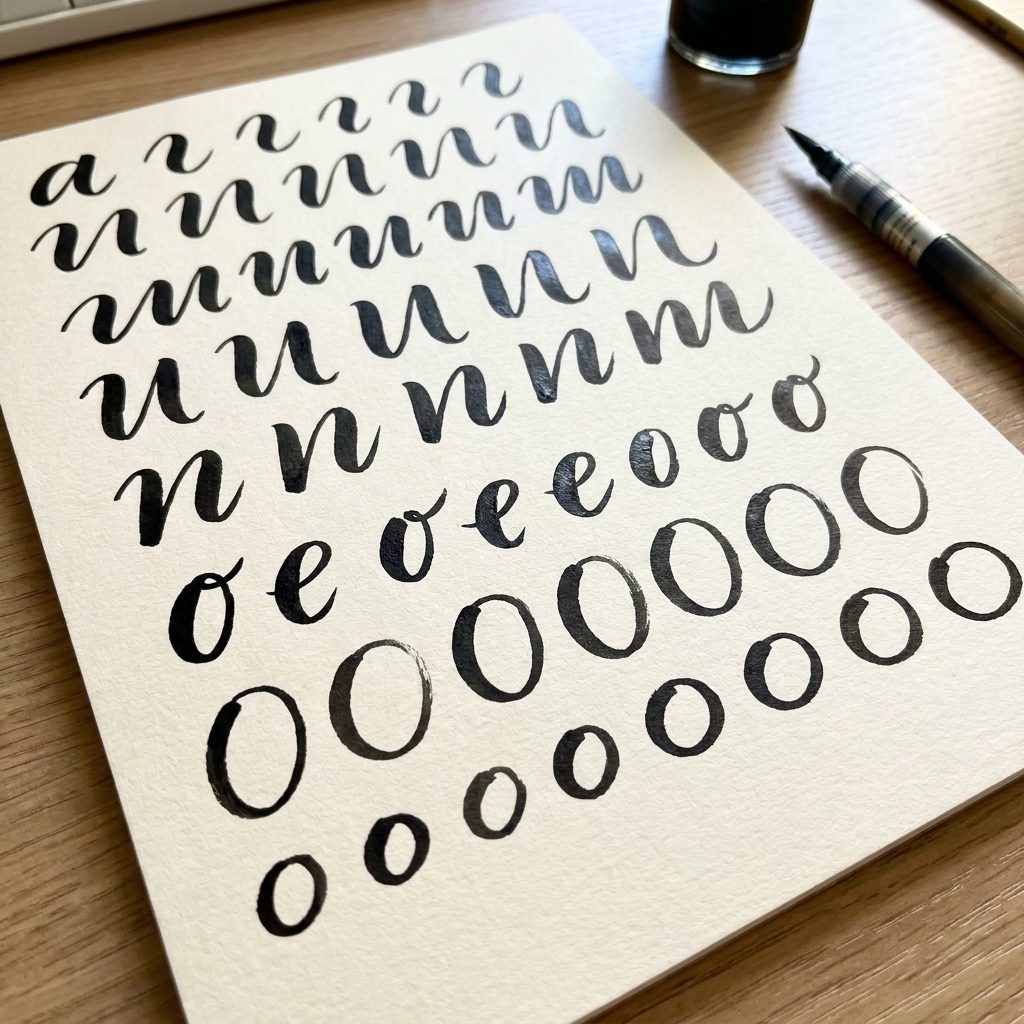
Practice these as lines first, then as curved strokes. Most lowercase letters are just these shapes repeated.
- Thin upstroke: pull up with almost no pressure.
- Thick downstroke: pull down while pressing.
- Overturn: thin up, turn, thick down (you will see this in letters like i, u, n, m).
- Underturn: thick down, turn, thin up (a common exit or connector stroke).
- Oval: thin up the left side, thick down the right side (the core of o, a, d, g).
Step 3: Bounce practice
This is the moment most faux calligraphy folks struggle: the split-second when you switch from thin to thick (or thick to thin).
Try this: make a thin upstroke, pause for half a beat at the top, then start your downstroke with pressure. Then reverse it: thick downstroke, lighten at the bottom, thin exit stroke.
Goal: a smooth corner with no blob at the turning point.
Step 4: Mini-letters
Instead of writing full words, make little groups of letters that share the same strokes:
- i, u, w, t (underturn family)
- o, a, d, g (oval family)
- n, m, h (humps family)
Write each letter five times, slowly. Circle your best one. Copy the best one three more times. This teaches your hand what right feels like.
Step 5: Faux first, brush second
If brush pens feel chaotic, here is a trick I used with students: write a word in your normal handwriting first, then trace it with the brush pen using the correct stroke logic.
- Trace upstrokes lightly.
- Trace downstrokes with pressure.
It is training wheels, and it works.
Step 6: Slow lowercase alphabet
Print a lowercase alphabet exemplar you like and practice a few letters per day. Focus on consistency, not speed. Your goal is not perfect. Your goal is repeatable.
Pressure control tips
- Think pull, not push. Brush pens behave best when you pull strokes toward your body, especially thick downstrokes.
- Use less pressure than you think. Most beginners press too hard and get fat, fuzzy edges.
- Let the pen do the work. If your pen is decent, you do not need to grind it into the page for a thick line.
- Keep thick strokes on the down direction. If you try to make a thick stroke while moving up, you will fight the tip and fray it faster.
A simple 10-minute practice plan
If you are busy, this is enough. Consistency beats marathon sessions.
Days 1 to 2: Strokes only
- 2 min pressure ladders
- 4 min upstrokes and downstrokes
- 4 min underturns and overturns
Days 3 to 4: Curves and ovals
- 2 min pressure ladders
- 4 min ovals (slow and smooth)
- 4 min u and n practice lines
Days 5 to 6: Mini-words
- 2 min warmup strokes
- 4 min letter families (pick one)
- 4 min mini-words like minimum, union, wonder (repeats are your friend)
Day 7: One quote
Pick a short phrase and letter it in a size that helps you stay controlled. For a lot of people, going a little smaller forces control and prevents you from leaning on huge thick strokes to hide wobble. If tiny letters make you tense, go slightly larger and focus on smooth strokes first.
Optional but powerful: use dot grid paper or a printed guideline sheet (baseline, x-height, ascenders, descenders). It feels extra, but it is the difference between wobbly and polished.
Common problems
My downstrokes are shaky
- Loosen your grip and move from your arm.
- Practice longer downstrokes slowly, then gradually increase speed.
- Check your paper. Too much texture causes drag.
My upstrokes keep getting thick
- Lighten pressure to almost nothing.
- Try holding the pen slightly more upright for hairlines, then return to your normal angle.
- Practice just upstrokes in rows until they look like thin threads.
I get blobs at transitions
- Pause less at transitions.
- Lift slightly before turning a corner.
- If your pen is very juicy, give it a second to dry between lines and use a scrap paper guard.
My brush pen tip is fraying
- Switch to smoother paper immediately.
- Use lighter pressure. You only need enough pressure to spread the tip, not flatten it.
- Avoid coloring in large areas with a brush pen. Use a marker for fills.
My letters look uneven even when strokes are good
This is usually spacing, not skill. Lightly pencil in guidelines (baseline, x-height, ascenders, descenders) or practice on dot grid. It is the fastest way to make your work look intentional.
Milestones
Here are a few green lights that tell you it is time to level up:
- You can make 10 upstrokes in a row that are consistently thin.
- Your underturns look similar instead of like distant cousins.
- Your thick downstrokes start and end cleanly, without blobs.
- You can letter a word twice and have it look like the same handwriting.
When you hit those, you can start exploring bouncy lettering, larger brush pens, and textured paper projects.
FAQ
Do I need special brush lettering paper?
You need smooth paper more than you need special paper. Marker paper is wonderful, but even basic laser printer paper works well for practice.
Should I start with a small brush pen or a big one?
Start smaller or firmer if possible. Big soft tips are beautiful, but they amplify pressure mistakes while you are learning.
How long does it take to get comfortable?
Many people feel noticeably steadier after a week of short daily practice, and a few weeks of consistent drills often brings that “oh, I get it” moment where pressure changes start happening more automatically. Your timeline depends on the pen, the paper, and how relaxed your hand stays.
Can I use a brush pen for faux calligraphy too?
Yes. If you love the look of faux calligraphy, you can blend styles by writing with a brush pen and then sharpening edges or adding little corrections after it dries with a fine liner.
A gentle final nudge
Brush lettering is not about perfect lines. It is about building a relationship with a squishy little tool that reacts to every tiny change in your hand. Give yourself permission to make ugly pages on purpose. Those pages are the bridge between “I can fake it” and “I can do it.”
If you want, set a timer for 10 minutes today, do pressure ladders and underturns, and stop. Leave the table while it is still fun. Your future self will thank you.