Affordable acrylic paint can cover well. Here are budget-friendly brands ranked by real-world coverage and ease of use, plus simple prep and technique tricks...
If you have ever stood in the paint aisle clutching two little sets and thinking, “Okay but which one is actually right for my project,” you are in very good company. Acrylic and watercolor are both wonderfully useful, but they behave like completely different animals once you add water, time, and a real-life surface that is not a pristine sketchbook page.
Below is my crafter-to-crafter breakdown: how each paint works, what it is best at, what supplies actually matter, and the skill curve you can expect. No perfection required. Just the right paint for the job you want to do.
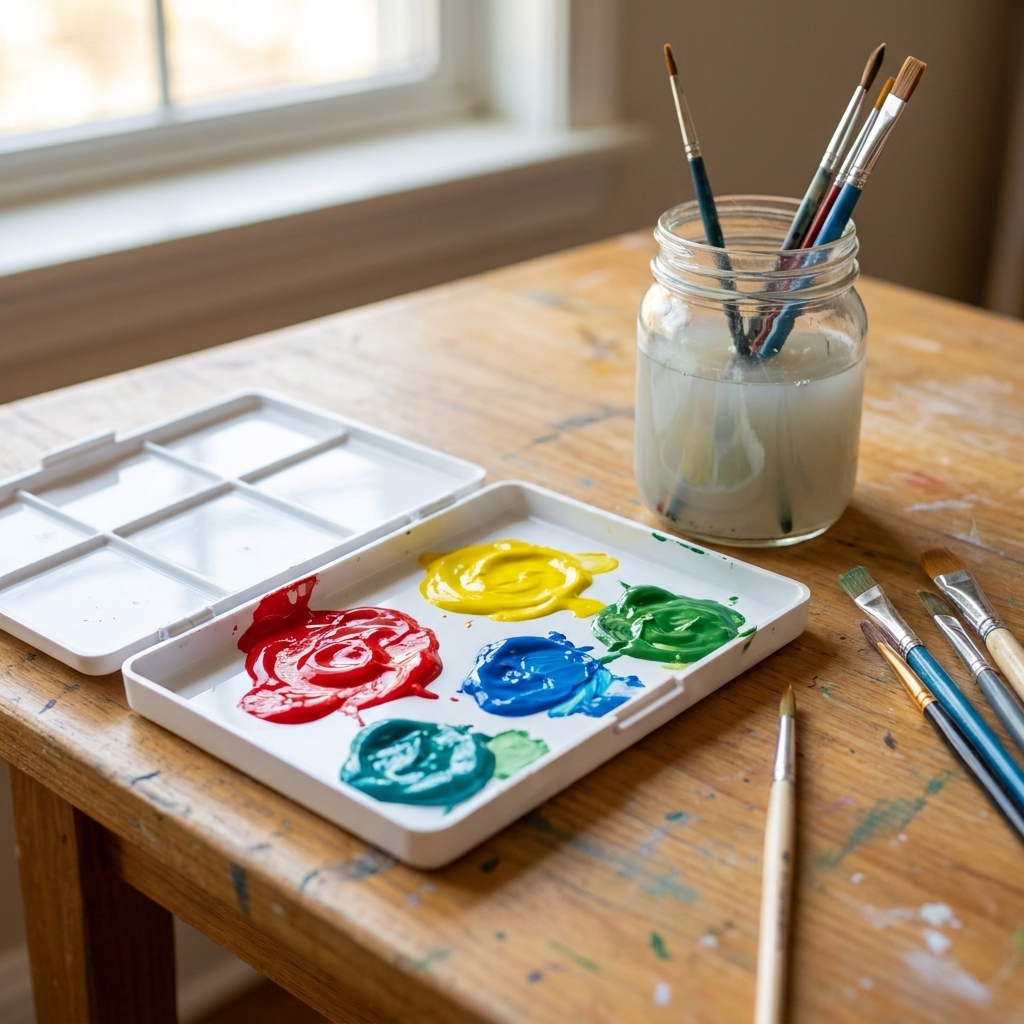
The quick difference
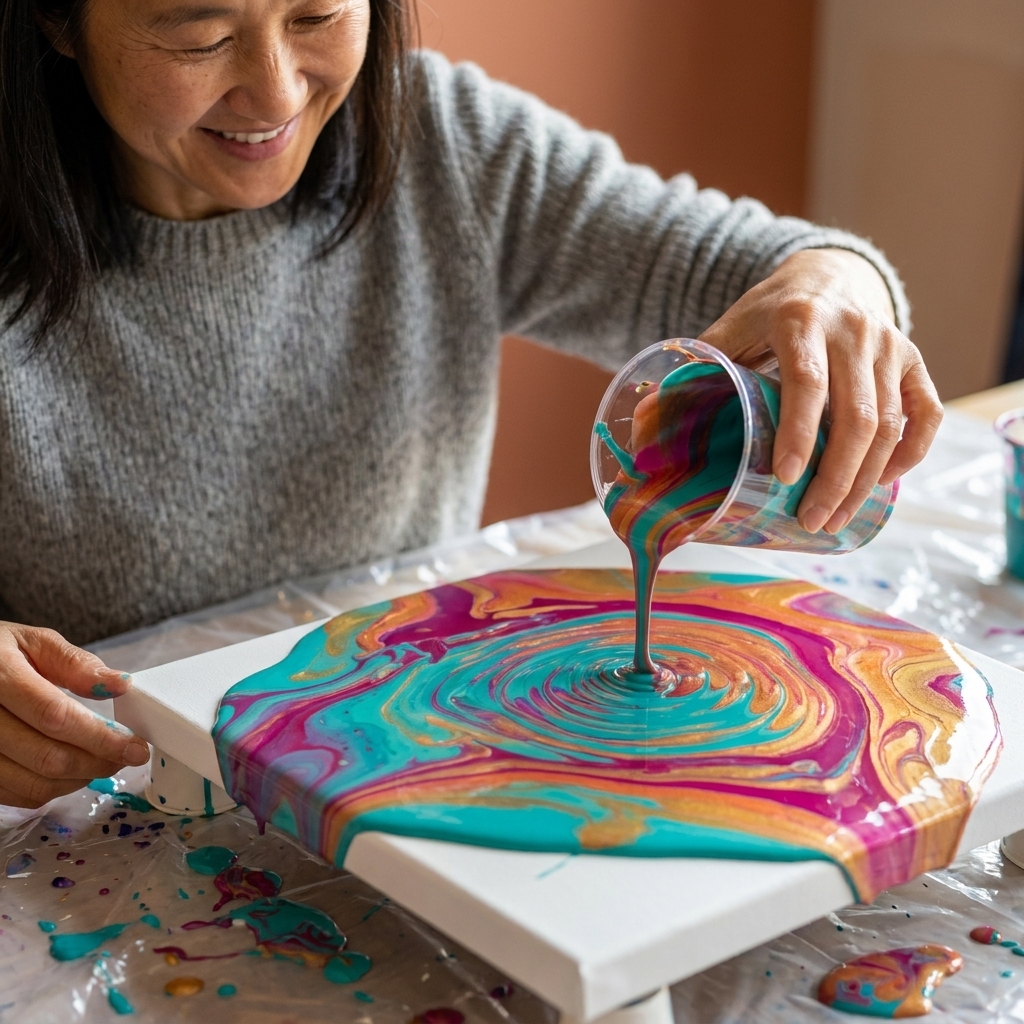
Acrylic is a plastic-based paint (pigment suspended in an acrylic polymer emulsion). It dries into a film on the surface that is generally flexible, especially in thinner layers and on flexible supports like canvas. It is loved for coverage, durability, and the fact that you can paint on so many things beyond paper.
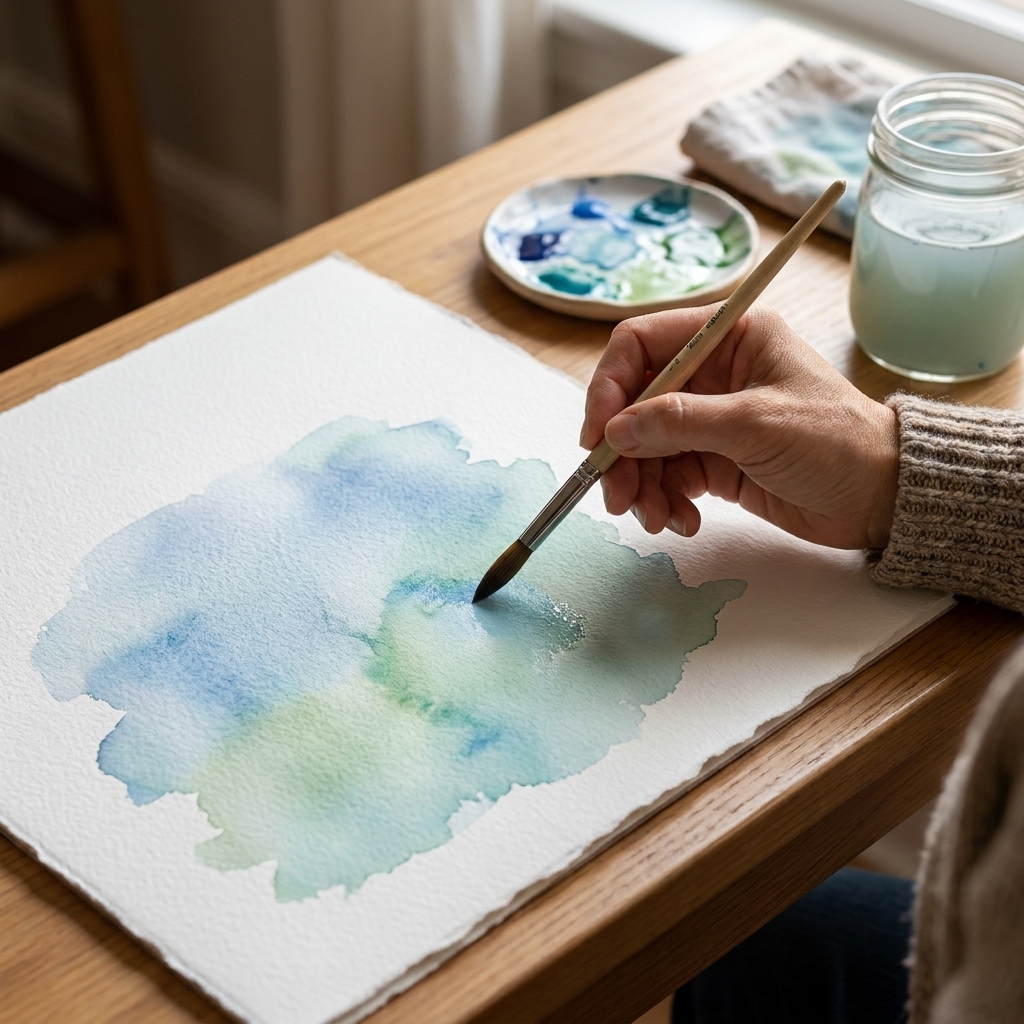
Watercolor is pigment plus a water-soluble binder (commonly gum arabic). Most traditional watercolors stay re-wettable after they dry, which is part of the magic, though some pigments stain and are harder to lift than others.
- If you want bold color, fast results, and easy do-overs (paint-over corrections), reach for acrylic.
- If you want airy, luminous washes and a calm, go-with-the-flow process, reach for watercolor.
How they behave
Opacity and coverage
Acrylic: Generally opaque, especially in heavier body formulas. Great when you need to cover a messy base layer, a thrifted frame with a weird stain, or a dark surface you want to turn light. You can thin acrylic with water for a more transparent look, but it still tends to feel more like a coating than watercolor.
Watercolor: Naturally transparent. White is typically the paper shining through, not white paint. (Yes, you can add white with gouache or “Chinese white,” but classic watercolor relies on the paper for highlights.) That transparency is gorgeous for florals, skies, and soft gradients, but it is frustrating if you are trying to paint over a mistake. Watercolor is not designed to be a full-coverage house paint moment.
Drying time
Acrylic: Dries quickly, sometimes too quickly. That is a win for crafting because you can do multiple coats in one session, but it can be stressful when you are trying to blend. A stay-wet palette or a mist bottle helps a lot. If you love blending, you can also look for “open” acrylics or use a retarder to slow drying time.
Watercolor: Dries based on how much water you used, plus your paper and room conditions. You get more time to soften edges and lift color, but you also need patience if you want crisp layers. Painting on damp paper is its own technique and can feel like the paint has a mind of its own in the best and worst ways.
Blendability
Acrylic: Blends beautifully when wet, but once it sets, it sets. You can layer on top, but you cannot easily wake it back up.
Watercolor: Blends and blooms because water keeps moving pigment around. You can re-wet areas later to soften, lift, or adjust. That re-wettable quality is why watercolor feels forgiving to some people and chaotic to others.
Finish and texture
Acrylic: Can be matte, satin, or glossy depending on brand and mediums. It can go on smooth or thick and textured. If you want raised brushstrokes, palette knife texture, or a painted-on ceramic vibe, acrylic is your friend.
Watercolor: Usually dries matte and flat. Texture comes mostly from the paper and how water pooled. It is subtle, elegant, and very paper forward.
Best surfaces
Acrylic surfaces
Acrylic is the MVP for mixed-material crafting because it sticks to a lot once you prep properly.
- Canvas and canvas board: Classic and beginner-friendly.
- Wood and MDF: Great for signs, small shelves, kids’ projects. Sand lightly and wipe dust first.
- Ceramic and glass: Fine for decor pieces, but treat it as delicate. Craft acrylic plus sealer can still scratch or peel with handling, condensation, and especially washing. It is not dishwasher-safe. For functional mugs, plates, and anything you plan to wash, use paints made for glass or porcelain and follow the brand’s heat-setting directions.
- Fabric: Works best with fabric medium mixed in, or use paint made for textiles for softness.
- Plastic and metal: It can work, but clean thoroughly and consider a primer to reduce peeling.
Prep tip from my classroom days: Most “my paint is peeling” problems are really “my surface had oil, dust, or gloss” problems. Wash, scuff sand if needed, and let it fully dry.
Watercolor surfaces
Watercolor wants absorbent paper. Not just “paper,” but paper made to hold water without turning into a wrinkly, pilled mess.
- Watercolor paper (ideally 140 lb / 300 gsm): A sweet spot for most DIY. Cotton paper tends to stay workable longer and handles layering better than cellulose paper, but good cellulose paper is still fine for learning and quick projects.
- Hot press vs cold press: Hot press is smoother for lettering and fine detail. Cold press has tooth for texture and wash effects.
- Mixed media paper: Fine for practice, less ideal for heavy wet techniques.
- Watercolor ground: If you want watercolor effects on wood or canvas, you can apply a watercolor ground product first. It is a fun rabbit hole for crafters, just know it will not feel exactly like painting on cotton paper.
Skill level
Acrylic for beginners
Most new painters feel successful faster with acrylic. You can cover mistakes, paint light over dark, and get bold color without mastering water control. It is also more tolerant of cheap brushes and imperfect surfaces, which matters when you are crafting on a budget.
The main beginner hurdle: managing quick drying time. Work in smaller areas, keep a spray bottle handy, and do not be afraid to do two thin coats instead of one thick coat.
Watercolor for beginners
Watercolor feels simple until you realize you are really painting with water and using pigment as the passenger. The learning curve is mostly about water control: how wet your brush is, how wet your paper is, and when to stop fussing.
The main beginner hurdle: you cannot fully erase mistakes. You learn to plan highlights and embrace happy accidents. If you are a perfectionist, watercolor can be a gentle therapy session, or it can be mildly infuriating until you loosen your grip.
Project matchups
Choose acrylic for
- Painted wood signs (porch, nursery, kitchen, seasonal decor)
- Upcycled thrift finds (frames, vases, trays, candle holders)
- Hand-painted ornaments and giftable decor pieces
- Kids’ crafts where durability matters
- Props and cosplay details that need opaque color
- Rock painting and outdoor-ish crafts (seal for longevity)
Acrylic is also fantastic if your project needs tape lines, stencils, or crisp graphic shapes.
Choose watercolor for
- Greeting cards with florals, skies, and soft backgrounds
- Gift tags and bookmarks
- Wall art you plan to frame behind glass
- Wedding or party stationery where a handmade look is the goal
- Sketchbook painting for relaxation and practice
Watercolor also shines when you want that effortless look. It rarely feels flat, even when the technique is simple.

Supplies that matter
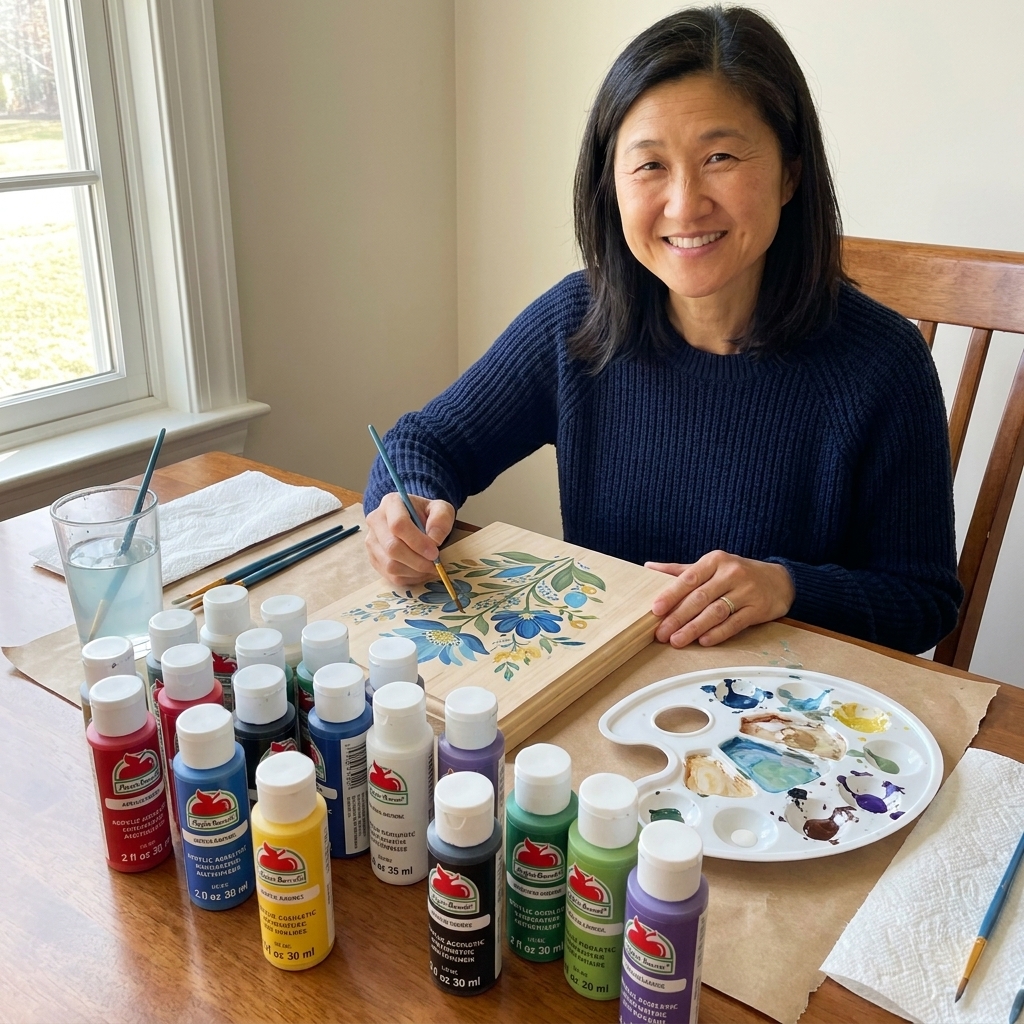
Acrylic supply list
- Paint: Student grade is fine to start. If coverage feels weak, upgrade white first.
- Brushes: A flat brush (1/2 inch to 1 inch) and a medium round cover most crafts. Synthetics are usually your best bet for acrylic because they hold up to the paint’s grit and quick drying.
- Palette: Any non-porous surface. A thrifted plate works, but dedicate it to paint.
- Water cup and rags: Old t-shirts are my favorite no-waste wipe.
- Optional but helpful: primer (gesso), painter’s tape, sealer (matte or gloss), stay-wet palette.
Skip for now: a million specialty mediums. You can do so much with basic paint, water, and a decent brush.
Watercolor supply list
- Paper: This matters more than the paint. If your results look muddy, your paper is often the culprit.
- Paint: Pans are tidy and travel-friendly. Tubes are vibrant and easy for mixing bigger washes.
- Brush: One good round brush (size 6 to 10) can do a lot. Softer brushes that hold more water tend to make watercolor feel easier.
- Two water jars: One for rinsing, one for clean water. It keeps colors fresher.
- Optional but helpful: masking tape, a board to tape paper to, a small spray bottle, paper towel for lifting.
Skip for now: expensive tiny brushes. Watercolor loves a brush that can hold water, not necessarily a super pointy micro detail brush.
Cleanup and mess level
A practical note: watercolor is usually easier to clean up. Acrylic, on the other hand, is famously permanent once it dries, especially on clothes and porous surfaces. Wear a smock or old shirt, and rinse brushes before the paint sets in the bristles.
Durability and finishing
Is acrylic waterproof?
Once dry, acrylic is water-resistant. It is not automatically waterproof on every surface, and it can soften or feel tacky in heat or humidity until it fully cures. For crafts that will be handled a lot, wiped down, or displayed outdoors, a topcoat helps. Use a clear acrylic sealer or varnish that matches your preferred finish (matte, satin, or gloss). Let paint cure before sealing if possible. Dry to the touch is fast, full cure takes longer.
Is watercolor waterproof?
Traditional watercolor reactivates with water even after it dries, which means it can smear if it gets wet. For finished watercolor DIY, the usual protection is framing behind glass. If you need it unframed (like a bookmark), consider a protective spray made for watercolor and test first because sprays can shift colors. Apply light coats in a well-ventilated area and let each coat dry fully.
Lightfastness
Both acrylic and watercolor can fade if pigments are not lightfast and the work sits in direct sun. If you are making something to hang in a bright window, look for paints that mention lightfast ratings. For framed work, UV-protective glazing can also help cut fading over time.
Common mistakes
Acrylic mistakes
- Streaky coverage: Use two thin coats, let the first coat dry, and try a softer synthetic brush or foam brush for flat areas.
- Paint drying on the palette: Work with smaller blobs, mist your palette, or use a stay-wet palette.
- Peeling on slick surfaces: Clean with soap and water, scuff sand, and use primer. Seal after.
- Muddy colors: Rinse your brush more often and mix fewer colors at once.
Watercolor mistakes
- Paper buckling: Use heavier paper (140 lb / 300 gsm) or tape it down to a board.
- Chalky, dull washes: Too much scrubbing, low-quality paper, or overmixing colors into mud. Let layers dry and use gentle strokes.
- Hard edges everywhere: Work a bit wetter and soften edges with a clean damp brush.
- Overworking: Watercolor rewards stopping early. When in doubt, walk away for five minutes.
Simple decision guide
- Pick acrylic if your project is on wood, canvas, fabric, or anything that needs toughness and coverage.
- Pick watercolor if your project is on paper and you want softness, transparency, and a calming process.
- If you are crafting with kids, acrylic is usually less frustrating because you can paint over mistakes and it holds up better.
- If your goal is relaxation, watercolor can be incredibly therapeutic once you accept that it has a personality.
If you are still torn, here is my favorite compromise: use acrylic for the craft object and watercolor for the paper extras. Think acrylic-painted gift box with a watercolor gift tag. Best of both worlds, and you get to play with two moods in one afternoon.
FAQ
Can I use watercolor on canvas?
Not directly, at least not with normal canvas prep. Watercolor needs an absorbent surface. If you want watercolor effects on canvas, apply a watercolor ground first, then paint once it is fully dry. Expect it to behave a little differently than it does on cotton paper.
Can I mix acrylic and watercolor in the same piece?
Yes, with a little planning. The most common approach is watercolor first, then acrylic details on top once the watercolor is fully dry. Acrylic is more opaque and permanent, which makes it great for final details. Just use a gentle hand, since very wet brushing can disturb watercolor layers underneath.
Is gouache closer to watercolor or acrylic?
Gouache is water-based like watercolor, but it is more opaque. It behaves like watercolor in how it can re-wet, but it can give you that painted look without needing acrylic. If you love watercolor but want more coverage, gouache is worth trying.
What is the most budget-friendly option?
For pure painting on paper, watercolor can be affordable if you invest in decent paper and start with a small palette. For general DIY across lots of surfaces, acrylic often feels more cost-effective because it can do more jobs around the craft room.
A gentle nudge
Whichever paint you choose, give yourself permission to make a practice version first. I still do. A tiny scrap of paper, the back of a thrifted frame, a leftover wood offcut. It takes the pressure off and turns the first try into play instead of a performance.
And if you end up with paint on your fingers, your table, and somehow your elbow, congratulations. You are doing DIY correctly.