Dried acrylic? Crunchy watercolor? Here’s a beginner-friendly, household-item method to clean and revive “ruined” paintbrushes, plus tips to keep them ...
Confession time: I have absolutely ruined a good brush by “just letting it soak for a minute” and then getting distracted by a glue gun situation. If you have ever pulled a brush out of a jar and found it splayed like a dandelion, you are in good company.
The good news is that paintbrush care is less about fancy products and more about a few consistent habits. Below is the no-fuss, real-life guide I wish I had when I started: what to clean with (and what not to), how to protect the brush shape, and how to bring back a brush that is on the brink.
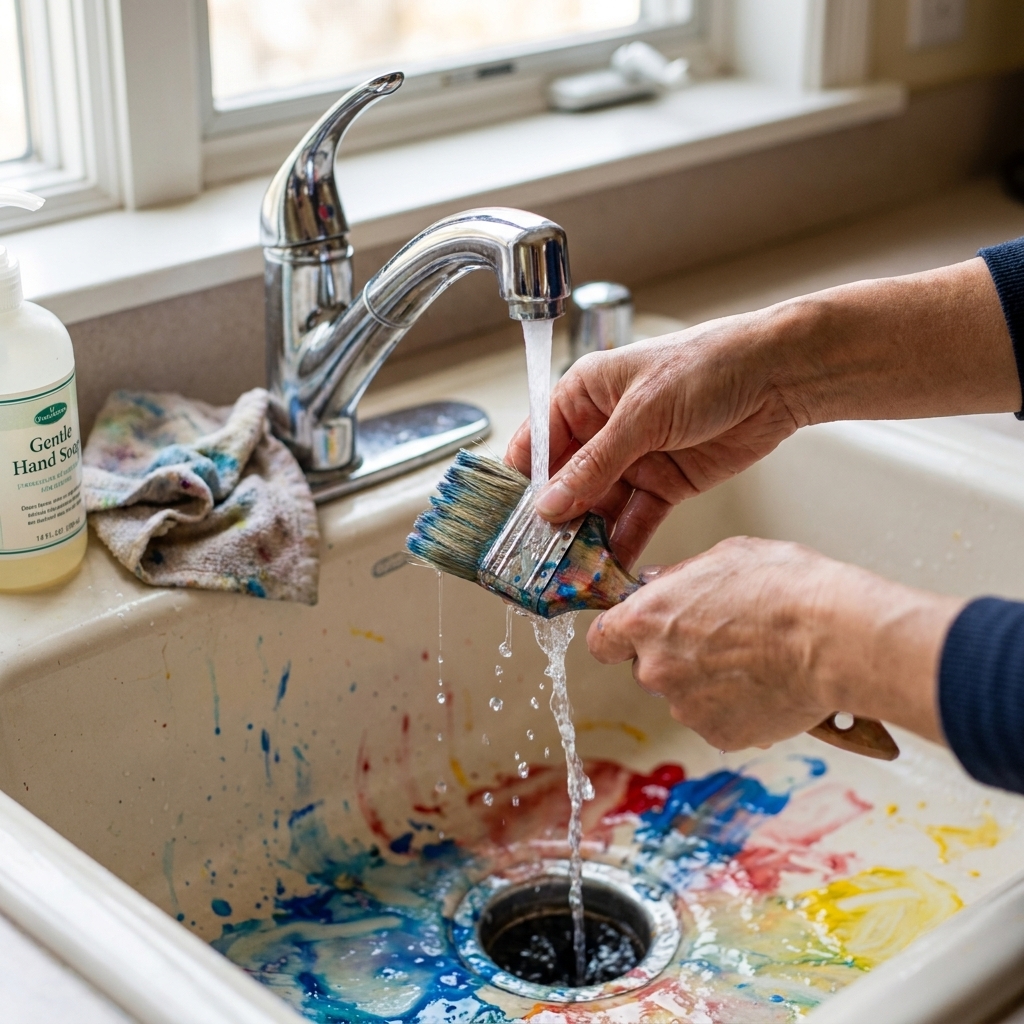
Know your brush
Different paints and different bristles have different needs. Match your cleaning method to these two things first:
1) What paint did you use?
- Watercolor, gouache, craft paint, acrylic: These are water-based. Soap and water are your best friends, especially if you do not let paint dry in the bristles.
- Oil paint: Oil does not mix with water. You will typically use a solvent (or a solvent-free oil-based cleaner) first, then soap and water.
- Varnish, enamel, shellac, stains: These often need specialty cleaners. They can be rough on natural hair brushes, especially if you clean with strong solvents or let the product dry in the bristles. If you use these regularly, consider dedicated brushes and follow the product cleanup directions.
2) What kind of bristles are they?
- Synthetic (nylon, taklon, polyester): Durable, forgiving, and ideal for acrylics and craft paint. Can handle a bit more scrubbing, but still hates soaking.
- Natural hair (sable, squirrel, goat, hog bristle): Holds lots of paint and water beautifully, but can dry out or break if you use harsh detergents or hot water. Treat gently.
- Blends: Follow the “natural hair” rules for safety.
Quick rule: Never assume a brush is ruined until you have tried proper cleaning and reshaping. You would be amazed what a little patience can save.
Your cleaning kit
You do not need a studio setup. Here is my practical, under-the-sink kit:
- Mild soap: Dish soap works. Brush soap or artist brush cleaner is lovely but not required.
- Two jars or cups: One for the first rinse, one for the cleaner rinse. Old jam jars are perfect.
- Paper towels or a lint-free rag: For blotting and reshaping.
- A silicone brush-cleaning pad or textured sponge: Optional, but helpful for getting paint out near the ferrule.
- Solvent or solvent-free oil brush cleaner: Only for oil paint. Use the least aggressive option that works for you.
- Small comb or old toothbrush: For gently teasing out stubborn paint on tougher brushes.
- Brush guards or homemade guards: The plastic sleeves new brushes come in are gold. Keep them.

Golden rules
- Do not let paint dry in the bristles. With acrylic especially, dried paint turns into a plastic-like polymer film.
- Do not soak brushes bristle-down. Water creeps into the ferrule, loosens glue (often water-soluble), and bends tips permanently.
- Avoid hot water. Warm is fine. Hot can soften glue in the ferrule and dry out natural hair.
- Clean from the ferrule toward the tip. Work paint out of the bristles and away from the ferrule, not deeper into it.
- Never crush the tip. Scrubbing hard on the bottom of a jar is the fastest way to get that “broom brush” look.
Watercolor and gouache
Watercolor brushes are often natural hair and they reward gentle care. This takes about 60 seconds when you do it right away.
Step-by-step
- Rinse in cool to lukewarm water until most pigment releases.
- Soap lightly. Swirl the brush on a bar of mild soap or add a drop of dish soap to your palm. If you are using natural hair brushes often, artist brush soap is the gentler everyday choice.
- Massage the bristles gently with your fingers, pulling from ferrule toward the tip.
- Rinse and repeat until the lather is clean and the water runs clear.
- Reshape the point. For rounds, gently roll the tip between your fingers to form a point. For flats, coax the edge straight.
- Blot and dry flat on a towel, then store once fully dry.
Pro tip: If your watercolor brush feels “crunchy,” it might not be dirty. Many high-end watercolor brushes arrive with a little gum arabic sizing to protect the shape. A gentle wash removes it the first time.
Acrylic and craft paint
Acrylic is the brush killer in most craft rooms, not because it is “bad,” but because it dries fast. The goal is to never let acrylic creep up into the ferrule.
Right after painting
- Wipe off excess paint on a rag or paper towel first. This keeps rinse water cleaner and reduces how much paint you push into the brush.
- Rinse quickly in a jar of water, swishing gently.
- Wash with soap. Use a drop of dish soap in your palm. Work up a lather and pull it through the bristles.
- Use a textured pad to lightly agitate, focusing on the belly of the brush, not grinding the tip.
- Rinse, reshape, blot. Repeat soap if you still see color in the foam.
If it is starting to dry
If the brush feels stiff but not rock hard:
- Soak only the bristles in warm soapy water for 5 to 10 minutes, keeping the ferrule as dry as you can.
- Gently flex the bristles and comb with your fingers.
- Wash again and rinse thoroughly.
Avoid: Straight acetone or harsh solvents for routine acrylic brush cleaning. They can damage some synthetic fibers and are rough on natural hair and on you. Save stronger measures for truly stuck paint, and use them sparingly and safely.
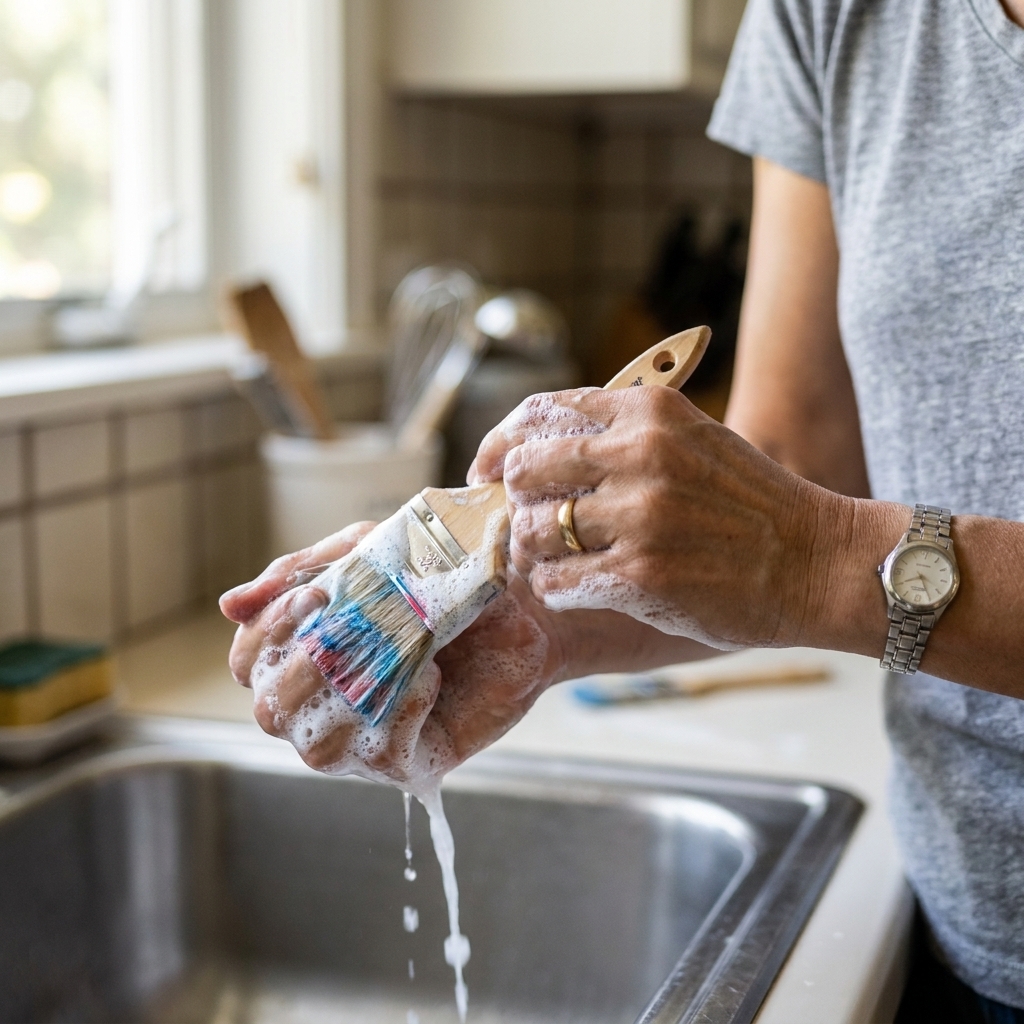
Oil paint brushes
With oils, you usually need two phases: something to dissolve the oil paint, then soap and water to remove residue.
Option A: Solvent cleanup
Common options include odorless mineral spirits. Use in a well-ventilated area and follow the safety directions on the product.
- Wipe off excess paint thoroughly on a rag.
- Swish in a small amount of solvent in a jar. Keep it shallow so only bristles are submerged.
- Wipe and repeat with fresh solvent if needed.
- Wash with soap and warm water until the water runs clear and the brush no longer feels slick.
- Reshape and dry flat or bristles-down in a drying rack. Never bristles-up while wet.
Option B: Solvent-free cleanup
If you prefer to avoid solvents, many painters use a dedicated oil brush cleaner, or even a small amount of mild oil (like safflower oil) as a first step to loosen paint, followed by soap and water. The key is still the same: wipe a lot, then wash well.
Important: Oily rags can be a fire hazard if balled up and left to oxidize. Lay used oily rags flat to dry in a safe, ventilated area, or store them in a sealed metal container as recommended by local safety guidance.
Also: Do not pour solvent or oily paint sludge down the drain. Let used mineral spirits settle so pigments drop to the bottom, decant the clearer solvent for reuse, and dispose of the remaining sludge according to local hazardous waste rules.
Which cleaner to use
Here is the simple decision tree I teach beginners:
- Mild dish soap: Everyday cleaning for watercolor, gouache, acrylic, and most craft paints.
- Artist brush soap: Great for natural hair brushes, deep cleaning, and restoring softness.
- Odorless mineral spirits (for oils): For removing oil paint before soap and water.
- Brush restorer (occasional rescue): For dried acrylic or hardened paint, used sparingly and only as directed.
- Do not use routinely: Hair shampoo (often leaves conditioners behind), fabric softener, harsh degreasers, and very hot water.
My no-waste habit: Instead of running the tap the whole time, I work with two rinse jars and only do a quick final rinse under the faucet. Less water, less mess, happier sink.
Drain reality check: Wipe excess paint into the trash first, and do not dump thick paint water or settled sludge straight down the drain. Let solids settle, pour off clearer water, and toss the dried sediment in the trash when appropriate for your local rules.
Reshape the bristles
Cleaning removes paint, but reshaping is what makes a brush feel “new” again.
After washing
- Blot, do not twist. Squeeze gently in a towel from ferrule to tip.
- Shape with your fingers. Round brushes get a point. Flats get a crisp edge. Filberts get a soft oval.
- Use a brush guard once the brush is just barely damp or fully dry, depending on the guard. This helps the brush dry in the correct shape.
For stubborn flyaways
If a brush keeps frizzing after it is clean, a tiny bit of brush soap worked through and shaped can act like light “styling gel.” Let it dry, then rinse lightly before painting next time.
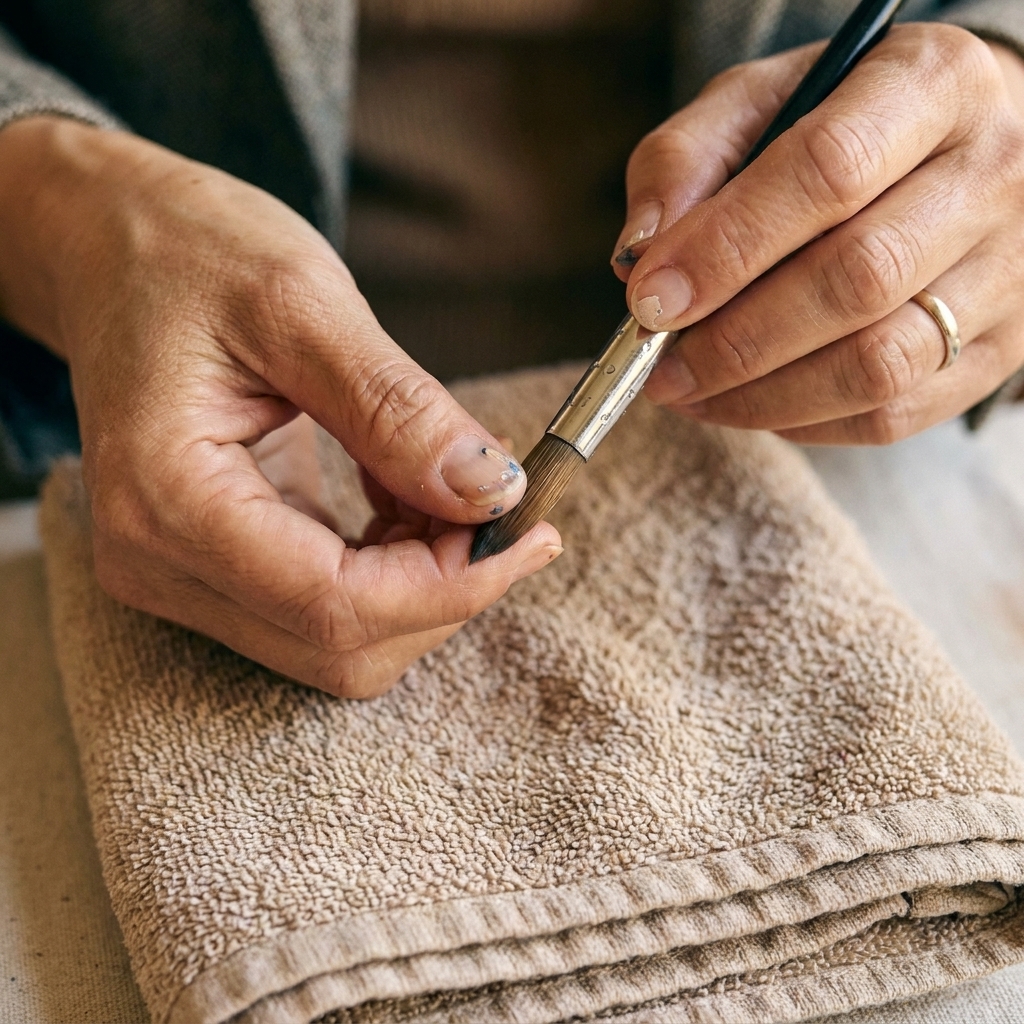
Drying and storage
This is where so many well-cleaned brushes get accidentally wrecked.
Drying
- Best: Dry flat on a towel with the brush head slightly over the edge of the counter so the bristles are not pressed.
- Also good: Dry in a brush rack with bristles pointing down.
- Avoid: Drying bristles-up while wet. Water runs into the ferrule and loosens the glue over time.
Storage
- Once fully dry, store upright in a cup or brush holder, bristles up.
- For travel: Use brush guards or a roll-up brush case. Do not toss loose brushes into a zipper pouch unless you want surprise bent tips.
- Separate paint types when you can. I keep one cup for watercolor, one for acrylic, and a clearly marked container for oils.
Rescue a brush
Problem: Paint dried near the ferrule
Fix: Soak only the bristles in warm soapy water, then gently work the paint out with your fingers. For acrylic that will not budge, use a small amount of brush restorer according to the label, then wash thoroughly.
Problem: Brush is splayed or broomy
Fix: Clean it first. Then apply brush soap, reshape carefully, slide on a brush guard, and let it dry completely.
About the hot water trick: For some synthetic brushes, a very brief dip of just the bristles in hot tap water can sometimes help them relax back. It is not guaranteed and it can make some fibers worse, so test it on an inexpensive brush first. Never do this on natural hair, and keep the ferrule out of the water.
Problem: Brush feels greasy after cleaning
Fix: You likely still have oil paint residue or too much conditioner-type product on the bristles. Wash again with soap, rinse longer, and blot well.
Problem: Bristles are falling out
Fix: A few stray hairs on a new brush can be normal. If it keeps shedding, it may be a quality issue or ferrule glue failure from soaking or hot water. Retire it to rough jobs like glue, gesso, or messy texture paste.
Problem: The brush smells like mildew
Fix: It was stored damp. Wash with mild soap, rinse thoroughly, then let it dry completely in moving air. Make sure the storage cup is clean too.
Specialty brushes
Dry-brush and stencil brushes
These are meant to look a little scruffy. Clean out paint thoroughly, but do not try to force them into a sharp point. Let them dry flat and fluffy.
Detail liners and stripers
These long, fine brushes love to trap paint near the ferrule. Clean immediately, reshape carefully, and always use a guard or case.
Foam brushes
Foam brushes are often not worth deep-cleaning for acrylic. For quick jobs, treat them as semi-disposable or use them for varnish and glue where brush marks are not a big deal.
Cheap chip brushes
Chip brushes are fantastic for stain, glue, and rough finishes. I rarely baby them. Label them by use and do not cross-contaminate them with your nice painting brushes.
My quick routine
If you are tired and tempted to “deal with it tomorrow,” here is the smallest routine that saves the most brushes:
- Wipe excess paint right away.
- Soap and rinse until foam is mostly clear.
- Reshape in 10 seconds.
- Dry flat on a towel.
That is it. Future-you will feel like a genius.
FAQ
Can I leave brushes soaking in water while I paint?
I do not recommend it. If you need a pause jar, rest the brush horizontally across the rim, or use a brush holder that suspends the brush so bristles do not bend and the ferrule stays out of water.
Is it okay to clean brushes in the sink?
Yes, just be mindful of paint buildup. Wipe excess paint into the trash first, use a rinse jar, and avoid dumping thick paint sludge down the drain.
How often should I deep-clean my brushes?
If you paint often, a deeper clean with brush soap every few weeks is nice, especially for natural hair brushes. For most crafters, “clean well after each session” is the real secret.
What is the biggest mistake that shortens brush life?
Letting acrylic dry in the bristles, and soaking brushes bristle-down. Those two cause most early brush funerals.