A beginner-friendly breakdown of the measuring, cutting, pinning, and marking tools that make sewing easier, neater, and way less frustrating.
If you are learning to sew, your straight stitch is your best friend. It is the foundation for hems, seams, topstitching, zippers, and most of the satisfying “I made this!” projects you actually use. And the fastest way to make that stitch look neat is not to stare at it harder. It is to sew it a lot, on purpose, on forgiving projects that give you repeated practice without the stress.
Below are five beginner sewing projects I have taught (and re-taught) to brand-new stitchers for one reason: each one helps you repeat straight seams in a way that builds real skill. They are functional, budget-friendly, and totally okay to make a little messy the first time. Your second one will be shockingly better.
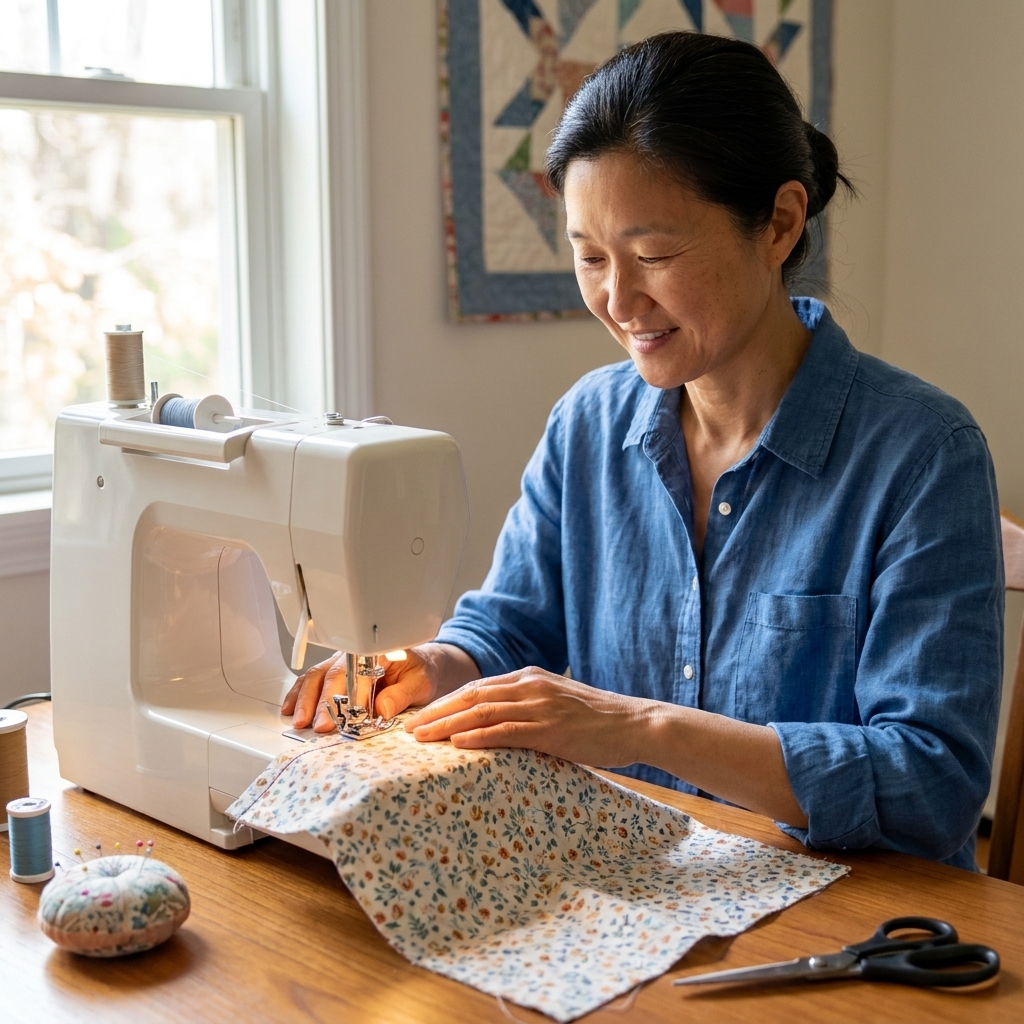
Before you start: set up for success
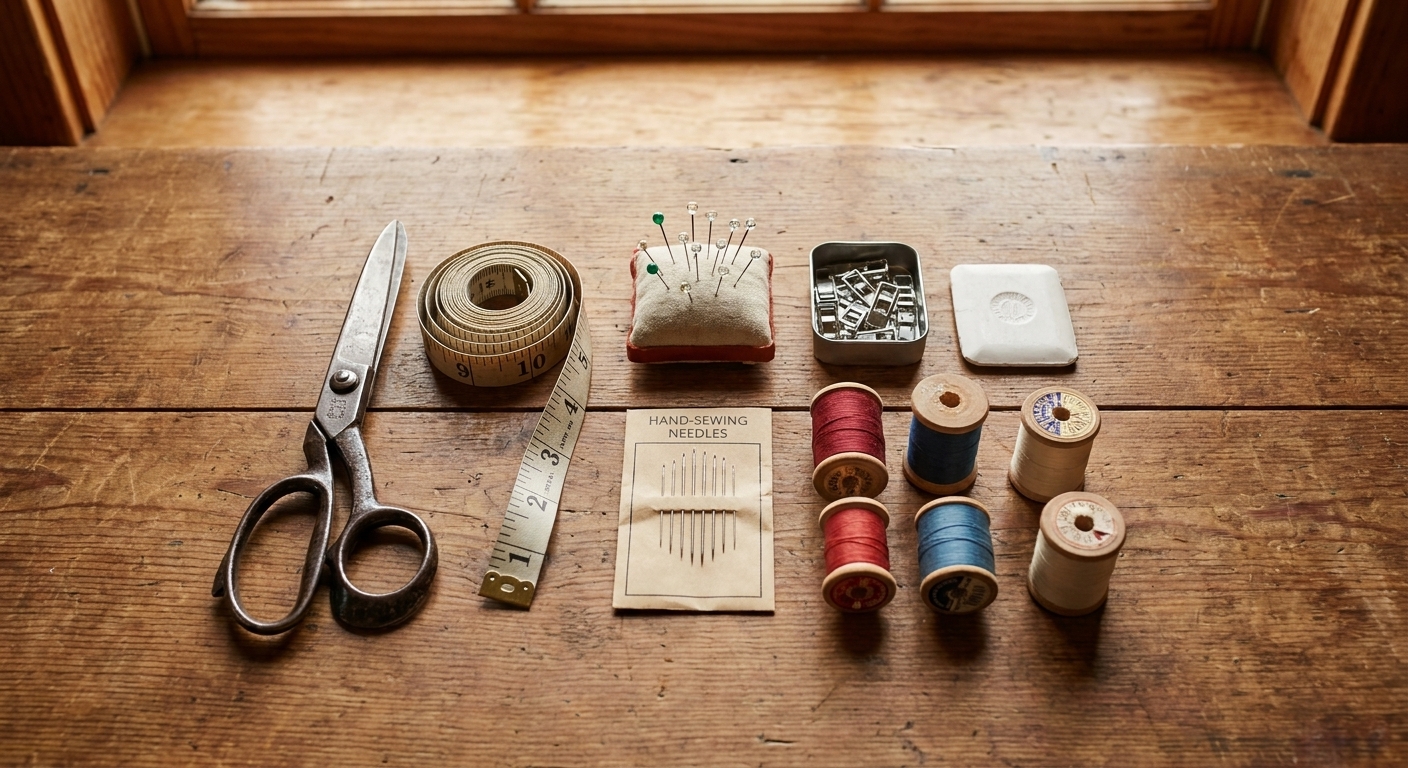
Basic tools
- Fabric scissors (or a rotary cutter and mat)
- Measuring tool (clear ruler or seam gauge)
- Pins or clips
- Iron and ironing board (or a pressing mat)
- Seam ripper (your stress-relief tool)
- Marking tool (chalk, washable pen, or pencil)
Quick machine settings
- Stitch: straight stitch
- Length: 2.5 mm (try 3.0 mm for thick canvas or multiple layers)
- Needle: 80/12 universal for quilting cotton; 90/14 for canvas; for denim, consider a 90/14 or 100/16 denim/jeans needle depending on weight
- Thread: good-quality all-purpose polyester or cotton. Polyester is strong and low-lint, and cotton thread is a great match for cotton fabrics.
- Seam allowance: pick one and stick with it, like 3/8 inch or 1/2 inch
Test first (it saves projects)
Before you sew on your actual project, stitch a few inches on a scrap of the same fabric and layers. If the stitches look loopy on top or bottom, rethread with the presser foot up and try again. Straight stitch problems are often threading or tension related, and a 30-second test prevents 30 minutes of seam ripping.
The secret: guide by a line, not the needle
Choose a seam guide line on your needle plate or use a strip of painter’s tape as a guide. Your job is to keep the fabric edge aligned with that guide. If you keep watching the needle, you will “correct” constantly and end up wavy.
Habits that make a big difference
- Press as you go. A warm iron makes beginner sewing look instantly more professional. Use the right heat setting for your fabric and press (lift and set) instead of sliding the iron around.
- Pin or clip perpendicular to the seam. Then remove pins right before you reach them. (It is safest not to sew over pins.)
- Go slower than you think you should. Speed comes later.
- Backstitch 3 to 4 stitches at the start and end of seams to lock them in.
Project 1: Cloth napkins
Cloth napkins are my favorite “first real project” because you get lots of straight lines, you can finish them a few different ways, and the fabric is flat and easy to handle. Also, if your corners are a little wonky, nobody at dinner is grading you.
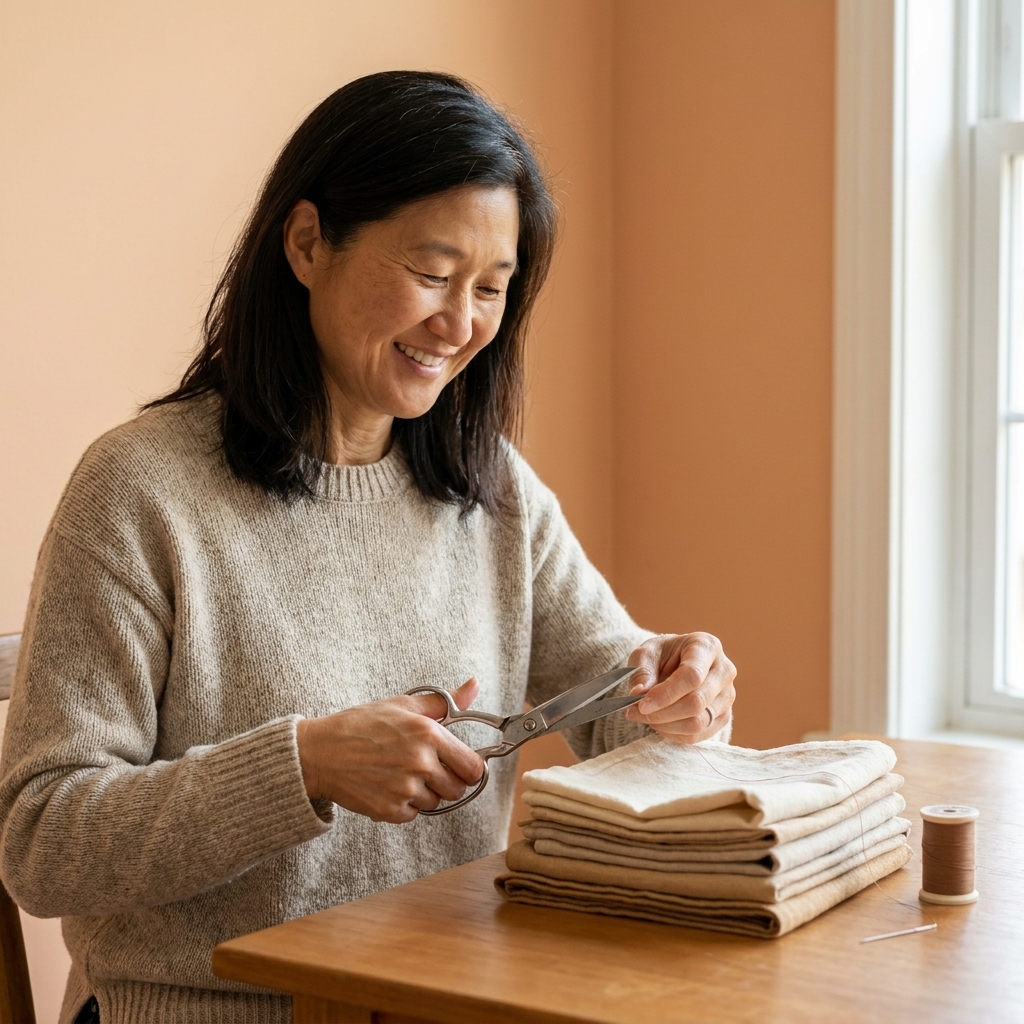
Skills you will practice
- Sewing long straight hems
- Turning corners neatly
- Topstitching (optional but great practice)
Best fabrics for beginners
- Quilting cotton
- Cotton linen blends (press well, but can shift more)
How to make it (simple hem version)
- Cut squares (start with 18 x 18 inches for dinner napkins, or 12 x 12 for lunch napkins).
- Press the edges 1/2 inch to the wrong side, then again 1/2 inch to hide raw edges.
- Pin or clip all the way around.
- Stitch close to the inner fold around the napkin. Stop with the needle down at each corner, lift the presser foot, pivot, and keep going.
- Press one more time when finished.
If your corners feel bulky, you are not doing anything wrong. Double-fold hems stack up fast. Once you are comfortable, try mitered corners for a flatter, crisper finish.
Straight-stitch challenge: Try to keep your stitching an even distance from the fold all the way around. That consistency is pure straight-stitch muscle memory.
Project 2: Envelope pillowcase
A pillowcase is basically a friendly fabric rectangle that forgives you while you learn. The envelope closure adds extra straight seams without requiring a zipper or buttons. You will practice sewing long edges, keeping layers aligned, and pressing seams so everything sits flat.
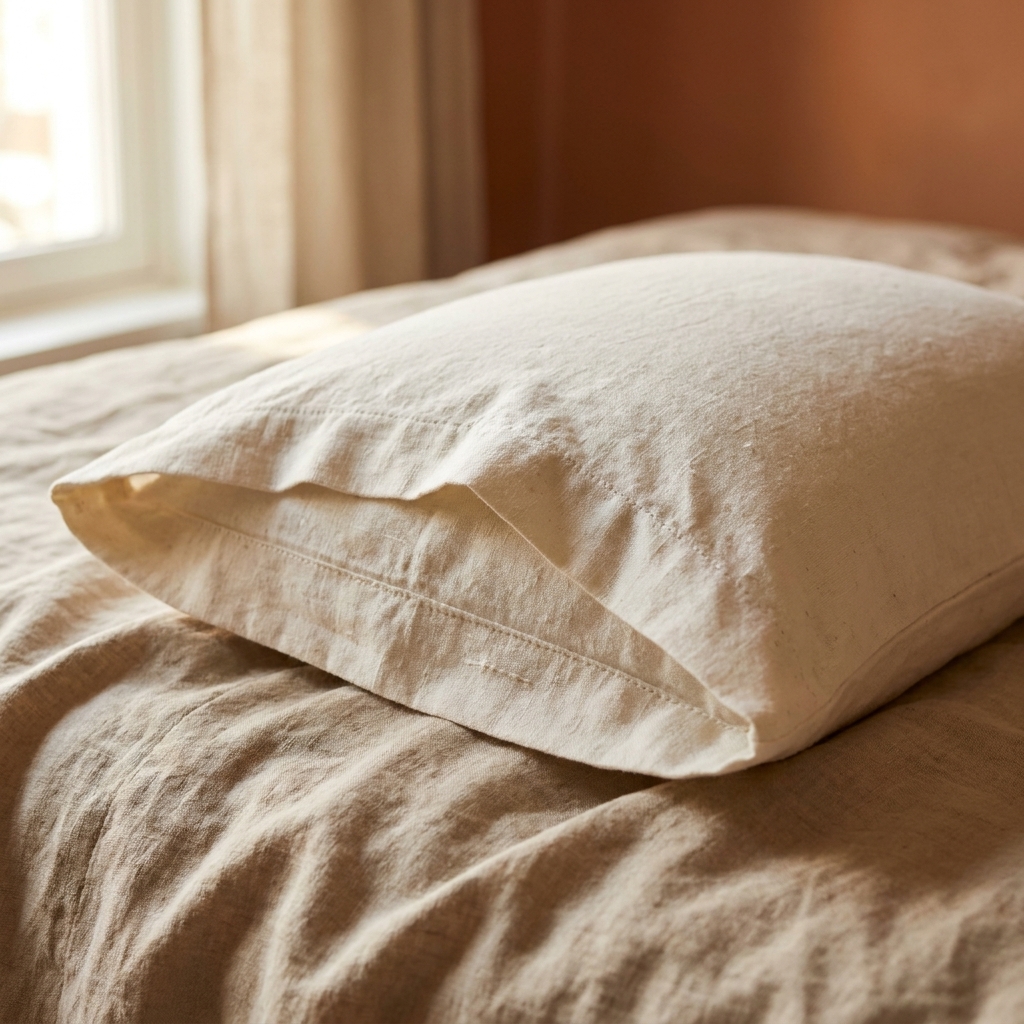
Skills you will practice
- Sewing long seams without drifting
- Keeping seam allowances consistent
- Finishing seams (zigzag, overcast stitch, or French seams if you feel fancy). If your machine does not have an overcast stitch or foot, a basic zigzag works.
Best fabrics for beginners
- Quilting cotton
- Cotton percale or cotton bedsheet fabric (thrifted sheets are wonderful here)
How to make it (clear sizing example)
For a common 18 x 18 inch pillow insert, you can cut:
- One piece: 19 x 44 inches (that gives you 1/2 inch seam allowances on the sides and about 6 inches of overlap on the back)
Want more or less overlap? Add or subtract length. The concept stays the same.
- Hem the two short ends (these become the envelope edges).
- Lay the fabric right side up, then fold each hemmed end toward the center so they overlap by about 5 to 7 inches.
- Pin the sides and make sure the corners line up.
- Stitch both side seams with a consistent 1/2 inch seam allowance.
- Finish raw edges (zigzag is fine), then turn right side out and press.
Straight-stitch challenge: Sew one side seam without stopping. Focus on gentle guiding, not pulling. The machine feeds the fabric. Your hands are just steering.
Project 3: Lined zip pouch
Zippers sound scary, but a simple lined pouch is one of the best straight-stitch teachers out there. Why? Because you get short, repeatable seams and you practice sewing close to an edge (topstitching) which instantly improves control.
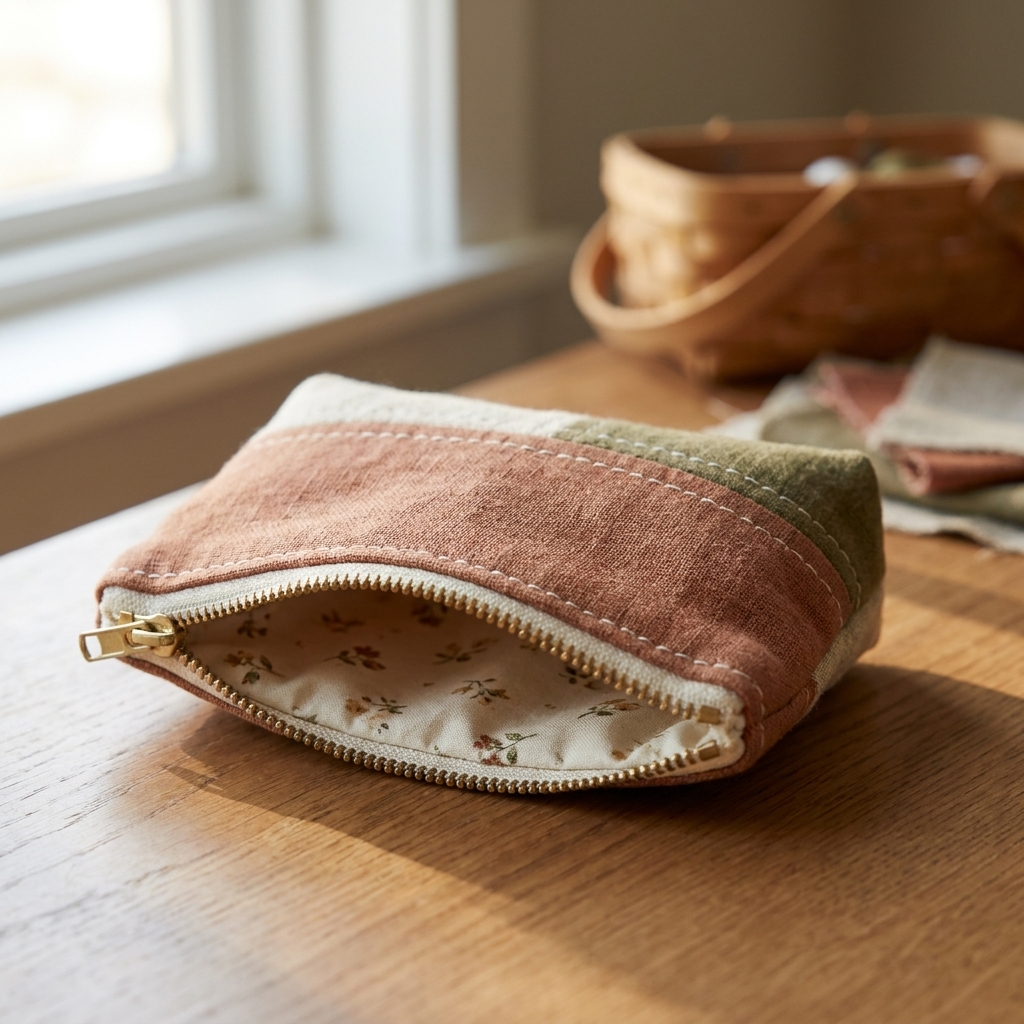
Skills you will practice
- Sewing straight next to a zipper using a zipper foot
- Topstitching for a crisp finish
- Aligning layers and matching edges
Best fabrics for beginners
- Quilting cotton for outer and lining
- Lightweight fusible interfacing to add structure (optional but helpful)
How to make it (beginner-friendly steps)
- Cut pieces: two outer pieces and two lining pieces the same size (start around 8 x 6 inches).
- Optional: fuse interfacing to the wrong side of the outer pieces.
- First zipper seam: place one outer piece right side up, lay the zipper on top right side down (zipper tape against fabric). Then place one lining piece right side down on top, making a sandwich. Stitch along the zipper with a zipper foot.
- Second zipper seam: repeat with the other outer piece and the other lining piece on the other side of the zipper.
- Flip and topstitch: press the fabric away from the zipper on both sides, then topstitch close to the zipper to keep the lining from creeping into the zipper.
- Sew the pouch: open the zipper partway. Put outer pieces right sides together and lining pieces right sides together. Stitch around the perimeter, leaving a turning gap in the lining.
- Turn and finish: turn right side out through the gap, stitch the gap closed, push lining inside, and press.
Straight-stitch challenge: Keep your zipper topstitching parallel to the zipper teeth. If it gets wobbly, that is normal. Make a second pouch immediately. You will see improvement fast.
Project 4: Simple tote bag
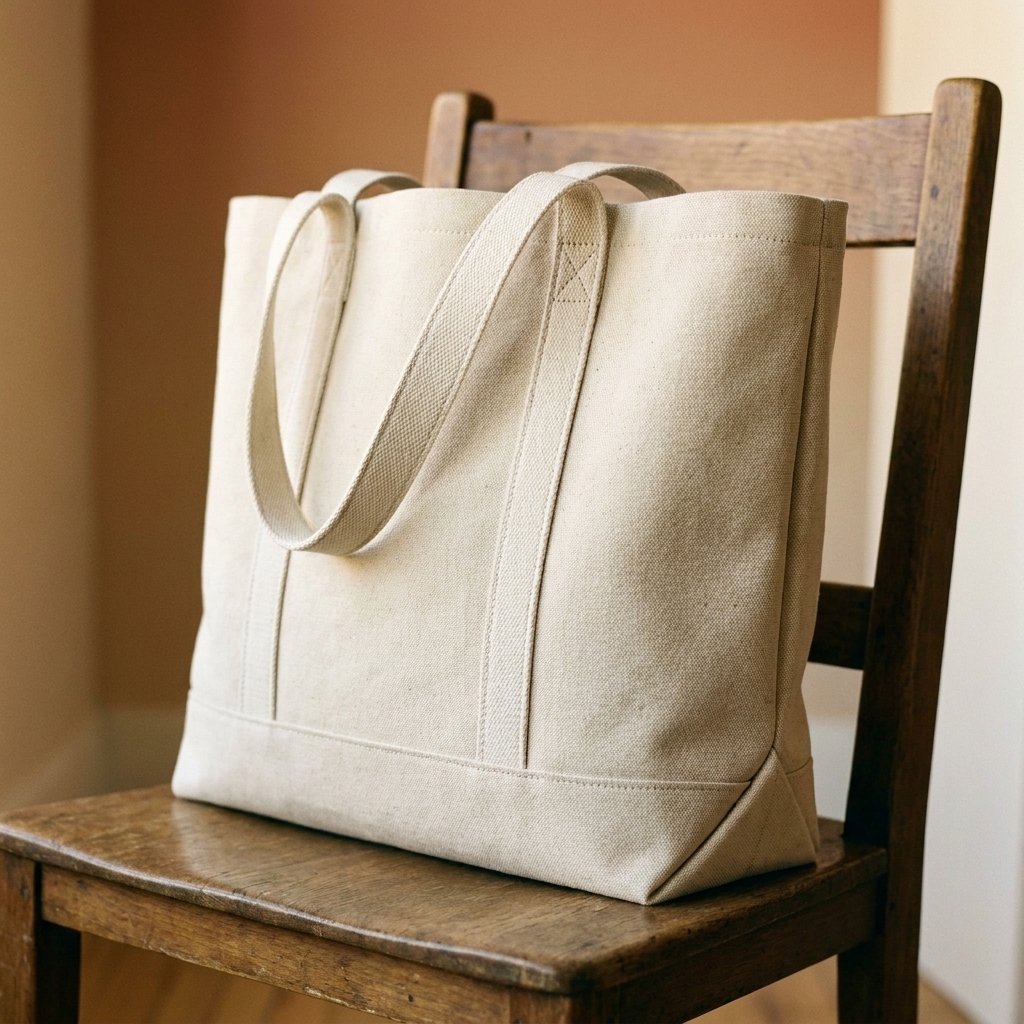
A tote bag is the straight-stitch workhorse project. You will sew long seams, reinforce stress points, and practice sewing through thicker layers at handles and corners. Plus, you get something you can actually use for groceries, library books, or hauling craft supplies around like a proud little sewing creature.
Skills you will practice
- Sewing long side seams
- Topstitching for strength
- Boxing corners (straight seams that create a flat bottom)
- Reinforced stitching at handles
Best fabrics for beginners
- Cotton canvas or duck cloth (structured, forgiving)
- Denim (upcycled jeans are great, but start with lighter denim)
- Quilting cotton works too, especially if you add interfacing
How to make it (classic beginner tote)
- Cut pieces: two rectangles for the body and two long strips for straps.
- Pick a seam allowance: 1/2 inch is a friendly choice for a tote. Mark it or use a plate guide so you stay consistent.
- Make straps: fold long edges inward, then fold in half and topstitch down both sides.
- Sew bag body: place body pieces right sides together and stitch sides and bottom.
- Box the corners: pinch a bottom corner into a triangle and stitch a straight line across to create a flat base.
- Hem the top edge, attach straps, and topstitch for strength.
- Reinforce straps: sew a box with an X through it (box-x) where each strap meets the bag, or stitch a few tight rows back and forth. Either works.
Straight-stitch challenge: Topstitch the straps with two parallel lines. Keeping them evenly spaced trains your eye and your hands.
Project 5: Table runner
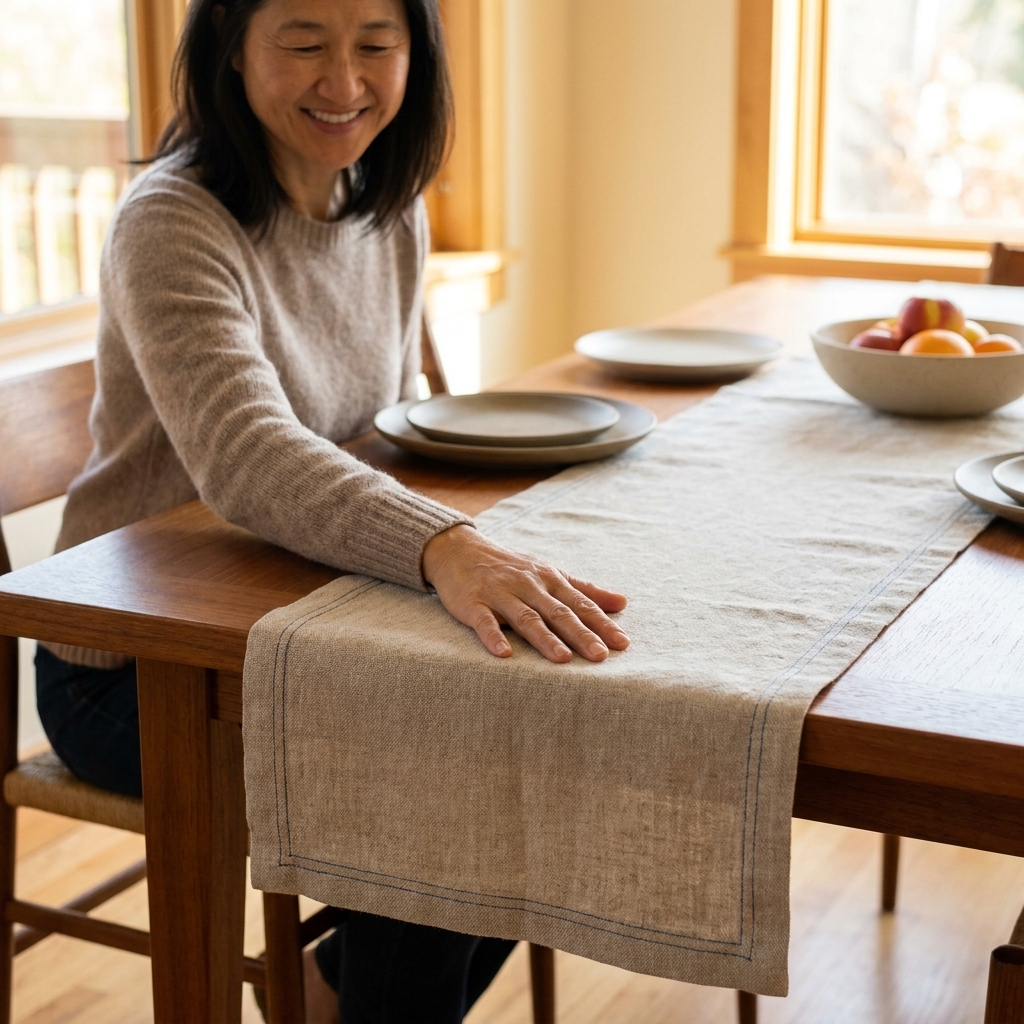
When you want to level up from “I can sew a straight line” to “I can sew a straight line for a while,” a table runner is perfect. It is basically a long rectangle, which means lots of steady stitching, neat edge control, and beautiful topstitching opportunities.
Skills you will practice
- Sewing long straight seams consistently
- Keeping edges aligned over distance
- Pressing and topstitching for a crisp finish
Best fabrics for beginners
- Quilting cotton (two layers)
- Cotton canvas for one side and quilting cotton for the other (a bit sturdier)
How to make it (reversible runner)
- Cut two long rectangles the same size.
- Pin right sides together, then sew around the perimeter, leaving a turning gap.
- Clip corners (carefully, not through the seam), turn right side out, and press thoroughly.
- Topstitch around the edge to close the turning gap and sharpen the outline.
Straight-stitch challenge: Try edge topstitching at a consistent distance, like 1/8 inch. If that feels like a lot, go with 1/4 inch. Consistency matters more than tiny perfection.
Quick straight-stitch fixes
My seam is wavy
- Slow down and stop pulling the fabric. Let the feed dogs do the work.
- Use more pins or clips, especially on long seams.
- Press before sewing. Wrinkles create drift.
My stitches look uneven
- Rethread the machine with the presser foot up.
- Try a new needle. A dull needle causes chaos.
- Match needle size and type to fabric weight (universal for general sewing, jeans needle for denim).
My fabric gets sucked into the machine at the start
- Start with the needle down and hold thread tails for the first few stitches.
- Start sewing a few millimeters in from the edge, then backstitch to the edge.
- Use a small fabric scrap as a “leader” and sew onto your project.
My corners are bulky
- Trim seam allowances and clip corners carefully before turning.
- Use a point turner or a chopstick to gently push corners out. No stabbing.
A simple skill plan
If you want a no-stress path, here is the order I would sew these in:
- Cloth napkins to learn guiding and corners
- Envelope pillowcase for long seams and consistency
- Lined zip pouch for edge control and topstitching
- Tote bag for durability techniques and thicker layers
- Table runner for long, clean topstitching endurance
And here is my gentle challenge: make each project twice. The first one is for learning. The second one is where your straight stitch starts to look like you have been doing this for ages.