Scrunchies, key fobs, quilt blocks, zipper pouches, and more. 30 practical scrap-busting sewing ideas with tips for sorting, cutting, and stitching tiny piec...
If you have a bag, basket, or mysterious drawer of fabric scraps, welcome. This is your sign to stop saving them “for something” and start turning them into small, satisfying projects you will actually use. I love scrap sewing because it is low pressure, wonderfully forgiving, and secretly the best way to practice skills without cutting into your good yardage.
Below are 15 scrap-busting, low-waste DIY projects you can make with leftover fabric. A few use small extras like elastic, snaps, or batting, but the goal is the same: use what you already have, keep scraps out of the trash, and make something practical in the process.
Quick note before we dive in: For any project that touches food, skin, or heat, prewash your fabric (when possible) and skip anything with metallic thread, glitter vinyl, or mystery fiber content.
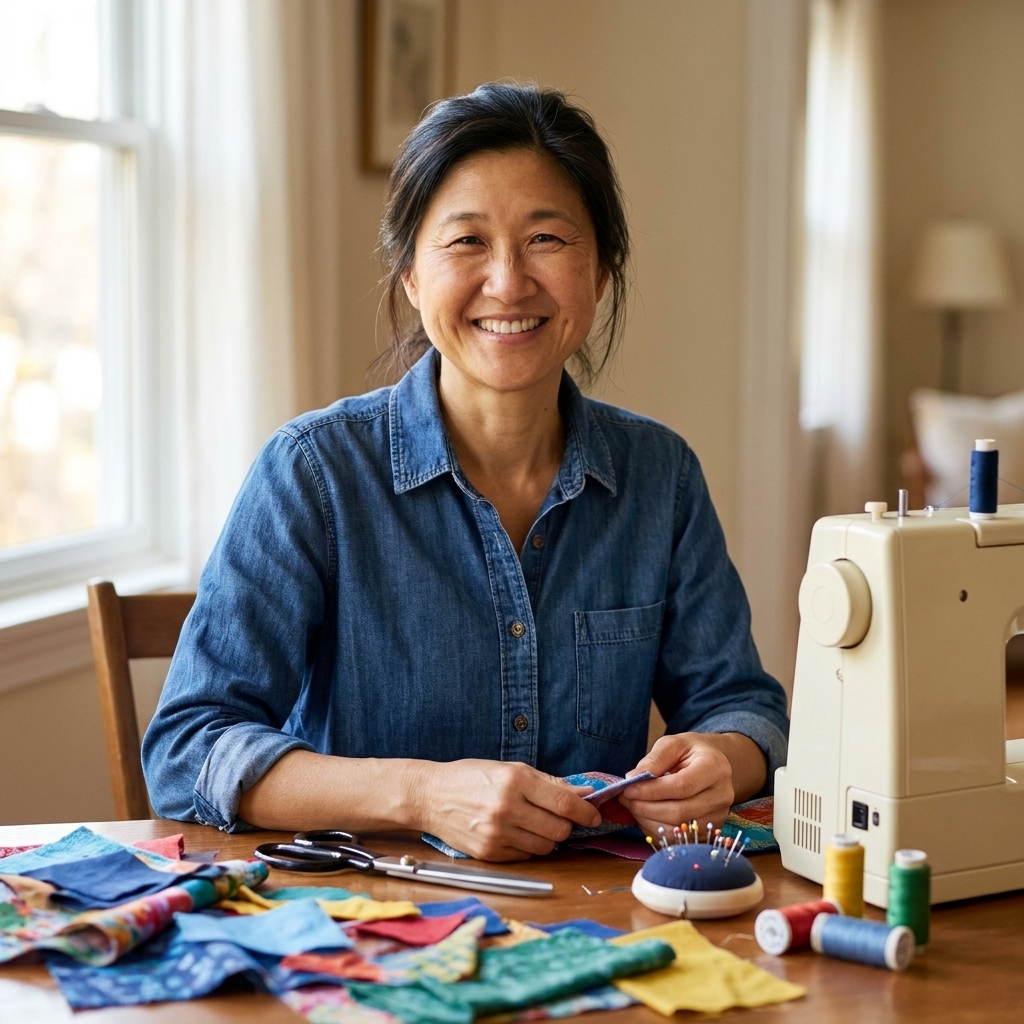
Before you start: a scrap system that works
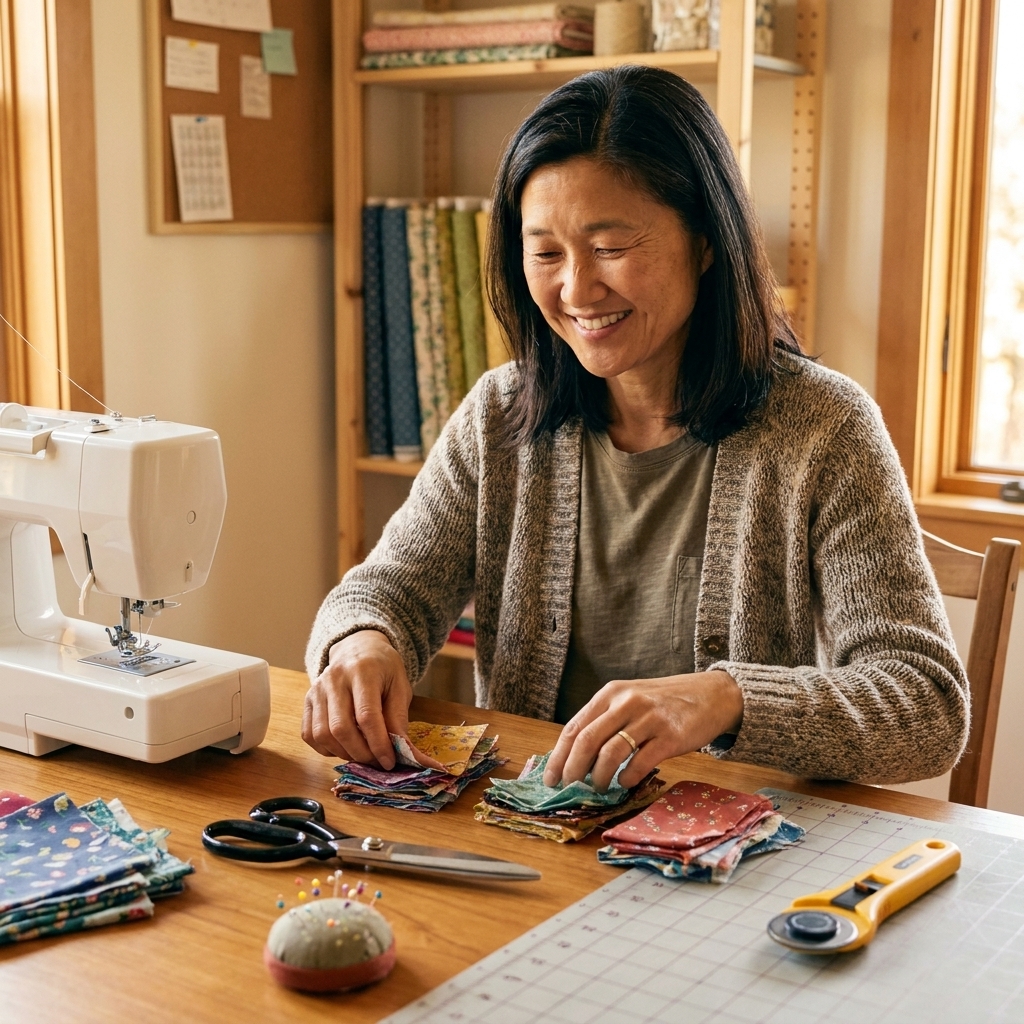
Here is the scrap-sorting routine I used as an art teacher and still use at home. It saves time and keeps the chaos from taking over.
- Sort by size: (1) strips and long bits, (2) palm-sized pieces, (3) tiny crumbs.
- Sort by fiber feel: keep stretchy knits together, quilting cotton together, and slippery synthetics together. This prevents wonky seams.
- Keep one stuffing jar: all clean, non-fraying crumbs go in a jar for stuffing pincushions, draft stoppers, and pet toys.
- Press as you go: a quick press makes scraps behave. Wrinkly scraps multiply frustration.
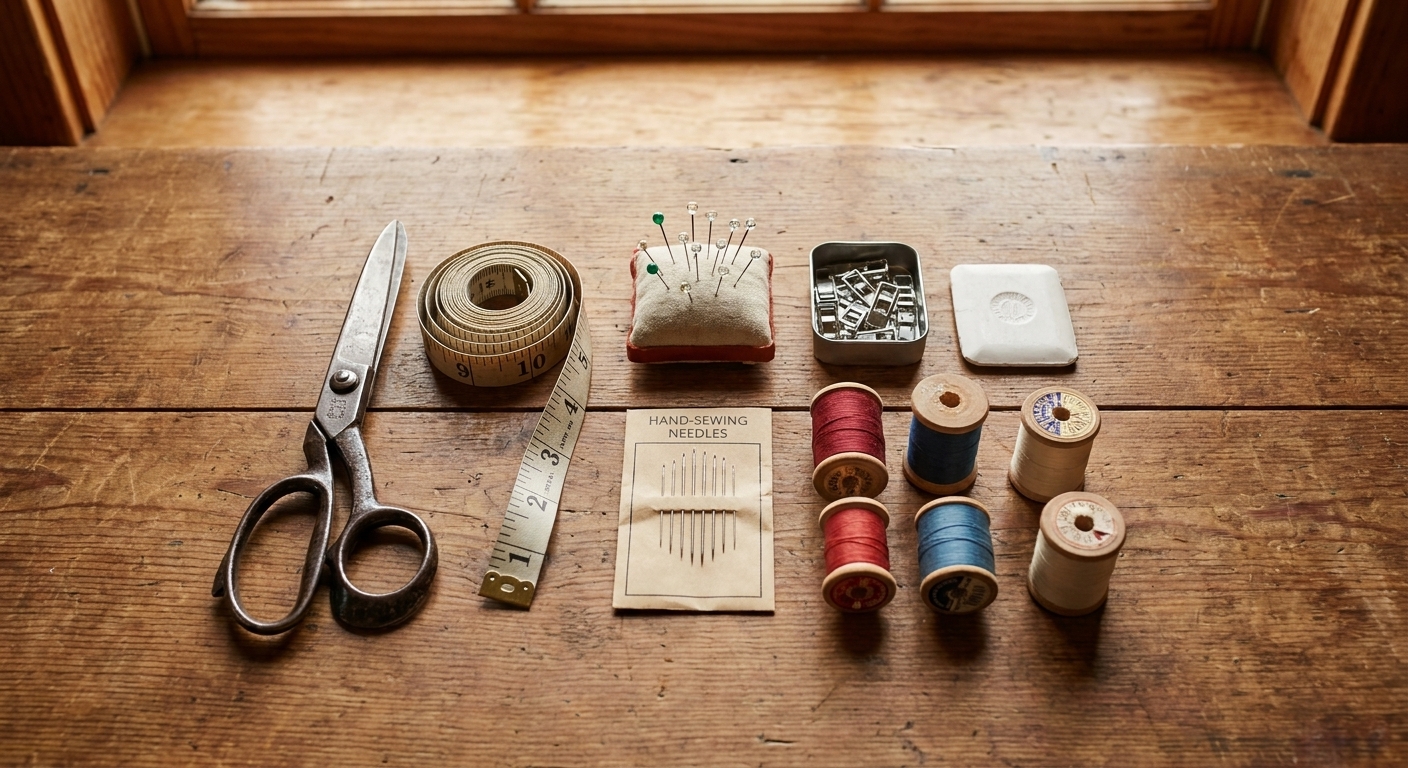
Basic tools that help with almost every project: fabric scissors or rotary cutter, pins or clips, a ruler, iron, needle and thread, and either a sewing machine or a willingness to do a simple running stitch.
Heat and microwave safety (please read): For bowl cozies, pot holders, and rice warmers, use 100 percent cotton fabric, 100 percent cotton thread, and batting specifically labeled microwave-safe when microwaving. No polyester, no metallics, no foil-looking “insulated” layers. Microwaves vary, so always test cautiously, heat in short bursts, and never leave heating items unattended.
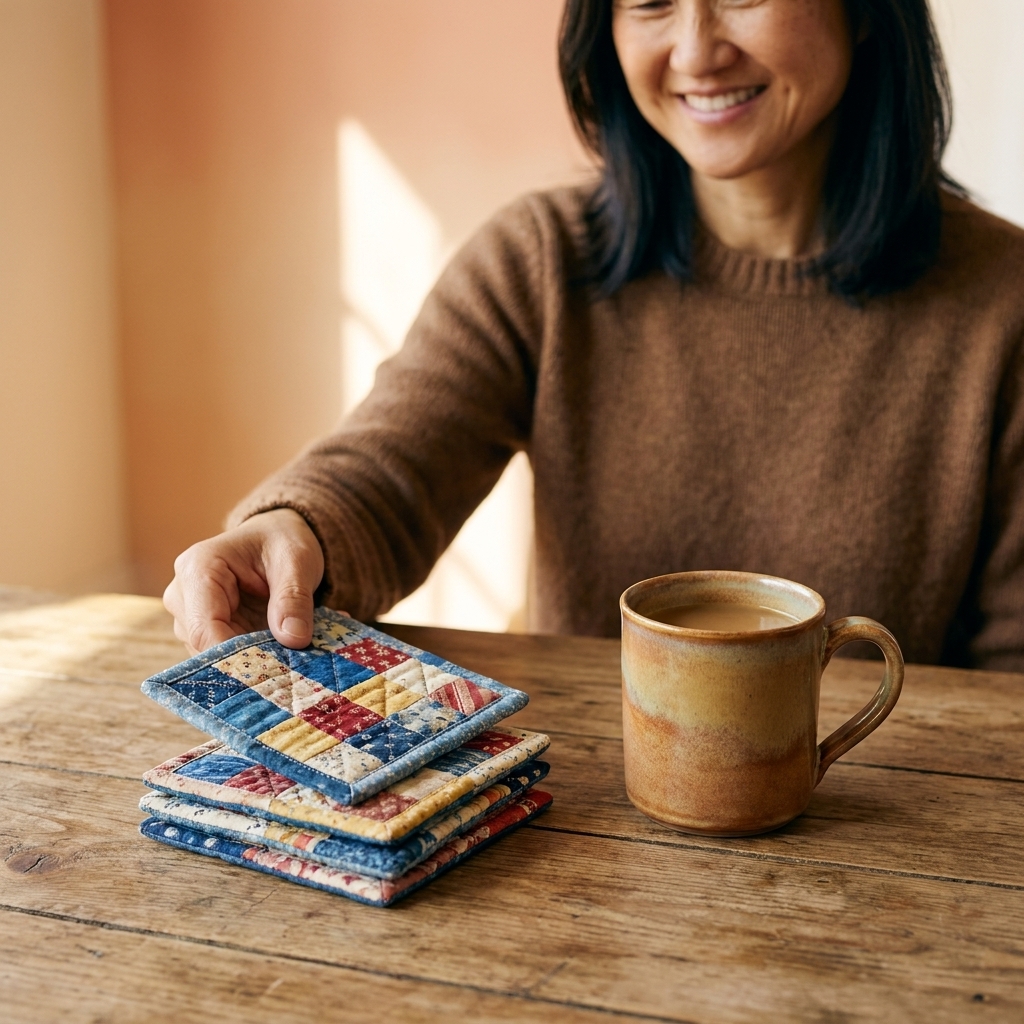
1) Quilted scrap coasters
These are the project I hand to nervous beginners because they are tiny, useful, and magically make your table look “put together.”
Materials
- Two 4 1/2 in by 4 1/2 in fabric squares (mix scraps)
- One 4 1/2 in by 4 1/2 in batting scrap or old towel piece
- Thread
Steps
- Layer: fabric right side down, batting, fabric right side up.
- Quilt a few straight lines across (or a simple X).
- Trim edges even.
- Bind with bias tape, or do a quick “turn and topstitch”: sew around with a 1/4 in seam leaving a 2 in gap.
- Clip corners, turn right side out, press, then topstitch the opening closed.
Scrap-saving tip: Piece the top from smaller bits, then quilt. Patchwork hides everything.
2) Classic scrunchies
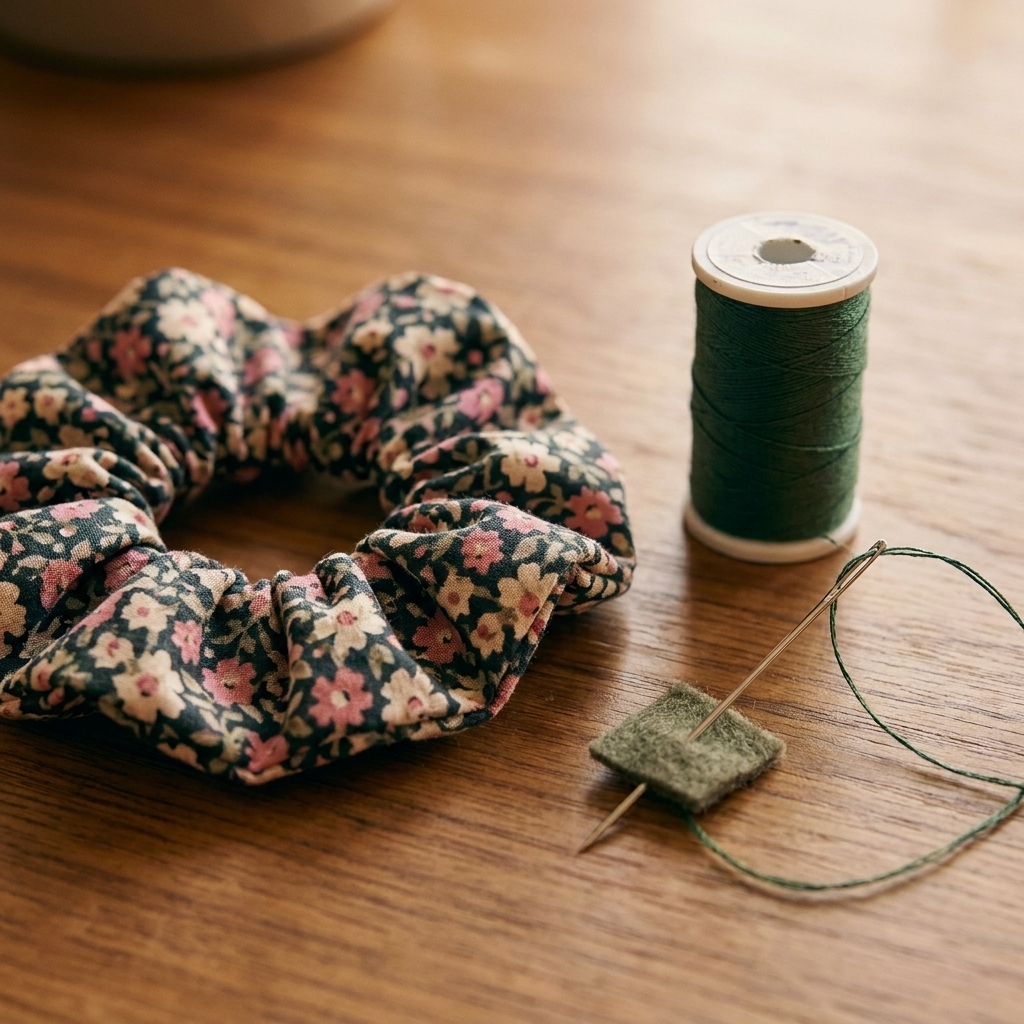
Scrunchies are the perfect “I have a weird strip” project. Also, they are fast enough to make in a lunch break.
Materials
- Fabric strip: about 3 1/2 in by 18 in (adjust longer for fuller)
- Elastic: 8 to 9 in (or reclaimed elastic from an old waistband)
- Safety pin
Steps
- Fold fabric in half lengthwise, right sides together. Sew the long edge with a 3/8 in seam.
- Turn into a tube (use a safety pin or a chopstick).
- Thread elastic through, knot or overlap and zigzag.
- Tuck raw ends in, then topstitch or ladder stitch closed.
Kid-friendly option: Use a hand-sewn running stitch and let kids pick the fabrics.
3) Patchwork tote bag
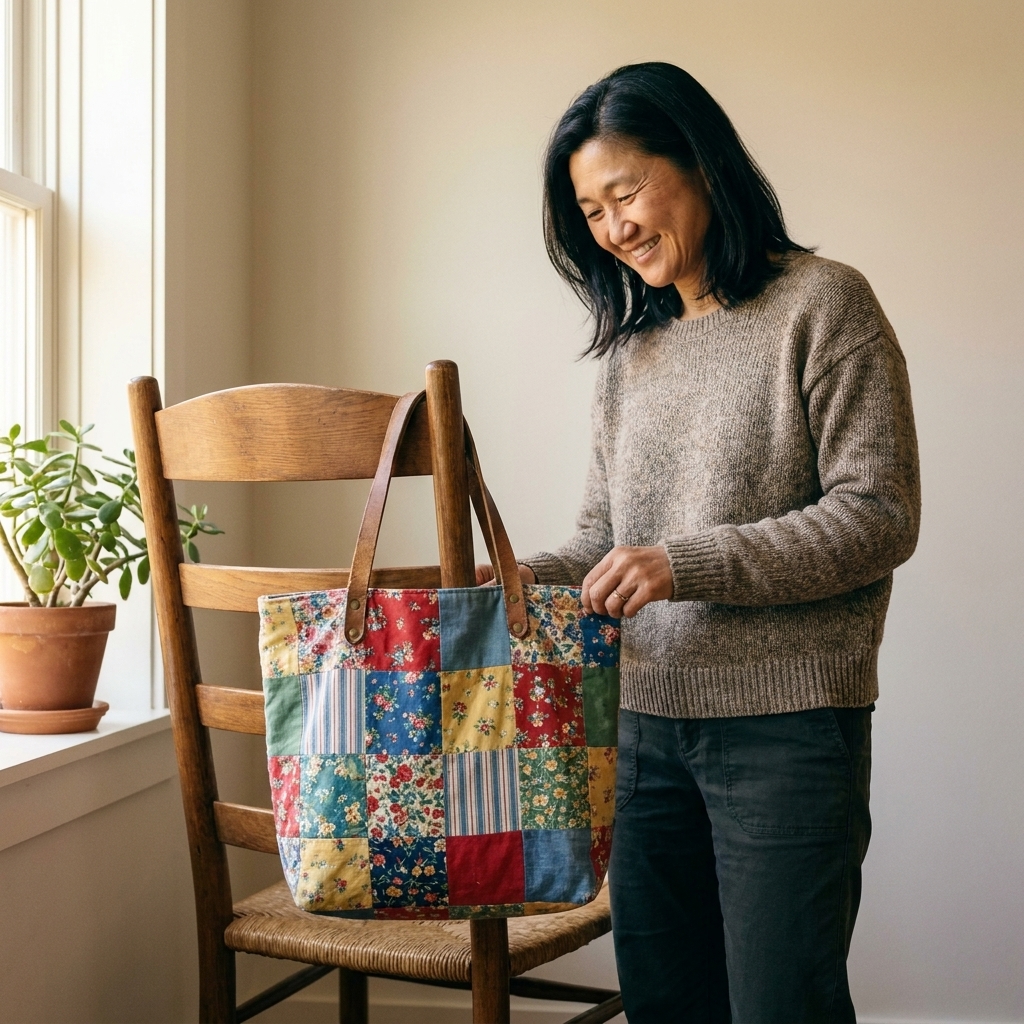
If you want one “hero” scrap-busting project, this is it. A patchwork front panel lets you use mismatched fabrics on purpose.
Materials
- Scraps for two panels (aim for two rectangles about 15 in by 16 in)
- Lining fabric: two rectangles 15 in by 16 in
- Two straps: 3 in by 24 in each for a hand tote (use 28 to 30 in for shoulder carry), or webbing
Steps
- Piece scraps into two large panels using a 1/4 in seam. Press seams open or to one side.
- Place outer panels right sides together. Sew sides and bottom. Box the corners (pinch corner into a triangle, sew across about 2 in from the tip).
- Repeat for lining, but leave a 4 in turning gap at the bottom.
- Make straps: fold long edges to center, fold again, topstitch.
- Insert outer bag into lining right sides together, sandwich straps between layers. Sew around the top.
- Turn through the lining gap, stitch the gap closed, topstitch the top edge.
My real-life tip: If your patchwork panel is slightly wonky, trim it straight. Tiny imperfections disappear once it is a bag.
4) Reusable snack bag
These are so satisfying, and they save a surprising number of disposable baggies.
Materials
- Outer fabric: 2 rectangles 8 in by 10 in
- Lining: 2 rectangles 8 in by 10 in
- Hook-and-loop tape or a snap
Lining notes
- Best option: A lining specifically marketed for food contact (read the manufacturer details and care instructions).
- Simple alternative: Use tightly woven cotton as a washable lining and plan to launder after use. This is especially good for dry snacks.
- Avoid leaving raw edges inside where crumbs and moisture can hide.
Steps
- Attach closure to the outer fabric piece (so stitches are hidden later).
- Sew outer pieces right sides together on sides and bottom. Repeat for lining.
- Insert outer into lining right sides together. Sew around top edge.
- Turn, press top edge, topstitch.
Cleaning note: Follow the lining manufacturer’s care instructions. If using cotton, wash and dry thoroughly to prevent lingering moisture.
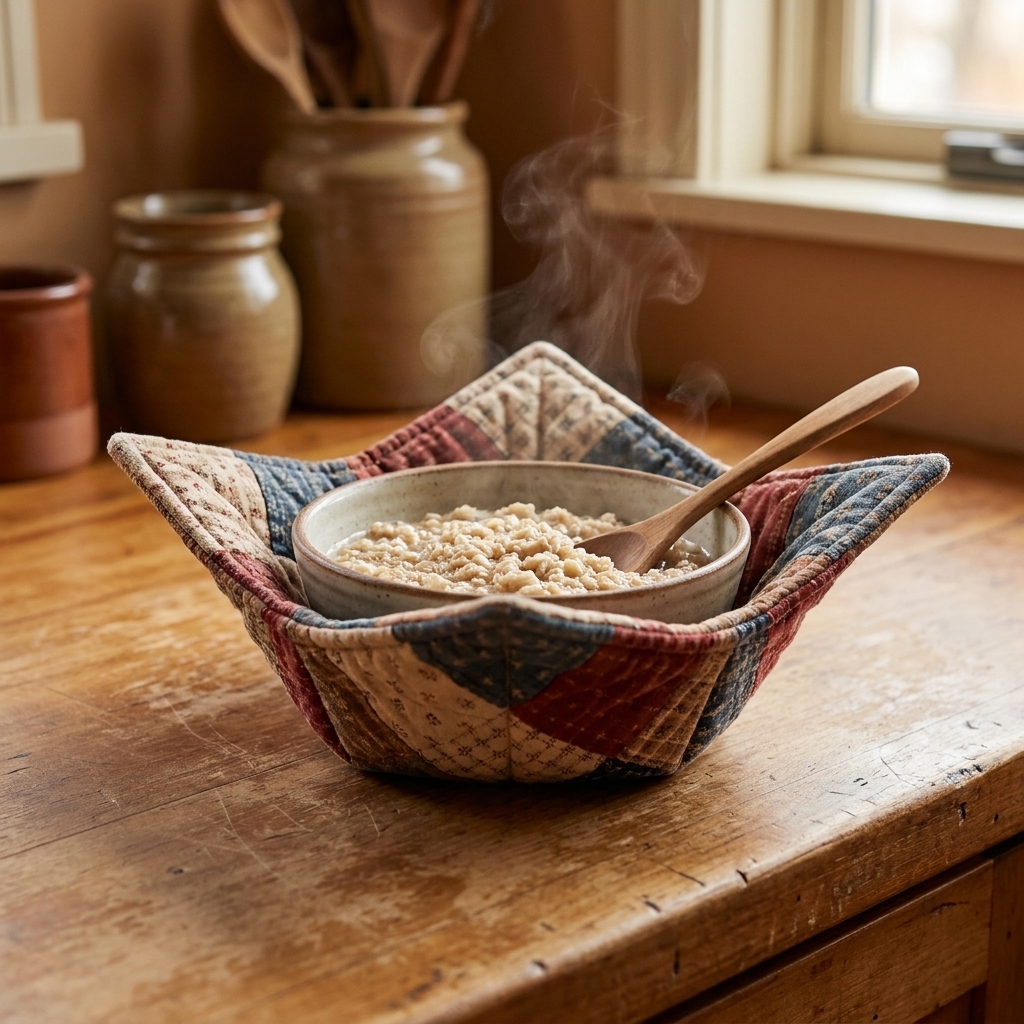
5) Bowl cozy
A cozy keeps your fingers from frying when reheating soup. For microwave use, stick with 100 percent cotton fabric, 100 percent cotton thread, and microwave-safe cotton batting.
Materials
- Two 10 in cotton squares
- Two 10 in microwave-safe cotton batting squares
Steps
- Layer a fabric square with a batting square, quilt a few lines. Repeat for the second set.
- Place the two quilted pieces right sides together and mark darts (about 2 1/2 in long) on each corner.
- Sew darts on all corners.
- Sew around the edge leaving a turning gap, turn, press, and topstitch closed.
Safety note: Do a cautious first test with water in the bowl (not empty), heat in short bursts, and stop if you smell scorching. Microwaves vary, and overheating is always possible.
6) Scrap bookmarks
This is a perfect project for those long skinny strips that are too small for anything else.
Materials
- Two fabric strips about 2 in by 8 in
- Interfacing or a cereal box strip
- Embroidery floss for tassel
Steps
- Fuse interfacing to one strip, or sandwich a thin cardboard strip inside.
- Sew strips right sides together, leaving a small opening.
- Turn, press, topstitch.
- Add a tassel through the top with a needle or safety pin.
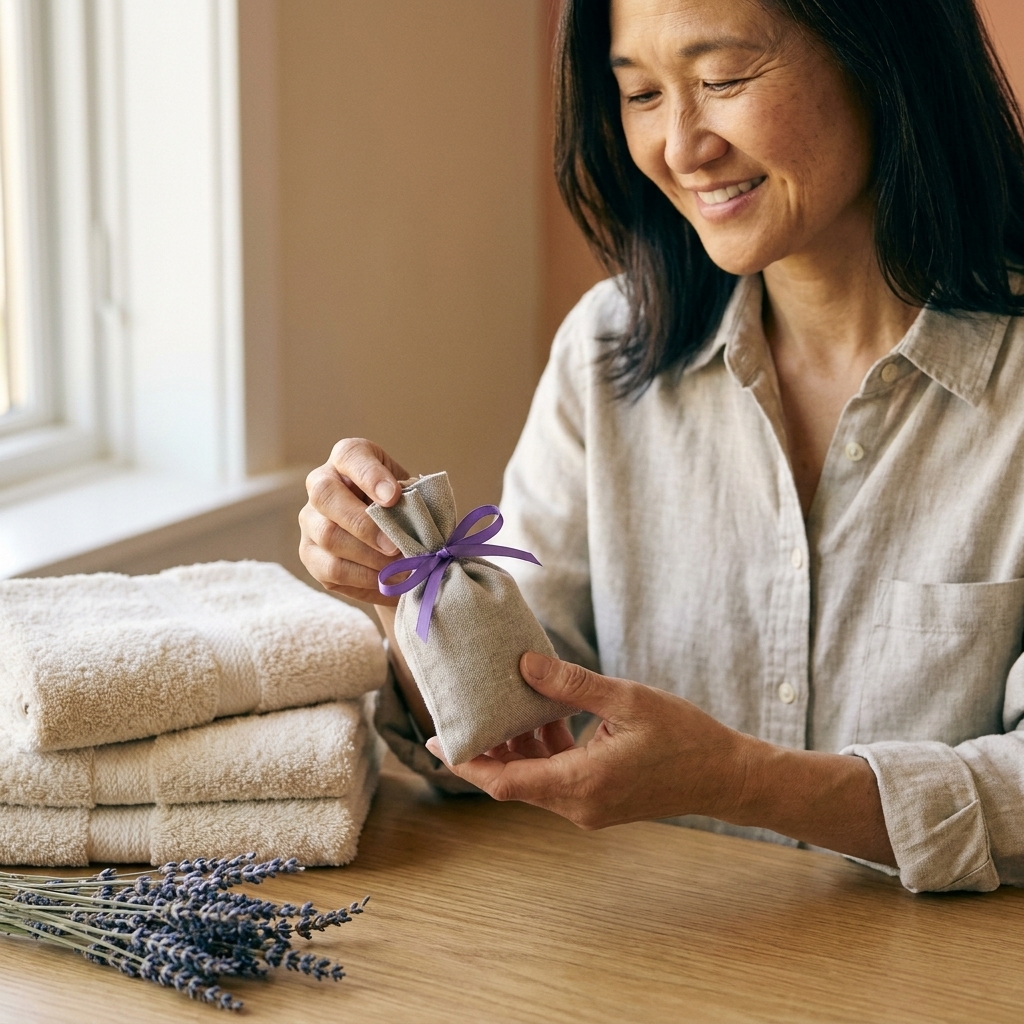
7) Lavender sachets
These use tiny pieces and make your linens smell like you have your life together.
Materials
- Two fabric squares, 4 in by 4 in
- Dried lavender (or dried rosemary)
- Optional: rice to bulk it up
Steps
- Sew squares right sides together, leaving a 1 1/2 in opening.
- Turn right side out, fill with lavender (and rice if using).
- Ladder stitch closed. Add a little ribbon loop if you want to hang it.
8) Fabric gift wrap
When you use fabric to wrap gifts, the wrap becomes part of the gift, which feels extra sweet and avoids paper waste.
Materials
- Square of fabric, 18 in to 36 in depending on gift size
Steps
- Press the fabric square.
- Place gift in the center on the diagonal.
- Tie opposite corners in a firm knot, then tie the remaining corners.
- For a cleaner look, hem raw edges with a simple double fold.
9) Stuffed pincushion
This is where all those tiny thread-covered crumbs can finally live their best life.
Materials
- Two fabric circles or squares (about 4 in to 5 in)
- Stuffing: fabric crumbs, or mix crumbs with a little polyfill
- Optional: a spoonful of rice for weight
Steps
- Sew around edges right sides together, leaving a gap.
- Turn, stuff firmly, stitch closed.
- Optional: wrap embroidery floss around the cushion and cinch in the center for a classic tomato-style look.
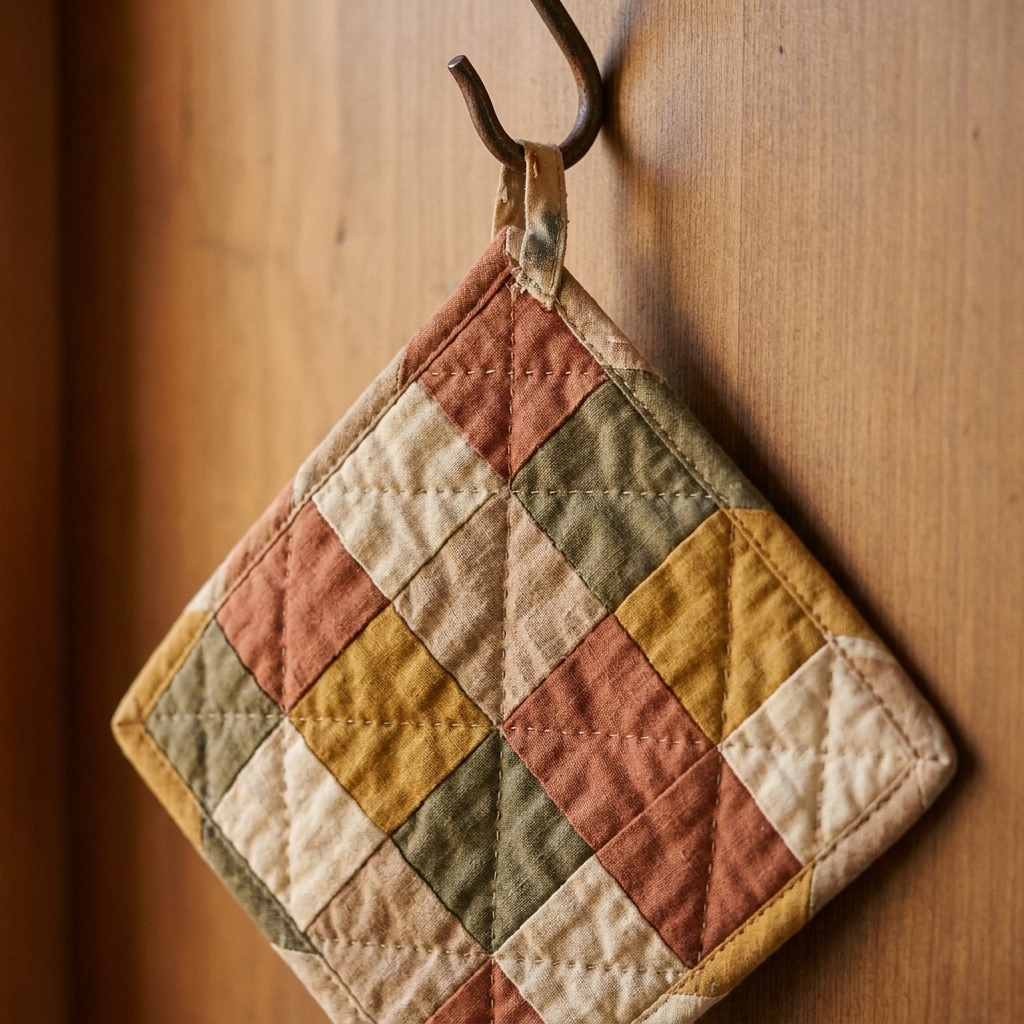
10) Patchwork pot holders
Similar to coasters, but bigger and more satisfying. For heat safety, stick with 100 percent cotton fabric and 100 percent cotton batting for standard kitchen use.
Materials
- Scraps for an 8 in by 8 in top
- Heat protection layer: multiple layers of cotton batting, or heat-resistant insulated batting (not for microwave use)
- Backing fabric
- Optional: bias tape for binding
Steps
- Piece a patchwork top, press.
- Layer: top, batting layers, backing.
- Quilt across to hold layers.
- Bind edges or turn and topstitch. Add a hanging loop.
11) Fabric rope basket
This is my favorite “mess manager” project because the finished basket can hold more scraps.
Materials
- Cotton clothesline rope (new or salvaged)
- Long fabric strips (1 in to 1 1/2 in wide)
- Zigzag-capable sewing machine
- Denim or topstitch needle (size 90/14 or 100/16), plus thread
Steps
- Wrap fabric strips tightly around the rope as you go, like a candy cane spiral.
- Start a coil and zigzag stitch around the coil to build the base.
- Keep coiling and stitching, gently angling upward to form sides.
- Finish by tapering the rope end and stitching it down securely.
No-machine option: Hand stitch coils together with strong thread, just know it takes longer.
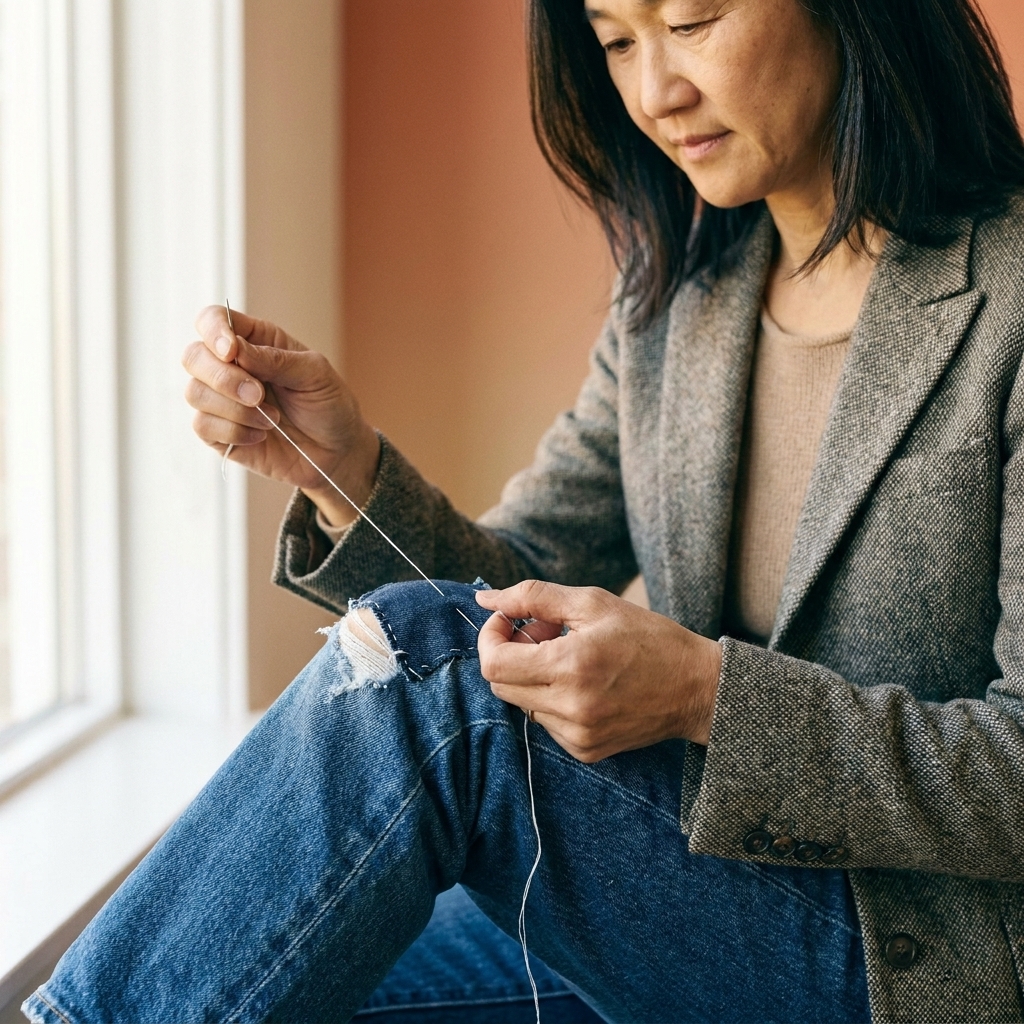
12) Mending patches
Low-waste crafting is not just making new things. It is also extending the life of what you already own.
Materials
- Denim or sturdy cotton scraps
- Iron-on interfacing (optional)
- Embroidery floss or thread
Steps
- Trim a patch with rounded corners (it frays less).
- Optional: fuse interfacing to the back for stability.
- Pin patch over the hole from the outside (visible repair) or inside (hidden repair).
- Stitch around with a running stitch, whip stitch, or bold sashiko-style stitches.
13) Braided headband
Great for knit scraps that do not love crisp seams, and a cute way to use three coordinating colors.
Materials
- Three knit strips: about 2 in by 18 in
- Elastic: 4 in
Steps
- Stretch and roll knit strips so edges curl inward.
- Braid the three strips and stitch ends.
- Attach elastic between the ends, then cover the join with a small fabric wrap.
14) Scrap garland
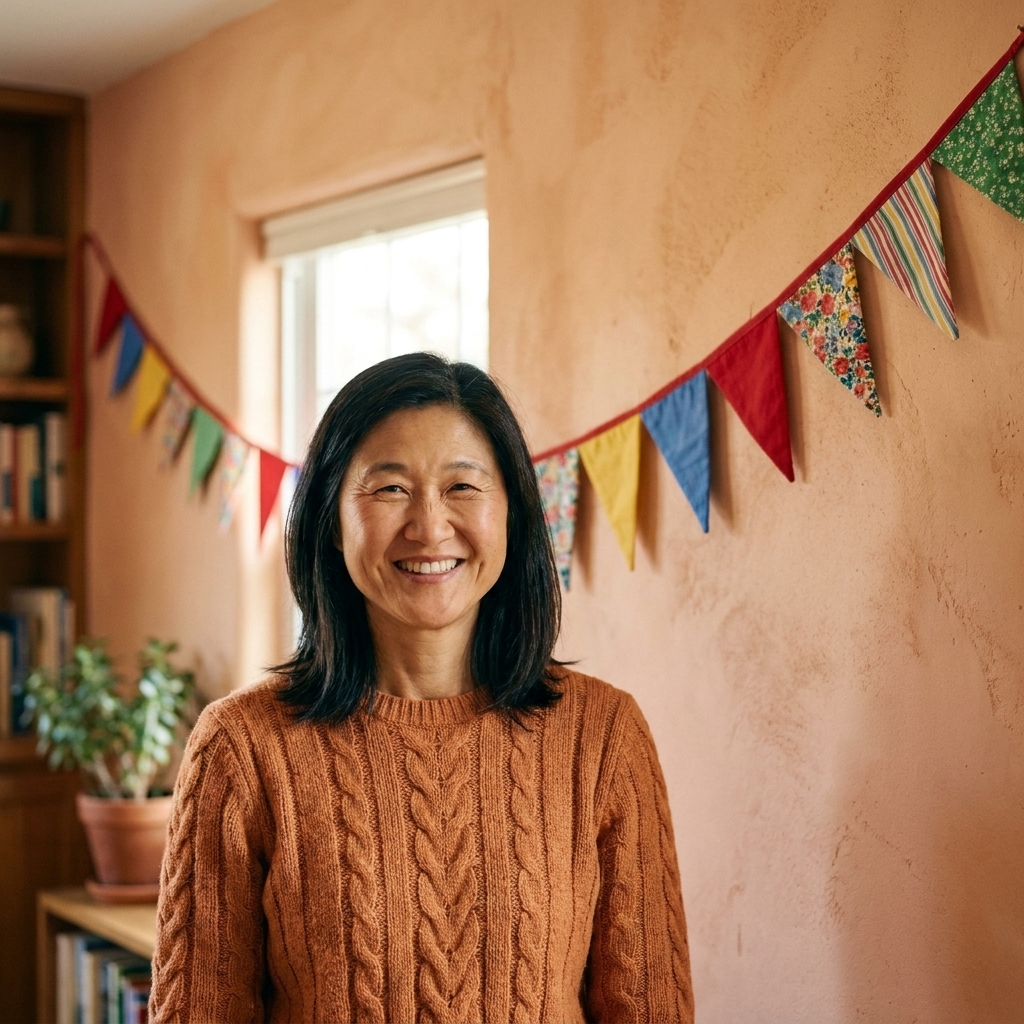
Reusable decor is one of my sneaky low-waste wins. This garland stores flat and comes out for birthdays, baby showers, and “Tuesday but make it fun.”
Materials
- Scraps cut into triangles or flags
- Twill tape or a long bias strip
Steps
- Cut flags (about 5 in wide by 6 in tall) from scraps.
- Fold the top edge over the tape and stitch, or sew flags into a folded bias strip.
- Press and hang.
15) Rice hand warmers
These are wonderful for chilly hands, sore muscles, or calming sensory weight. As with other microwave projects, use 100 percent cotton fabric and thread, and avoid anything with metallics or synthetic fill.
Materials
- Two cotton rectangles: 4 in by 6 in
- Uncooked rice or dried corn
- Optional: a pinch of dried lavender
Steps
- Sew around edges right sides together, leaving a gap.
- Turn, fill about 3/4 full with rice.
- Stitch closed, then sew one line down the middle to create two channels (helps stop rice from clumping).
- To use: microwave in short bursts, flipping or shaking between bursts, until warm (not hot). Start with 20 to 30 seconds and adjust based on your microwave wattage. Never leave unattended, and stop immediately if you smell scorching.
Common questions
What fabric scraps are too small to save?
If it is smaller than a postage stamp and not sentimental, I either put it into the stuffing jar for projects like pincushions and draft stoppers, or let it go. Tiny synthetic crumbs usually go to trash, and that is okay. The goal is less waste overall, not perfection.
Can I compost fabric scraps?
Sometimes, but it depends. Some natural-fiber textiles can technically break down, but finishes, dyes, blends, and home compost conditions vary a lot. Check your local compost rules and, if you compost at home, err on the side of caution.
Can I mix fabric types in patchwork?
You can, but try to keep stretch with stretch and woven with woven. If you must mix, stabilize the stretchy pieces with interfacing so your seams do not ripple.
How do I stop scraps from fraying?
Use pinking shears, zigzag or overcast stitch the raw edges, or choose projects with enclosed seams like lined bags, scrunchies, and sachets.
What is the fastest project on this list?
Scrap bookmarks, lavender sachets, and simple coasters are all quick wins. If you need an instant “I finished something” boost, start there.
Pick one and start small
If your scrap pile feels like a mountain, do not try to conquer it in one heroic weekend. Choose one project that solves a tiny problem in your daily life. A coaster for your desk. A snack bag for your kid’s backpack. A patch for your favorite jeans.
And if you make any of these and end up with new tiny scraps from trimming, congratulations. You have officially entered the beautiful cycle of scrap sewing. Put those crumbs in the stuffing jar and keep going.