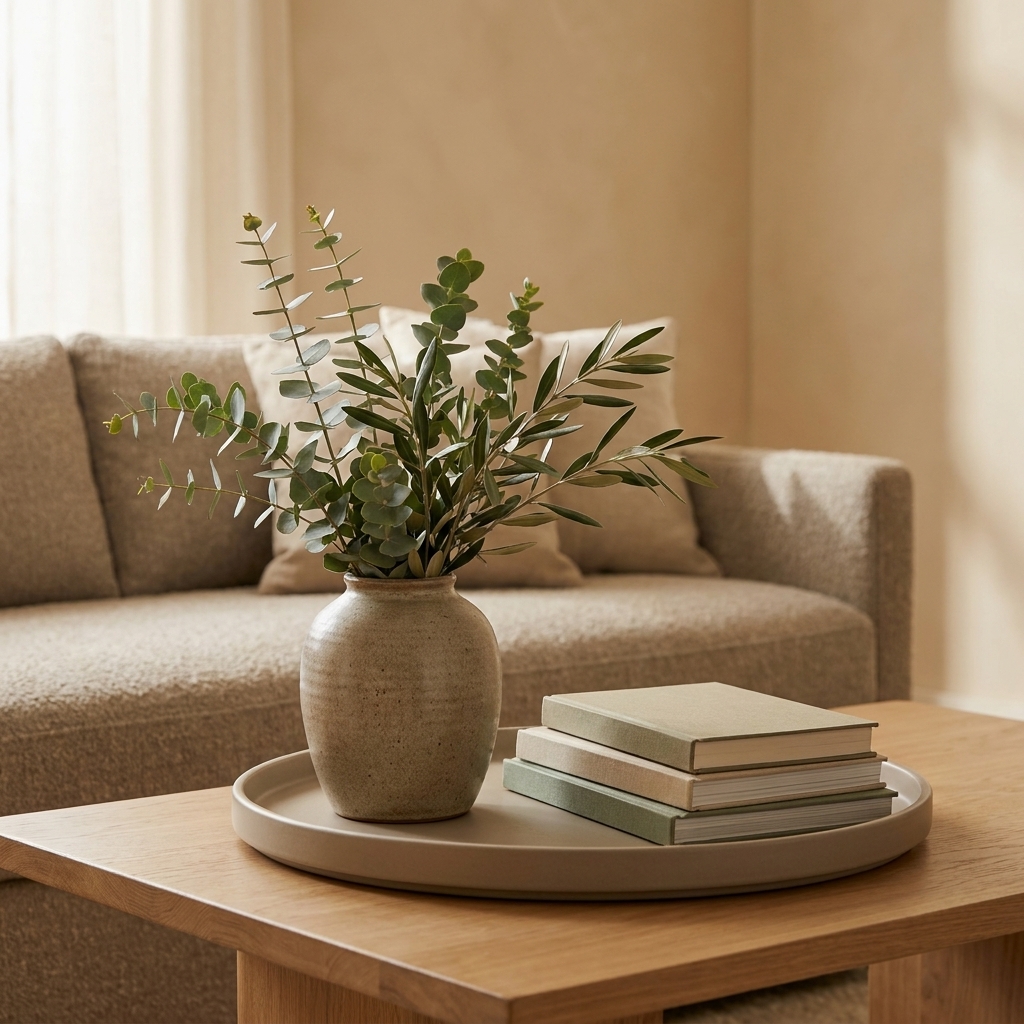
From chalk-style paint and distressed finishes to lanterns and wall vases, these mason jar upcycles turn glass jars into rustic home decor on a budget.
If you have ever picked up a dollar store vase and thought, “Cute, but… a little too shiny-plastic,” you are my kind of person. The good news is that “high-end” is usually just a combo of finish, scale, and restraint. We can fake all three with basic dollar store finds, a can of spray paint, and a couple of my favorite teacher-era tricks.
Before we dive in, here is the big mindset shift: we are not “decorating with dollar store items.” We are using dollar store items as raw materials.
My high-end finishing formula
- Pick one finish family: matte black, warm brass, stone, creamy white, or aged wood.
- Matte beats glossy: in my experience, glossy reads “mass-produced” fast. Matte reads “studio-made.”
- Add weight: fill the base with sand, rocks, or rice sealed in a bag. (If you use plaster, only do it in sturdy pieces and avoid thin plastic. Wet plaster can crack flimsy bases and it is basically forever.)
- Hide seams and logos: rub-on spackle, lightweight joint compound, or air-dry clay can erase the “cheap” tells. For anything going onto plastic, scuff sand first so it has something to grab.
- Less is more: one statement detail (a tall stem, a single bow, one sculptural shape) looks pricier than lots of little add-ons.
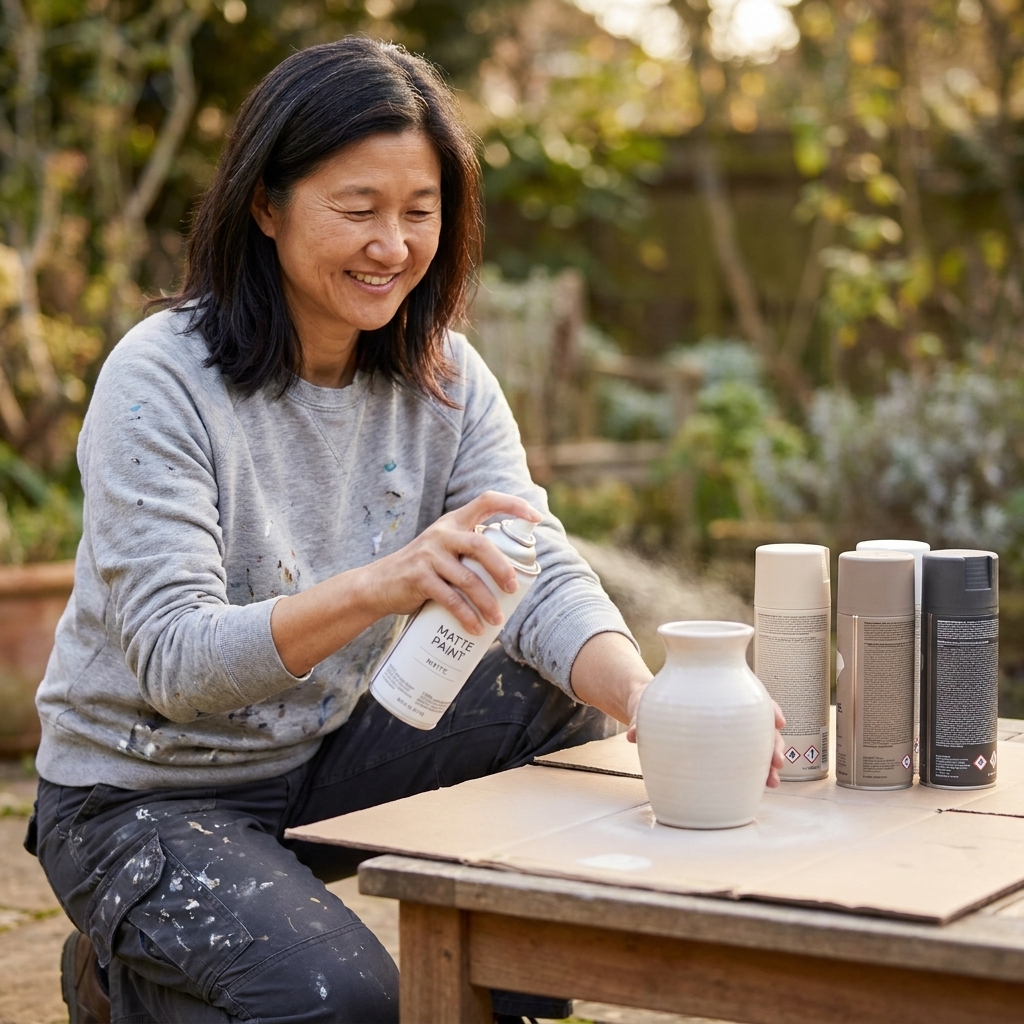
Spray paint that looks expensive
I say this with love because I have absolutely done it: one thick coat of spray paint can turn a cute idea into a drippy tragedy. Here is the method that saves you.
- Clean first: wash plastics and glass with dish soap, then wipe with rubbing alcohol.
- Scuff sand slick surfaces: a quick, light sanding helps paint and texture products stick.
- Use the right primer: for slick plastic, use a bonding primer or a paint labeled for plastic. (A bonding primer is made to stick to tricky surfaces like glossy plastic.)
- Light coats only: 2 to 4 light coats, 8 to 12 inches away.
- Rotate your item: walk around it. Do not “hose it down” from one side.
- Recoat and cure: follow the can, but as a general rule, you can often recoat within minutes to an hour. Full cure can take 24 to 72 hours. Dry to the touch is not the same as ready to handle.
- Seal when needed: matte clear coat is great for pieces that get handled. Test first. Some clears can shift the sheen or reactivate paint if you rush it.
Quick safety note: spray paint fumes are no joke. Use ventilation, protect your surfaces, and wear a mask or respirator rated for paint fumes if you are spraying indoors or in a garage.
25 dollar store DIY decor hacks
Each hack below is designed to be doable with dollar store supplies plus optional “nice to have” upgrades if you already own them.
Assume this for most projects: clean, scuff sand if needed, prime if the surface is slick, then use thin coats and let everything cure before styling.
1) Stone-look vase with baking soda texture
You need: glass or plastic vase, spray primer (optional), acrylic paint, baking soda, sponge brush.
Do it: Mix paint with baking soda until it is like pancake batter. Dab on with a sponge brush. Let dry, then lightly dry-brush a slightly darker shade for depth.
High-end tip: Keep it in warm whites and put just one or two stems in it.
2) Matte “ceramic” planters from plastic pots
You need: plastic planter, sandpaper, matte spray paint.
Do it: Scuff sand, spray in thin coats. Add a rubbed-on darker paint around the rim to mimic aged clay.
3) Faux travertine tray from a plastic serving tray
You need: plastic tray, joint compound or lightweight spackle, tan and cream paint.
Do it: Scuff sand the tray and wipe it clean. Skim coat with a thin layer of compound. Once dry, paint cream, then lightly streak tan in organic lines.
Durability tip: Texture products can chip on flexible plastic. A bonding primer and a clear topcoat help a lot, and keeping this as a low-traffic tray helps too.
4) Boutique candle cloche from a glass bowl + plate
You need: glass bowl (turned upside down), simple plate, E6000 or clear silicone.
Do it: Glue the bowl to the plate rim side down. Let it cure fully per the label (often 24 hours or more). Add a candle inside.
Safety tip: This is best with an LED candle. If you use a real flame, do not seal the cloche airtight, keep the flame well away from the glass, never leave it unattended, and understand heat can soften some adhesives.
High-end tip: Add a tiny knob handle with a drawer pull glued on top.
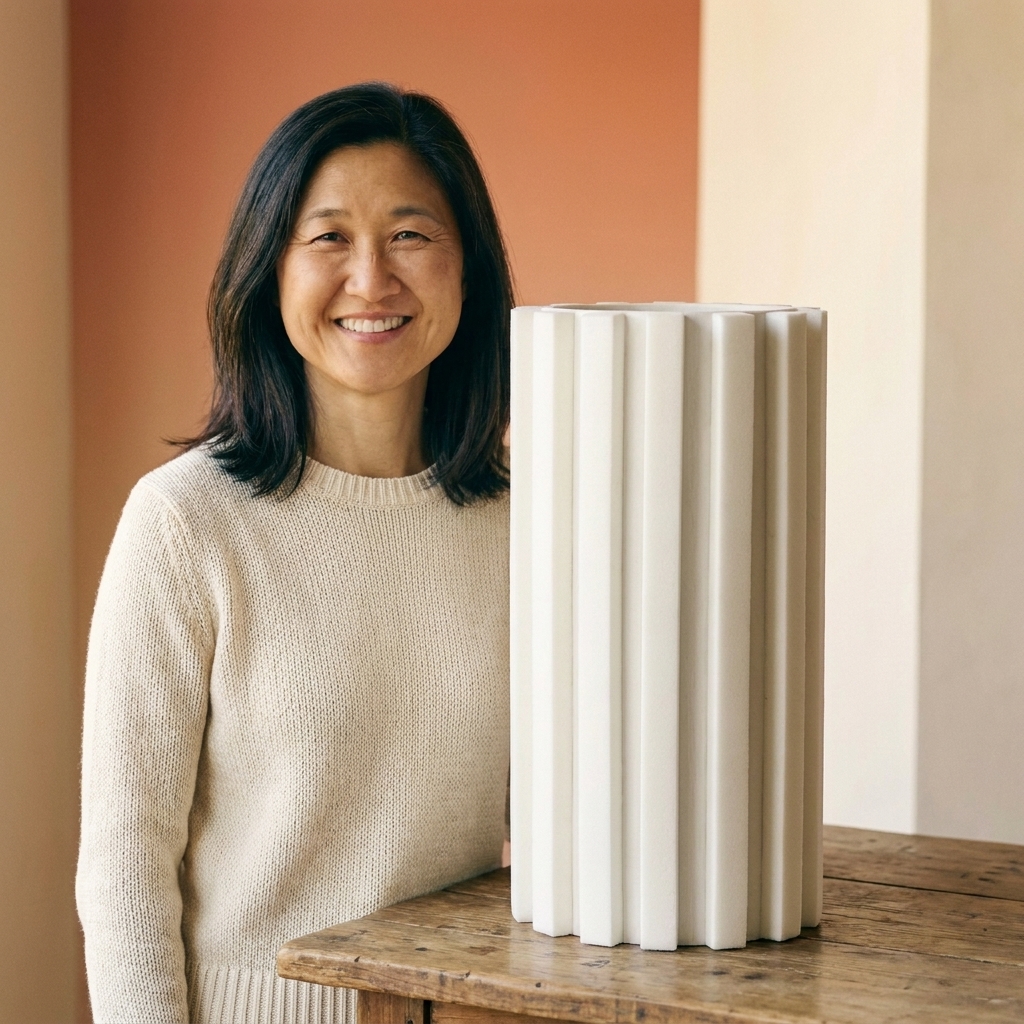
5) Designer ribbed vase wrap with craft foam
You need: cylinder vase, adhesive craft foam, hot glue, spray paint.
Do it: Cut foam into thin strips and wrap vertically like fluting. Seal with paint.
6) Marble-look pedestal bowl from two dish pieces
You need: bowl + candle holder (or small vase) for the base, strong glue, marble-effect spray paint or marbling with paint.
Do it: Glue bowl to base, let cure fully. Paint for a faux marble finish.
Tip: Check your adhesive label for glass compatibility and cure time. Rushing this step is how you get a wobbly pedestal.
7) Oversized stone beads garland from air-dry clay
You need: air-dry clay (dollar store), skewer, jute cord, paint wash.
Do it: Roll beads, poke holes, dry. Paint with a watery taupe wash and string with tassels.
8) Framed textile art using a placemat
You need: woven placemat, frame, scissors, tape.
Do it: Trim placemat to fit, tape to backing, frame it.
High-end tip: Choose neutrals and let the texture do the talking.
9) Antique-brass frames from plastic frames
You need: plastic frames, black spray paint, Rub ‘n Buff (optional) or metallic wax, matte sealer.
Do it: Spray black first, then lightly rub metallic wax on raised edges.
10) Linen-look storage boxes from cardboard + fabric
You need: plain boxes, neutral fabric or tea towels, Mod Podge.
Do it: Wrap boxes like a present with fabric using Mod Podge as glue, then topcoat lightly.
11) Sculptural knot decor from rope
You need: thick rope, hot glue, optional white paint.
Do it: Tie a chunky knot, glue ends underneath, paint in a chalky white if you want the ceramic vibe.
12) Minimalist wall hooks from painted wooden knobs
You need: wooden knobs, screws, spray paint.
Do it: Paint knobs matte black or brass, mount in a row on a board or directly on the wall.
13) Apothecary jar upgrade with a wood lid
You need: glass jar, wooden coaster or small wood circle, knob, glue.
Do it: Glue knob to wood, then wood to jar lid area. Stain or paint the “lid.”
14) Lamp makeover with a new shade + painted base
You need: small lamp base, spray paint, shade (dollar store or thrift).
Do it: Paint base matte. Swap shade to a neutral drum shade if you can.
High-end tip: Warm white bulbs instantly help the fancy vibe.
15) Faux leather pull handles on baskets
You need: cheap basket, faux leather sheet or belt, brads or small screws.
Do it: Cut strips, punch holes, attach as handles.
16) Gallery matting hack for expensive-looking art
You need: frame, white cardstock, your print.
Do it: Cut a wide cardstock mat. Center your print with tape. Pop into frame.
17) Wooden bead chandelier look for an existing light
You need: wooden beads, fishing line, embroidery hoop.
Do it: String beads into vertical strands and attach to the hoop. Hang as a decorative shade around an existing pendant.
Safety first: Use only with LED bulbs (they run much cooler), keep generous clearance from the bulb and socket, and do not enclose any fixture that is not rated for an added shade. If you are not sure, skip this one or use it in a spot with plenty of space and low heat.
18) Faux cement cachepot using plaster wrap
You need: plastic pot, plaster cloth, gray paint wash.
Do it: Scuff sand the pot first. Wrap pot, smooth with wet fingers, let dry. Add a light gray wash.
Durability tip: Seal with a matte clear coat if the pot will get handled often. Plaster finishes can chip on flexible plastics.
19) Decorative books from cereal boxes
You need: cereal boxes, cardstock, glue, neutral paper or fabric.
Do it: Cut and fold into book shapes, wrap covers, stack in threes.
High-end tip: Keep the spines blank and let the texture read boutique.
20) Fluted pedestal stand from a plastic bowl + cup
You need: bowl, cup, foam strips or craft sticks, glue, spray paint.
Do it: Glue cup as pedestal. Add fluting. Paint in thin coats.
21) Faux alabaster soap dispenser
You need: plastic dispenser, white spray paint, tiny bit of tan paint, matte topcoat.
Do it: Paint white, then lightly sponge tan in soft cloudy patches. Seal matte.
Tip: Let it cure fully before filling it, especially if it will live near water and get handled daily.
22) Designer picture ledge from a spice rack
You need: small wall rack, paint or stain.
Do it: Paint matte black or stain warm walnut. Mount and layer frames.
23) Monochrome florals in a tonal vase
You need: faux stems, vase, spray paint.
Do it: Spray paint the vase and the stems in the same color family (think creams, soft taupe, muted olive).
High-end tip: Tone-on-tone arrangements can look wildly expensive even when the stems are not.
24) Textured abstract wall art with joint compound
You need: canvas, joint compound, plastic scraper, paint.
Do it: Spread compound in swoops and ridges. Let dry fully, then paint one calm color.
Durability tip: If your canvas flexes a lot, keep the compound layer thinner to reduce cracking. A gentle sealer can help too.
25) Stone coasters from air-dry clay
You need: air-dry clay, round cutter, sanding block, sealant.
Do it: Cut circles, add subtle edge texture, dry, sand smooth, seal. Paint with a speckled stone finish if you want.
My favorite supplies for a luxe look
- Glassware: vases, bowls, candle holders, jars.
- Foam board + craft foam: for fluting, panels, clean backings.
- Wood bits: unfinished frames, dowels, coaster circles, knobs.
- Rope and twine: instant texture, especially in neutral tones.
- Plaster cloth or lightweight spackle: the secret weapon for stone.
Designer, not dollar store
Here are the tiny choices that change everything:
- Go bigger: one tall vase on a table looks more high-end than five tiny knickknacks.
- Repeat a finish: if you choose matte black, repeat it 2 or 3 times in the room (frame, vase, candle holder).
- Stick to a calm palette: warm white, beige, taupe, black, and muted greens are forgiving and elegant.
- Texture over sparkle: choose linen, stone, wood, and ribbing instead of glittery metallics.
- Edit ruthlessly: leave negative space. It is the cheapest luxury trick there is.
Quick FAQ
What spray paint finish looks most expensive?
Matte and satin almost always look more high-end than gloss. If you want metallic, choose a warm brass and keep it subtle by sealing with a light matte clear coat (after the color coat has cured).
How do I keep spray paint from scratching off plastic?
Wash well, wipe with rubbing alcohol, scuff sand, use a bonding primer, and finish with a clear topcoat. Also give it a full cure time. Dry to the touch is not the same as ready to handle.
Can I do these projects in an apartment?
Yes. If you cannot spray outdoors, use a very well-ventilated spot (like a balcony) or switch to brush-on acrylic paint with a sponge roller for smoother indoor coverage. For texture finishes, brush-on is often easier indoors anyway.
If you try any of these, I want you to take a second to admire your work like you would in a home decor store. You are not just crafting. You are training your eye, building skills, and making your space feel like you. And if your first coat gets drippy, welcome to the club. Sand it, repaint it, and call it hand-finished.