A visually inspiring roundup of macrame wall hangings you can actually finish, with knot ideas, sizing tips, cord estimates, and styling suggestions for a bo...
Macrame looks fancy, but this plant hanger is built from two beginner knots you can learn in a few minutes: the square knot and the wrap knot (also called a gathering knot). If you can count to four and keep your cords from turning into a cat toy pile, you have got this.
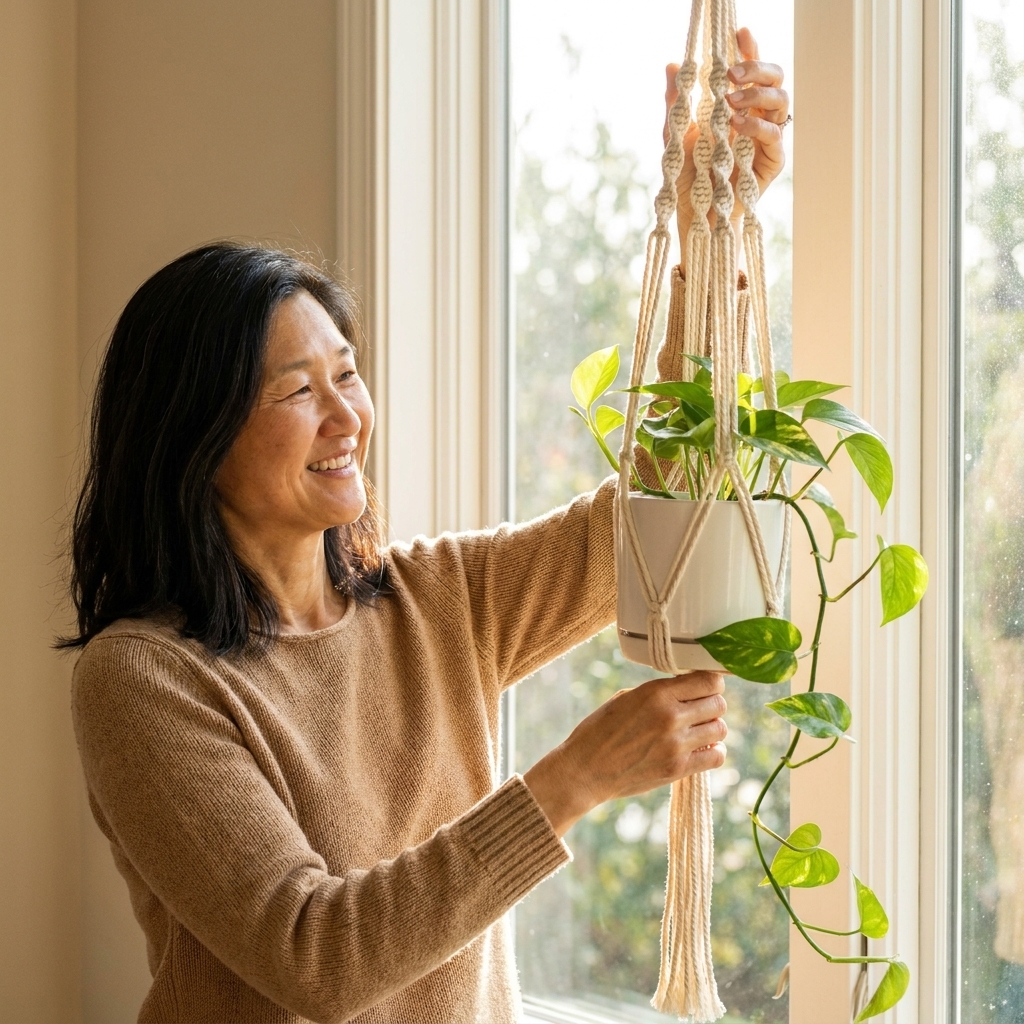
I am going to walk you through a classic boho hanger with a gathered top, a knotted body, and a supportive basket for your pot. Along the way, I will share the little teacher tricks I used in my art classroom, plus a few real-life bloopers to help you avoid my early mistakes.
What you will make
This design fits most small to medium planters (about 4 to 7 inches wide). You can easily adjust it to fit bigger pots once you understand the spacing.
- Top loop to hang from a hook
- 4 cord groups for the body
- Basket section made by tying cords together in a second row
- Bottom wrap knot plus fringe
Supplies
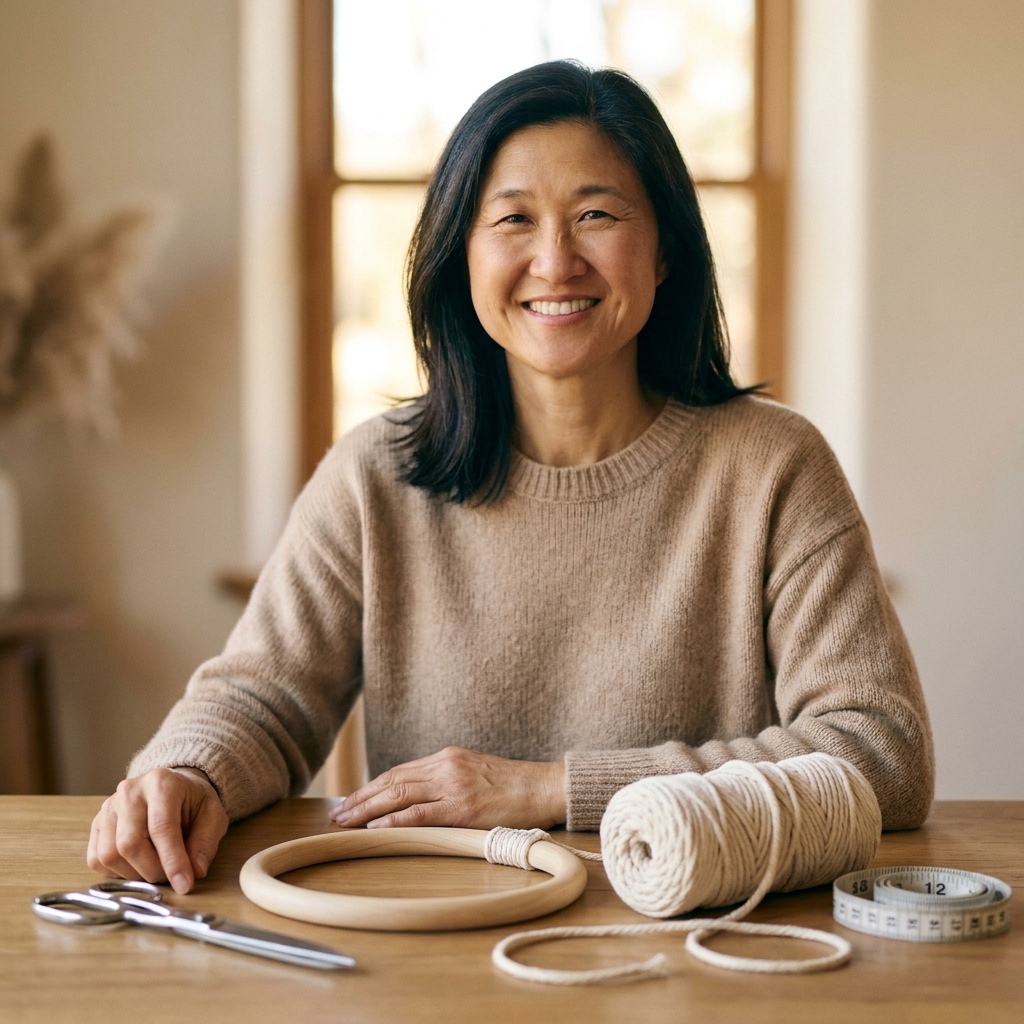
Macrame cord
Recommended: 3 mm to 5 mm natural cotton cord. Thicker cord is more forgiving for beginners because you can see your knots clearly.
- For one hanger: 8 cords, each 10 to 12 feet long (start with 12 feet if you want extra fringe)
- One extra cord about 3 feet long for the wrap knots (top and bottom)
Quick cord-type note: 3-strand and single-twist cords comb out into fluffy fringe more easily. Braided cord holds its shape well but does not “bloom” as much when you comb it.
Tools
- Scissors (sharp enough to cut cleanly)
- Measuring tape or a yardstick
- A sturdy ring or loop option: wooden ring, metal ring, or even a large carabiner
- Something to work on: a hook on the wall, a clothing rack, or a doorknob with a towel tied around it
- Optional: masking tape to label cord groups, and a comb for fringe
Before you start: sizing and cord math
Macrame eats cord. Knots shorten your strands more than you think, especially with thicker rope and tight tension.
- Small pot (4 to 5 inches): 8 cords at 10 feet each
- Medium pot (6 to 7 inches): 8 cords at 12 feet each
- Want a longer hanger? Add 1 to 2 feet to each cord
- Want extra-long fringe? Add 2 feet to each cord
Caveat that will save your sanity: If you tie lots of knots, knot very tightly, use chunky 6 mm cord, or want a longer body, bump your cord lengths up. Running out of cord at the end is the least fun macrame surprise.
Knots you will use
Square knot
A square knot uses four cords: two outer working cords and two middle filler cords.
Memory trick: Left over center, right over left. Then right over center, left over right. You are basically making two half knots in opposite directions.
Wrap knot (gathering knot)
A wrap knot bundles cords together neatly. You will use it at the top (under the ring) and near the bottom (above the fringe).
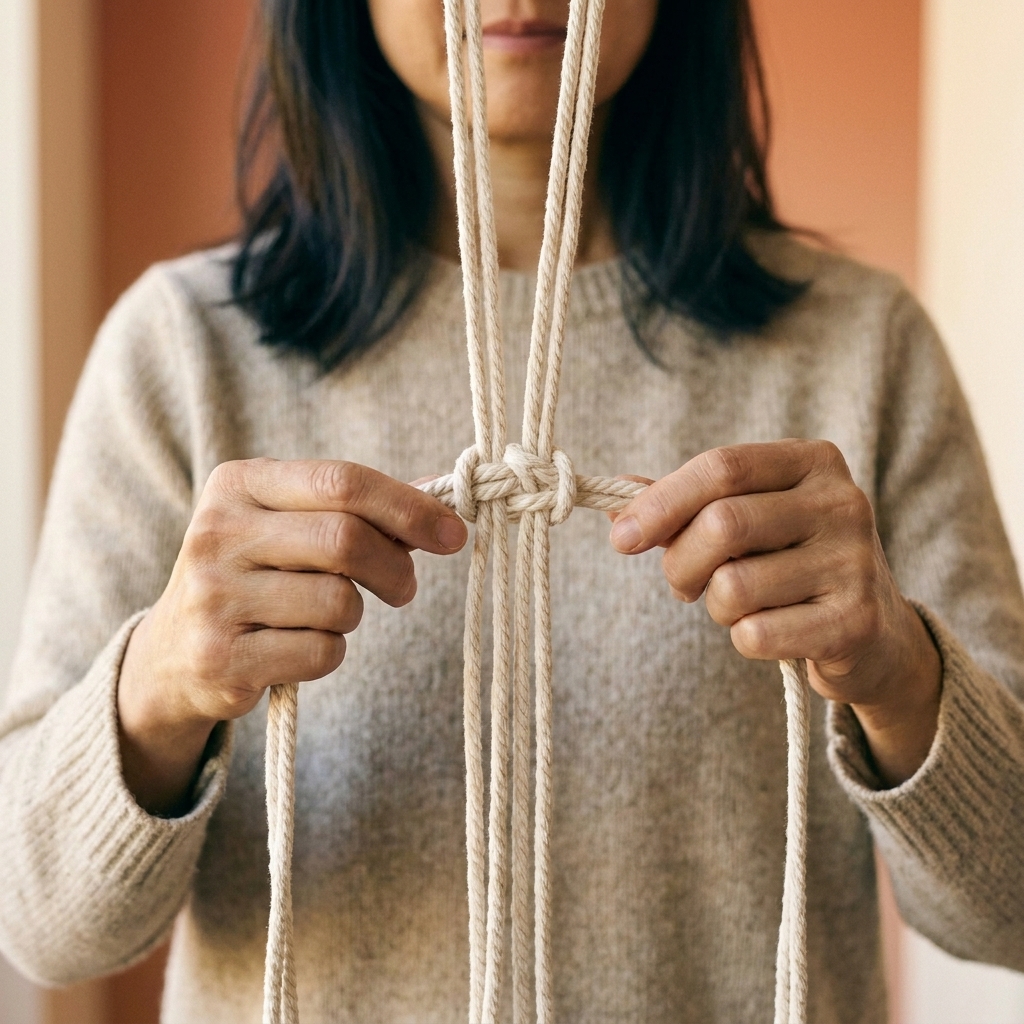
Step-by-step macrame plant hanger
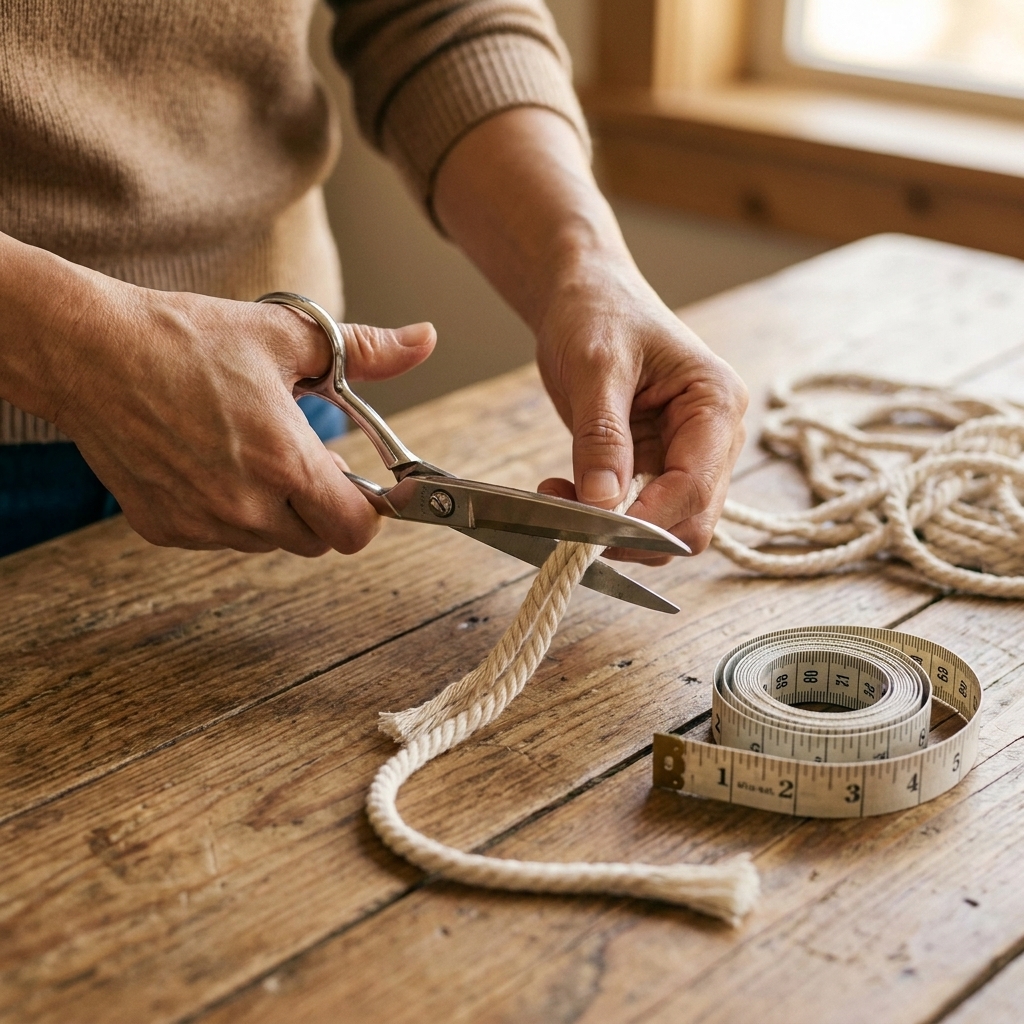
Step 1: Cut and prep your cords
Cut 8 cords to 10 to 12 feet each. Cut 1 extra cord to about 3 feet for wrap knots.
Give your cord a quick shake or gentle tug to straighten it. If it is very twisty, run it between your fingers a few times. This makes your knots sit flatter.
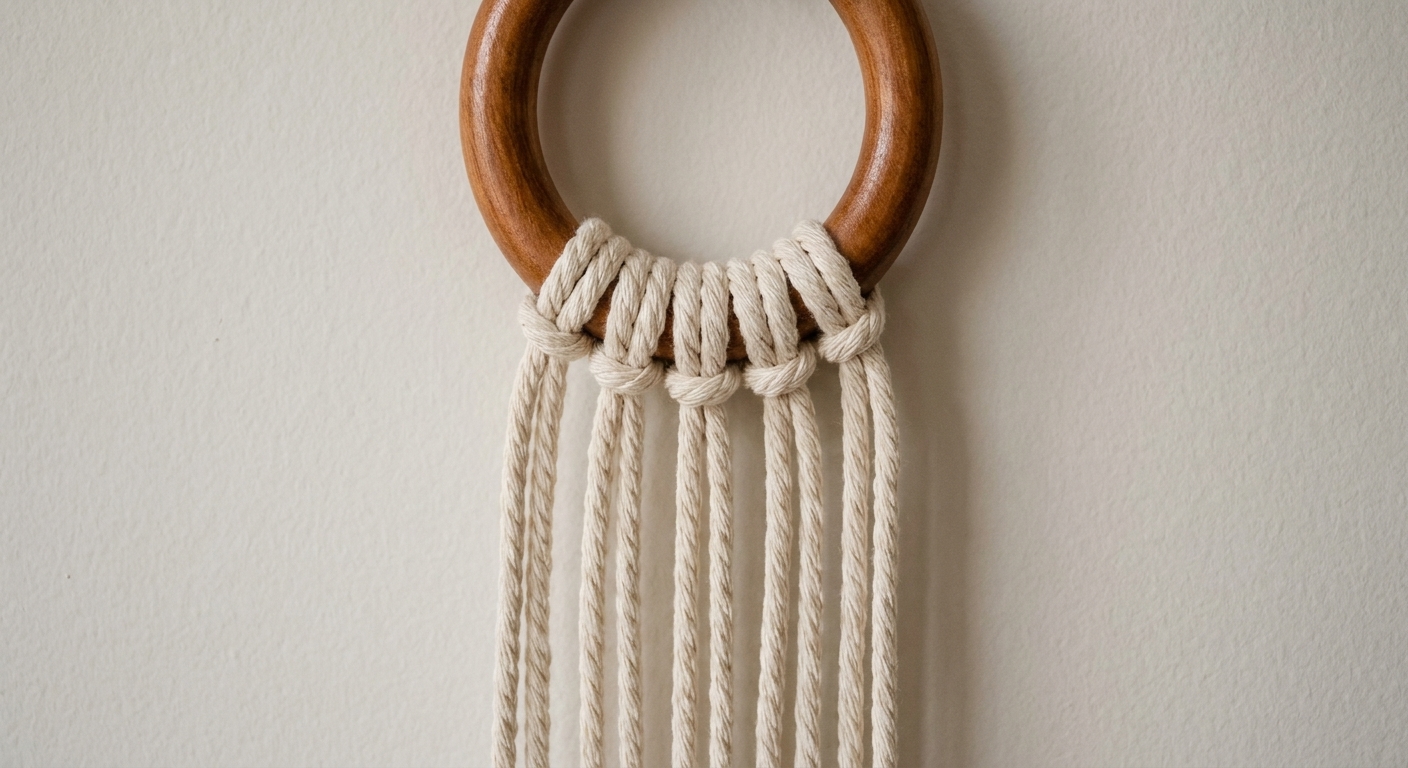
Step 2: Attach cords to the ring (lark's head)
Fold each of the 8 cords in half. Place the folded midpoint under the ring, pull the two loose ends through the loop, and snug it down. Repeat until all cords are attached.
You should now have 16 hanging strands.
Tip: Slide the knots around the ring so they are evenly spaced, then pull each one tight again. This keeps the top looking tidy.
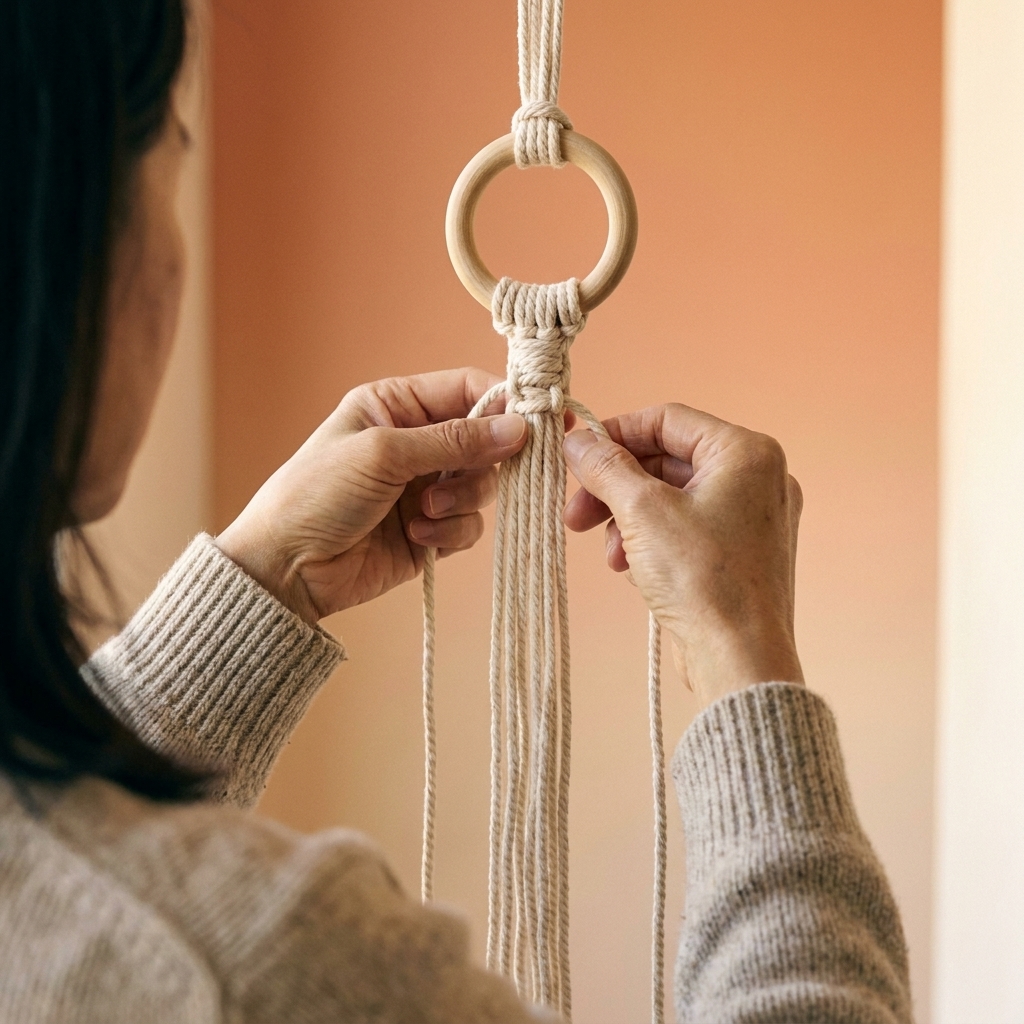
Step 3: Make the top wrap knot
Gather all strands together under the ring. Measure down about 2 to 3 inches from the ring and pinch that spot.
Take your extra 3-foot cord. Lay it along the bundle with a small loop pointing downward.
Wrap the long end of that extra cord around the bundle and over the loop, wrapping downward 10 to 15 times.
Pass the wrapping end through the loop.
Pull the top tail (the short end) to draw the loop up under the wraps until it disappears.
Tug-test first: Give the wraps a firm little pull. Then trim the tails, leaving a tiny bit to tuck in. (If you trim too close before testing, the wraps can shift and you will say words you do not want your houseplants to hear.)
Step 4: Divide cords into 4 groups
Separate the 16 strands into 4 groups of 4. These will be your main “legs.”
If you are a visual person like me, use tiny bits of masking tape to loosely label each group A, B, C, D. It prevents the classic beginner move of knotting group B to group D and realizing it only after you admire your work for a full minute.
Step 5: Tie a row of square knots
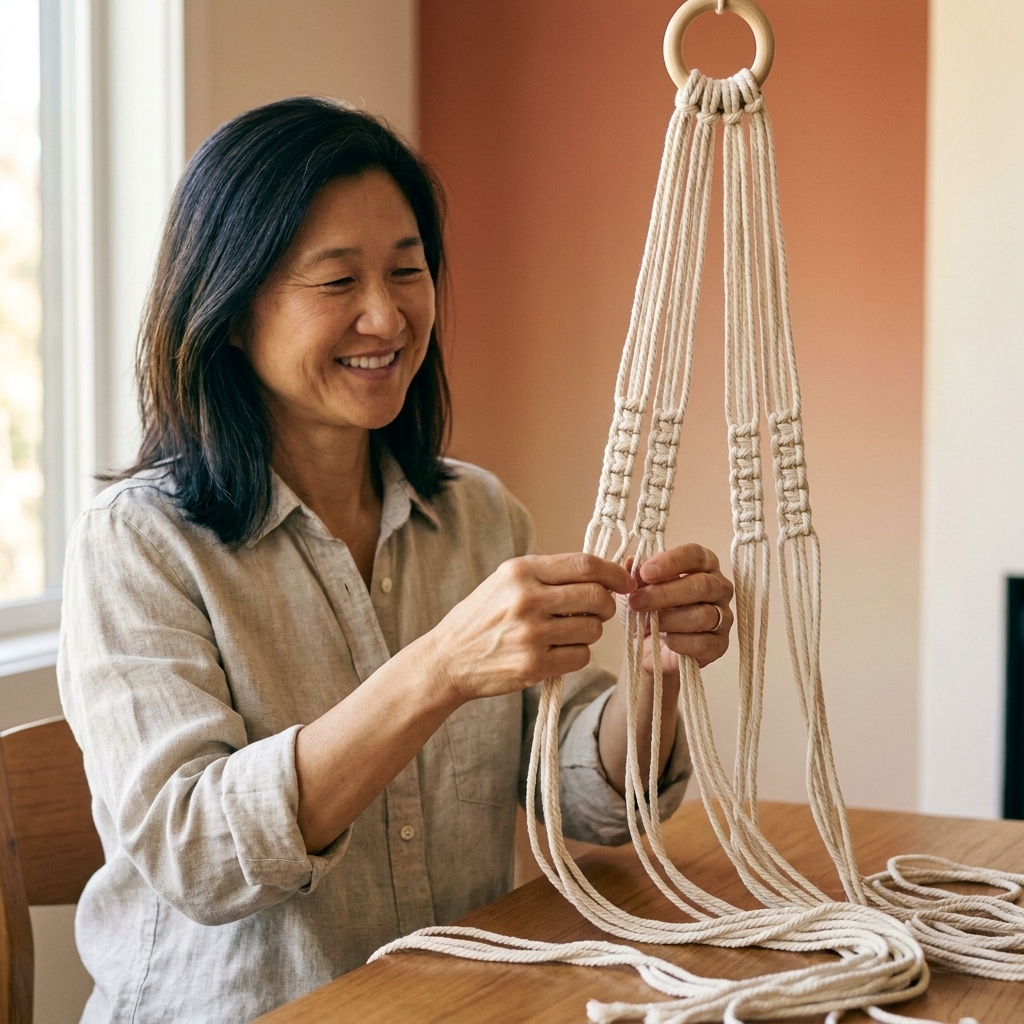
Working one group at a time, tie 4 to 6 square knots in each group.
- How far down? Aim to start your first square knot about 6 to 8 inches below the top wrap knot.
- How many? More square knots gives a longer body. Fewer keeps it short and sweet.
Keep them consistent: After each square knot, gently tighten and slide it up to meet the previous knot. Try to pull with even tension on both sides so the knots sit straight.
Step 6: Make the basket row
This is where it starts to look like a plant hanger instead of four knotted tassels.
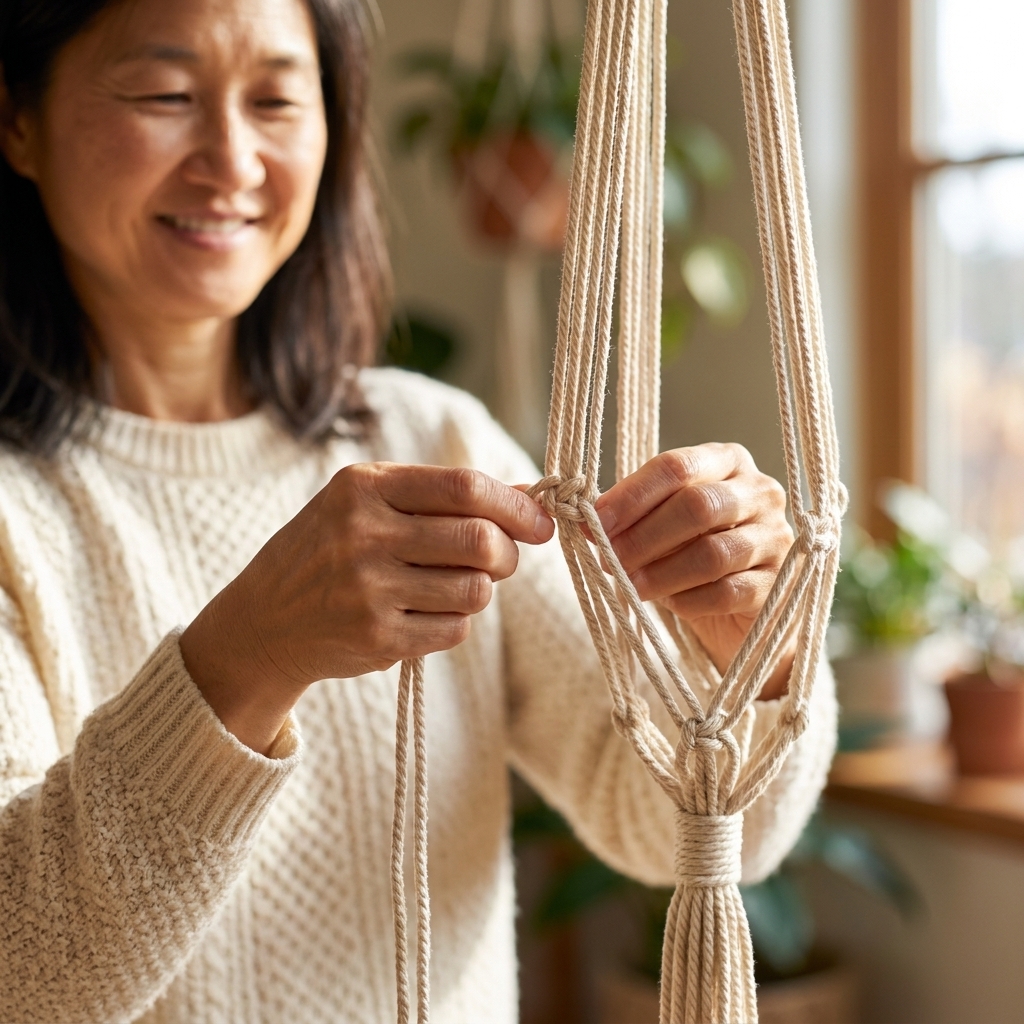
Pick up two neighboring groups. From each group, take the two inner cords (the two strands facing the other group).
Using those four cords (two from the left group and two from the right group), tie one square knot.
Repeat all the way around so every group gets connected to its neighbor.
Spacing tip: Tie this connecting row about 4 to 6 inches below the last square knot row. If your pot is tall, give it more space. If your pot is short and wide, keep it closer.
Step 7: Test-fit your pot
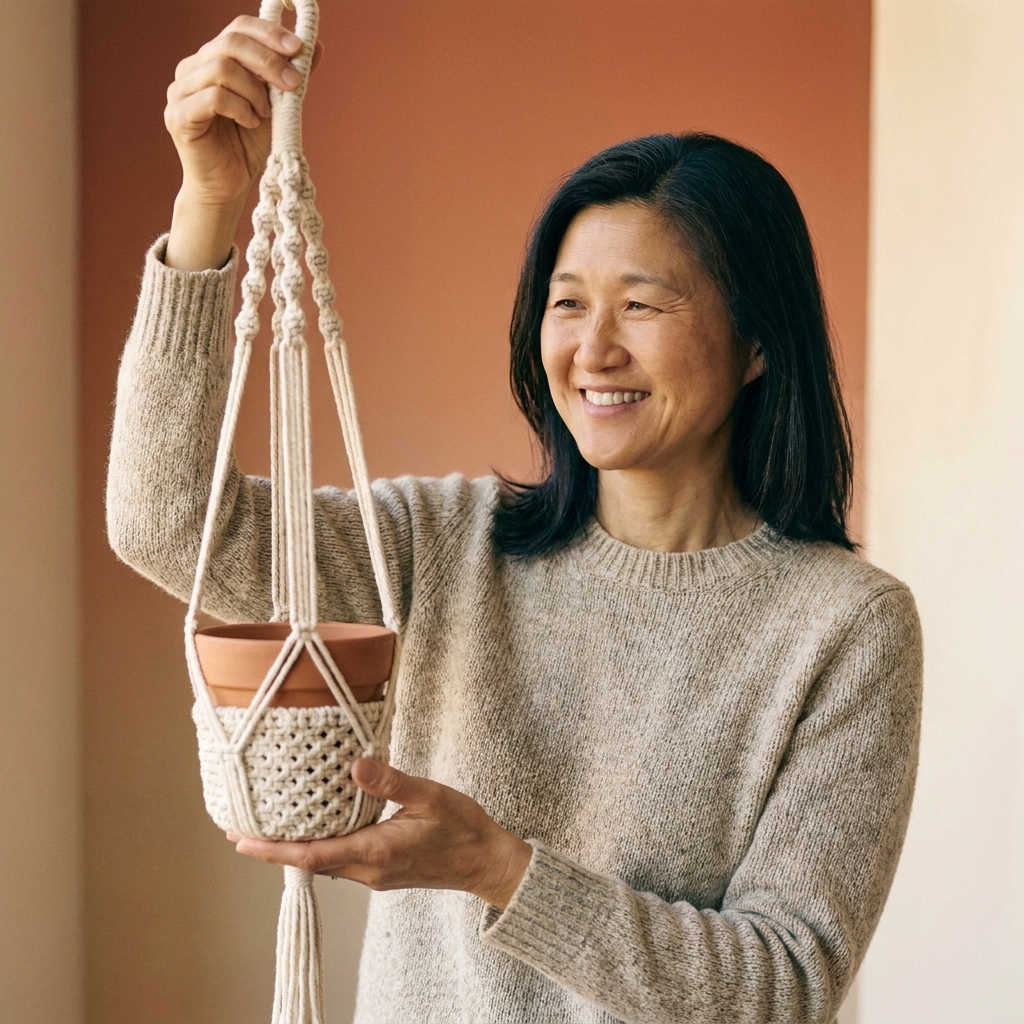
Before you commit to the bottom, drop your planter in and gently lift the hanger by the ring.
- If the pot sits too high and looks cramped, make the basket deeper by adding a second connecting row below the first.
- If the pot hangs too low or feels wobbly, unpick just that connecting row and retie it a bit higher, closer to the first row.
Pot-shape tip: Very tapered pots can slide lower over time. A deeper basket (another connecting row) helps “cup” the pot more securely.
This “try it on” moment saves so much re-knotting later. Ask me how I know.
Step 8: Gather the cords under the pot
Once the pot fit feels good, gather all cords under the pot and decide where you want the bottom to cinch.
Typically, the bottom wrap knot sits 2 to 4 inches below the lowest basket row, depending on pot shape and how much fringe you want.
Step 9: Finish with a bottom wrap knot
Use the remaining extra cord (or cut a fresh piece if needed) to tie another wrap knot around all strands together.
Pull it snug so the hanger hugs the pot securely, then tug-test and trim the tails with enough length to tuck.
Step 10: Trim and fluff the fringe
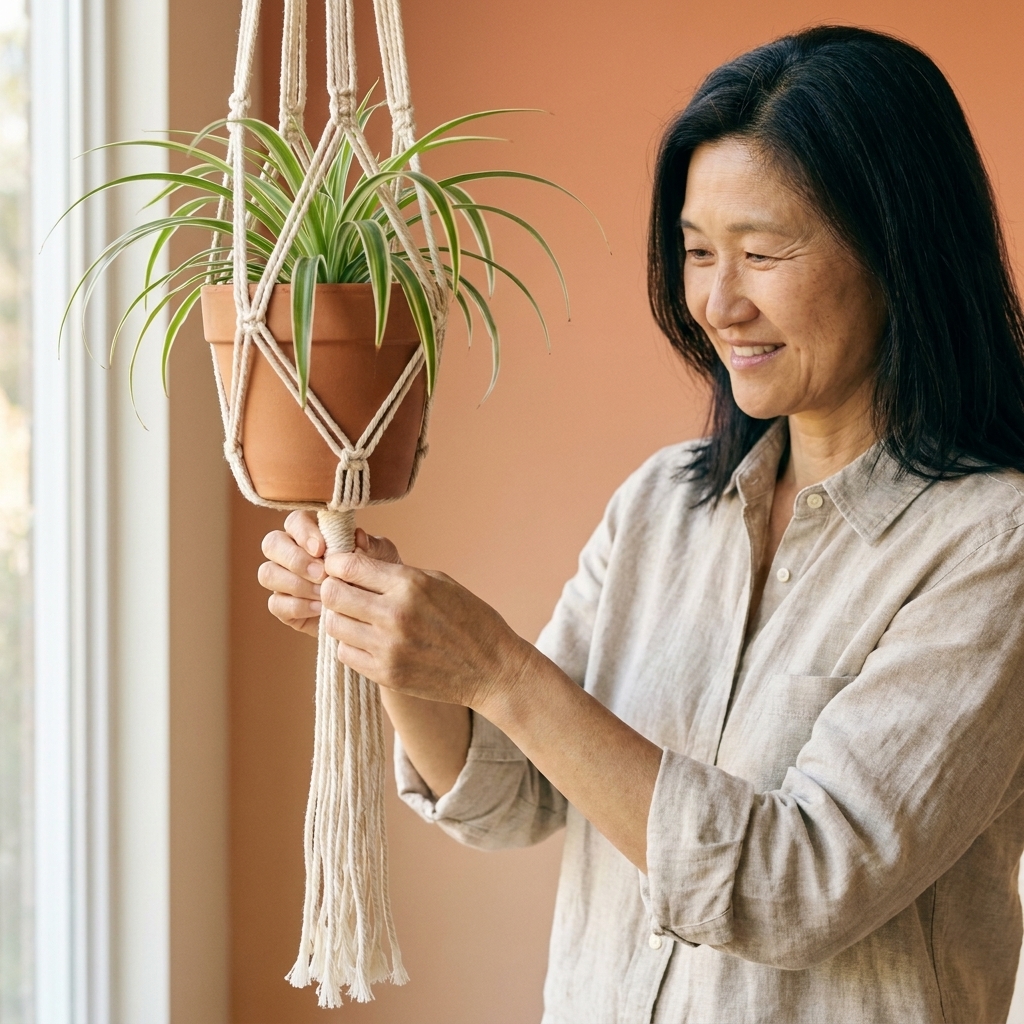
Trim the fringe ends straight across, into a V, or at a soft angle.
If you want that dreamy boho fringe, gently comb out the strands with a wide-tooth comb. For twisted rope, you can untwist each strand first, then comb. It is oddly calming, like crafting ASMR.
About how long will it be?
With 12-foot cords, 4 to 6 square knots per leg, and average tension, most hangers land around 36 to 44 inches from ring to fringe end. If you tie tight knots or leave dramatic fringe, yours may run a bit shorter or longer. If in doubt, go longer on cord. You can always trim. You cannot un-cut.
Beginner troubleshooting
My square knots keep twisting into a spiral
You are likely tying the same half knot direction repeatedly. A true square knot alternates direction each time. If you want a spiral on purpose, that is called a half knot spiral, and it is also very cute. Just not what we are doing today.
My rows look uneven
Most often this is tension. After each knot, give the two center filler cords a gentle downward tug, then snug both working cords evenly. Also, do not be afraid to loosen and re-tighten a knot right away. Cotton cord is forgiving.
I ran out of cord near the end
It happens. You can shorten the fringe, move the bottom wrap knot higher, or add a second cord using a discreet overhand knot tucked inside the wrap area. For your next hanger, add 1 to 2 feet per cord, especially if you knot tightly or want a longer body.
The pot feels like it might tip
Make the basket deeper by adding another connecting row of square knots. Wider pots and tapered pots often need a deeper cradle.
Easy ways to customize
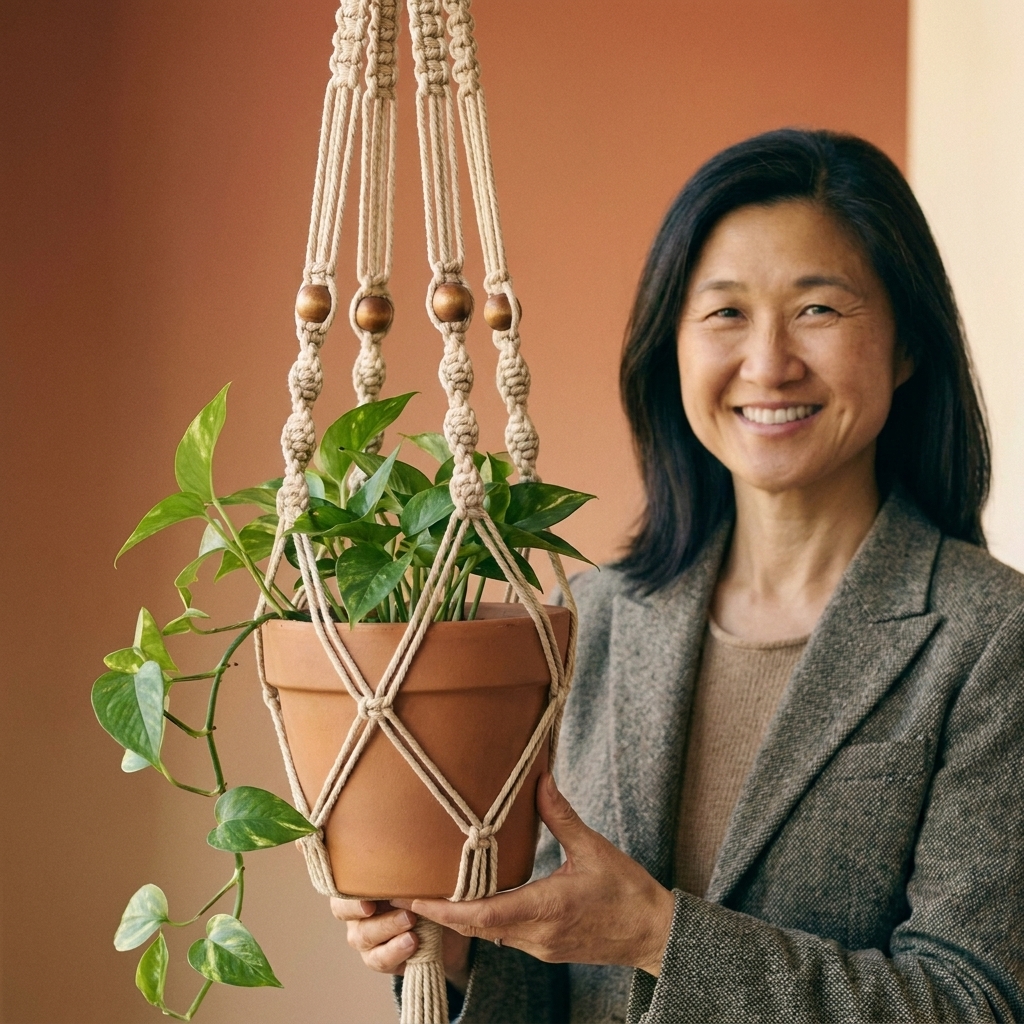
- Add wooden beads: Slide beads onto the middle filler cords between square knots. Secure with a tight knot below.
- Try dip-dye: Dye only the fringe ends for a subtle ombré look.
- Use scrap cord: Practice your first square knots with leftovers first, then start on your real hanger.
- Change the vibe with cord color: Black, terracotta, sage, or two-tone cords look gorgeous with simple knots.
Care and hanging safety
Macrame cord is strong, but your hook and ceiling are the real MVPs.
- For heavier pots, screw a hook into a ceiling joist or stud. If you are hanging from drywall, use a weight-rated anchor or toggle bolt designed for overhead loads.
- Water your plant in the sink when possible, then return it to the hanger once it stops dripping.
- If cotton gets dusty, shake it outside or spot clean with mild soap and water, then air dry fully.
FAQ
What cord size is best for beginners?
Try 4 mm to 5 mm cotton cord. It is easy to grip and makes knots that look crisp without needing perfect tension.
Can I make this without a wooden ring?
Yes. A sturdy metal ring, a large carabiner, or even a thick curtain ring works. Just make sure it can support the weight of the pot and wet soil.
How long should a plant hanger be?
Most look nice at 30 to 45 inches from ring to fringe end. For tall ceilings, go longer by adding cord length and adding more square knots in the body.
Is jute or polypropylene okay?
Jute can be scratchy and sheds, but it works for a rustic look. Polypropylene is strong and water-resistant, but it can be slippery, so knots may loosen. Cotton is the easiest to learn on.
One last friendly nudge
If your first hanger is not perfectly symmetrical, congratulations. You made something real with your hands, and your plant will not mind one bit. The second one will be faster, the third will be a breeze, and then you will suddenly be making them “as gifts” while secretly keeping the cutest one for yourself.
If you try this project, I hope it gives you that calm, focused feeling that macrame does so well. Happy knotting.