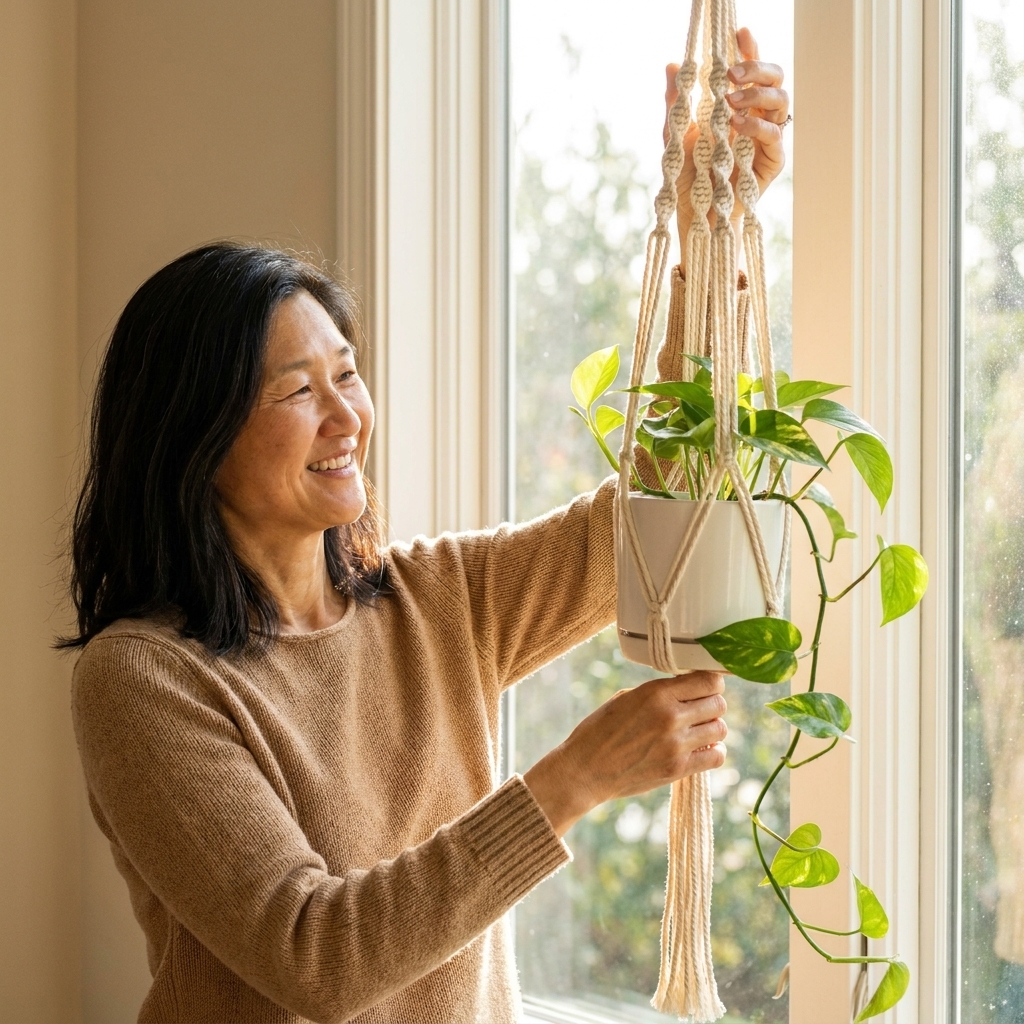
A beginner-friendly macrame plant hanger tutorial using square knots and wrap knots, with sizing guidance, pro tips, and common fixes.
There is something magical about macrame in a living room. It softens hard lines, adds warmth without shouting, and makes even the plainest wall feel intentional. And the best part? You do not need to be a knot wizard to make something clean and beautiful.
Below are seven wall hanging pattern styles I love for a boho living room, ranging from “I just learned a square knot” beginner to “I can follow a repeat and keep my fringe tidy” intermediate. I will walk you through what each design looks like, what knots it relies on, what it pairs well with, and the little practical tips that keep a project from turning into a tangled mess.
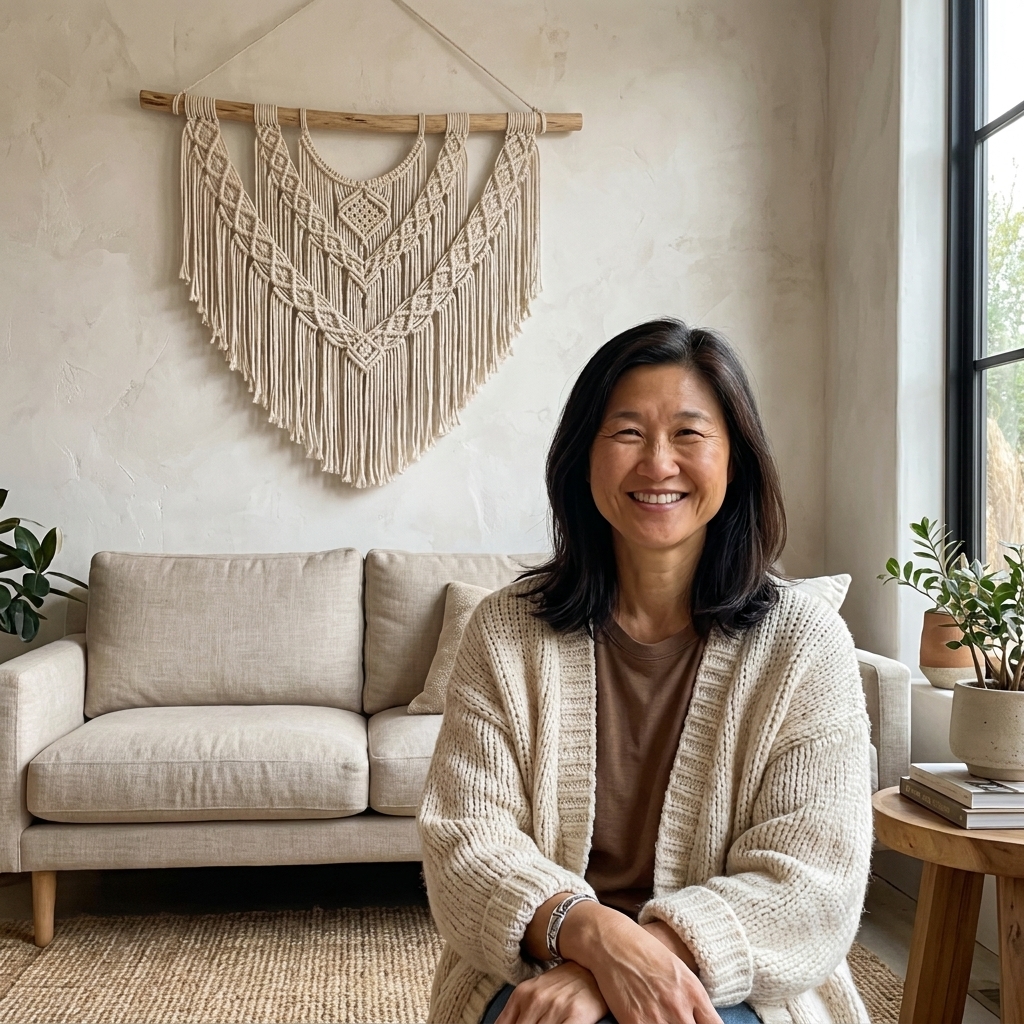
Before you start: supplies
You can absolutely macrame with a bargain bundle of cord and a thrifted stick. That said, a few choices make designs look cleaner and help your knots sit nicely.
- Cord size: A common go-to range for wall hangings is 3 mm to 5 mm. Use 3 mm for crisp, detailed patterns and 5 mm for bold, chunky texture. (Smaller and larger can work too, especially if you scale the project up or down.)
- Cord type: Single twist (or “single ply”) gives dreamy, brushy fringe. 3-ply twisted cord makes sharper, more structured knots. For a clean, updated look, I often mix structure (3-ply) with a soft fringe section (single ply).
- Dowel or branch: A smooth wood dowel looks minimal. A driftwood branch reads more organic boho. Either works, just match it to the vibe of your room.
- Must-have tools: Sharp scissors, a measuring tape, a comb for fringe, and a sturdy hook or clothing rack to work on. If you have a steamer, fringe behaves better after a gentle steam.
My no-waste tip: Keep a bowl for offcuts. Short pieces become tassels, mini keychains, plant marker ties, or scrap fringe accents.
Quick sizing guide
If you want your wall hanging to look “right” the first time, scale it to what sits under it.
- Above a sofa: Aim for about 1/2 to 2/3 of the sofa width.
- Above a console: Aim for 2/3 to 3/4 of the console width.
- Typical dowel lengths: 18 to 36 inches covers most living-room placements, with 24 to 30 inches being a very friendly middle ground.
- Height check: Keep the bottom fringe from brushing seat backs or lampshades unless you want that extra drama.
How much cord to buy
Exact yardage depends on your pattern density, knot choice, the number of cords you mount, and how much fringe you leave. So think of these as broad, low-stress estimates, not precise requirements.
- Small (18 to 22 inch dowel): roughly 100 to 200 feet of cord
- Medium (24 to 30 inch dowel): roughly 200 to 350 feet of cord
- Large (32 to 40 inch dowel): roughly 350 to 600 feet of cord
Example to make it real: A 24 inch dowel, about a 28 to 34 inch finished length, mostly square knots with medium fringe often lands in the 200 to 300 feet zone. If you pack in dense double half hitch sections or want extra-long fringe, plan on the higher end.
If you are between sizes, buy extra. Running out at the end is the least fun kind of macrame surprise.
1) Minimal Stripe Hanging (Beginner)
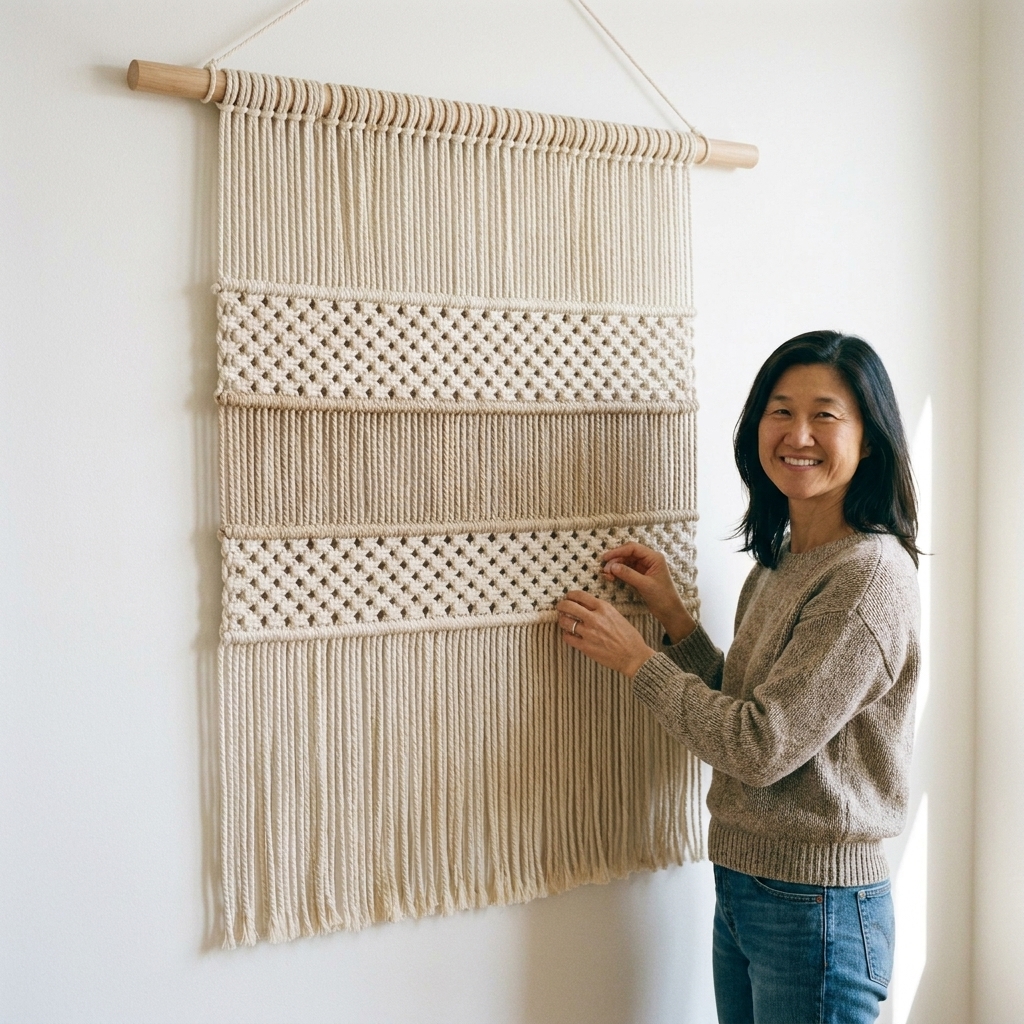
If you want “modern” without visual busyness, start with a striped wall hanging. Picture clean horizontal bands made by repeating the same knot sections, finished with a simple V-cut or straight fringe.
Where it shines
Stripes add texture but still feel calm. This style looks especially good above a sofa, a record console, or a reading chair where you want softness without a giant statement piece.
Knots and techniques
- Lark’s head knot (to mount cord to the dowel)
- Square knots (main stripe builder)
- Optional: alternating square knots for a subtle diamond rhythm
Keep it clean
- Use one cord color in a creamy neutral, then add a single thin stripe in muted terracotta, olive, or charcoal.
- Keep the bottom edge tidy with a crisp fringe trim, either straight across or a shallow V.
2) Diagonal Wave (Beginner to Intermediate)
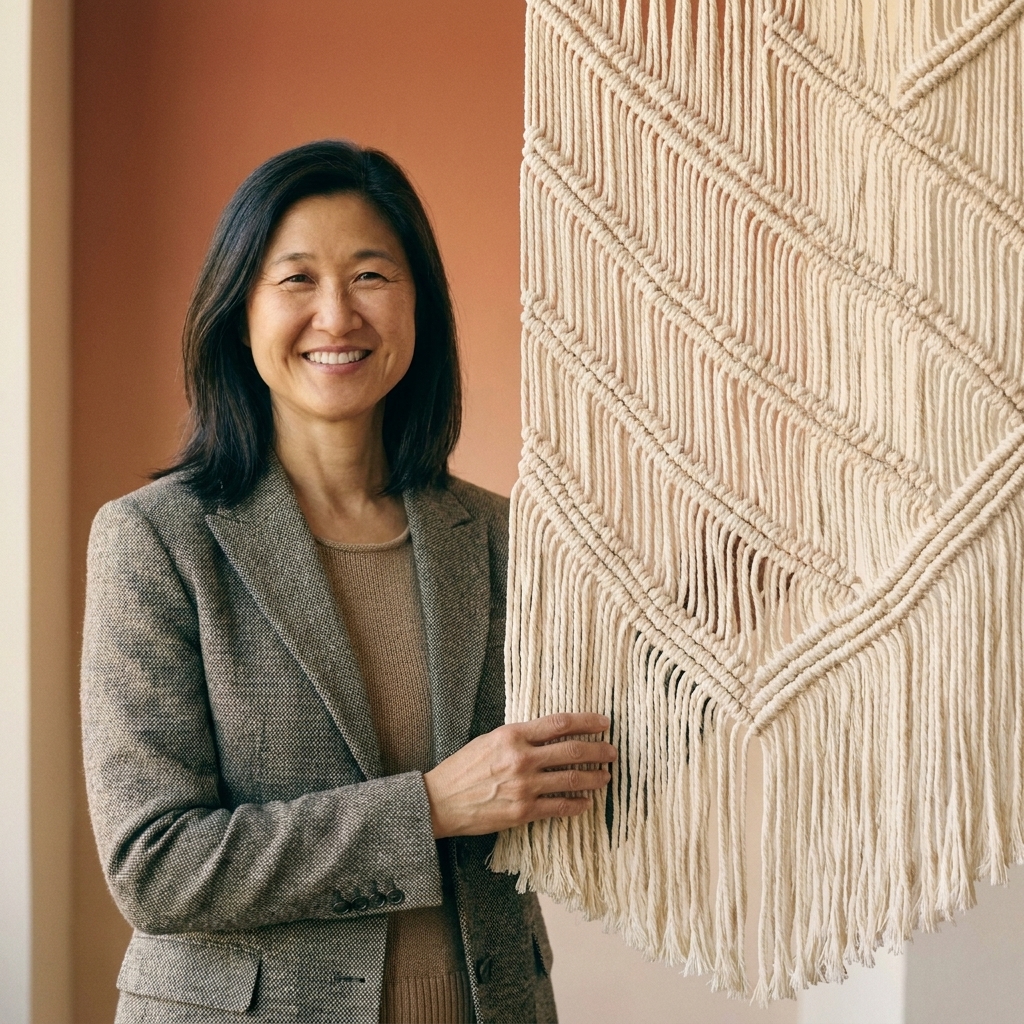
This is one of my favorite “wow, I made that?” designs because it looks fancy but is very repeatable. The pattern creates a diagonal flow, like a wave sweeping across the piece.
Why it feels current
Diagonal movement breaks up the usual symmetrical triangle shapes. It looks great in rooms with clean furniture lines, like a modern sofa or mid-century console.
Knots and techniques
- Lark’s head knot to mount
- Double half hitch (this is the magic for diagonals)
- Optional: a small square knot section for visual breaks
My “do not panic” tip
When you start double half hitch lines, your cords can feel like they are misbehaving. Slow down and keep your holding cord taut. Even tension is what makes diagonals look crisp.
3) Negative Space Diamonds (Intermediate)
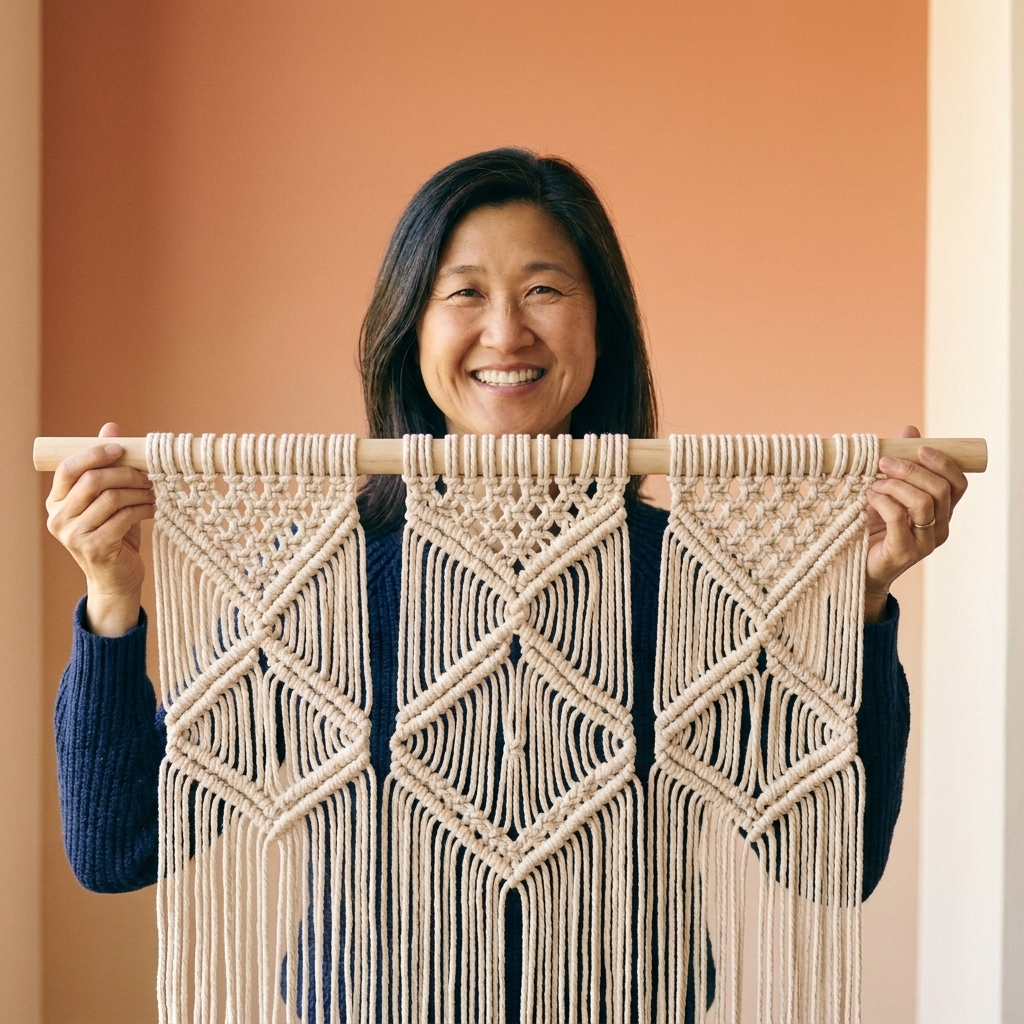
Negative space macrame is what I reach for when someone says, “I love macrame, but I do not want it to look heavy.” This pattern uses open diamond shapes so the wall color peeks through.
Best for
It reads airy and architectural, especially on light walls. It also layers beautifully over a painted accent wall because the openings let that color show through.
Knots and techniques
- Square knots and alternating square knots
- Gathering knots (to bundle sections neatly)
- Optional: small berry knots (also called bobble knots) for texture accents
Design tip
Choose a slightly thinner cord (around 3 mm) for crisp diamond edges. Thicker cord can blur the geometry unless you make the piece much larger.
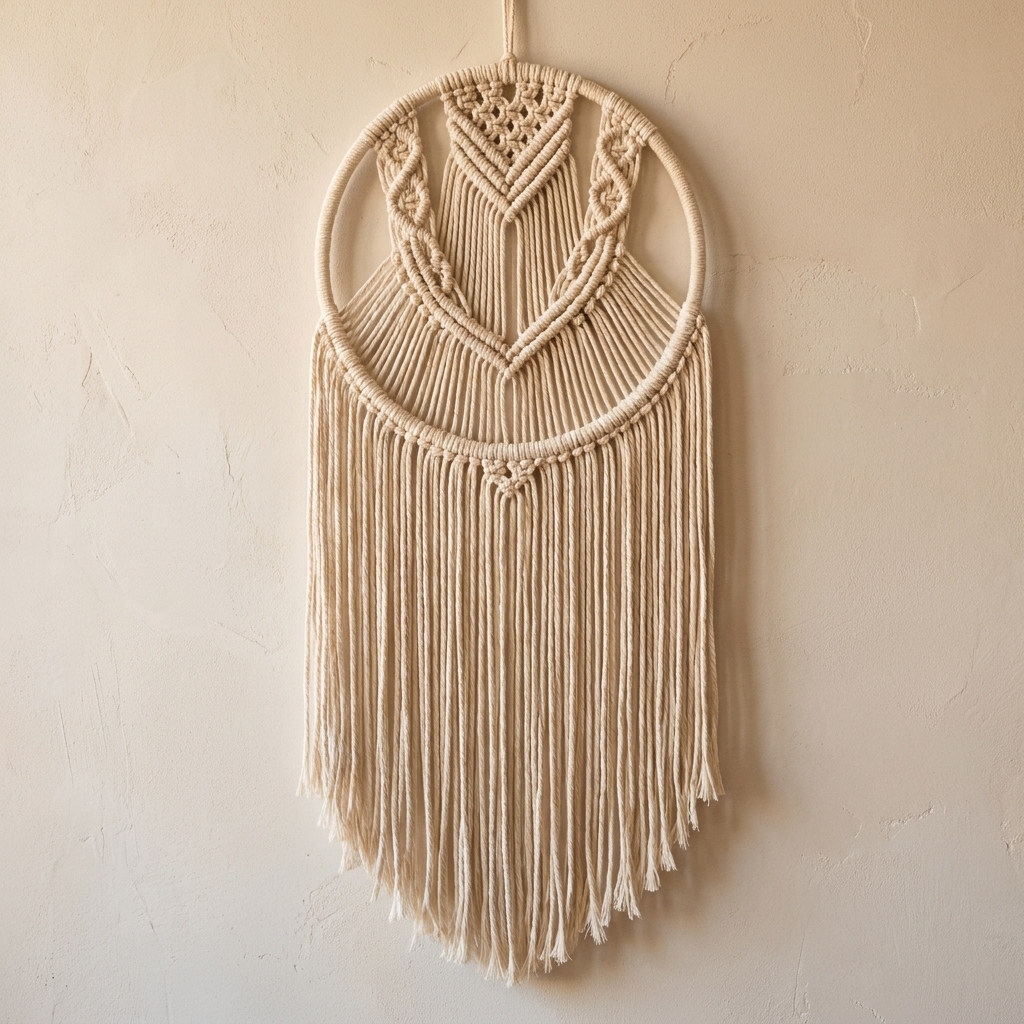
4) Hoop Hanging (Beginner to Intermediate)
A hoop hanging is a living room showpiece. It brings a sculptural focal point without taking up a ton of visual space, and it feels extra current when you keep the knotting tidy and the fringe intentional.
Where it works
Circular shapes soften boxy furniture and sharp corners. A hoop also plays nicely with round mirrors, arched floor lamps, and curved coffee tables.
Knots and techniques
- Lark’s head knot onto a metal or wooden hoop
- Square knots for the main body
- Wrapping or gathering knots to finish connection points
Style variations
- Half hoop: Knot only the bottom half for a lighter look.
- Offset fringe: Let the longest fringe drift to one side for a modern asymmetry.
5) Layered Fringe (Beginner)
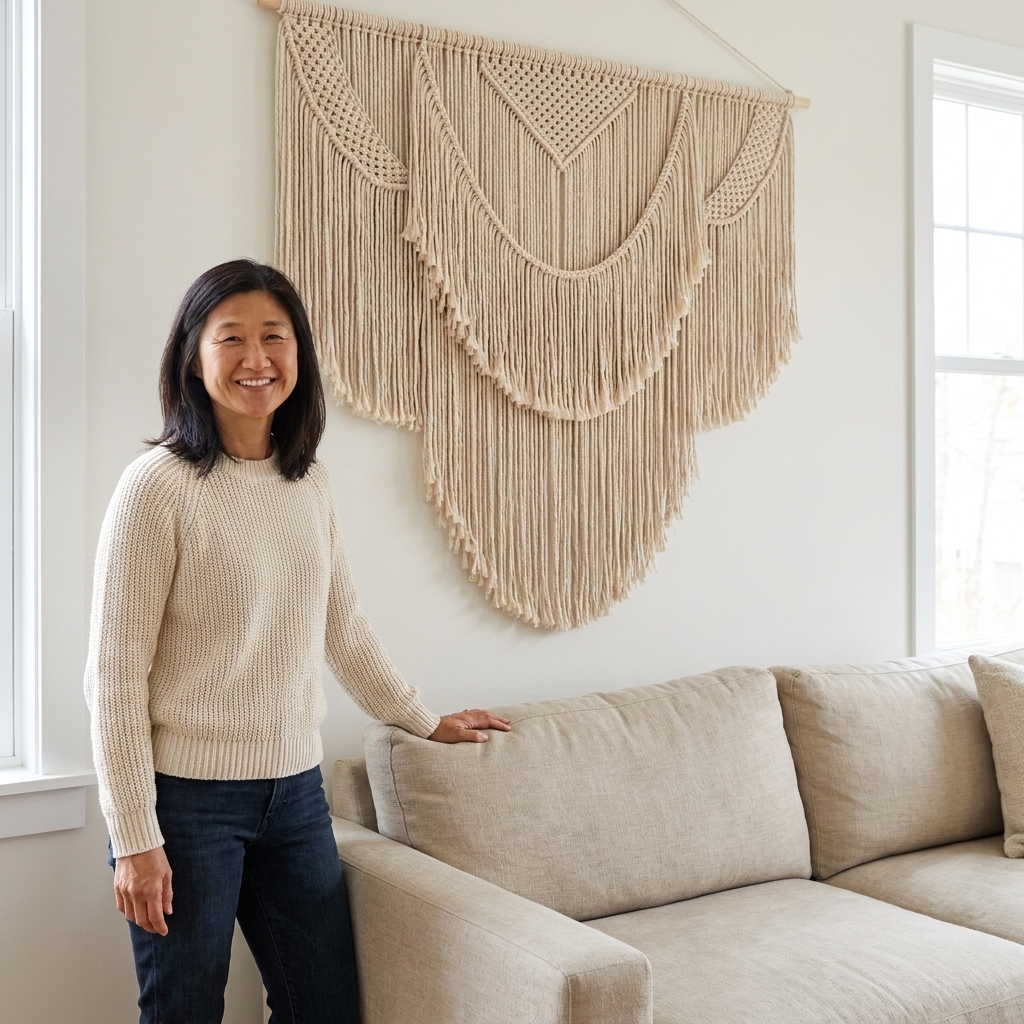
If you want drama without complicated knot maps, a layered fringe waterfall is your best friend. It is basically thoughtful stacking: simple knot bands at the top, then multiple fringe layers trimmed into a soft curve.
Why it is forgiving
It adds cozy movement and looks amazing near textured textiles like a chunky knit throw or a woven rug. This one is also very forgiving because the “pattern” is mostly in the shaping and trimming.
Knots and techniques
- Lark’s head knot mounting
- Square knots in a few rows
- Fringe combing and trimming (the star of the show)
Fringe sanity tips
- Comb from the bottom up in small sections to avoid snarls.
- Trim a little at a time. You can always cut more, but you cannot un-cut.
- Steam lightly to relax the fibers before your final trim. Test first, keep the steamer moving, and avoid saturating any dyed sections.
6) Mixed Material (Intermediate)
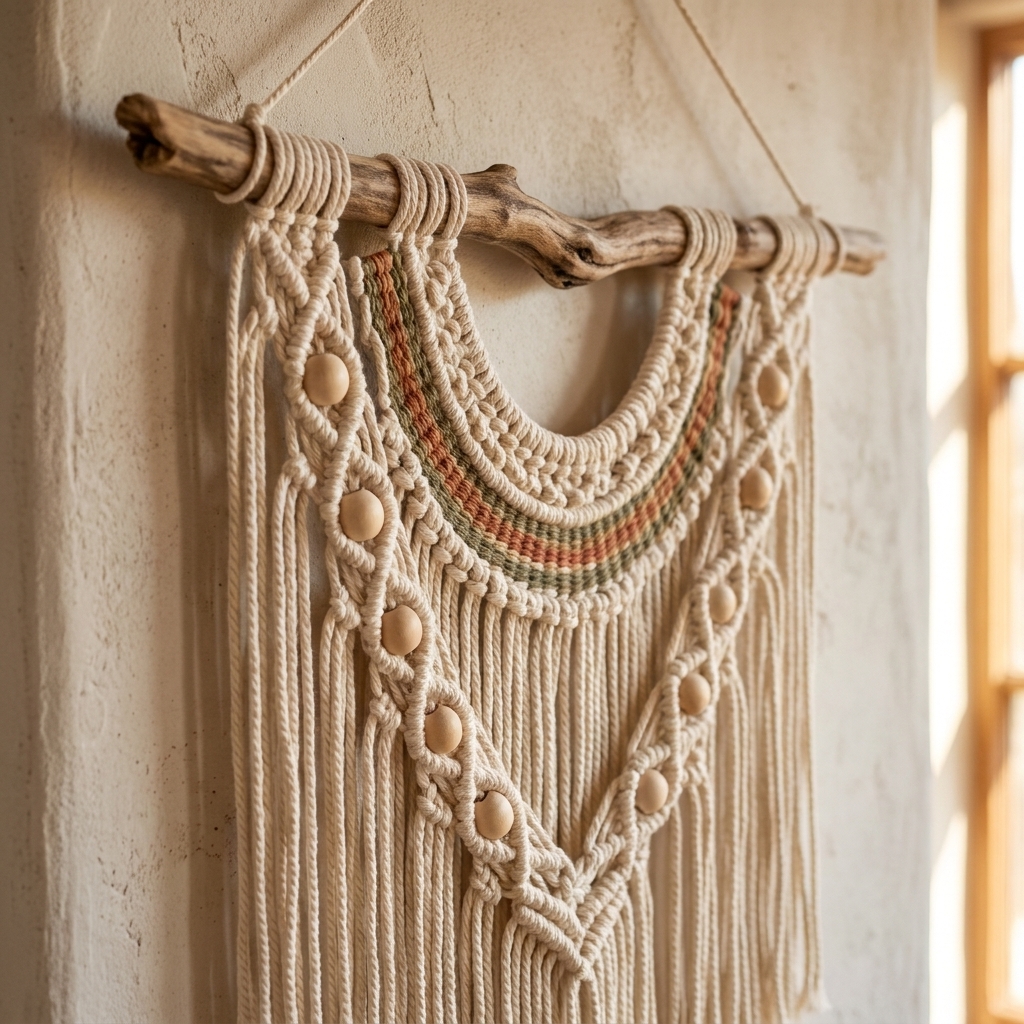
This is where macrame starts flirting with fiber art. Think macrame structure plus a little weaving, wood beads, driftwood, or even a strip of linen ribbon worked in for contrast.
Why it feels personal
Mixed materials make a living room feel collected. It also helps tie in other finishes you might already have, like brass hardware, oak furniture, or black metal frames.
Knots and techniques
- Square knots and double half hitch for structure
- Simple over-under weaving through cord groups
- Wrapping knots to attach accents neatly
My no-waste favorite
Use scrap yarn from old projects as a woven band. Even tiny amounts look intentional when repeated in two or three thin rows.
7) Split Panel Dip Dye (Intermediate)
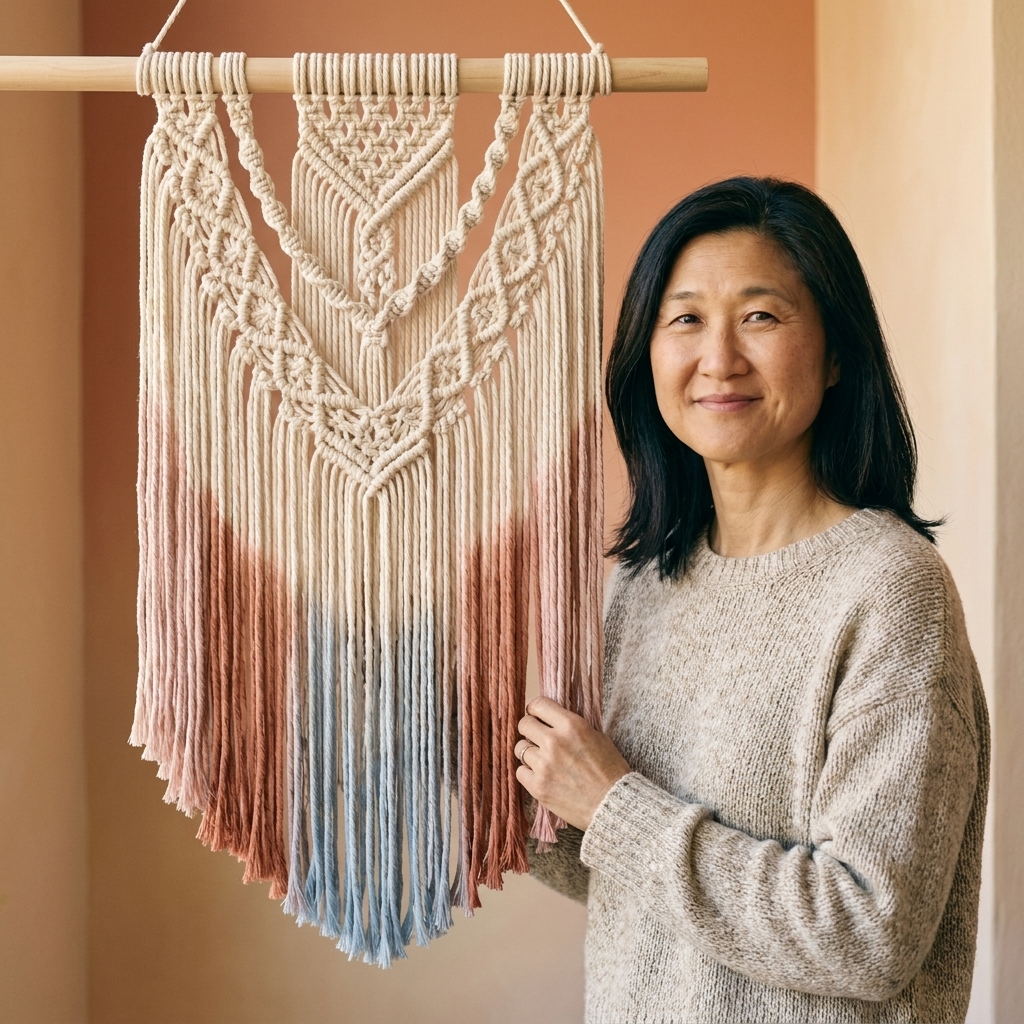
This pattern style looks like you bought it at a boutique: a clean macrame panel with a color-dipped bottom. The trick is that the knotting stays simple, and the color comes from either actual dyeing or using two cord colors.
Best for
It is graphic and perfect for a boho living room that leans more minimal than maximal. A dip-dye effect also echoes popular wall paint techniques without committing to paint.
Knots and techniques
- Square knots for a tidy grid
- Optional: vertical double half hitch lines for structure
- Fringe finishing and trimming
Color options
- True dip dye: Use fabric dye and protect the top section from splashes. Always test on a small scrap first.
- No-dye method: Use two colors of cord and transition near the bottom with a row of gathering knots to make it look intentional.
Finishing and hanging tips
These are the little details that make a DIY wall hanging look store-bought.
- Add a hanging cord: Cut a separate piece of cord, loop it around each end of the dowel with a lark’s head knot, then secure with a few tight wraps (a simple wrapping knot) so it cannot slide inward.
- Stop cords from slipping on a smooth dowel: Pack your lark’s head knots snugly together, then add a tiny dot of clear-drying craft glue behind the back row if you need extra grip. Let it dry fully before hanging.
- Use a real branch safely: Lightly sand any rough spots so cords do not snag. If the branch is shedding dust or feels chalky, wipe it down and let it dry completely before knotting.
Choosing the right pattern
If you are staring at your living room wall thinking, “Okay, but which one is right for my space?” here is my quick and practical way to decide:
- Above a sofa: Choose something wider and calmer like stripes, negative space diamonds, or a large hoop.
- Small blank spot: Go hoop, diagonal wave, or a narrow layered fringe.
- Busy room with lots of patterns: Keep the macrame simple and solid colored, like minimalist stripes.
- Minimal room that needs warmth: Layered fringe and mixed material add coziness fast.
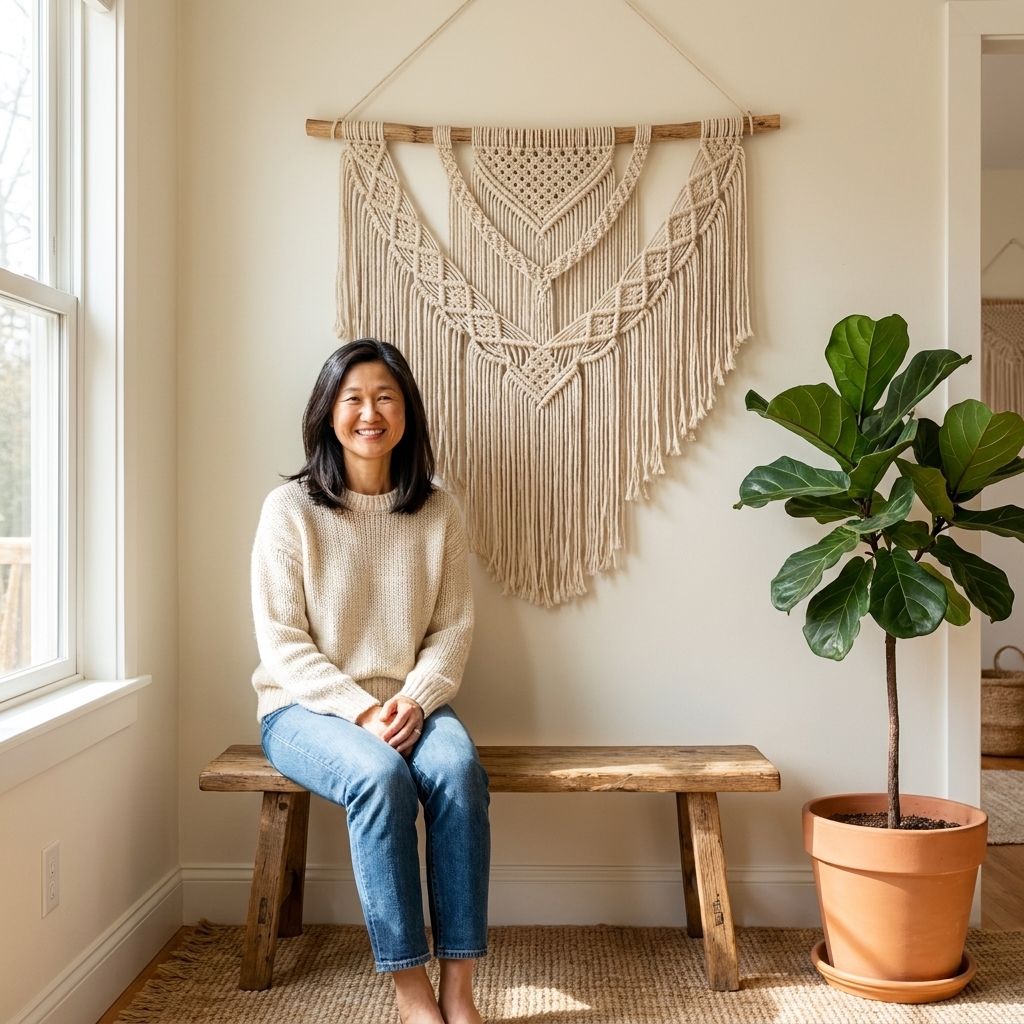
Knot cheat sheet
If you are new, learn these three and you can complete most designs in this list:
- Lark’s head knot: Attaches cords to your dowel or hoop.
- Square knot: The workhorse knot for panels, stripes, and diamonds.
- Double half hitch: Creates clean lines, diagonals, and waves.
I always tell my former students: your first knots might look a little puffy. Keep going. Your hands learn the tension faster than your brain thinks they will.
FAQ
How long should I cut my macrame cords?
A safe starting point is 4 to 6 times the finished length for many square-knot based hangings. For denser double half hitch sections or extra-long fringe, go closer to 6 to 8 times. It is pattern-dependent, so if you are unsure, cut one “test cord” and make a small sample section to see how fast it eats length.
What is the best cord for a soft fringe?
Use single twist (single ply) cotton cord. It brushes out beautifully. If you want the cleanest knot definition and less shedding, choose 3-ply twisted cord and keep fringe sections shorter.
How do I keep my wall hanging from looking crooked?
- Hang your dowel level while you work if possible.
- Measure from the center out when you build patterns.
- Steam and re-trim fringe after it has been hanging for a day. Gravity helps everything settle.
Can I make macrame look more modern?
Yes. Choose a smooth dowel, stick to one color, use geometric negative space, and keep fringe trimmed in a clean line instead of an extra shaggy finish.
What should I use to hang it safely?
For lightweight pieces, a simple nail or picture hook is often enough. For heavier dowels or large hoop pieces, use a stud or a wall anchor rated for the weight. If you have pets or small kids, keep long fringe out of reach and avoid anything that can be pulled down easily.
How do I clean a macrame wall hanging?
Dust it regularly by shaking it outside or using a vacuum brush attachment on low. For cotton cord, spot clean with mild soap and water, then let it air dry fully. A quick steam can help revive flattened fringe. If your piece is dyed, test on a small spot and avoid over-steaming the colored area.
One last encouragement
Macrame has a way of looking intimidating because the finished pieces feel so polished. But the secret is that most designs are just a few knots repeated with patience. Pick one style above, put on something cozy in the background, and let your hands do the work. Your living room wall will thank you.