From chalk-style paint and distressed finishes to lanterns and wall vases, these mason jar upcycles turn glass jars into rustic home decor on a budget.
If you have an empty wall that feels like it is just sitting there… judging you… floating shelves are the happiest kind of fix. They add storage and personality without the visual heaviness of brackets. And the best part: you can absolutely build simple wooden floating shelves over a weekend with basic tools and a little patience.
I am going to walk you through my go-to method for beginner-friendly floating shelves: a hidden cleat (a simple wood frame attached to the wall) with a hollow shelf that slides over it. It is sturdy, forgiving, and budget-conscious, which is exactly how we like it around here.

Before you start: pick a style
There are a few ways to do floating shelves, and choosing the right method up front saves a lot of frustration.
- Hidden cleat (recommended for beginners): You build a simple wall-mounted frame, then slide the shelf box over it. Strong and easy to adjust.
- Metal floating shelf rods: Clean look, but requires very accurate drilling into the shelf and solid anchoring.
- Solid wood with keyholes: Fast, but can be fussy to level and tends to hold less weight unless you hit studs perfectly.
This tutorial uses the hidden cleat method because it is sturdy and uses common supplies.
Tools and supplies
Wood options
- Pine or spruce boards for an affordable paint or stain-ready option
- Poplar if you want a smoother paint finish
- Common boards from the home center work great for this project
For the shelf box, you have two beginner-friendly options:
- Simple all-1x build (shown below): 1x boards for the top and bottom, plus 1x2s for the front and ends. This creates a sturdy hollow shelf that is about 3 inches thick overall, which is a great look and gives your cleat plenty of room.
- Thinner, modern build: 1/4-inch plywood for the top and bottom skins, plus 1x boards for the face pieces. This can get you closer to a 2-inch thick look, but it is a little fussier.
In the steps below, I will show the simple all-1x build because it is the most forgiving for first-timers.
Basic tools
- Tape measure and pencil
- Stud finder
- Level (2-foot is great, longer is even better)
- Drill/driver and bits
- Saw (miter saw, circular saw, or even a handsaw if you are patient)
- Sander or sanding block
- Clamps (helpful, not mandatory)
Hardware and finishing supplies
- Wood screws (2 1/2 inch is a common choice for cleats into studs)
- 1 1/4 inch to 1 1/2 inch screws or brad nails for assembling the shelf box
- Wood glue
- Wood filler (stainable if staining)
- Stain and clear coat, or primer and paint
- Rags or foam brush for stain
Step 1: Plan size and placement
This is the part that feels slow but makes the whole project look intentional.
Choose dimensions
- Length: 24 to 48 inches is a sweet spot for most walls.
- Depth: 6 to 10 inches works well for books, plants, and decor. Deeper than 10 inches can look chunky and needs more careful support.
- Thickness: For the all-1x build shown here, plan for about 3 inches thick overall.
Decide spacing
For a stack of two or three shelves, I like 12 to 16 inches between shelves. If you are styling tall books or vases, bump it up.
Mark the wall
Use painter’s tape to “audition” the shelf length on the wall. It is such a simple trick, but it helps you see balance before you commit to holes.
Step 2: Find studs and level
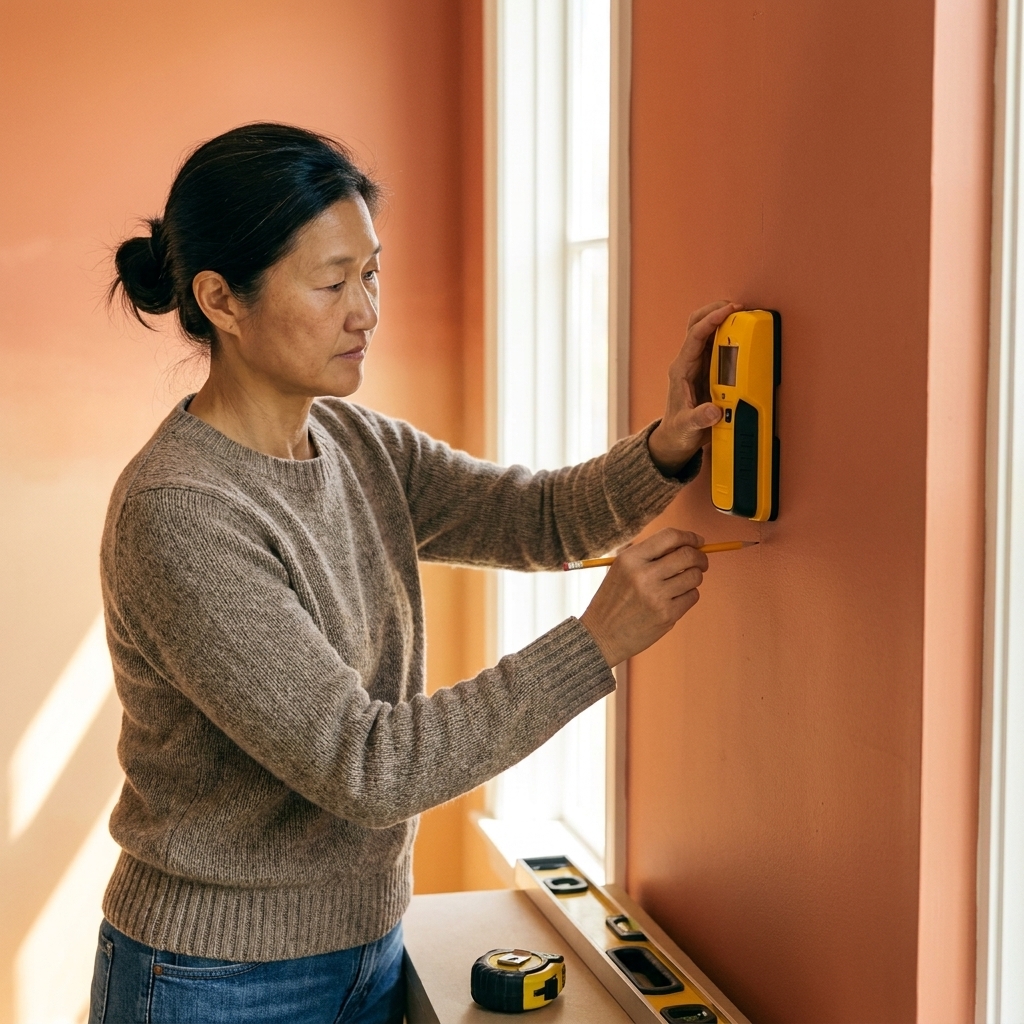
Floating shelves look like magic, but the magic is really just hitting studs.
- Use a stud finder to locate studs across your shelf area.
- Mark stud centers lightly in pencil.
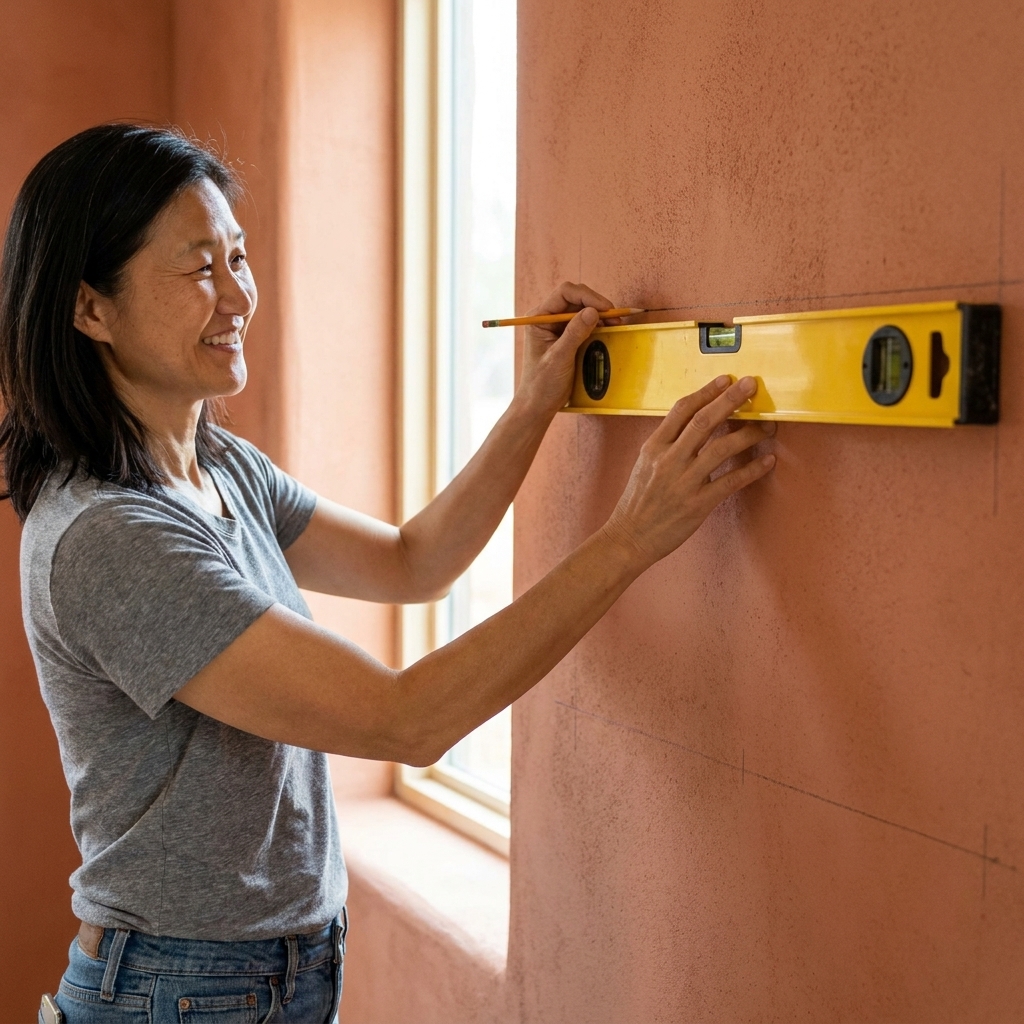
- Draw a level line where the top of your cleat will sit.
If you cannot hit at least two studs with a longer shelf, consider shortening the shelf or relocating. Anchors can help for light decor, but studs are the gold standard for strength.
Quick wall note: This tutorial assumes standard drywall over wood studs. If you have plaster and lath, masonry, tile, or metal studs, your fasteners and approach change. When in doubt, verify what is behind the wall and use hardware rated for that surface.
Step 3: Cut your wood
Let’s assume you want one shelf that is 36 inches long and about 3 inches thick overall, using the easiest all-1x method.
One quick lumber reality check
Home center boards are sold by nominal size, but they are smaller in real life. A “1x8” is usually about 7 1/4 inches deep. That is not a problem, but it does mean you have two good options:
- Option A (easiest): Build a shelf that is 7 1/4 inches deep using a 1x8 for the top and bottom. The cut list below uses this option so the math matches real lumber.
- Option B (true 8-inch depth): Rip a 1x10 down to 8 inches or use plywood cut to 8 inches for the top and bottom. If you do this, you will also adjust the end cap depth to match (I include the formula below).
How this shelf is built
We are building a hollow box. The top and bottom pieces run full length and full depth. The front face and end caps (made from 1x2s) are sandwiched between the top and bottom to create a hollow channel for the cleat.
This matters because the shelf thickness comes from a simple stack:
- 3/4 inch (top)
- 1 1/2 inches (1x2 frame pieces)
- 3/4 inch (bottom)
That totals about 3 inches thick. It is clean, modern, and realistic for common boards.
Cut list: shelf box (outer shell)
Shown here: 36 inches long by 7 1/4 inches deep (using a 1x8 for top and bottom).
- Top: 1 piece at 36 inches by 7 1/4 inches (a standard 1x8)
- Bottom: 1 piece at 36 inches by 7 1/4 inches (same as top)
- Front face: 1 piece at 36 inches by 1 1/2 inches (a 1x2)
- Two end caps: 2 pieces at 6 1/2 inches by 1 1/2 inches (1x2s)
Why are the end caps 6 1/2 inches deep? Because the front face is 3/4 inch thick and it sits at the very front edge. The end cap sits behind it, so the end cap depth must be:
End cap depth = shelf depth − 3/4 inch
If you build a true 8-inch deep shelf, your end caps would be cut to 7 1/4 inches.
Cut list: cleat (hidden support frame)
Cleat lumber: Use 1x2s (actual 3/4 inch by 1 1/2 inches) for the cleat pieces. Mount them on edge so the cleat is 1 1/2 inches tall and 3/4 inch deep.
- Back rail: 1 piece of 1x2 at 34 to 34 1/4 inches (shorter than the shelf interior so it slides in without drama)
- Two side supports: 2 pieces of 1x2 at about 6 inches (a bit shorter than your shelf depth so they hide)
- Optional middle support: 1 piece of 1x2 at about 6 inches for longer shelves or heavier loads
Fit note (this matters): The inside height of the shelf box is about 1 1/2 inches because of the 1x2 frame pieces. A standard 2x2 is also about 1 1/2 inches tall, which creates a zero-tolerance fit that can be frustrating even if you build perfectly. Using 1x2s on edge gives you a sturdy cleat without that “why will this not slide on?” moment.
If you already bought 2x2 material, you can still make it work. You will just need clearance. Sand the 2x2 down, rip it slightly narrower, or plane it so it is a hair under 1 1/2 inches tall. Beginner goal: snug, not forced.
Fit note: A shelf that is 36 inches long with 3/4-inch end caps has an interior length of 34 1/2 inches. Cutting your back rail to 34 to 34 1/4 inches gives you that little bit of breathing space so the shelf slides on snug, not forced.
Little reality check: Lumber is rarely perfectly straight. In the store, sight down each board like you are checking a pool cue. Pick the straightest ones. Your future self will thank you while assembling.
Step 4: Sand first
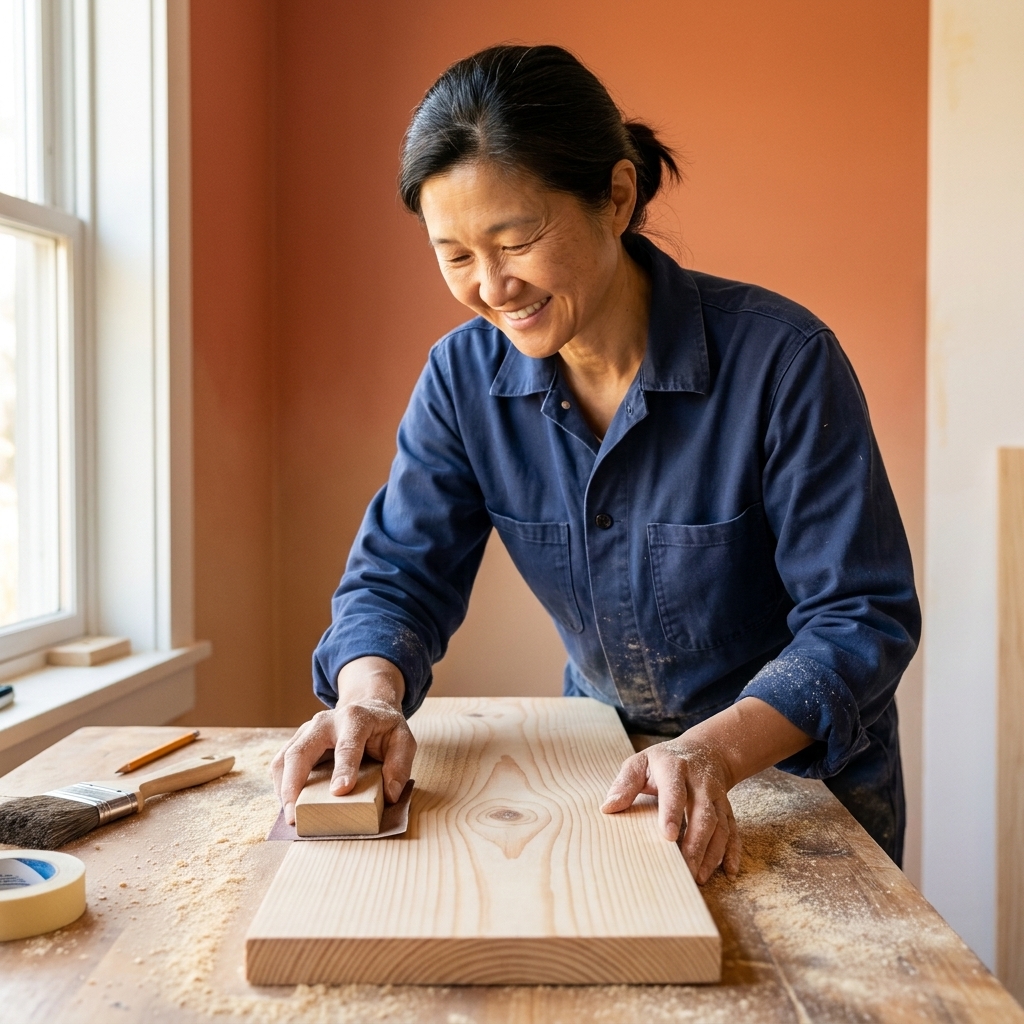
I know, sanding is not the glamorous part. But sanding before assembly is easier on your wrists and gives a cleaner finish.
- Start with 120 grit to smooth rough spots.
- Move to 180 grit for a nice finish-ready surface.
- If staining, do a light pass with 220 grit for extra smoothness, especially on soft pine.
Wipe off dust with a slightly damp rag or tack cloth before finishing.
Step 5: Build and mount the cleat
The cleat is the structural hero of this project. Take your time here.
Assemble the cleat
- Lay the back rail flat.
- Attach the side supports at each end, forming a shallow U shape.
- Add a middle support if your shelf is long or will hold heavier items.
Use screws for strength, and pre-drill to prevent splitting. If you use wood glue, use it only in the cleat joints where wood meets wood. Glue does not bond the cleat to the wall.
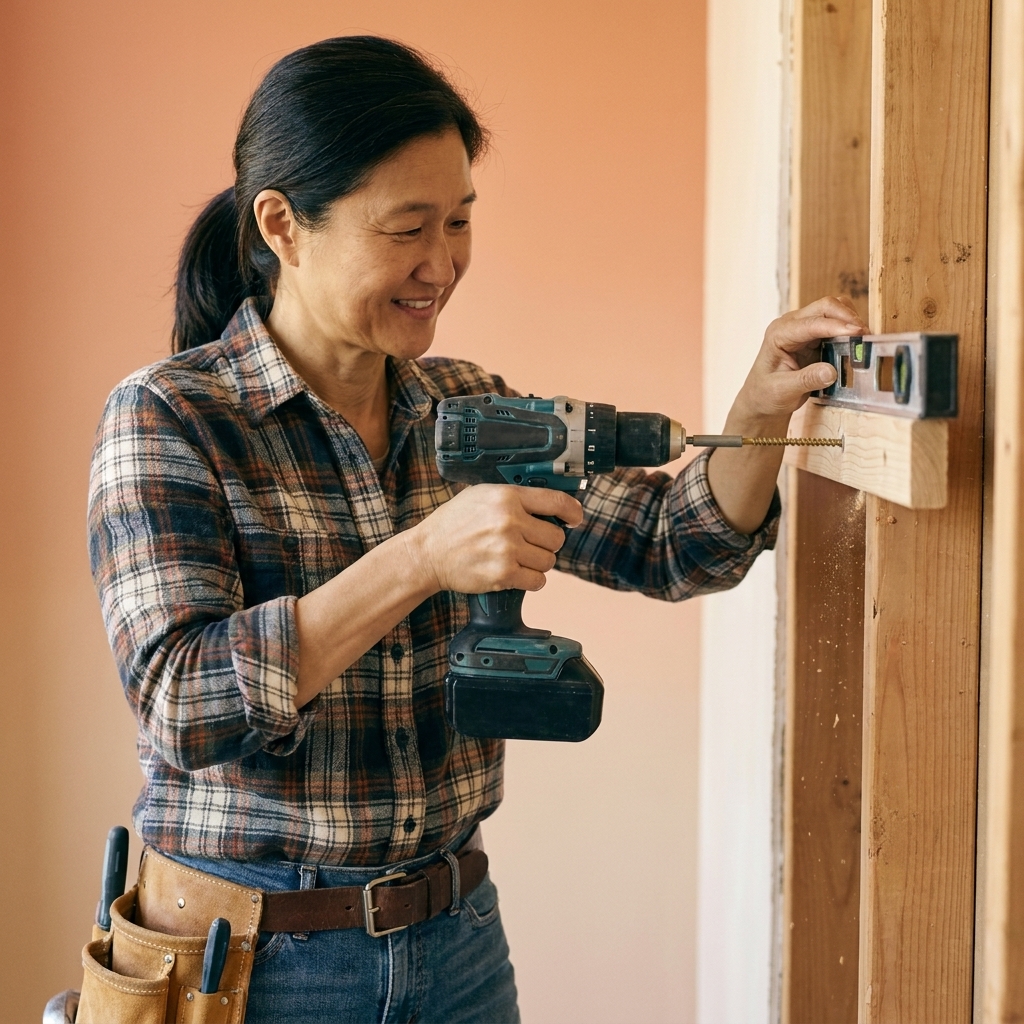
Mount the cleat
- Hold the cleat up to your level line.
- Pre-drill through the back rail where studs are marked.
- Screw the cleat into studs using sturdy wood screws.
- Check level again before fully tightening everything.
Maya’s classroom rule: If something looks slightly off now, it will look very off once the shelf is on. Step back, eyeball it, and adjust before you move on.
Step 6: Build the shelf box
This is the part where it starts looking like a real shelf.
Dry fit first
Before glue, hold the pieces together and test the fit over the cleat. You want snug, not forced. If it is too tight, sand the inside edges a bit.
Also, do a quick check that your plan matches the build: in this version, the front face and end caps are 1x2s that sit between the top and bottom. The end caps are cut slightly shorter in depth so they do not push your shelf past the back edge.
Assemble the box
- Attach the front face (1x2) to the bottom piece with glue and brad nails or screws, keeping the face flush with the front edge of the bottom.
- Attach the end caps (1x2s cut to the correct depth) at both ends, glued and nailed into place, butted up behind the front face.
- Attach the top piece to close the box, keeping edges flush.
If you are using screws, countersink slightly so you can fill the holes neatly.
My honest blooper: I have glued a shelf box and then realized I built a beautiful, perfect rectangle that did not fit over the cleat because I got confident and skipped dry fitting. Dry fit. Always.
Step 7: Stain or paint
Finishing is where your shelf goes from “DIY weekend project” to “Did you have those custom made?”
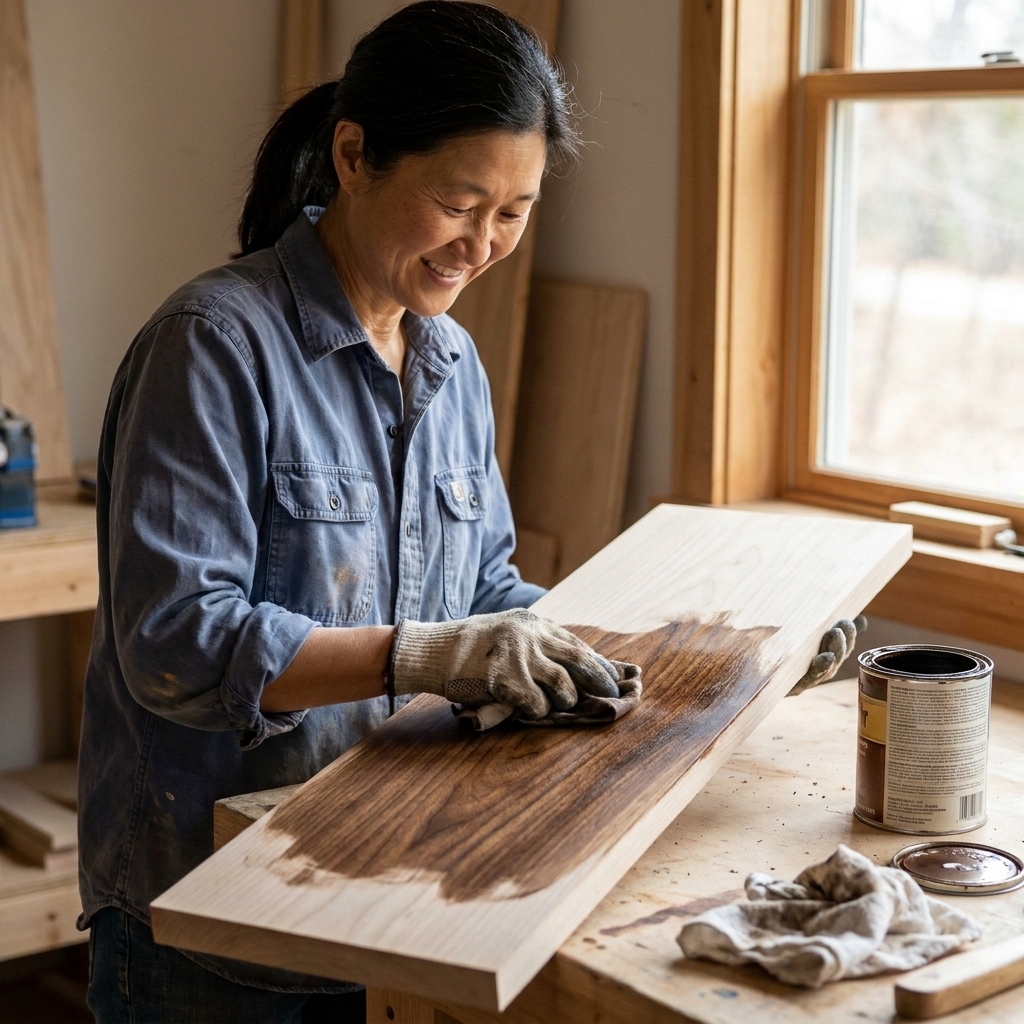
If staining
- Apply pre-stain conditioner on soft woods like pine for more even color.
- Wipe on stain with a rag or foam brush.
- Let it sit briefly, then wipe off excess.
- When dry, seal with a clear topcoat (water-based polyurethane is low odor and easy indoors).
Do thin coats and let them dry properly. Rushing finish is the fastest way to get sticky shelves that collect dust forever.
If painting
- Fill nail holes and seams, let dry, then sand smooth.
- Prime first, especially with knotty pine.
- Paint two coats for durability.
Step 8: Install and secure
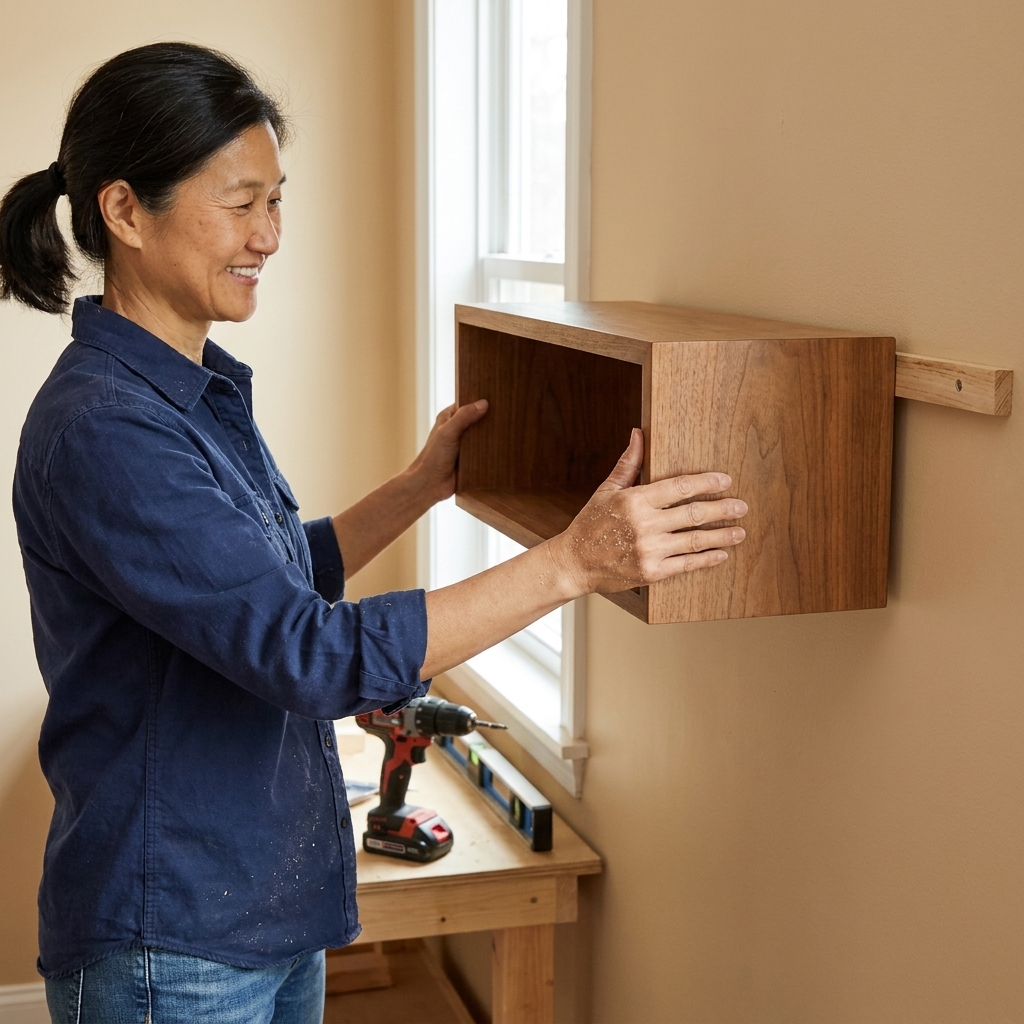
Once your finish is fully dry, slide the shelf box over the wall cleat.
- If it feels tight, remove it and sand the inside edges gently.
- When it slides on snugly, secure it from underneath with a couple of screws into the cleat. This prevents accidental shifting.
Step back, admire, and resist the urge to immediately load it with every plant you own. Give finishes a little cure time if you can, especially if you used polyurethane or paint.
Weight and load notes
This depends on a handful of real-world factors: how many studs you hit, your fastener type and number, shelf depth, wall type, and workmanship. The same shelf can be rock solid in one house and wobbly in another.
- If your cleat is screwed into at least two studs and your shelf fits snugly, it is typically suitable for everyday items like books, framed photos, small speakers, and plants.
- If you only hit one stud or rely heavily on drywall anchors, keep it to light decor.
If you are planning for heavy loads (lots of textbooks, large pottery, kitchen appliances), consider purpose-built metal floating shelf brackets with a published load rating and installation instructions for your wall type.
Troubleshooting
Not level
- Check that the cleat is level first. The shelf will only be as level as the cleat.
- Loosen screws slightly, adjust, and re-tighten.
Gap at the wall
- Walls are often wavy. If the gap is small, a tiny bead of paintable caulk (for painted shelves) can make it look seamless.
- Make sure the shelf box is not hitting a screw head or drywall bump.
Wobbly shelf
- Add a couple of securing screws from underneath into the cleat.
- Confirm you are anchored into studs and not just drywall.
- Check that your cleat frame is tight and square.
Blotchy stain
- Next time, use pre-stain conditioner on pine.
- Try gel stain for more even coverage on soft woods.
No-waste tips
- Use offcuts to make a matching mini ledge shelf for spices, nail polish, or tiny plants.
- Save sawdust from sanding and mix it with wood glue to fill small gaps in natural wood projects (best under paint, not stain).
- Turn leftover stain into a custom tint by diluting slightly and testing on scrap pieces.
Safety notes
- Wear eye protection when cutting and drilling.
- Use a mask when sanding.
- Stain rags can be a fire risk if balled up. Lay them flat to dry outdoors, then dispose according to your local guidelines.
- When in doubt about wall structure, go slower and verify what is behind the drywall before drilling.
FAQ
Do I need a table saw?
No. A miter saw or circular saw can handle the cuts for a simple shelf box and cleat. Many home centers will also cut boards for you, which can be a huge help if you are tool-light.
Can I use reclaimed wood?
Yes, and I love it. Just check for nails or staples, and be extra picky about straightness. Reclaimed boards often need more sanding and may benefit from a wood conditioner before staining.
How do I make shelves look thicker?
The hollow box method is perfect for that. A 3-inch thick shelf looks modern and substantial without the weight and cost of a solid slab.
What is the best wood for staining?
Hardwoods like oak stain beautifully, but they cost more. If you are on a budget, pine can still look great with conditioner and a little patience. Always test stain on a scrap piece first.
One last pep talk
If you have been intimidated by floating shelves because they look so crisp and “perfect,” you are not alone. The secret is that the clean look comes from a few unglamorous steps: measuring twice, finding studs, and leveling carefully. Do those well, and the rest is just making a nice wooden box and letting it shine.
If you build yours, take a breath and enjoy the moment when it slides onto the cleat for the first time. That little click into place is pure DIY therapy.