A visually inspiring roundup of macrame wall hangings you can actually finish, with knot ideas, sizing tips, cord estimates, and styling suggestions for a bo...
If you have ever looked at a chunky knit blanket and thought, “That looks like it requires a cabin, a wood stove, and years of knitting experience,” I have good news: you can make one with your hands and arms, no needles, no complicated pattern, and no pressure to be perfect. This is one of my favorite cozy projects because it works up fast, it is ridiculously satisfying, and it is forgiving in a very real-life way.
Below I will walk you through exactly how to arm knit a chunky blanket with oversized chenille yarn, plus all the little tips that keep your blanket plush instead of lumpy, stretched out, or shedding fuzz everywhere.
What is arm knitting?
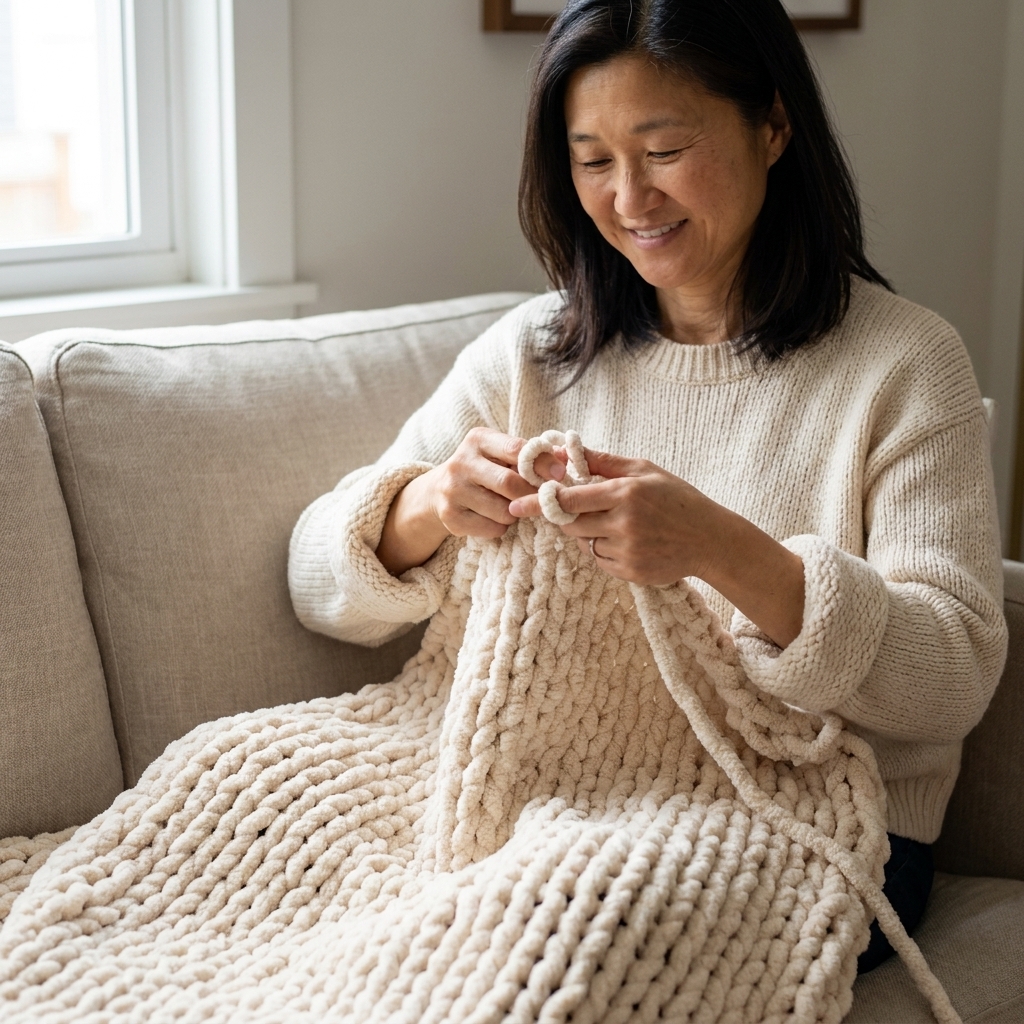
Arm knitting is exactly what it sounds like: you use your arms as the “needles” to form big knit stitches. The loops are large, so you can see what you are doing, and you can often finish a throw-size blanket in an afternoon or evening.
The stitch we will use here is basically a giant version of a simple knit stitch, made by casting loops onto your arm, then pulling new loops through them row by row.
Supplies you will need
Yarn
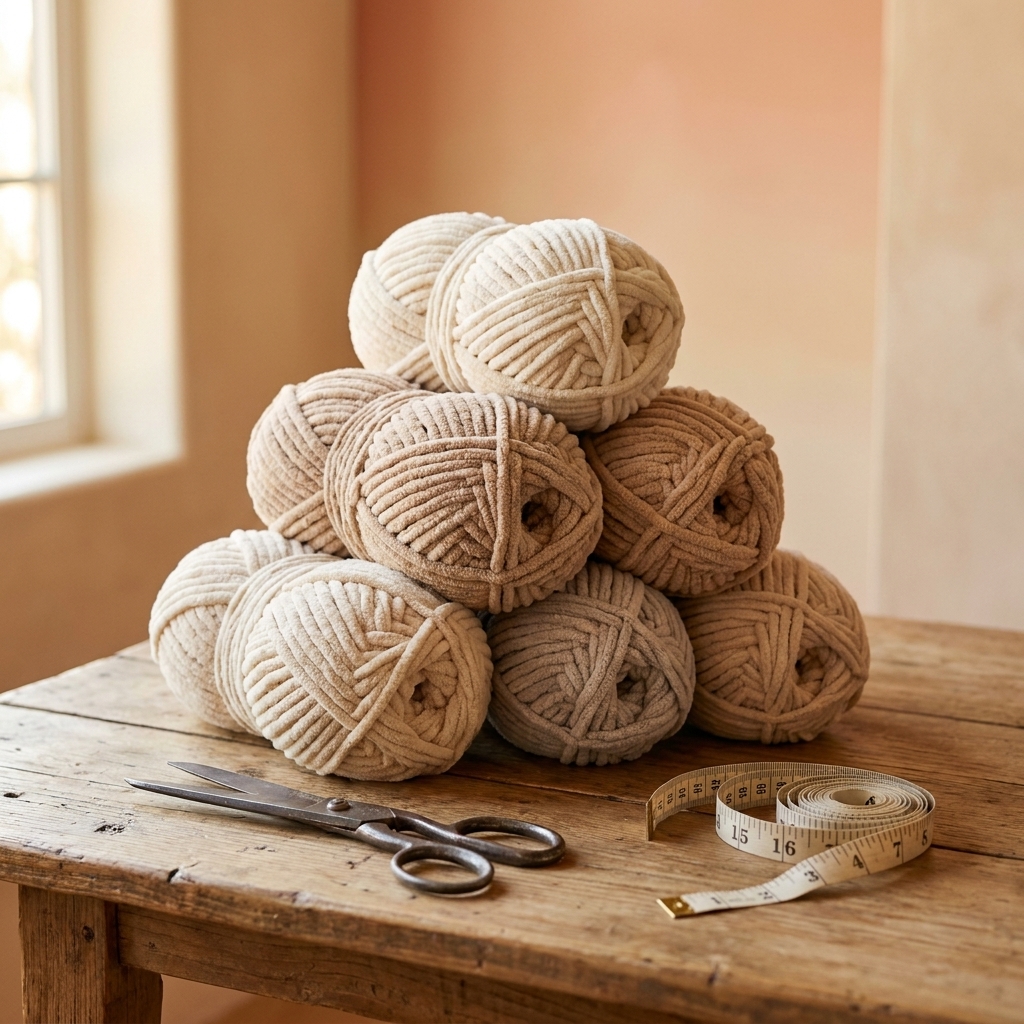
Oversized chenille yarn is the classic choice for that cloud-like look. Look for “jumbo” or “size 7” yarn. Chenille is wonderfully soft, but it can be a little delicate, so we will handle it gently.
Because skein sizes vary wildly by brand, the most reliable way to plan is by total yardage or total weight instead of just “X skeins.” Here are practical starting points for most jumbo chenille:
- Lap blanket (about 30 x 40 inches): roughly 150 to 250 yards total (about 600 to 1,000 g)
- Throw blanket (about 40 x 60 inches): roughly 250 to 450 yards total (about 1,000 to 1,800 g)
- Twin topper (about 60 x 80 inches): roughly 450 to 700 yards total (about 1,800 to 2,800 g)
If you prefer skein math, translate the totals using your yarn label (yards per skein or grams per skein). And if you are on the fence, buy one extra skein from the same dye lot. It is much easier to return an unopened skein than to match a color later.
Optional, but genuinely helpful
- Scissors
- Measuring tape (or a blanket you already own to copy the size)
- A large table or clean floor space so your loops do not get tangled
- A lint roller for quick chenille fuzz clean-up, if needed
- A large-eye yarn needle (nice for weaving in ends, but not required)
Comfort tip: take off rings, bracelets, and watches, and smooth any rough nails. Chenille loves to snag on the tiniest sharp edge.
Pick your blanket size
Chunky knit blankets are flexible, so do not stress about exact inches. Aim for the vibe: lap blanket, couch throw, or bed topper.
- Lap: roughly 30 x 40 inches
- Throw: roughly 40 x 60 inches
- Twin topper: roughly 60 x 80 inches
My best beginner tip: choose a throw size. It feels substantial, but it is still manageable on your arms and easy to finish in one session.
Before you start: set your tension
The biggest difference between a blanket that looks expensive and one that looks accidentally stretched is tension, meaning how tight or loose you pull each loop.
- Too tight: your arms get tired fast, stitches look stiff, and the blanket can curl at the edges.
- Too loose: holes appear between stitches and the blanket can look droopy.
Aim for consistent, “soft hoodie sleeve” tension. The loops should be plump, not strangled, not sloppy.
How wide will it be?
Instead of guessing stitch counts and hoping for the best, use this simple rule:
Your cast-on width becomes your blanket width.
After you cast on, lay those loops flat on a table (or the floor) and measure across. If it is too narrow, add a few stitches. If it is too wide, pull out a few stitches and recast. This two-minute check saves a lot of “why is this suddenly a cape?” energy later.
How to arm knit a chunky blanket
Step 1: Find the yarn end and make a slip knot
Pull from the outside end of the skein if you can. Chenille can snag if you yank from the center too aggressively.
Make a slip knot, leaving a tail of about 8 to 12 inches. You will weave this in later.
Step 2: Cast on stitches
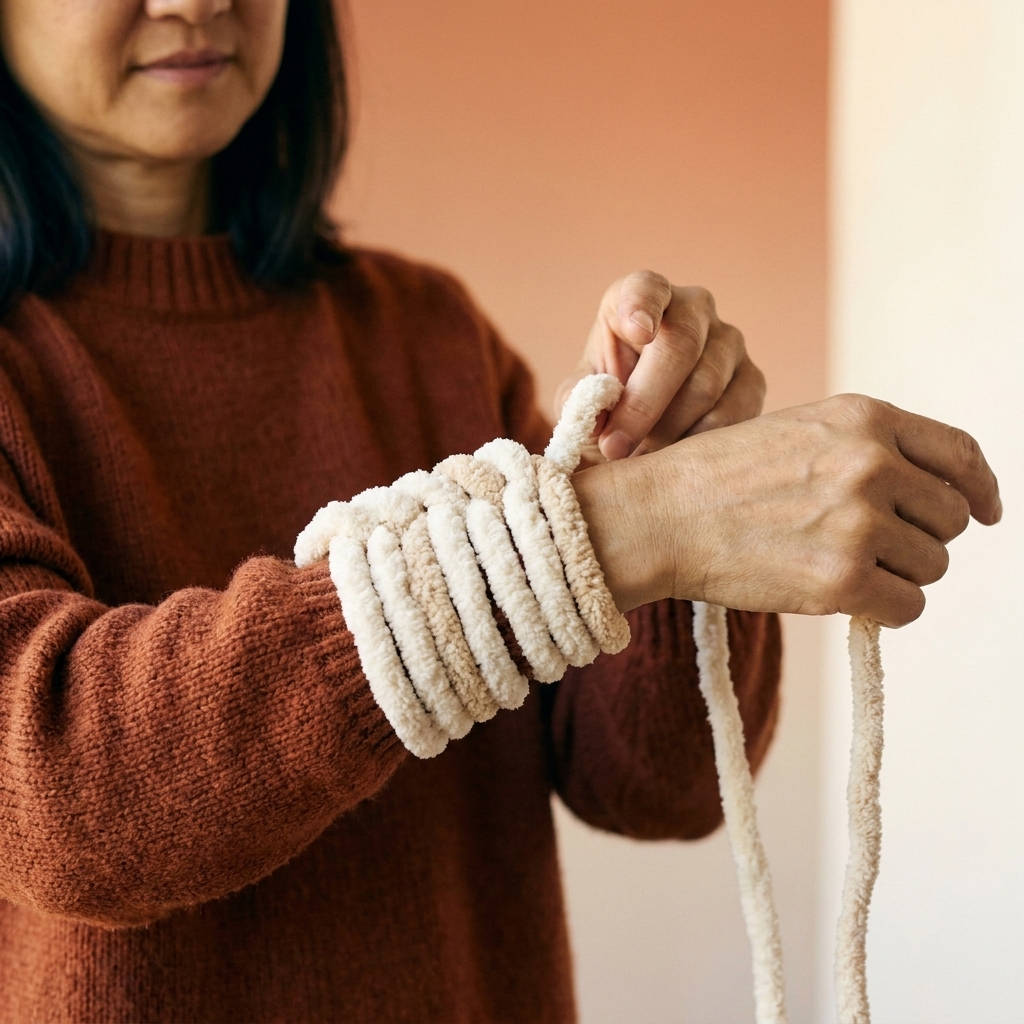
Slide the slip knot onto your non-dominant arm (for me, that is my left). Tighten it gently so it stays put but still looks fluffy.
Now you will “cast on” by making loops and placing them onto your arm one at a time:
- Hold the working yarn (the yarn connected to the skein) in your hand.
- Form a loop with the working yarn and place it on your arm next to the first loop.
- Repeat until you have your desired number of stitches.
Anti-twist tip: as you add loops, make sure they all face the same direction on your arm and are not twisted. Twists are one of the sneakiest reasons stitches look uneven later.
How many stitches should you cast on? For many throws with jumbo chenille, 18 to 24 stitches is a sweet spot. More stitches equals a wider blanket. If you want a narrower, more drapey throw, start closer to 18. If you want a big, bold couch blanket, go closer to 24. Then do the quick width check above and adjust if needed.
Step 3: Knit the first row
This is where it starts to feel like magic.
- With the loops on your non-dominant arm, take the first loop near your wrist.
- Grab the working yarn and pull a new loop through that first loop.
- Slip the old loop off your arm and place the new loop onto your dominant arm.
- Repeat for each stitch, moving across the row.
Size check: make each new loop about the same size as the ones already on your arm. If you keep the loops consistently plump from the very first row, the whole blanket looks more even.
At the end, all loops will be on your dominant arm, and you have completed one row.
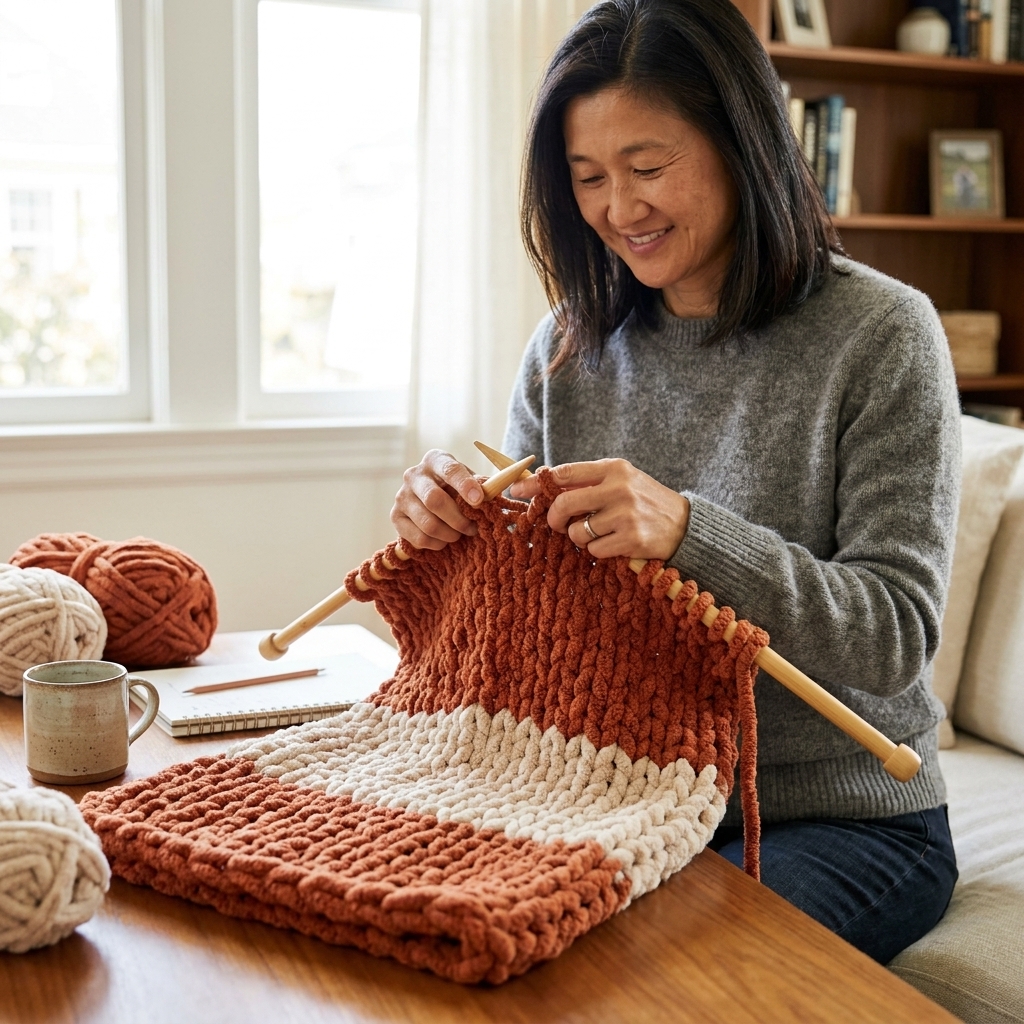
Step 4: Keep knitting to your length
To continue, you simply repeat the same action: pull a new loop through the next loop, then transfer. You will alternate arms each row.
Quick progress check: every few rows, lay your work flat and gently pat it into shape. Chunky stitches can creep wider as you handle them, so a little reshaping as you go keeps edges tidier.
Step 5: Bind off
When your blanket is the length you like, it is time to bind off so the loops do not unravel.
Knit two stitches as normal so you have two loops on your arm.
Lift the first loop over the second loop and let it drop off, leaving one loop on your arm.
Knit one more stitch so you again have two loops.
Lift the first loop over the second.
Repeat across until you have one loop left.
Cut the yarn, leaving a 10 to 12 inch tail. Pull the tail through the final loop and snug it gently to secure.
Step 6: Weave in tails
Chenille can be a little slippery. Instead of trying to tie a bulky knot, weave the tails through several stitches on the back side of the blanket.
- Thread the tail through your fingers and follow the path of the stitches for 6 to 8 inches.
- Change direction once and weave back through a few stitches to lock it in.
- Trim the end, leaving a short fuzzy tip that blends into the texture.
If you have a large-eye yarn needle, use it. If you do not, your fingers work fine with jumbo yarn.
Tips for a plush blanket
1) Do not yank the yarn
Chenille is often constructed with a core and fuzzy pile fibers. Pulling too hard can cause thin spots. Keep movements smooth and gentle.
2) Keep your stitches the same height
A simple trick: make each new loop about the height of your hand. If one loop is dramatically taller, it will stand out.
3) Join new skeins the subtle way
When you reach the end of a skein, do not tie a huge knot in the middle of your blanket. Instead:
- Overlap the old yarn end and new yarn end by about 6 inches.
- Knit with both strands together for 2 to 3 stitches, treating them like one yarn.
- Then drop the old strand and continue with the new.
This makes a subtle transition and keeps the blanket comfy.
4) Take stretch breaks
Arm knitting uses your shoulders and wrists. Every few rows, roll your shoulders and shake out your hands. Cozy crafts should not come with aches.
Yarn options
Chenille is a great beginner pick for that plush, sink-into-it feel, but it is not your only option.
- Chenille: super soft and cozy; can shed a bit and does not love aggressive pulling or lots of frogging (ripping out rows).
- Tubular “tube” yarn: often very durable with cleaner stitch definition; usually less shedding; can be pricier.
- Wool roving: dreamy and airy, but it pills and sheds more easily and can felt or look worn faster with daily use.
If durability is your top priority, tube yarn is worth considering. If pure snuggle factor is the goal, chenille is hard to beat.
Fix common issues
My blanket is getting wider
This is usually loose tension or accidentally making loops larger over time. Gently tug each loop to a similar size as you go. Also lay it flat and pat the edges inward every few rows.
I dropped a stitch
First, breathe. With jumbo stitches, dropped loops are easy to spot. Find the loose loop and pull it back up through the stitch below it, recreating the loop. If you are unsure, use a clothespin or binder clip to hold the loop temporarily so it cannot run.
My edges look messy
Edges improve with two habits: consistent loop size and gentle reshaping. If your first and last stitches each row are extra loose, snug them slightly after you complete the row.
My chenille is shedding
A little fuzz is normal, especially while you handle it. If it is excessive, you may be pulling too hard or the yarn may be a more delicate construction. Work more gently and avoid ripping out stitches repeatedly, which can rough up the fibers.
Care and cleaning
Always check your yarn label first, but most jumbo chenille blankets do best with gentle care.
- Spot clean when possible.
- Hand wash or use a delicate cold cycle if the label allows.
- Support the blanket when wet. Wet chunky knits get heavy and can stretch.
- Lay flat to dry to keep its shape.
If you have pets, a quick shake outdoors and a lint roller pass can refresh it between deeper cleans.
Easy variations
Add subtle stripes
Switch colors when you join a new skein. Keep the joining method the same (overlap and knit a few stitches with both) for a smooth transition.
Make it extra weighted
Use a denser tension and a slightly wider stitch count. The blanket will feel heavier and cozier.
Try a smaller project first
If a blanket feels big, arm knit a chunky scarf or baby blanket to practice casting on, tension, and binding off.
FAQ
How long does it take to arm knit a chunky blanket?
Timing varies a lot by stitch count, yarn thickness, and how quickly you settle into a rhythm. A throw-size blanket often takes about 2 to 6 hours. If it is your first one, plan for the longer end and call it part of the cozy experience.
Is arm knitting hard on your arms?
It can be tiring at first, mostly on shoulders and wrists. Keep your loops reasonably loose, take breaks, and work seated at a comfortable height so you are not hunching.
Can I arm knit with wool roving instead of chenille?
You can, but roving pills and sheds more easily and can feel less durable for a blanket that gets daily use. Chenille or tube yarn is usually more beginner-friendly for a plush couch throw.
Will my blanket unravel over time?
Not if you bind off securely and weave in tails well. Give your woven ends a gentle tug test before trimming, and weave in a little extra length if the yarn feels slippery.
My final pep talk
Your first few rows might look a little wobbly. That is not failure, that is the learning-the-stitch phase, and it happens to everyone. Chunky yarn is wonderfully forgiving, and once you settle into a rhythm, you will be amazed how quickly that pile of fluff turns into an actual blanket.
If you make one, put the kettle on, take a photo of your coziest moment, and enjoy the very real fact that you made something warm with your own two hands.