A beginner-friendly Cricut HTV walkthrough for professional-looking custom T-shirts: supplies, design tips, cutting settings, weeding, heat pressing, and care.
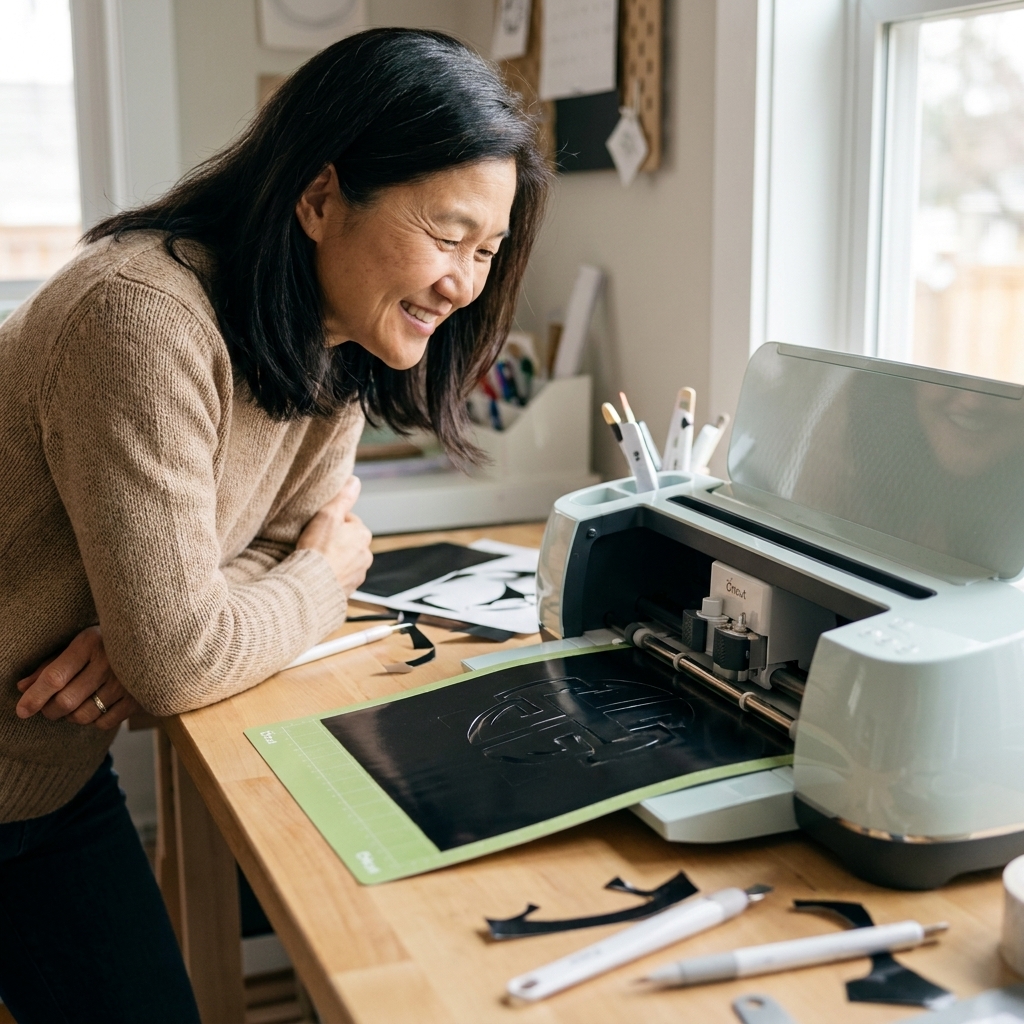
When you first unbox a Cricut Maker, it feels a little like adopting a tiny robot roommate. It is exciting. It is powerful. It is also very willing to chew up vinyl if you ask it nicely.
This guide is the friendly on-ramp I wish everyone got: seven essential techniques that will help you cut cleaner, waste less material, and feel confident in Design Space. We are going to focus on what actually moves the needle for beginners, with simple habits you can repeat on every project.
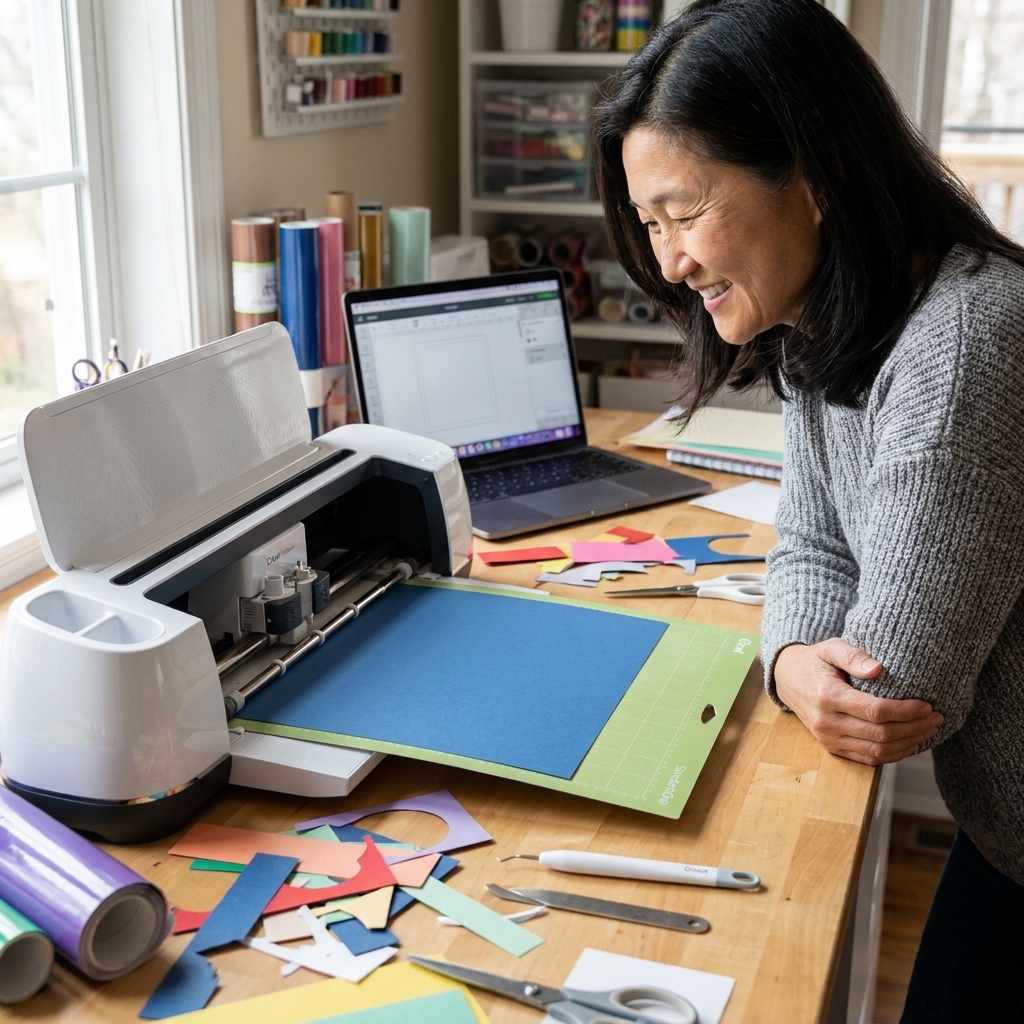
Technique 1: Set up Design Space like a calm studio
Design Space can feel busy at first, but once you know where the main controls live, it becomes much less intimidating. Before you start your first real project, do these quick setup moves.
Do this once
- Sign in and update: Make sure Design Space is fully updated. Many crafters find the desktop app more stable for longer or more complex projects, but use what works best on your device.
- Confirm your machine selection: In Settings (or the machine picker when you go to cut), confirm your Cricut Maker is selected and connected. If you have more than one Cricut paired, it is easy to pick the wrong device by accident.
- Choose your grid comfort: Turn the grid on if you like visual alignment, off if it stresses you out. Either is fine. The real win is being consistent so sizing feels predictable.
- Find the buttons you will use constantly:
- Operation: Cut, Draw, Score, and more.
- Align: Centers and lines things up cleanly.
- Attach and Weld: The two “why is my project doing that?” fixes (we will cover them next).
- Learn the basic flow: You will design on Canvas, click Make It to see mat placement, then follow the on-screen prompts to choose your material, load tools, and start the cut. The exact labels can vary a bit by platform, but the rhythm stays the same.
Tip: If you are feeling overwhelmed, start with a single shape and a single word. You do not need a layered masterpiece on day one. You need one clean cut and one clean transfer. Momentum matters.
Technique 2: Use operations the right way
In Cricut land, Operation is the difference between “cut this” and “draw this” and “score this.” If your project is acting weird, it is very often an operation issue.
Operations beginners use most
- Cut: For vinyl, cardstock, iron-on, sticker paper, thin wood veneer, and more.
- Draw: For Cricut pens and markers (great for cards and labels).
- Score: For fold lines on cards and boxes. (Cricut Maker can use a scoring wheel tool, depending on your setup.)
- Foil (if you have the tool): Adds foil accents using pressure, not heat.
Two buttons that save so much frustration
- Attach: Keeps your design elements in the exact position you arranged them (like text inside a tag shape). Without Attach, Design Space may rearrange pieces on the mat.
- Weld: Turns overlapping shapes into one single cut shape. Perfect for script fonts so letters connect instead of cutting into tiny separate islands.
Quick example: If you put a name inside a banner, select both, then Attach. If you write “hello” in a script font and the letters overlap, select the word and Weld so it cuts as one piece.
Technique 3: Pick the right blade and tool
The Cricut Maker is versatile because it can swap tools. The tricky part is that beginners often use the fine-point blade for everything, which is like using one kitchen knife for every ingredient. It works, until it really does not.
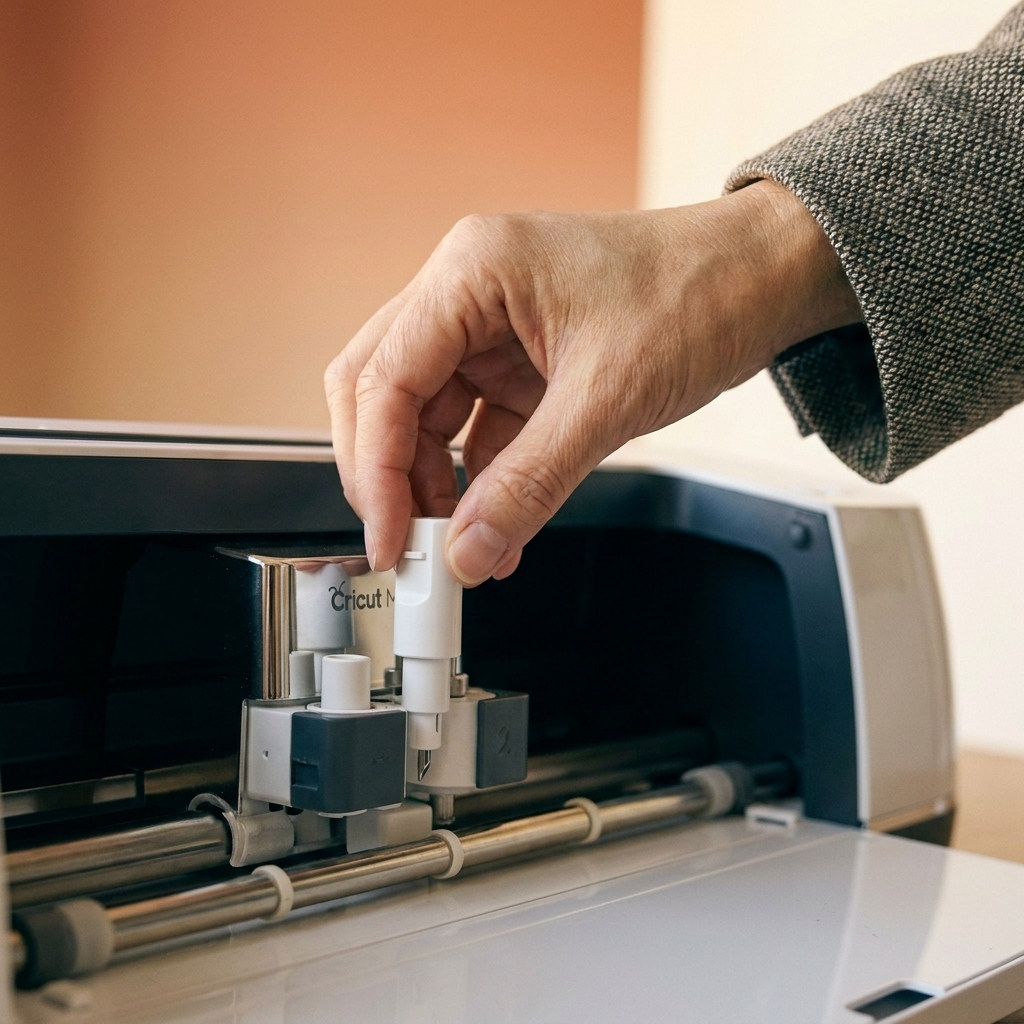
Common Cricut Maker blades
- Fine-Point Blade: Your everyday hero. Great for vinyl, iron-on, cardstock, sticker paper, and light specialty papers.
- Deep-Point Blade: For thicker materials like magnet sheets, thick cardstock, and some thin leathers and thin craft foam. Material thickness and brand matter, so test cut first.
- Rotary Blade: For fabric and felt without backing. If you love sewing or quilting, this is the “oh wow” tool.
- Knife Blade: For heavier materials like balsa wood, basswood, and chipboard. This one is slower and demands patience and very secure mat prep.
- Scoring Wheel or Stylus: For crisp fold lines. Great for card making and boxes.
Beginner rule of thumb: If your cut is shredding paper, your blade might be dull or your pressure is too high. If it is not cutting through, your pressure might be too low, your mat might be too dirty, your material setting might be wrong, or your material is not fully pressed onto the mat.
Technique 4: Match your mat to your material
Mats are not just sticky rectangles. They are part of the cutting system. Using the wrong mat grip is one of the fastest ways to curl cardstock, stretch vinyl, or turn your project into modern art.
What each mat is best for
- LightGrip (blue): Copy paper, light cardstock, vellum, delicate specialty papers.
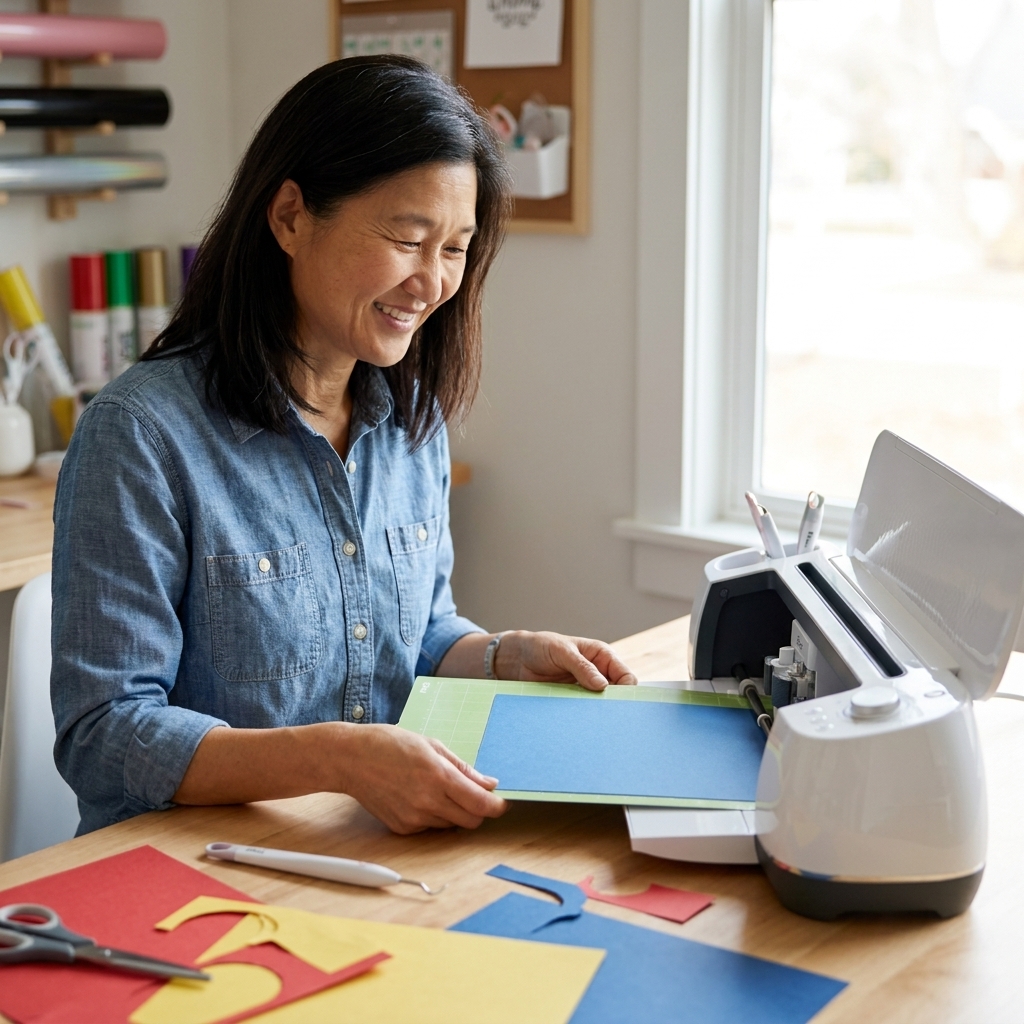
- StandardGrip (green): Most cardstock, vinyl, iron-on, patterned paper.
- StrongGrip (purple): Glitter cardstock, heavy cardstock, some leather and thicker materials. Use with caution and always test your peel technique.
- FabricGrip (pink): Fabric cuts, especially with the rotary blade.
How to unload without curling
Instead of pulling the material up off the mat, flip the mat over and peel the mat away from the material while keeping the material mostly flat against your table. This one habit saves so many paper projects.
Clean mat, clean cuts
- Use a scraper to remove leftover bits (gentle on LightGrip mats).
- Lint rollers are great for quick de-fuzzing.
- If a mat is too sticky for delicate paper, dab it with a clean cotton shirt a few times to de-tack slightly.
- If your material ever looks bubbled or slightly lifted, smooth it down firmly. A brayer helps a lot, especially on cardstock and larger vinyl cuts.
Technique 5: Always do a test cut
I know you want to jump straight into the big, pretty design. I also know how it feels to watch an entire sheet of premium vinyl get mangled because the setting was too aggressive. A test cut is your budget’s best friend.
How to do a test cut
- Duplicate a small shape like a 0.5 inch square or circle in Design Space.
- Place it in an unused corner of your material in the Make It screen.
- Cut using the material setting you think is right.
- Check the result: it should weed or lift cleanly, and the backing (for vinyl) should not be cut through unless you intended it.
If the cut is not right: Adjust pressure (Less, Default, More), change material setting, or try a fresh blade. Small changes make a big difference.
Technique 6: Nail the big material workflows
Most beginner projects live in these three lanes. Once you understand the rhythm of each, you can tackle a large share of everyday Cricut crafting with confidence.
Adhesive vinyl (decals, labels, signs)
- Cut: Vinyl goes on the mat with the colored side up.
- Weed: Remove the excess vinyl, leaving your design.
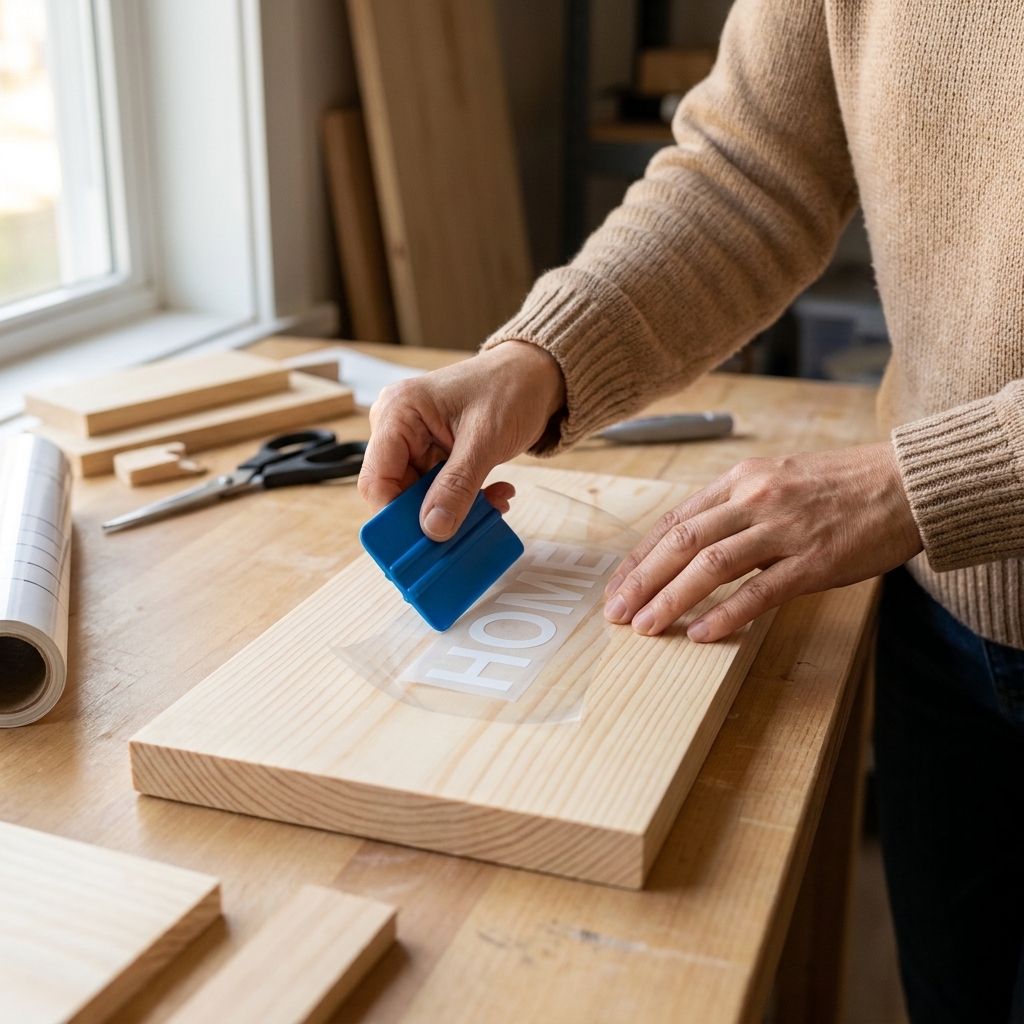
- Transfer: Use transfer tape to lift and place your design.
- Burnish: Rub firmly with a scraper so the vinyl bonds well.
Beginner save: Start with bigger text and simpler shapes than you think you need. Tiny fonts are possible, but they are a fast track to frustration when you are still learning pressure, blades, and weeding.
Another good trick: If tiny letters keep lifting, burnish the transfer tape to the vinyl first, then flip and peel the vinyl backing away from the tape slowly. Let gravity help you.
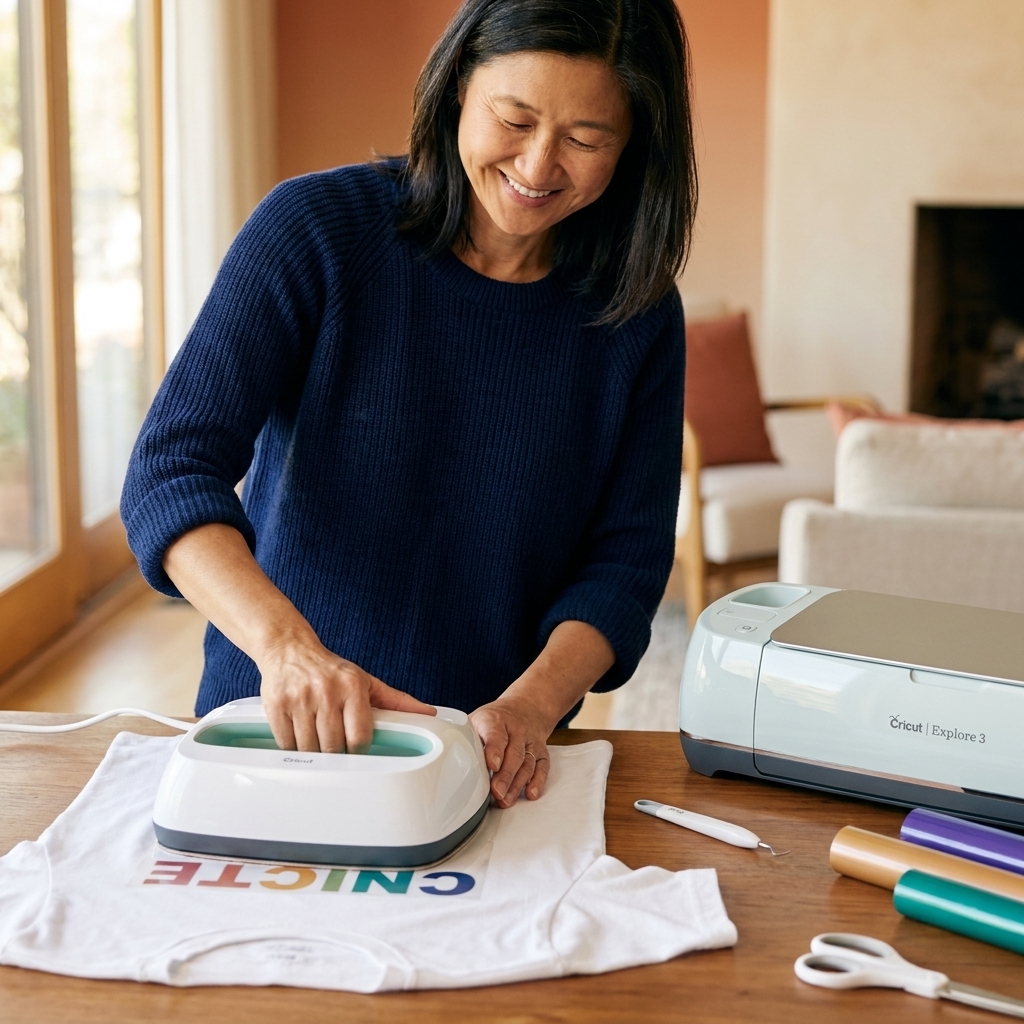
Iron-on (HTV) for shirts, totes, and fabric projects
- Mirror your design: Turn on Mirror in the cut screen every time.
- Place material shiny side down: The clear carrier sheet faces the mat, and you cut from the back.
- Weed: Remove the HTV you do not want, leaving the design on the carrier sheet.
- Press: Use a heat press or household iron with firm, even pressure, following the HTV brand’s temperature and time.
Pressing details that prevent heartbreak: Preheat the blank for a few seconds to remove moisture and wrinkles, and press on a firm surface (a pressing mat helps). Also pay attention to peel instructions, because some HTV is warm peel and some is cold peel.
Beginner check: If your HTV lifts after pressing, you likely need more pressure or a bit more time. If it looks scorched or wavy, it was too hot or pressed too long.
Cardstock (cards, tags, paper flowers)
- Choose the right mat: LightGrip for delicate paper, StandardGrip for most cardstock.
- Use a brayer if you have one: Rolling the cardstock onto the mat improves contact and reduces shifting.
- Unload carefully: Flip the mat and peel the mat away to prevent curls.
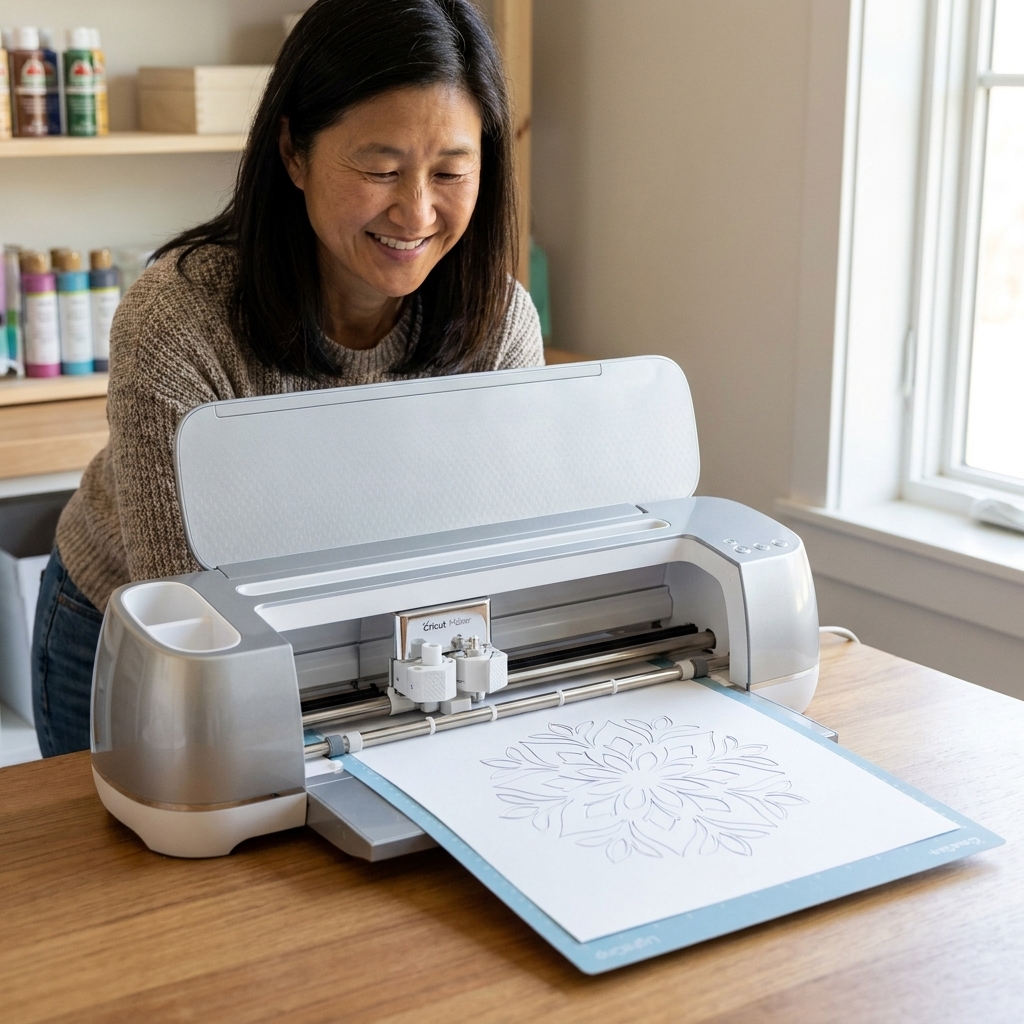
Technique 7: Finish clean with weeding and alignment
The cut is only half the story. The finishing steps are what take a project from “I made this” to “wait, you made this?”
Weeding that stays manageable
- Use weeding boxes: Add a rectangle around your design before cutting. It gives you a clean edge to pull from and keeps scraps contained.
- Weed under good light: A desk lamp aimed across the vinyl helps you see cut lines.
- Go slow on thin fonts: If you are committed to tiny text, choose a thicker font or increase letter spacing for your first few projects.
Transfer tape that behaves
- Standard vinyl: Regular transfer tape is usually perfect.
- Glitter vinyl: Often needs stronger transfer tape.
- Delicate vinyl or painted surfaces: Use a less sticky transfer tape and reduce burnishing pressure.
Easy alignment for straight decals
- Hinge method: Tape one edge of your transfer-taped decal to the surface like a hinge, then lift, peel the backing, and lay it back down smoothly.
- Center-out burnish: Burnish from the center outward to reduce bubbles.
- Slow peel: Peel transfer tape back over itself at a low angle. If vinyl lifts, lay the tape back down and burnish again.
Quick troubleshooting
If your Cricut has a tiny dramatic moment, you are not alone. Here are the most common beginner hiccups and the fastest fixes.
- My cut did not go through: Confirm the material setting, check the blade for debris, make sure the material is fully adhered to the mat, then try More pressure or a second pass if appropriate.
- My material ripped or shredded: Switch to a less aggressive setting, reduce pressure, use a LightGrip mat for delicate papers, and consider a fresh blade.
- My design moved on the mat: Press the material down firmly (brayer helps), clean your mat, and avoid warped cardstock.
- My letters are too tiny to weed: Increase font size, use a thicker font, add letter spacing, or cut with less intricate text until you build confidence.
- My iron-on looks backward: Mirror was off. We have all done it. Turn it into a patch, pocket decal, or test swatch and call it practice.
- My Print Then Cut is off: If you are making stickers or printed labels, run Print Then Cut calibration in Design Space. It is a one-time setup that can save a lot of wasted sticker paper.
Safety and care basics
This is the unglamorous part that keeps your projects and your machine happier.
- Keep hands clear: Do not reach into the machine while it is cutting.
- Do not walk away from Knife Blade cuts: Knife Blade projects can take many passes. Stay nearby and follow prompts so the mat does not shift.
- Keep things clean: Wipe dust off the machine and keep mats covered when not in use. If you notice debris near the rollers, gently remove loose bits so feeding stays smooth.
Practice projects
If you want to practice these techniques without committing to a huge craft marathon, try one of these small wins:
- Vinyl: A simple name label for a water bottle or storage bin (one word, one color).
- Iron-on: A small heart or initial on a canvas tote.
- Cardstock: A basic card with a scored fold and a layered shape.
- Fabric (rotary blade): A set of felt shapes for kids’ play or appliqué practice.
Pick one lane, do a test cut, and focus on a clean finish. That is how you build Cricut confidence fast, without burning through supplies or patience.
Beginner FAQ
Do I need the Cricut Maker, or would an Explore work?
If you mainly cut vinyl, iron-on, and cardstock, an Explore can be enough. The Cricut Maker shines when you want broader material capability, especially fabric with the rotary blade and thicker materials with the knife blade. If you already own the Maker, you are set up for a lot of growth.
How often should I replace my blade?
It depends on what you cut. Paper and glitter cardstock dull blades faster than vinyl. If you notice pulling, tearing, or inconsistent cuts on settings that used to work, it is often time for a new blade.
What is the one habit that prevents wasted material?
A small test cut in the corner of your material. It takes an extra minute and can save an entire roll of vinyl, a full sheet of specialty paper, or your last scrap of iron-on.