From coverage and drying time to surfaces, supplies, and durability, here’s a crafter-first breakdown of acrylic vs. watercolor so you can pick the right p...
There is something magical about pairing woodburning with watercolor. The burn lines feel permanent and grounding, and the watercolor brings in that airy, luminous glow. The trick is getting them to play nicely together. Raw wood drinks water, soot can smear, and one wrong step can turn crisp petals into a fuzzy puddle.
In this tutorial, I will walk you through a reliable workflow for intermediate makers: how to prep wood so watercolor sits more on the surface instead of disappearing into the grain, how to burn clean lines you can actually paint up against, and how to seal everything at the end so your colors stay bright.

Why this combo is tricky (and worth it)
Woodburning plus watercolor is mixed media in the truest sense. You are combining a heat-created line with a water-based pigment on a porous surface. That creates three main challenges:
- Porosity: Most woods act like a paper towel, pulling paint outward and causing bloom and bleed.
- Residue: Burning creates soot. If you paint over it too soon or rub it later, it can gray out your colors.
- Sealing order: Seal too early and paint can bead up. Seal too late and color stains unpredictably.
Once you understand those three, the rest is just a calm, repeatable sequence.
Supplies that actually help
Wood and prep
- Wood surface: Basswood is my favorite for this. It is pale, fine-grained, and burns predictably.
- Sandpaper: 180 grit, 220 grit, and optional 320 grit for a silky finish.
- Tack cloth or a lint-free rag slightly dampened with water for dust removal.
- Optional surface barrier: A clear watercolor ground or a very thin clear acrylic medium can reduce bleeding and help you get cleaner edges. More on this in the prep section.
Burning
- Woodburning tool: A temperature-controlled unit is ideal for clean line work.
- Tips: A fine writing tip for outlines, a shader tip for soft gradients if you like.
- Heat-safe stand and a ceramic tile or metal tray as a safe rest zone.
- Ventilation: A small fan pulling fumes away from you, plus an open window. If you burn often, consider a fume extractor.
Watercolor
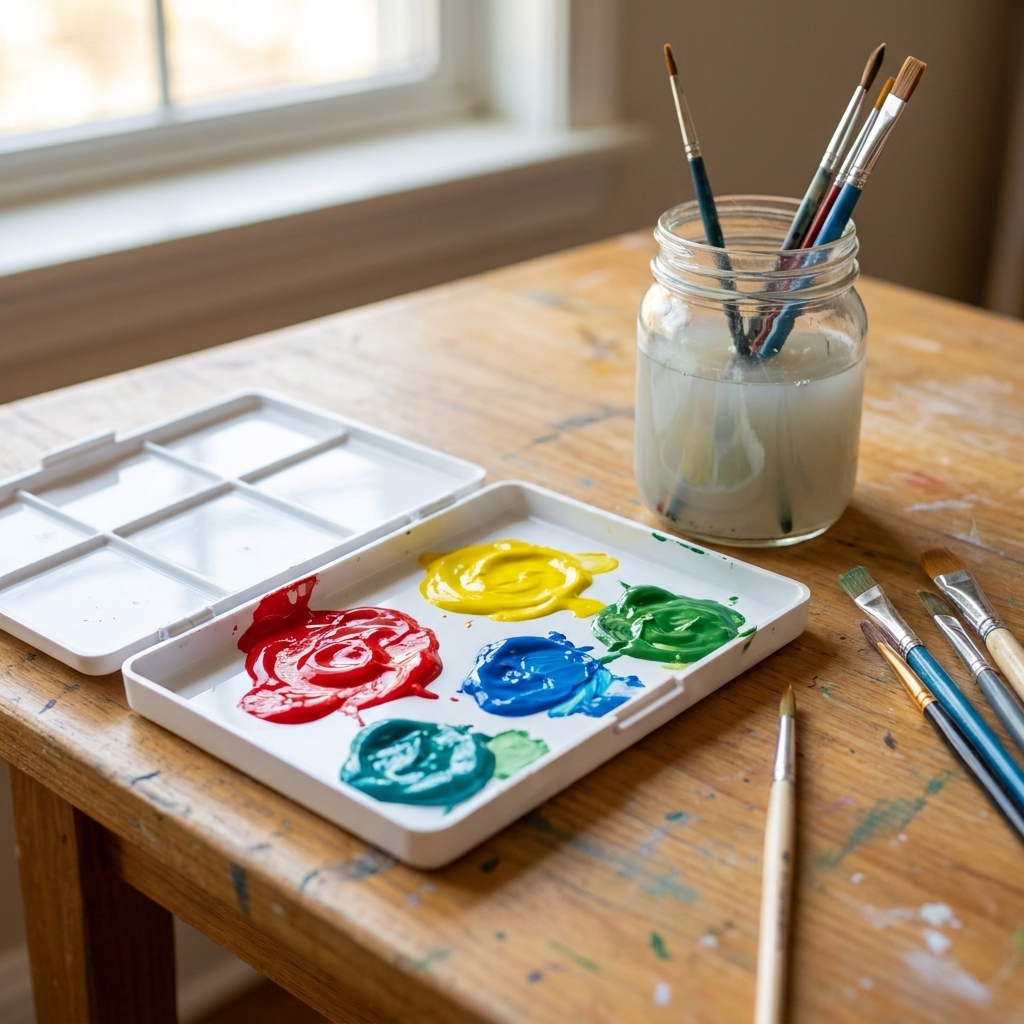
- Artist-grade or student-grade watercolor (tubes or pans). Artist-grade tends to glaze cleaner on wood.
- Brushes: One round brush (size 4 to 8) and one small detail brush.
- Palette for mixing.
- Water: Two cups, one for rinsing and one for clean mixing water.
- Paper towel or cloth for controlling moisture.
Finishing
- Spray sealer: A clear acrylic spray is often the safest first step for locking everything down with minimal smearing. Choose matte, satin, or gloss.
- Optional brush-on topcoat: Water-based polyurethane can work, but only after you lock the watercolor down with a spray layer first.

Safety: quick setup checklist
I used to treat woodburning like a cozy hobby until I scorched a project because I set the hot tool down in the wrong spot for one second. Learn from my chaos.
- Work on a heat-safe surface (ceramic tile, metal tray, or a dedicated pyrography mat).
- Keep the cord out of your arm path so you do not drag the hot tip across your piece.
- Ventilate every time: burning any wood creates particulates and fumes. Avoid burning treated, painted, or unknown scrap wood, and never burn pressure-treated lumber.
- Consider a respirator rated for particulates, and for frequent burning, one rated for particulates plus organic vapors.
- Let the tool cool fully before changing tips or storing it.
- Keep water away from the hot tool. Do not paint while the tool is on the table unless you have a clear separation zone.
Step 1: Prep the wood
Pick the right wood
For watercolor, grain matters. Open-grain woods (like oak) can create dramatic texture, but they also encourage bleeding. If you want crisp edges, start with basswood, birch, or a smooth maple panel.
Sand like you mean it
Sanding is not just about smoothness. It is about controlling how water sinks into the surface.
- Start with 180 grit if your piece feels rough or has laser-cut fuzz.
- Move to 220 grit for an even surface.
- Optional: finish with 320 grit if you want watercolor to glide and stay brighter on top.
Always sand with the grain, then remove dust thoroughly with a tack cloth or damp lint-free rag. Let it dry fully before burning.
Decide: raw wood or more control?
You have two solid paths here:
- Option A: Raw wood (most natural look): Watercolor will stain and spread more. Great for loose, painterly backgrounds and rustic pieces.
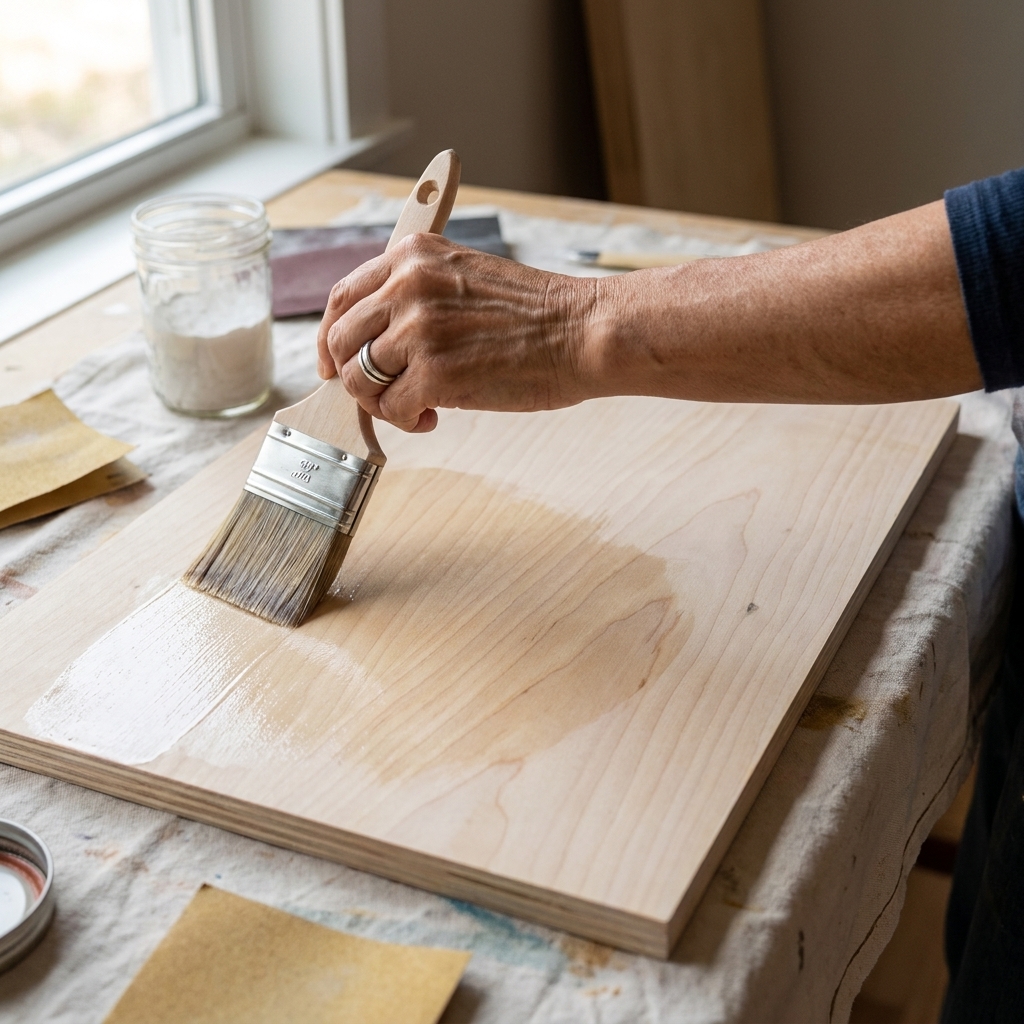
- Option B: Add a surface barrier (more control): Use a clear watercolor ground (often acrylic-based) or a very thin coat of clear acrylic medium. This gives you cleaner edges and more vibrant color. It slightly changes the feel of the wood surface, but it is a lifesaver for detailed painting.
If you choose Option B, apply a very thin coat, let it dry completely, then lightly sand with 320 grit to knock down any texture. Wipe dust off again.
One quick compatibility note: different brands of clear ground dry with different tooth. Some can dry slick and make paint bead, especially if applied too thick. Do a small swatch test before you commit to the whole piece.
Step 2: Transfer your design
Because burning is permanent, I like to do a clean transfer first.
- Graphite transfer paper: Place it under your printed design and trace lightly.
- Pencil sketch: Use a hard pencil (H or HB) and keep lines faint so they do not show through watercolor.
Avoid pressing hard. Indentations catch pigment and can create unintended dark outlines even if you paint lightly.
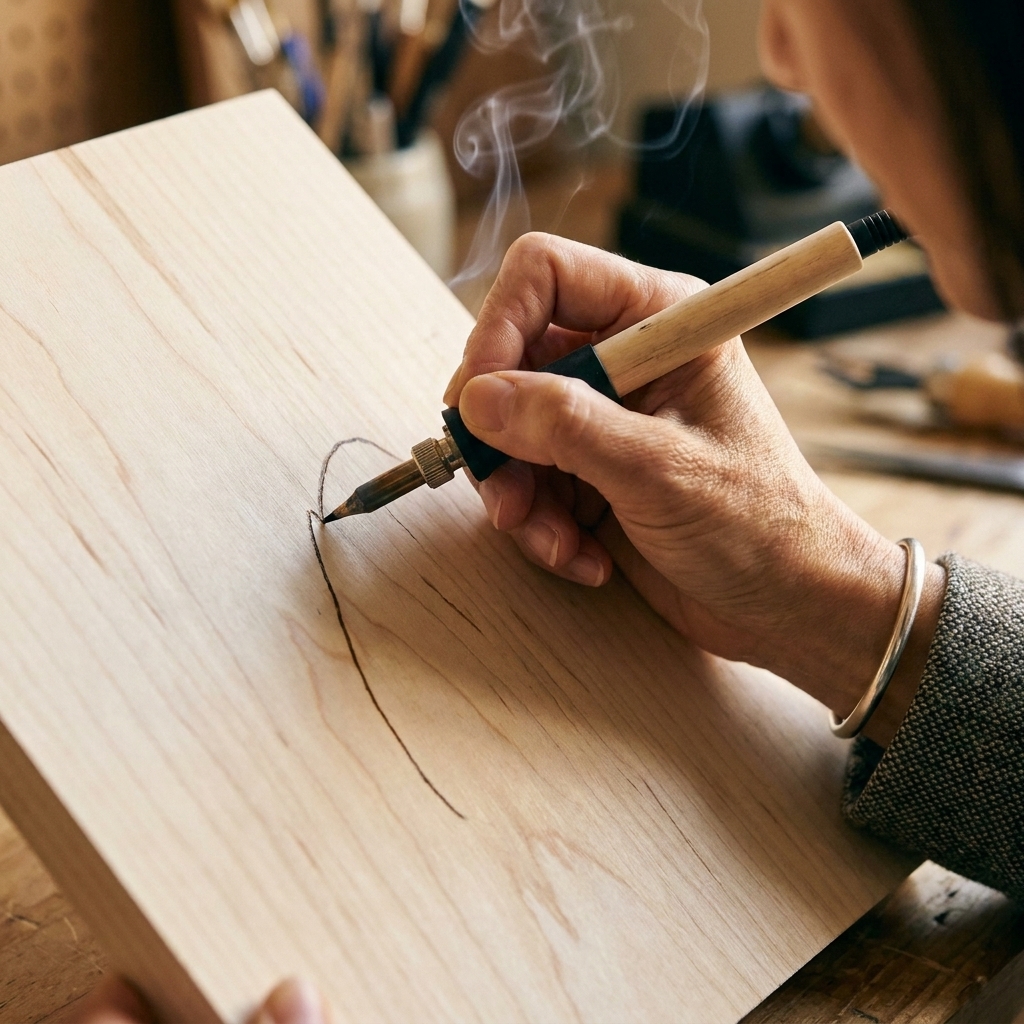
Step 3: Burn clean lines
Temperature and speed
Crisp lines come from the relationship between heat and motion.
- Too hot + too slow = deep grooves and smoky halos.
- Too cool + too fast = scratchy, uneven lines.
Do test strokes on a scrap of the same wood and prep. I aim for a medium heat where the tip glides and the line is a warm brown, not pitch black. If you love a high-contrast look, you can absolutely go darker. Just know that darker burns can come with more soot and more chance of a haze around the line.
Line control (quick refresher)
- Pull, do not push: Pulling the tip toward you gives steadier lines.
- Anchor your hand: Rest your pinky on the wood like you would with a pen.
- Rotate the wood: Turn the piece so you can keep pulling strokes rather than contorting your wrist.
- Burn outlines first: Then add interior details. That way you do not smear graphite into finished areas.
Reduce soot smudges
After burning, let the piece cool. Then use a very soft, dry cloth to gently wipe the surface. You are not scrubbing. You are just lifting loose soot.
If you still see gray residue, a clean vinyl eraser can help. Use a light touch and clean away eraser crumbs thoroughly.
Step 4: Paint without bleeding
Do a tiny test first
Choose an inconspicuous corner and paint a small swatch with your typical water-to-paint ratio. Watch what happens:
- If it spreads quickly, you need less water, smaller brush loads, or a sealed surface next time.
- If it beads up, your surface barrier is too slick or too thick. Light sanding can help, or use a slightly creamier mix of paint.
My go-to method: controlled glazing
Instead of trying to get full color in one pass, build it in layers. This keeps edges cleaner and prevents wood from getting over-saturated.
- Mix a creamy puddle of color on your palette. You want pigment, not tinted water.
- Blot your brush so it is damp, not dripping.
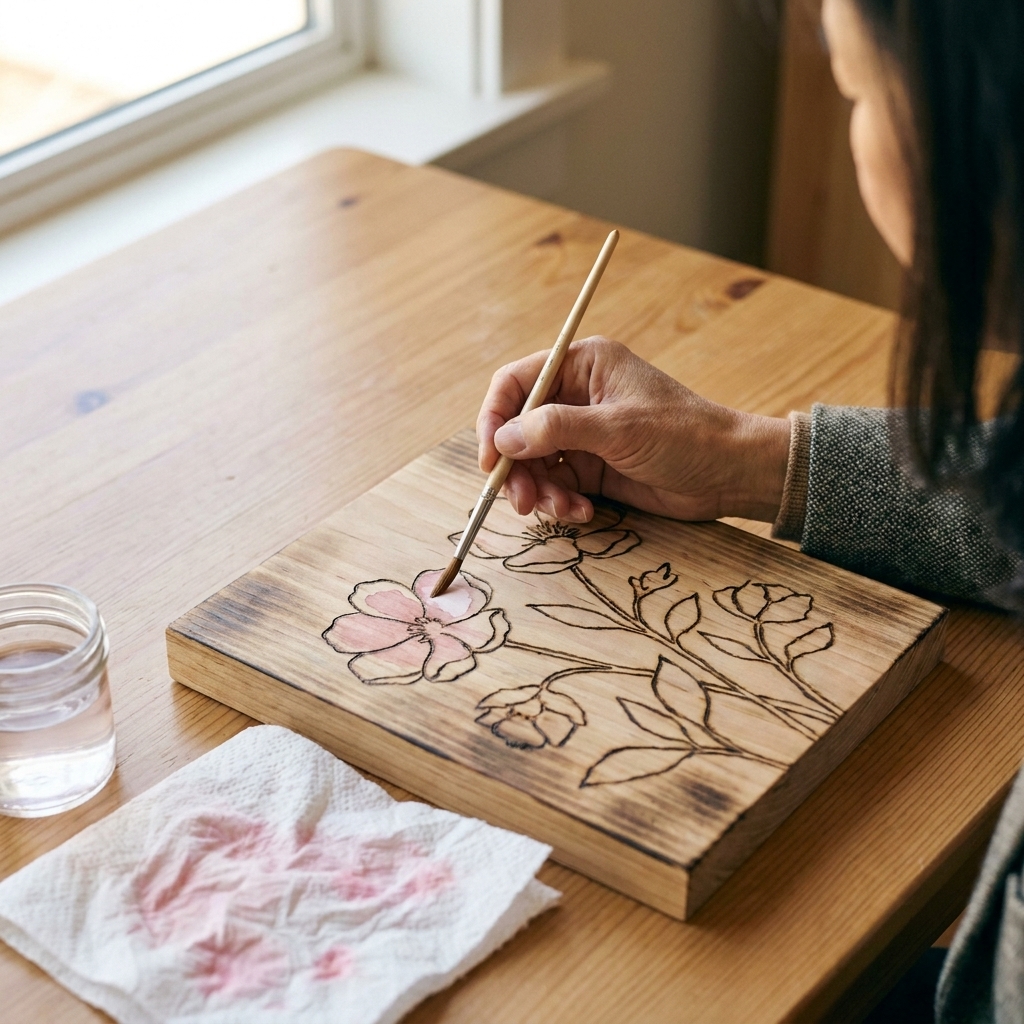
- Paint within one zone at a time, like one petal, one leaf, or one background shape.
- Let it dry fully before adding the next layer.
Use burn lines as guides
Burn lines can act like a visual boundary, and sometimes they also slow paint down a bit because the burned groove and texture can interrupt flow. That said, they are not a guaranteed “seal,” especially on thirsty wood or with very wet washes. Paint up to the line using the side of your brush, then use your detail brush for the last millimeter.
Keep paint from crawling into the grain
- Work smaller: Tiny sections dry faster and behave better than big wet washes.
- Skip soaking-wet techniques: Wet-on-wet looks dreamy on paper, but it is the fastest way to get cauliflower blooms on wood.
- Dry between layers: A hair dryer on cool or low can help, but keep it moving so you do not push pigment into edges.
Advanced edge control
Technique 1: Paint away from the line
Instead of pushing paint toward your burned outline, start at the outline with a nearly dry brush and pull the color inward. This keeps the wettest part of the wash away from the edge where bleeding is most noticeable.
Technique 2: Thirsty brush cleanup
If paint starts to creep where you do not want it, clean your brush, blot it until it is just damp, then touch the edge. The brush will drink up excess water and pigment like a tiny sponge.
Technique 3: Selective sealing
If you have a background that always blooms, you can selectively add a whisper-thin coat of clear acrylic medium just in that area before painting. Let it dry and lightly sand if needed. It is a very crafty solution, but it works.
Common problems and quick fixes
My watercolor looks dull and muddy
- Cause: Soot smearing into paint, or overworking layers.
- Fix: Wipe burned areas gently before painting. Let each layer dry fully. Use fewer brush strokes per layer.
The paint keeps bleeding past my lines
- Cause: Too much water, very absorbent wood, or shallow burn lines.
- Fix: Mix paint creamier, blot brush more, paint smaller sections. Consider a clear ground next time.
My lines look fuzzy or scorched
- Cause: Tool too hot or tip sitting still.
- Fix: Lower temperature, keep moving, and practice longer continuous strokes on scrap.
The surface is rough after I seal it
- Cause: A heavy coat, spraying too close, humidity, or a water-based topcoat raising the grain.
- Fix: Use lighter coats from the recommended distance. Once fully cured, you can very lightly sand with 600 grit and recoat.
Step 5: Seal it
This is where many gorgeous projects get accidentally ruined, so go slow.
Let the watercolor settle
Watercolor may feel dry quickly, but give it time to fully settle into the surface. I like to wait at least a few hours, and overnight if I used multiple layers.
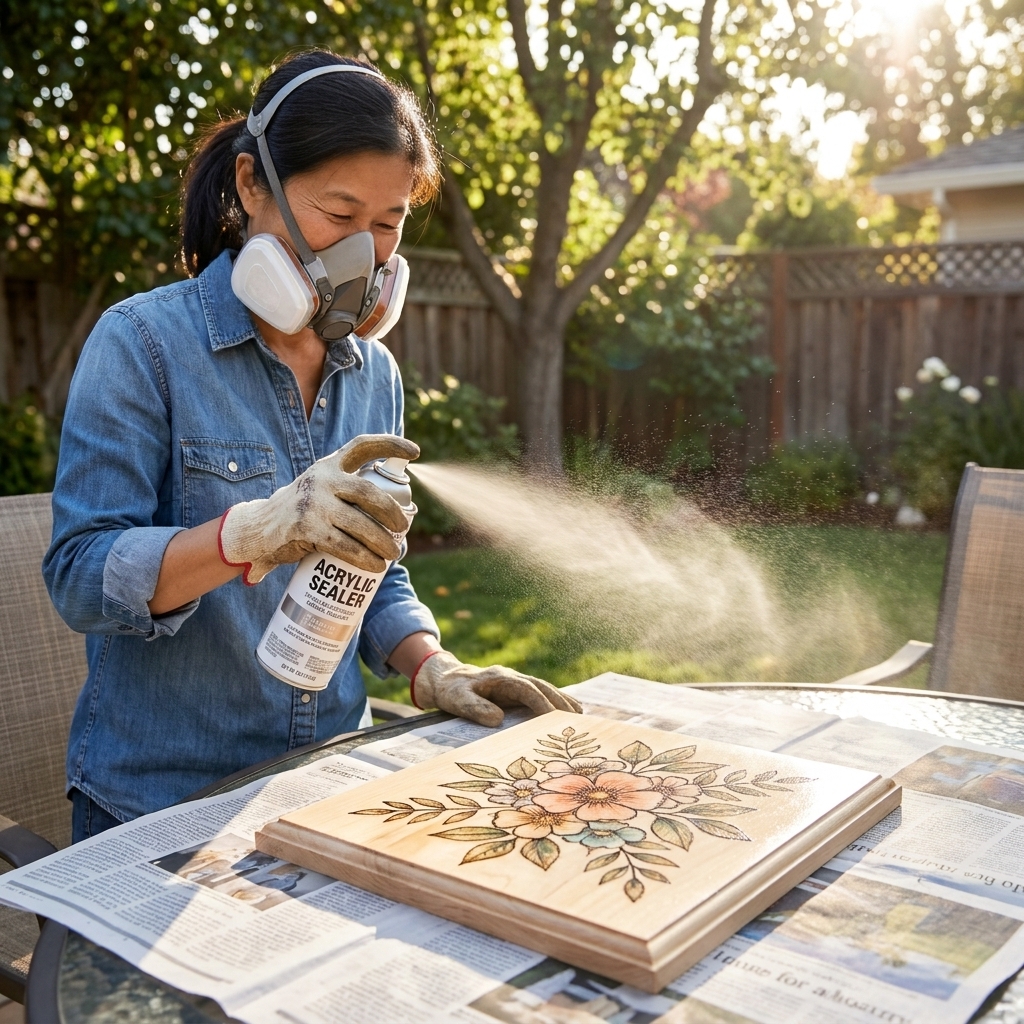
Use a spray sealer first
Even if you ultimately want a brush-on topcoat, begin with a spray to lock down both soot and watercolor.
- Spray in ultra-light, even passes. A mist is your friend here.
- Start spraying off the piece, move across, and stop off the piece again.
- Do 2 to 4 light coats rather than one heavy coat.
- Let each coat dry according to the can instructions. Many acrylic sprays want something like 10 to 20 minutes between coats, but always follow the manufacturer recoat window.
Even “safe” sprays can spot or re-wet color if you spray too close or too wet, so keep your distance and build the seal slowly.
Optional: add a tougher topcoat
If your piece will be handled a lot (coasters, signs, ornament-style gifts), you can add a water-based polyurethane after the spray sealer has dried. Apply gently with a soft brush and minimal passes to avoid disturbing the surface.
For items that will face real moisture, like coasters, you will want a truly waterproof finish and the willingness to accept wear over time. Watercolor-plus-wood is durable enough for decor, but drink rings are ruthless.
Project ideas
- Botanical name plaque: Burn clean leaf outlines, then glaze greens in layers.
- Constellation map: Burn stars and thin connecting lines, then paint a soft galaxy wash around them.
- Simple mandala: Burn a symmetrical pattern and use watercolor to create a gradient effect.
- House portrait ornament: Burn the architecture lines, then paint loose washes for sky and landscaping.
FAQ
Do I woodburn first or watercolor first?
Almost always woodburn first, then watercolor. Burning over watercolor can scorch and discolor pigment, and it can create fumes you do not want. Burning first also gives you boundaries that help you paint cleaner.
Can I use watercolor on plywood?
Yes, but pick a smooth, cabinet-grade plywood or birch panel and sand it well. Plywood grain and glue lines can behave unpredictably with water. A clear watercolor ground helps a lot here.
What if I want a background wash?
Do a controlled wash with less water than you would on paper, and work quickly. If you want super soft blends, consider sealing the wood first with a clear ground so the wash has time to move before it sinks in.
Can I use watercolor pencils instead?
Absolutely. Watercolor pencils are a nice way to control moisture because you can lay down pigment dry and activate it with a barely damp brush. They are great for tiny areas inside burned outlines.
Will it last over time?
It can, especially as wall art or decor, but be realistic about sunlight and humidity. Some clear coats can yellow over time, and watercolor can fade in strong direct sun. If you want your piece to stay crisp and bright, display it out of harsh sunlight and avoid high-humidity spots.
A gentle reminder
Mixed media is supposed to feel a little experimental. Do a tiny scrap test, embrace the learning curve, and remember that even mistakes on wood tend to look charmingly handmade. Crisp burn lines plus soft watercolor is one of those combinations that rewards patience every single time.
If you try this, start with one small piece and keep notes on what you used and how wet your paint was. Future you will be so grateful.