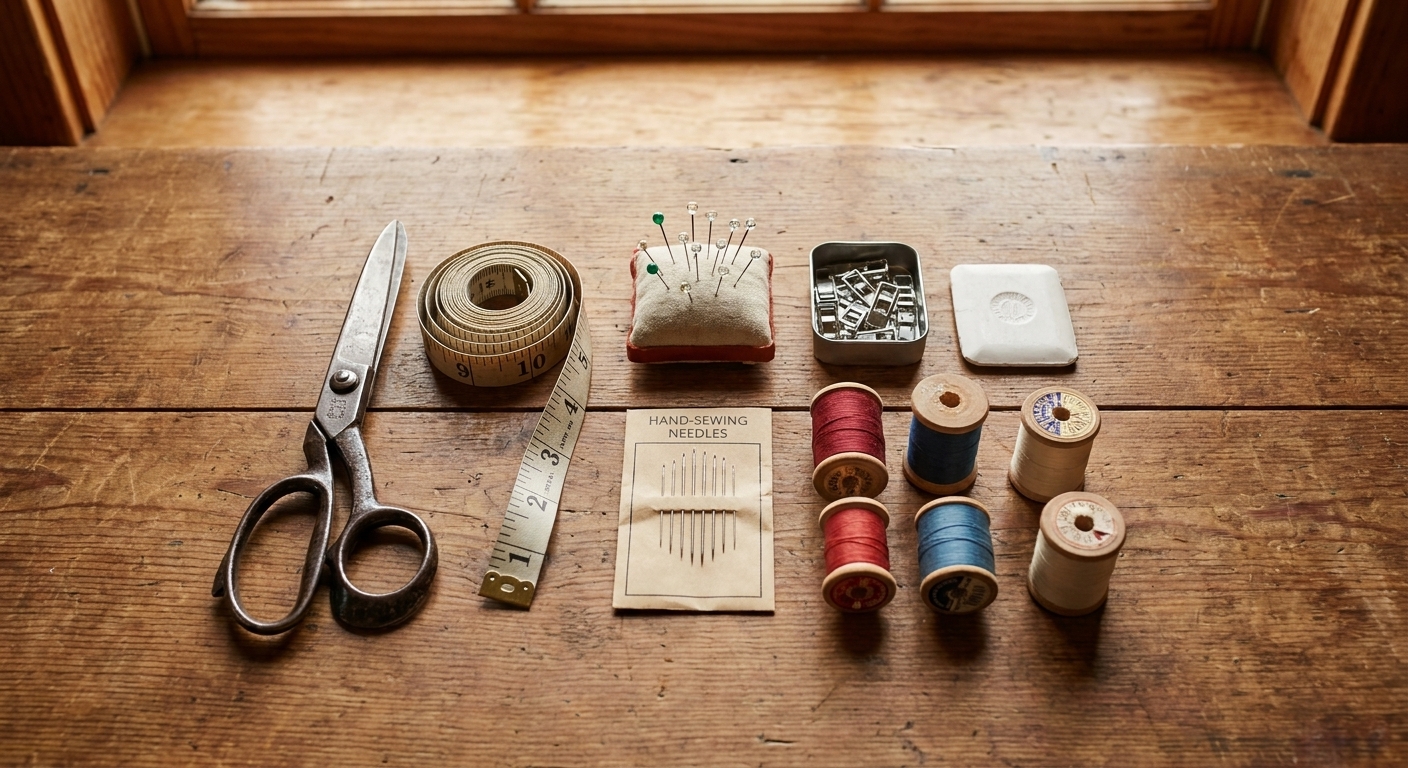
A beginner-friendly breakdown of the measuring, cutting, pinning, and marking tools that make sewing easier, neater, and way less frustrating.
Confession time: the first time I opened a commercial sewing pattern, I thought I’d accidentally bought a treasure map. Tissue paper everywhere, mysterious triangles, and enough lines to make my eyes cross.
If you’ve ever felt that “what am I even looking at?” panic, you’re in the right place. This guide will walk you through the key parts of a commercial sewing pattern (the kind you buy in an envelope or as a printed pack), what the symbols mean, and how to use sizing charts and grainlines so you can cut fabric with confidence. Even if your craft table looks like a paper snowstorm. Mine often does.
Start with the envelope
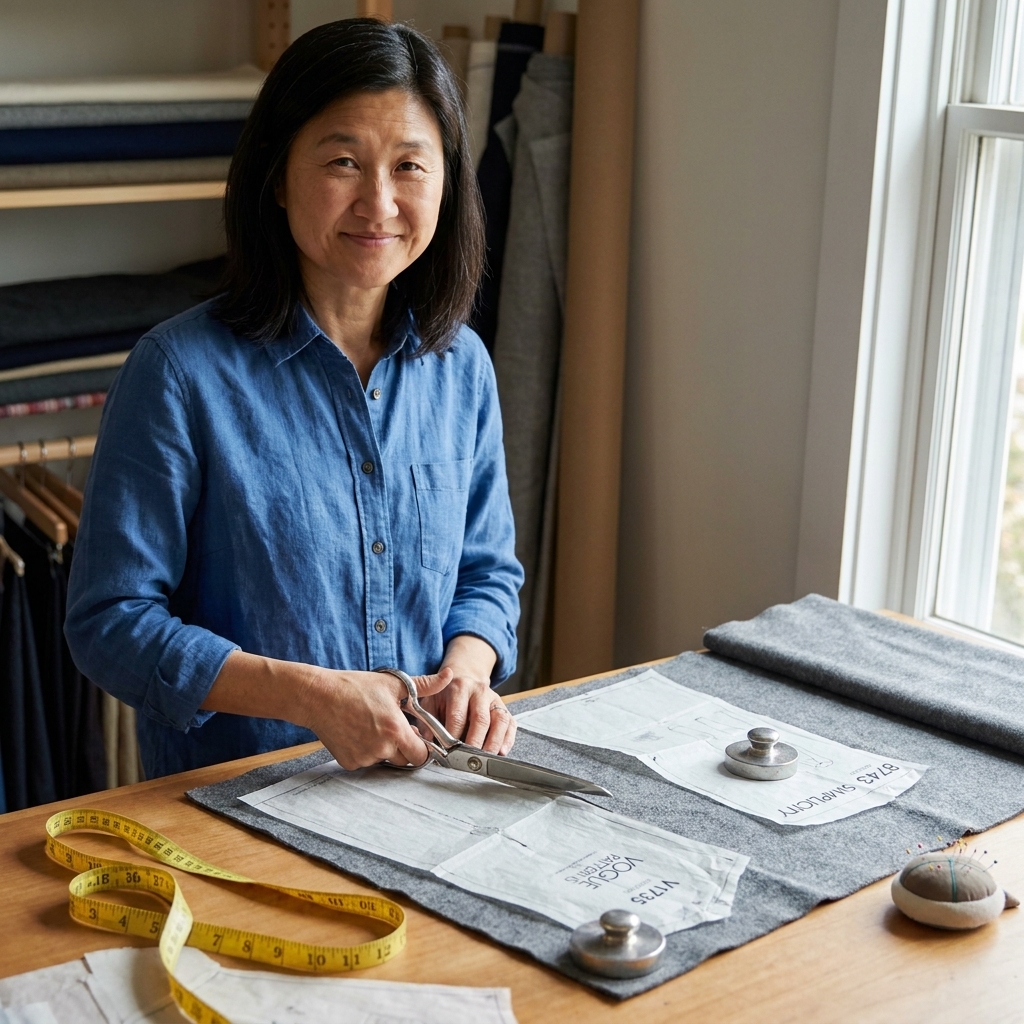
The pattern envelope or cover sheet is your roadmap. Before you cut anything, take 3 minutes to read it. It answers the questions beginners usually struggle with halfway through the project.
Front: what you are making
- Views (A, B, C, etc.): The same base pattern with different options. For example, View A might be short sleeves, View B long sleeves.
- Suggested fabrics: This is not a “nice idea.” It’s a compatibility list. A pattern drafted for woven cotton will behave very differently if you use a stretchy jersey knit.
Back: the practical details
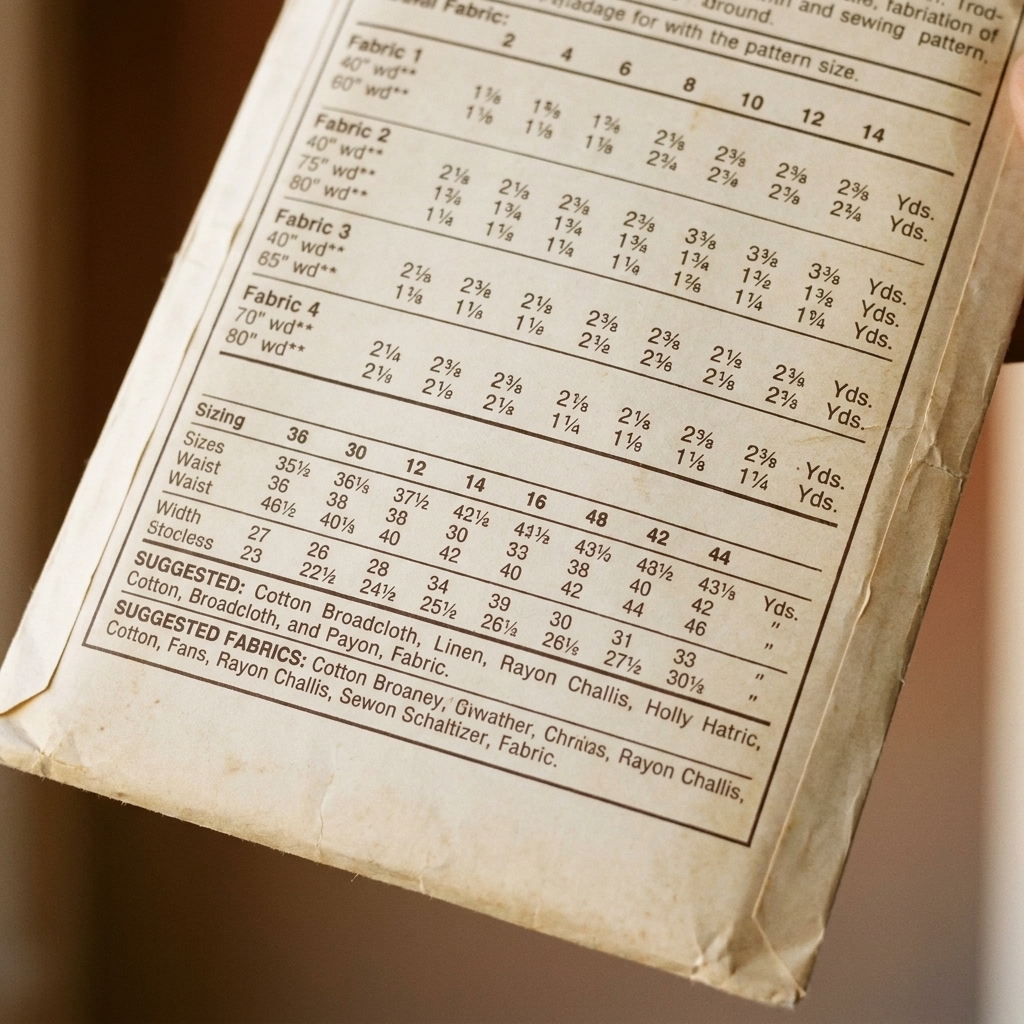
- Body measurements: A chart for choosing your size (bust, waist, hip, etc.).
- Finished garment measurements: How big the garment will be when sewn, which helps you understand ease.
- Yardage and notions: How much fabric you need and what extras to buy (zipper length, buttons, elastic, interfacing).
- Skill level or special techniques: Sometimes listed, sometimes not. Still worth scanning for “requires invisible zipper,” “includes lining,” and similar clues.
Sizing: use measurements
This is the moment that trips up almost everyone. Pattern sizes are their own universe. Ignore the number you wear in ready-to-wear clothing and choose your pattern size by the body measurement chart.
Body vs finished measurements
Body measurements are your actual measurements. Finished garment measurements include ease, the extra room that makes clothing wearable. Ease can be:
- Wearing ease: enough room to breathe, sit, and move
- Design ease: extra volume for a relaxed or oversized style
If you prefer a closer fit (or you hate surprises), compare the finished measurements to a garment you own and love.
If you are between sizes
Totally normal. Here are two beginner-friendly options:
- Choose the larger size if you are unsure, especially at the hips for skirts and pants. Taking in is usually simpler than letting out.
- Blend between sizes (also called grading between sizes). For example, cut a size 12 at the bust and gently transition to a size 14 at the waist and hips by connecting the lines smoothly.
My teacher trick: trace your pattern first so you can keep the original intact and re-cut if needed.
Meet the pattern piece
Each pattern piece is printed with a set of markings that tell you how to cut and assemble the fabric. Once you know what to look for, it gets a lot less intimidating.
Cutting lines and size lines
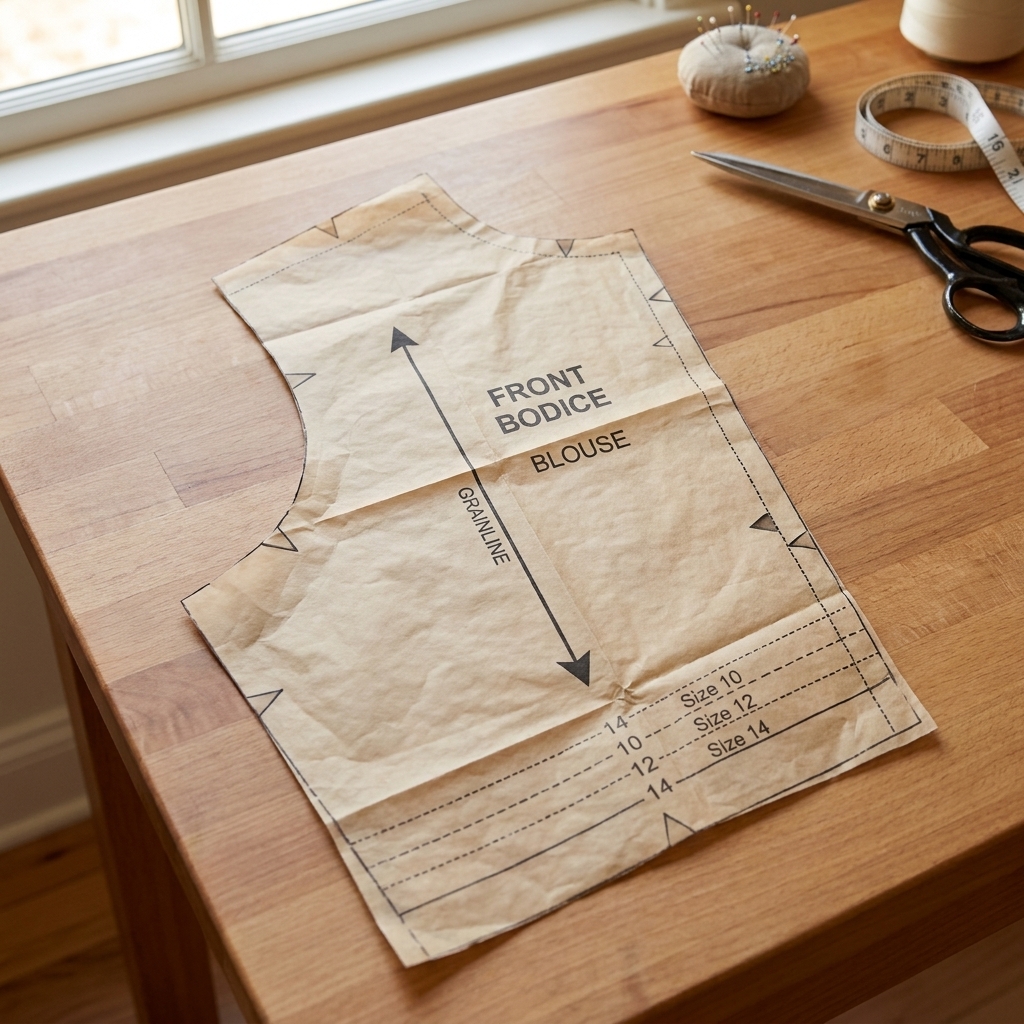
Most commercial patterns include several sizes on the same tissue. You’ll see nested outlines, like a topographic map.
- Find your size line and follow it carefully.
- Look for bolding or different dash styles that indicate different sizes.
- Seam allowance is often included in commercial patterns, but it is not universal, especially across all indie and PDF patterns. Always confirm it on the instruction sheet before you cut or sew.
- Common seam allowances you’ll see are 5/8 inch (1.5 cm) and 3/8 inch (about 1 cm), depending on the company.
If you accidentally cut the wrong size line, welcome to the club. This is why I trace with Swedish tracing paper or even gift wrap (the kind with a grid on the back) when I can.
Piece ID: name, number, view
Somewhere on each tissue piece you’ll usually find:
- Piece number (like “3”) and piece name (like “Front Bodice”)
- View indicators (A, B, C) showing which variation uses that piece
- Cutting info like “Cut 2,” “Cut 1,” or “Cut 1 on fold”
When the instructions say “Sew piece 3 to piece 4,” those numbers are your lifeline. If you keep getting lost, highlight the piece numbers on the instructions and circle them on the tissue. Low tech. Shockingly effective.
Cutting instructions: Cut 2, pairs, lining
These tiny phrases do a lot of heavy lifting:
- Cut 2: Cut two identical pieces. Often sleeves, collars, or facings.
- Cut 2 (mirror images) or Cut 1 pair: Cut a left and a right. Typically, you do this by cutting with fabric folded right sides together, so you get mirrored pieces automatically.
- Self: Cut from your main fabric.
- Contrast: Cut from a different fabric used for accents.
- Lining: Cut from lining fabric.
- Interfacing: Cut from interfacing, and check whether it should be fusible or sew-in.
If you are ever unsure whether something needs to be mirrored, look at the tissue. Asymmetrical pieces are usually labeled so you do not accidentally cut two left fronts and call it a design choice.
Grainline: the arrow you must not ignore
The grainline is usually a long arrow printed on the piece. It shows how the piece should align with the fabric’s grain.
Why grainline matters
- It controls drape (how fabric hangs).
- It helps prevent twisting seams and wonky hems after washing.
- It helps matching pieces fit together the way the pattern maker intended.
How to place the grainline
Most often, the arrow should be parallel to the fabric selvage (the finished edge). To do it:
- Lay the pattern piece on the fabric.
- Measure from one end of the grainline arrow to the selvage.
- Measure from the other end of the arrow to the selvage.
- Adjust until both measurements match.
If the pattern specifically says Cut on the bias, that means the grainline should be set at a 45 degree angle to the selvage. Bias cuts add drape and a bit of stretch, but they can also grow. For bias skirts and dresses, it helps to let the garment hang for a while before hemming so it can “drop” and you can level the hem evenly.
Fold line vs cut on fold
Two very similar phrases, two different jobs:
- Cut on fold: Place that edge of the pattern piece exactly on the folded edge of your fabric. You cut around the other edges, then unfold a full, symmetrical piece.
- Fold line: Some pieces (like waistbands, facings, and certain collars) are cut as one piece and then folded along a marked line during construction. The fold line is a construction guide, not necessarily where you place it on the fabric fold.
Beginner tip: If a piece says Place on fold, I like to pin the fold edge first so it cannot creep away while I pin the rest.
Notches: the tiny triangles
Notches are small triangle or diamond marks along the edge of a pattern piece. They are match points that help you line up seams correctly.
- Single notch vs double notch often distinguishes front from back, or one seam from another.
- Notches help you ease sleeves, align side seams, and match princess seams.
How to transfer notches: Instead of cutting little triangles outward (which can distort delicate fabrics), I usually snip inward into the seam allowance about 1/8 inch (3 mm). Just a tiny snip. Do not cut past the seam allowance line.
Dots and squares
You may see small printed shapes inside the piece or along an edge. Common meanings:
- Dots or circles: match points, dart points, or where something attaches (like a pocket)
- Squares: placement marks for trim, tabs, or sometimes zipper stops
- Button and buttonhole marks: where to sew buttons and stitch buttonholes
Transfer these to your fabric before you remove the pattern tissue. For beginners, tailor’s chalk, washable fabric marker, or tracing paper with a wheel can work. Test your marking tool on a scrap first, always.
Marking tools: what to use
If you’re staring at your tools like “which of you is the least likely to ruin my fabric,” here’s a simple rule of thumb:
- Chalk or washable marker: Great for stable wovens. Test first for staining and for whether it actually washes out.
- Tracing wheel and paper: Fast for crisp fabrics, but can leave permanent tracks on delicate or coated fabric. Test first.
- Tailor’s tacks: Slower, but very safe for slippery, sheer, or napped fabrics where chalk rubs off and wheels can damage the surface.
- Snips into seam allowance: Perfect for notches, and low drama if you keep them tiny.
Darts
Darts look like triangles or long wedge shapes drawn on the pattern. They remove fabric to shape around curves like bust and waist.
- Transfer dart legs (the two outer lines) and the dart point.
- Fold right sides together, matching dart legs, then sew from the wide end toward the point.
If you want a smoother dart: sew off the fabric at the dart point and tie the threads by hand rather than backstitching right at the tip.
Lengthen and shorten lines
Many patterns include a line labeled lengthen or shorten here. This is your built-in adjustment zone for torso length, skirt length, sleeve length, and more.
- To shorten: fold the pattern along the line and overlap evenly.
- To lengthen: cut along the line and spread the pieces apart, taping paper underneath to fill the gap.
This is one of those “sewing superpowers” that feels fancy but is truly just careful taping.
Cut lines vs stitch lines
Most of the time, the line you cut on is the outer edge of the tissue piece, and you sew using the seam allowance listed in the instructions. Occasionally, a pattern will print a stitch line for specific details (like a collar corner, a pocket pivot point, or a quilting line). If you see a clearly labeled stitch line, trust the label. Otherwise, assume the printed outline is your cutting line and use the seam allowance given.
Layout sheets
Inside the instructions you’ll find cutting layouts, sometimes printed as little maps of pattern pieces arranged on folded fabric.
Use them as a guide, but know this:
- Layouts are usually optimized for the recommended fabric width (often 45 inch or 60 inch).
- They assume your fabric is squared up and folded accurately.
- They may not show the most fabric-saving layout for your specific size, view, or directional print.
Nap and one-way prints
If your fabric has nap (like velvet, corduroy, faux fur) or a one-way print (like flowers that all point upward), your layout must keep all pieces facing the same direction.
The instructions may say:
- With nap or with direction
- It may show every piece oriented the same way, even if that uses more fabric
Do not flip pieces “to make them fit” unless the layout and pattern specifically allow it. Your finished garment can look like it has mismatched color or upside-down motifs if you do.
Common sewing terms
- RST: Right sides together
- WS: Wrong side
- Clip: Make small cuts into seam allowance to help a curve spread
- Notch: Cut a small wedge out of seam allowance to reduce bulk on inward curves
- Understitch: Stitch seam allowance to facing to keep it from rolling outward
- Staystitch: A line of stitching just inside seam allowance to prevent stretching, common on necklines
- Ease: Slightly “shrink” one piece to fit another without visible gathers
If your instructions suddenly feel like a foreign language, circle the unfamiliar words and look them up one by one. Sewing is a skill, not a personality trait. Nobody is born knowing what understitching is.
Before you cut
I like to do this quick routine before scissors touch fabric:
- Prewash your fabric the way you plan to wash the finished item.
- Press the fabric. Wrinkles can steal yardage and distort pieces.
- Check the pattern size using body measurements, then confirm ease with finished measurements if available.
- Read the instructions once from start to finish. You are looking for surprises like interfacing, bias tape, or a zipper type.
- Identify grainline, cut on fold, and notches on each piece.
- Decide how you’ll transfer markings (chalk, washable pen, tailor’s tacks).
This is also where I whisper a friendly reminder to myself: cutting is not a race. Most sewing “mysteries” are really cutting or marking issues that happened earlier.
Troubleshooting
“My pieces do not fit on the fabric.”
- Double-check your fabric width and the layout version (45 inch vs 60 inch).
- Make sure you are using the correct view (A, B, etc.).
- Confirm you did not forget to cut a piece on a single layer vs on the fold.
- Square the fabric ends. Some cuts from the store are not perfectly straight.
“I cut the right size, but it looks huge.”
- Look at the finished garment measurements and the design ease. Some patterns are intentionally roomy.
- Check seam allowance. If you sew a smaller seam allowance than intended, the garment gets bigger because you are taking less fabric into the seam.
- Try a quick baste fitting before final seams.
“My garment twists after washing.”
- Often: grainline was off, or fabric was pulled while cutting.
- Also possible: the fabric itself was off-grain or prone to twisting (this can happen with some knits and some lower-quality jersey).
- Another culprit: fabric wasn’t prewashed and shrank unevenly.
Practice project ideas
If you want a low-stress practice project, pick something with:
- Woven cotton or quilting cotton
- Few pieces (like an elastic waist skirt, simple apron, or pajama shorts)
- No zipper for your first round
Then focus on doing three things really well: align grainline, transfer notches and markings, and sew the seam allowance the pattern expects. Those basics will carry you through almost everything later.
FAQ
Do commercial patterns include seam allowance?
Many do, but not all. Check the instruction sheet for the seam allowance statement before you cut or sew.
What if I am one size on top and another on the bottom?
Blend between sizes. Cut the upper size at the bust, then smoothly transition to the larger or smaller line at the waist and hip as needed. This is extremely common and a totally normal body situation.
What is the difference between grainline and stretch direction?
Grainline refers to woven fabric structure, usually aligning with the selvage. For knits, the pattern may also indicate stretch direction, which tells you which way the fabric should stretch around the body. Follow the pattern’s knit guidance if it provides it.
Can I cut pattern pieces without pinning?
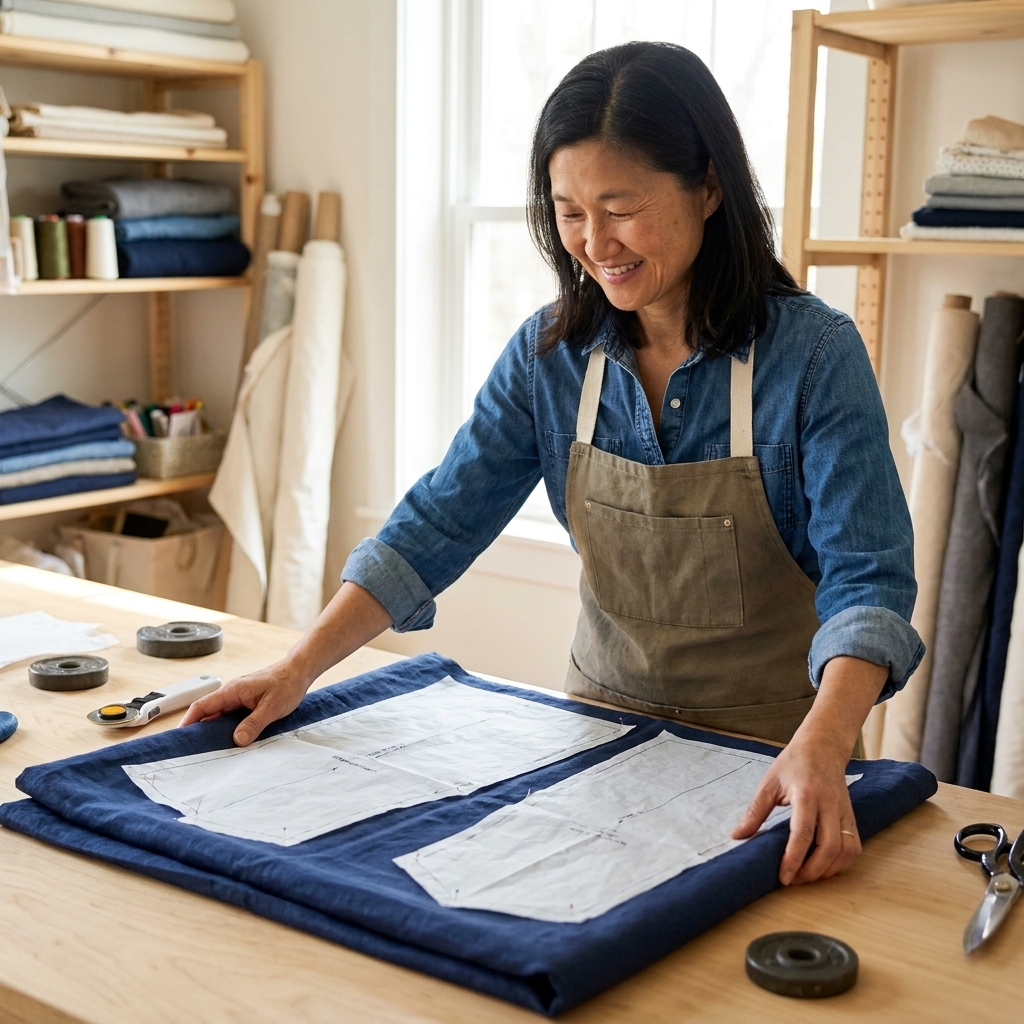
Yes. Pattern weights and a rotary cutter can be faster and often more accurate, especially on slippery fabrics. If you are using scissors, pinning or pattern weights help prevent shifting.
You’ve got this
Reading commercial sewing patterns really is a learned language. Once you understand grainline, notches, markings, and sizing, the mystery code turns into a set of helpful instructions that make sewing feel calmer and more predictable.
And if you mess up a notch or accidentally cut two left sleeves, please know: that is not failure. That is just sewing. Put the kettle on, grab a scrap of fabric, and we try again.