A step-by-step beginner guide to Cricut Maker basics: Design Space, blades, mats, materials, test cuts, weeding, and clean finishing for pro-looking projects.
There is something deeply satisfying about wearing a shirt you made yourself, especially when it looks store-bought in the best way. Heat transfer vinyl (HTV) is one of the fastest, most beginner-friendly ways to get there. If you can make a sticker, you can make an HTV tee. The big difference is how it sticks: stickers use pressure-sensitive adhesive, while HTV bonds to fabric with heat, time, and firm pressure (and it comes with its own clear carrier sheet).
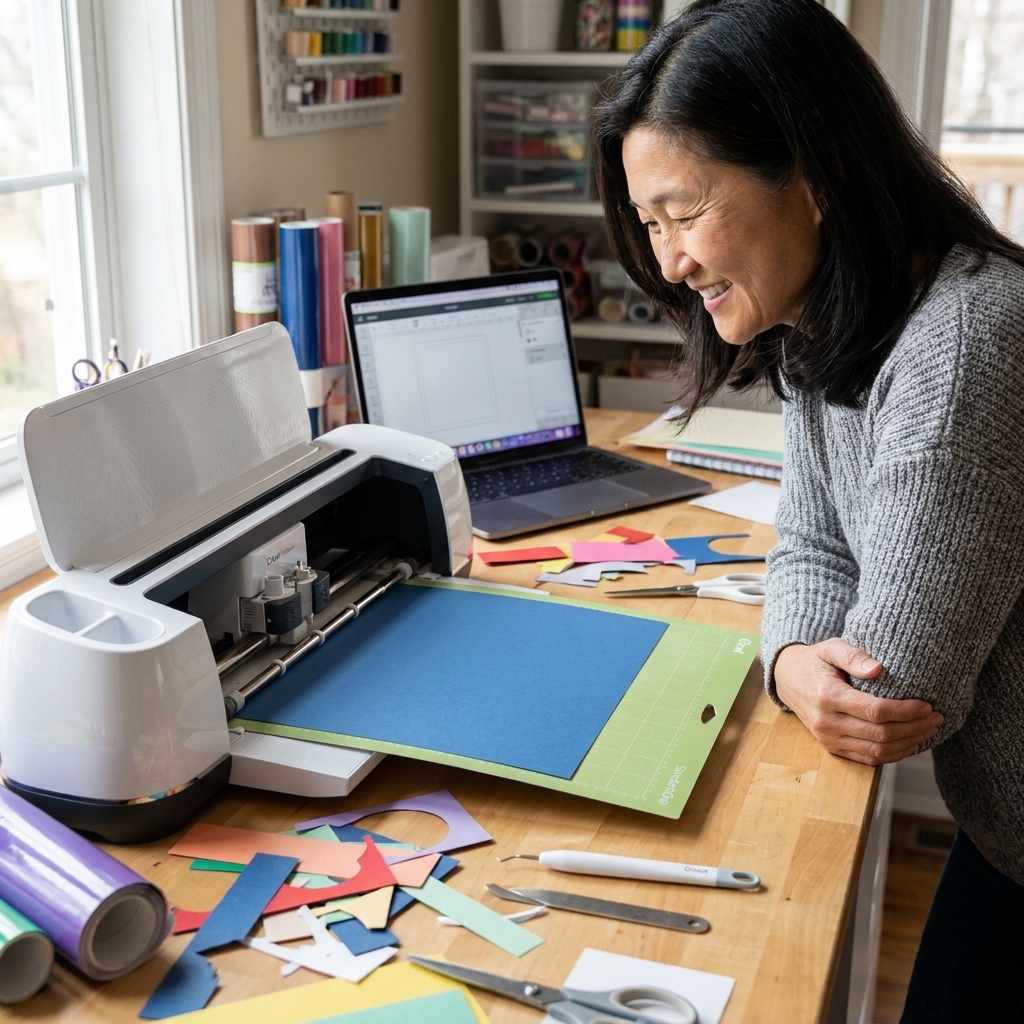
In this tutorial, I will walk you through the full Cricut workflow: designing, cutting, weeding, and heat pressing HTV so your design stays crisp through real-world washing and wearing.
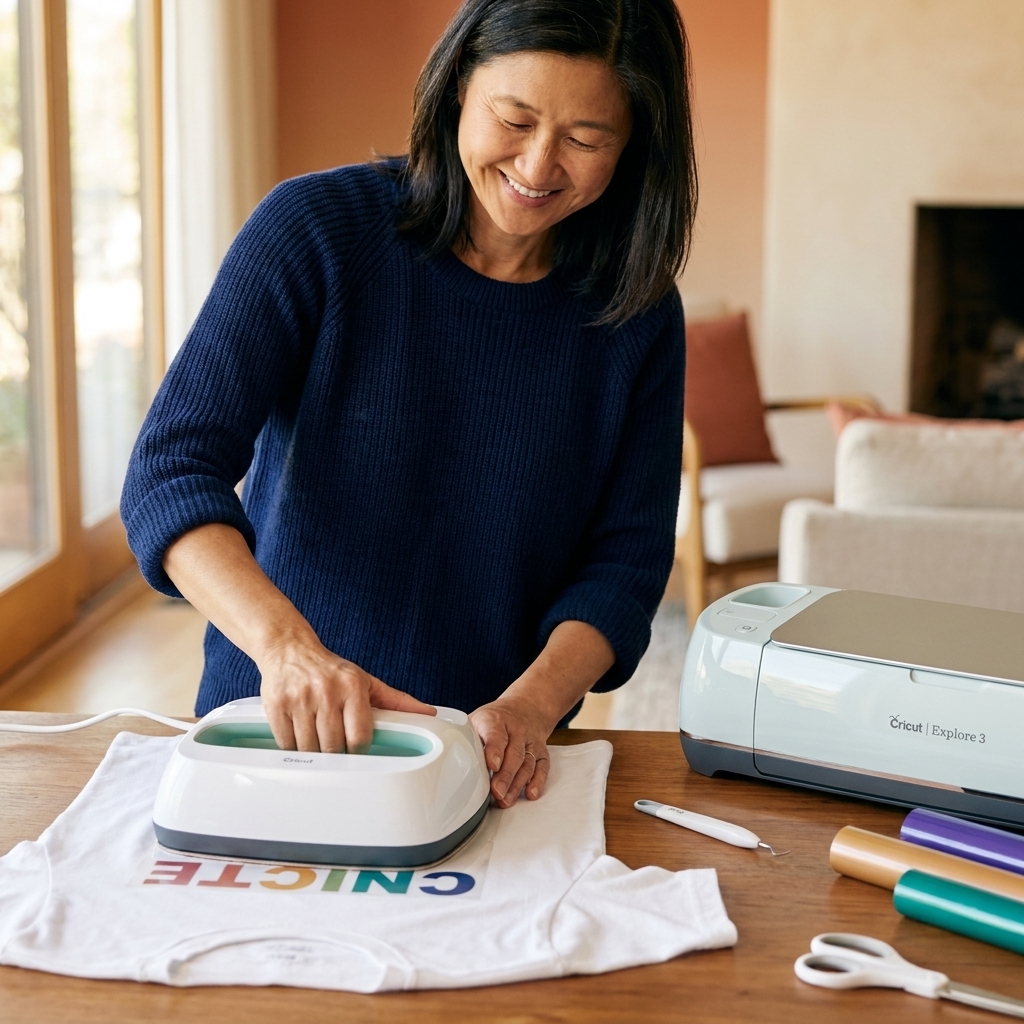
What you need
You do not need a craft room full of gadgets to make a great shirt. Start simple, then upgrade if you fall in love with it.
Materials
- Blank T-shirt: Cotton or cotton-poly blends are easiest for beginners.
- HTV (heat transfer vinyl): Start with smooth “everyday” HTV before specialty types like glitter or foil.
- Heat-resistant pressing surface: An EasyPress mat, a firm pressing mat, or a folded towel on a sturdy table. Many ironing boards flex, so they can be harder to get consistent pressure.
- Heat-resistant tape (optional but very helpful): Great for keeping small designs from shifting.
Tools
- Cricut machine: Explore Air, Maker, Maker 3, Joy Xtra all work. Cricut Joy can do small designs with Smart Iron-On.
- Fine-Point blade (standard blade)
- Weeding tool: Or a pin pen, tweezers, or even a craft knife with care.
- Brayer or scraper (optional): Helpful for flattening vinyl on the mat.
- Heat source: Cricut EasyPress, a clamshell heat press, or a household iron (it works, it is just fussier).
- Lint roller: Tiny habit, huge payoff for clean presses.
- Butcher paper or parchment paper: Protects your vinyl and heat plate.
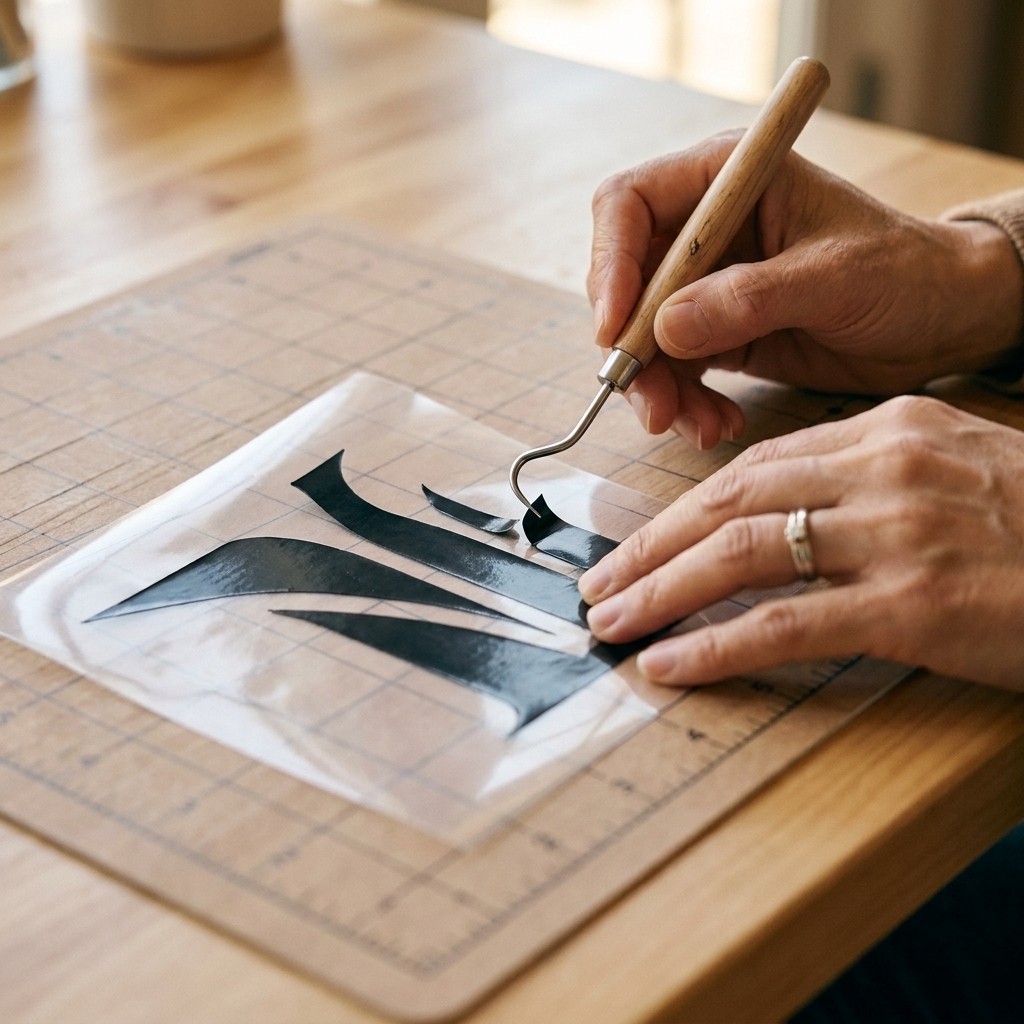
Pick the right shirt and vinyl
Shirt basics
100% cotton is the most forgiving. A cotton-poly blend is also great, just pay attention to pressing temperature so you do not scorch the fabric.
Avoid very stretchy performance fabrics until you have a few shirts under your belt. You can absolutely press HTV on them, but stretch changes how designs behave, and beginners deserve easy wins.
HTV basics
HTV has two sides:
- Shiny clear carrier sheet (this is like built-in transfer tape).
- Dull vinyl side (this is the side that gets cut).
That shiny carrier sheet is why we mirror designs for HTV. More on that in a second.
Design in Cricut Design Space
Step 1: Set up your Canvas
Open Design Space and choose New Project. Click Templates and select a T-shirt template if you like visual guides. It is optional, but it helps you size things confidently.
Step 2: Create or upload your design
- Text: Great for first projects. Choose a bold, clean font while you are learning.
- Shapes: Simple icons, hearts, stars, basic outlines.
- Upload: Use your own SVGs or clean images.
Maya tip: Tiny details are where beginners get frustrated. If your design has super thin lines, avoid shrinking it too much or thicken it up before cutting.
Step 3: Size it for a T-shirt
Here are beginner-friendly starting sizes for a standard adult tee:
- Left chest: about 3 to 4 inches wide
- Full front: about 9 to 11 inches wide
- Youth full front: about 7 to 9 inches wide
Always measure the shirt panel where the design will sit. A wide design on a small shirt will look like a billboard, and not in a cute way.
Step 4: Mirror your design
This is the number one HTV “oops” moment. When you click Make It, turn on Mirror for each mat that contains HTV. Design Space treats mats separately, so if you have multiple colors or multiple mats, check mirror on every single one.
If you forget and cut without mirroring, do not panic. If your design is symmetrical, you may still be able to use it. If it is text, you probably just made a shirt for someone who reads in a mirror.
Cut HTV with your Cricut
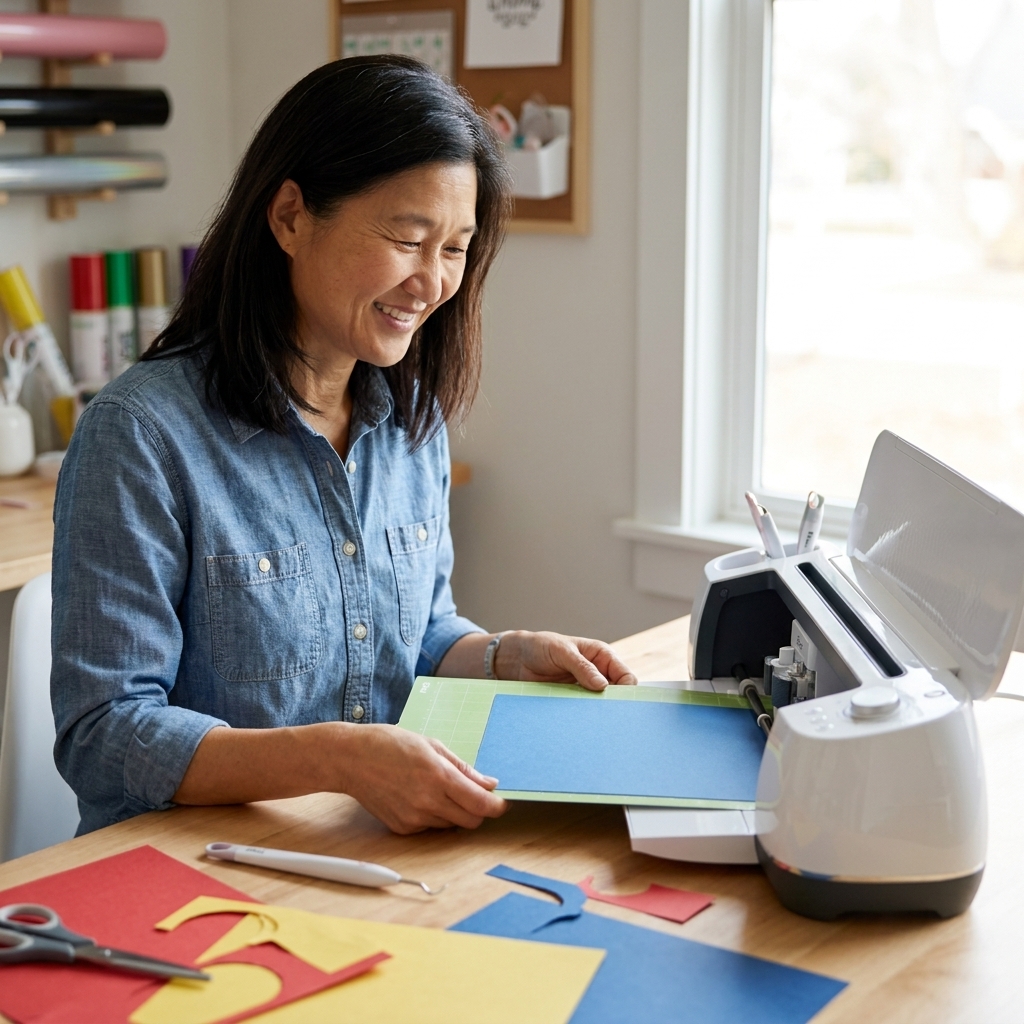
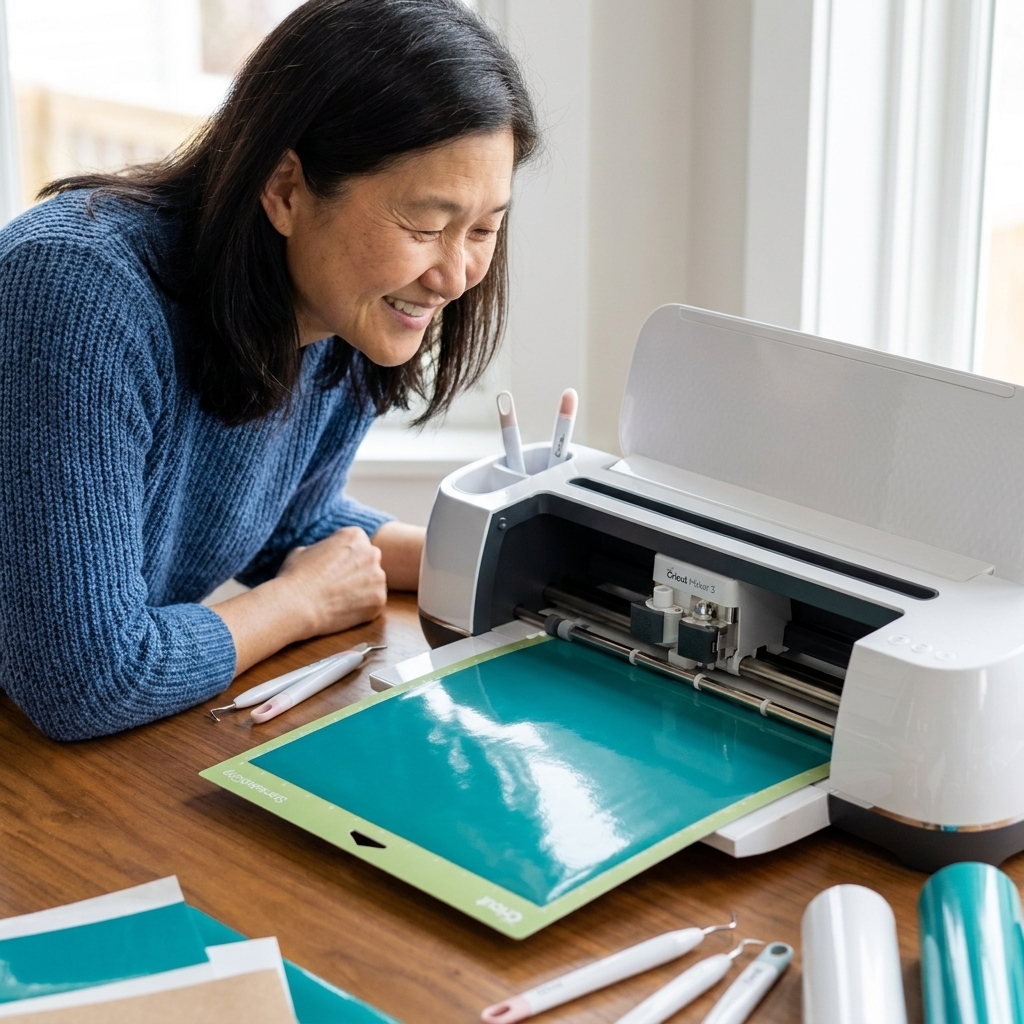
Step 1: Place vinyl on the mat
Put your HTV shiny side down on the mat. The dull side should face up because that is the side the blade cuts.
Smooth it down with your hand or a brayer so you get clean cuts, especially on smaller letters.
Step 2: Choose the right material setting
Select your base material. In Design Space, choose something like Everyday Iron-On or the closest match to your brand of HTV. If you are using non-Cricut vinyl, pick a similar setting and do a small test cut when possible.
Step 3: Load and cut
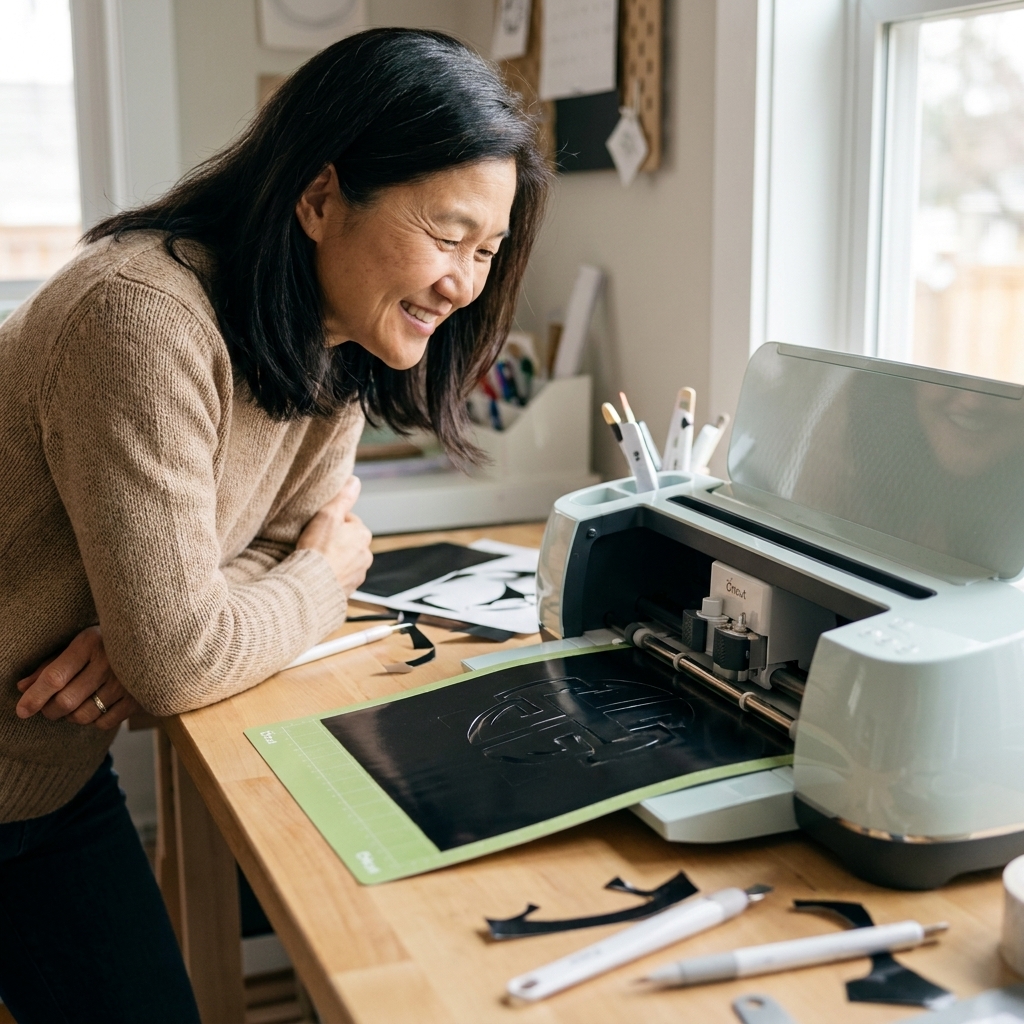
Load the mat and press Go. When it finishes, do not unload right away. Gently lift a corner of the cut area to check that the vinyl layer cut cleanly but the carrier sheet is still intact.
If it did not cut through the vinyl, press the Go button again to repeat the cut without unloading.
Weed your design
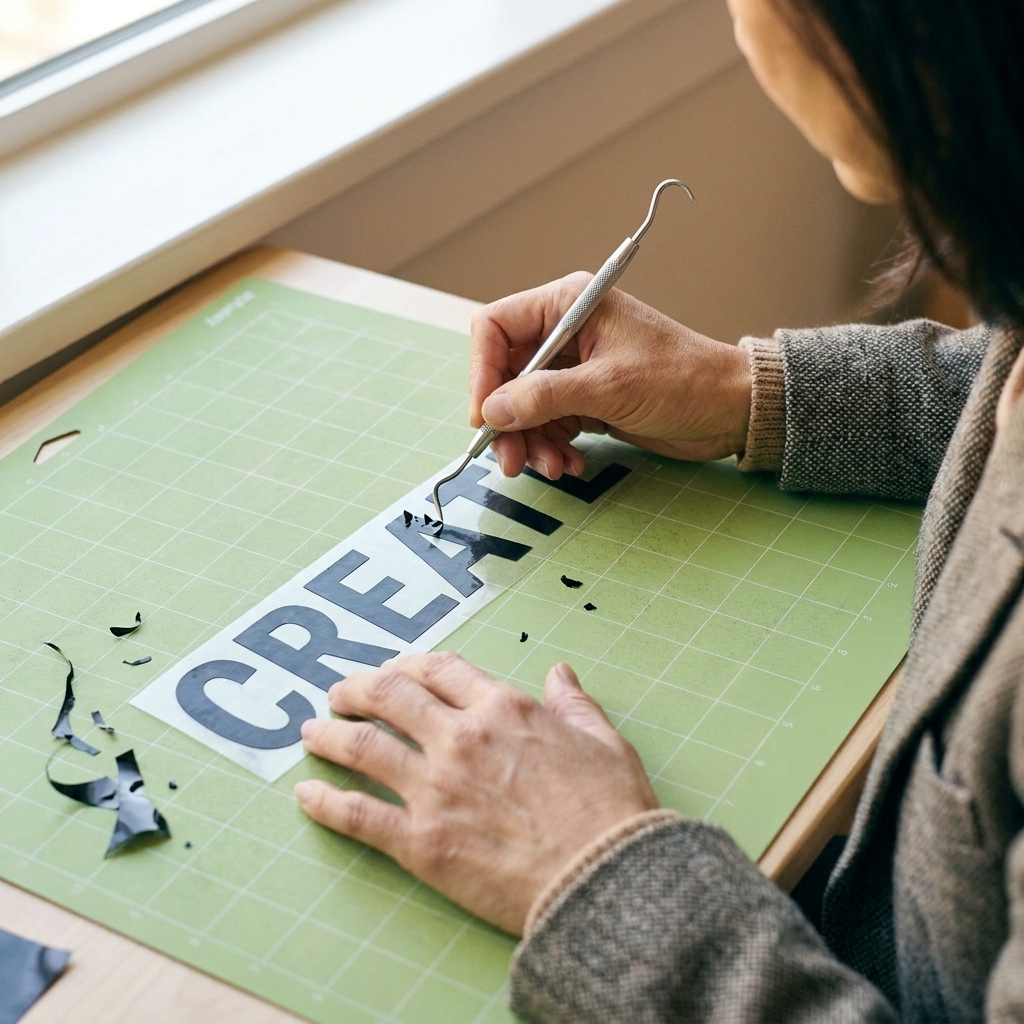
Weeding means removing the vinyl you do not want, leaving your design on the clear carrier sheet.
Step-by-step weeding
- Trim around your design to make it easier to handle.
- Start from a corner and peel away the big “background” vinyl.
- Use a weeding tool to remove small inner pieces (like the centers of O, A, R, and P).
- Hold the carrier sheet up to the light to double-check you did not miss any tiny bits.
Maya tip: If weeding feels difficult, your cut might be a little too light. Next time, increase pressure slightly or choose a different vinyl setting. Also, small text weeds much easier if you cut it a bit larger.
Prep the shirt
Step 1: Pre-wash or not?
For most everyday cotton tees, I usually do not pre-wash if the shirt is brand new and smooth. But if the shirt feels heavily starched, dusty from manufacturing, or has lint everywhere, a quick wash and dry can help. If you do pre-wash, skip fabric softener, it can leave residue.
Step 2: Lint roll
Lint, pet hair, and tiny fuzz can create little bubbles or weak spots under HTV. A fast lint roll makes a big difference.
Step 3: Pre-press
Press the blank shirt for 5 to 10 seconds to remove moisture and wrinkles. Moisture is a sneaky culprit for peeling vinyl later.
Quick quality note: If you are using an iron, turn steam off. If you are using an EasyPress or heat press, let it fully preheat before you start pressing.
Press the HTV
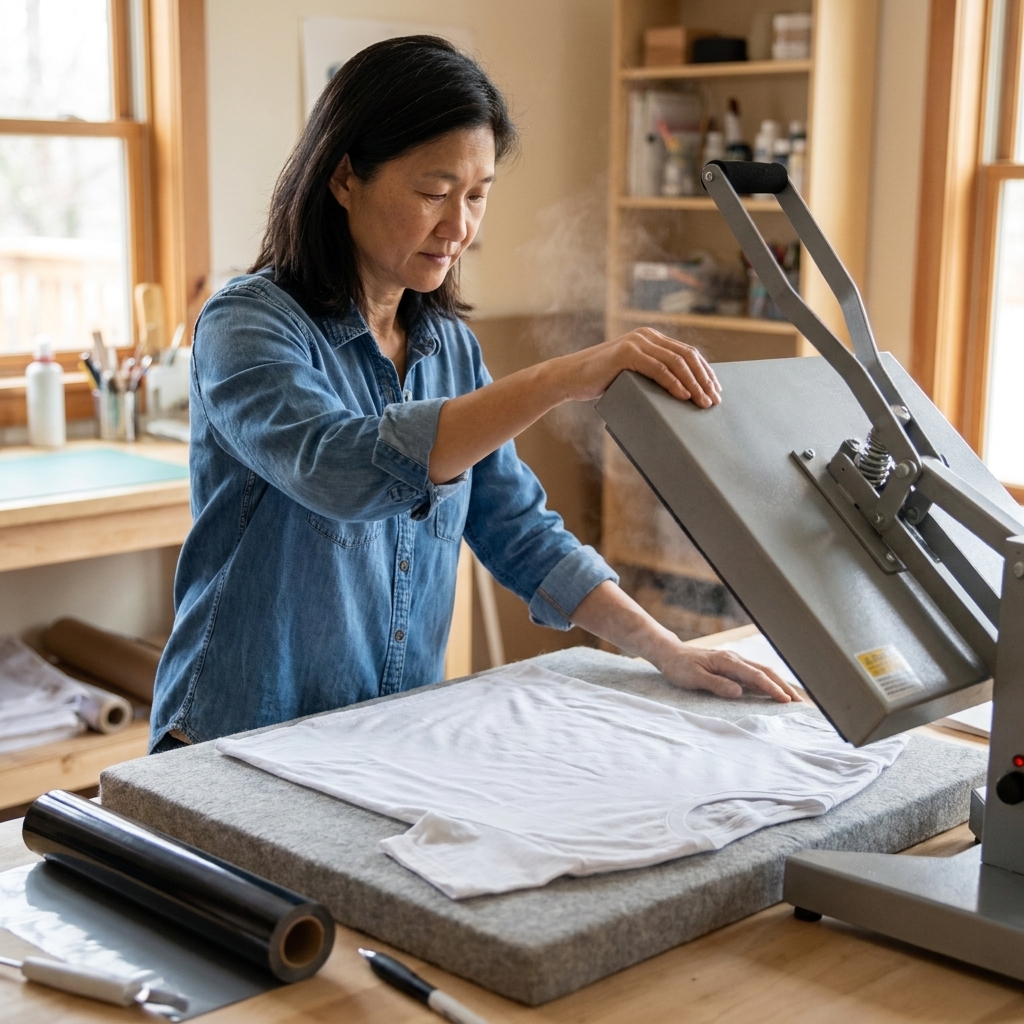
Your vinyl brand will have specific temperature, time, and pressure recommendations. If you are unsure, check the packaging or manufacturer website. As a broad starting point, many standard HTVs press somewhere around 300 to 330°F for roughly 10 to 20 seconds with firm, even pressure, but it varies by brand and fabric.
Step 1: Position your design
Lay the shirt flat, line up your design, and step back for a quick visual check. For a centered full-front design, I like to fold the shirt in half lightly and finger-press a crease, then use that crease as a guide.
If you want a second way to double-check placement, measure from the left and right underarm seams to the edges of your design. When those numbers match, you are truly centered.
If your design is layered or delicate, a tiny piece of heat-resistant tape can keep it from sliding when the press comes down.
Maya tip: Try not to press directly over thick seams, collars, zippers, or pockets. If you have to work around bulky spots, a pressing pillow or a folded towel inside the shirt can help create a flatter pressing area.
Step 2: Cover and press
- Place parchment or butcher paper over the design.
- Press for the recommended time with steady pressure. Do not slide the iron or EasyPress around like you are ironing wrinkles out. Think “press,” not “rub.”
Step 3: Warm peel vs cool peel
HTV is usually labeled warm peel or cool peel.
- Warm peel: Wait a few seconds, then peel the carrier while it is still warm.
- Cool peel: Let it cool completely before peeling.
If you peel and a corner lifts, stop. Lay it back down and press again for a few seconds with cover paper.
Step 4: Final press
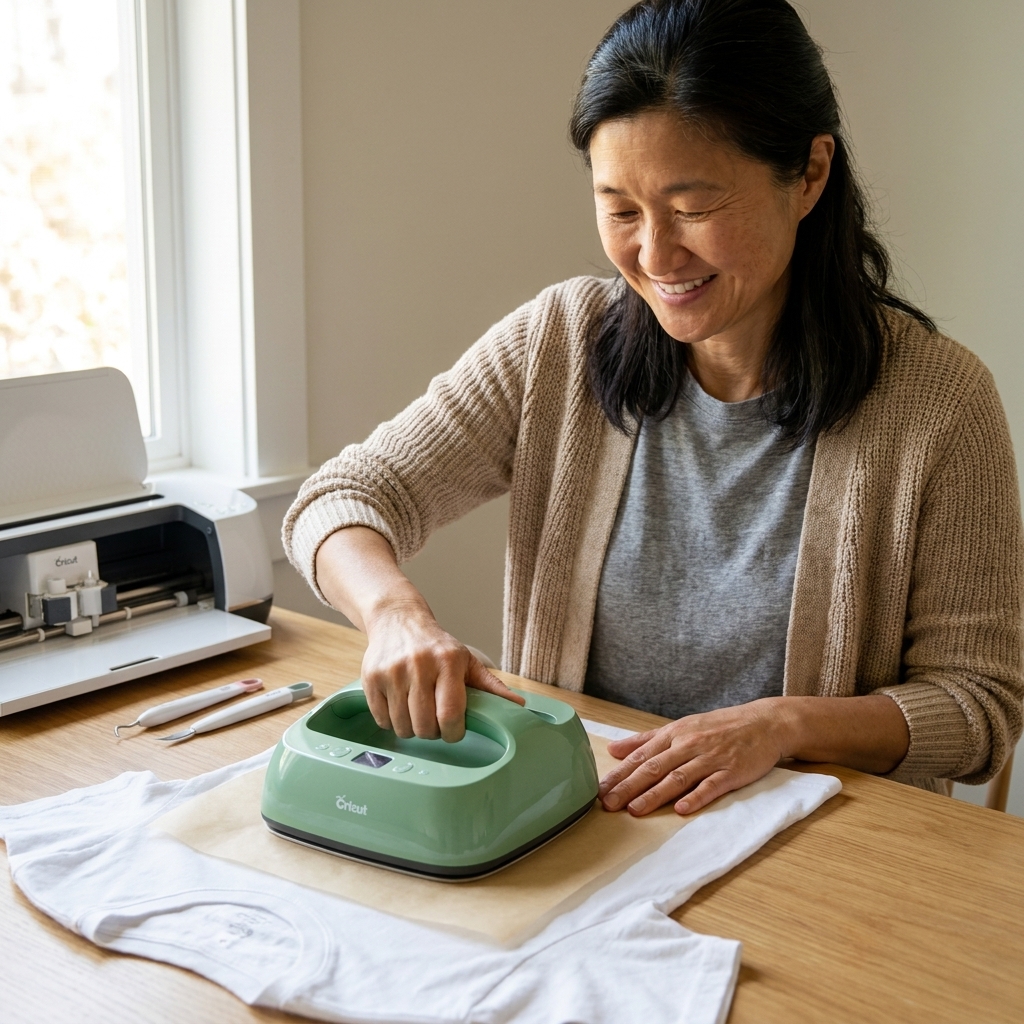
After the carrier sheet is removed, cover the design with parchment and press again for 5 to 10 seconds. This helps the vinyl settle into the fabric and often improves durability.
Layering HTV
Once you have made one solid-color shirt, layering is the natural next step. The trick is to tack layers instead of fully pressing each one.
Easy two-layer process
- Cut and weed both colors (mirror both).
- Press the bottom layer for a short tack press (2 to 5 seconds).
- Peel carrier if your vinyl allows it (many everyday HTVs are warm peel).
- Place the top layer, then do the full press time.
- Finish with a quick final press with parchment.
Maya tip: Avoid stacking more than two or three layers until you know your vinyl brand well. Too many layers can feel stiff on a shirt and may lift at edges.
Washing and care
Most HTV needs a little time to fully set.
- Wait 24 hours before washing if you can, or follow your vinyl’s instructions (some brands prefer longer).
- Wash inside out in cold or warm water.
- Avoid bleach and harsh stain treatments directly on the design.
- Tumble dry low or hang dry.
- Do not iron directly on the vinyl. If you must, iron from the inside of the shirt.
Troubleshooting
My vinyl is not sticking
- Press longer or increase pressure (most issues are pressure, not just heat).
- Make sure you pre-pressed the shirt to remove moisture.
- Check that you cut HTV correctly and did not accidentally use adhesive vinyl.
Edges lift after peeling
- Put the carrier sheet back down, cover with parchment, and press 5 to 10 seconds more.
- Make sure your press is reaching the correct temperature and is fully preheated.
- Use a firmer surface if your pressing surface has too much give.
My shirt looks scorched or shiny
- Lower the temperature slightly.
- Use a pressing pillow or mat to avoid too much heat transfer to seams and thick areas.
- Always use parchment or butcher paper as a cover sheet.
My design has little bumps under it
- Lint roll before pressing.
- Pre-press to remove moisture.
- Use firm pressure and avoid shifting the press.
I forgot to mirror and cut it wrong
If it is text, you will need to recut. I have done this more times than I would like to admit, usually when I am feeling overly confident and skip my own checklist. Consider it a crafting rite of passage.
Beginner project ideas
- Left-chest name on a tee or hoodie
- Single large word in a bold font (less weeding stress)
- Simple icon like a heart, smiley face, or star
- Team shirts using one design and different names or numbers
If you want the most professional look right away, keep your first design simple and focus on alignment and a clean press. Those two things alone make a shirt look “made” instead of “homemade.”
Quick FAQ
Can I use a household iron instead of a heat press?
Yes. Use the cotton setting (no steam), press firmly, and work in sections without sliding. A heat press or EasyPress is more consistent, but an iron can absolutely get you started.
Do I need transfer tape for HTV?
No. HTV already has a clear carrier sheet that acts like transfer tape. Transfer tape is for adhesive vinyl, not iron-on.
What is the difference between HTV and adhesive vinyl?
HTV is activated by heat and meant for fabric. Adhesive vinyl is sticky-backed and meant for hard surfaces like tumblers, signs, and notebooks.
How do I center a design on a shirt?
Fold the shirt in half vertically and lightly crease the center line with your fingers. Use that crease as your guide. For height, a common starting point for full-front designs is about 2.5 to 3 inches down from the collar, but always eyeball it on the actual shirt size. If you want to be extra sure, measure from both underarm seams to your design edges to confirm it is centered.
One last pep talk
Your first shirt does not need to be perfect to be lovable. Even the little hiccups are part of learning, and honestly, they make you braver on project number two. Start with a basic design, take your time with the press, and you will be wearing your own custom tee before your coffee gets cold.