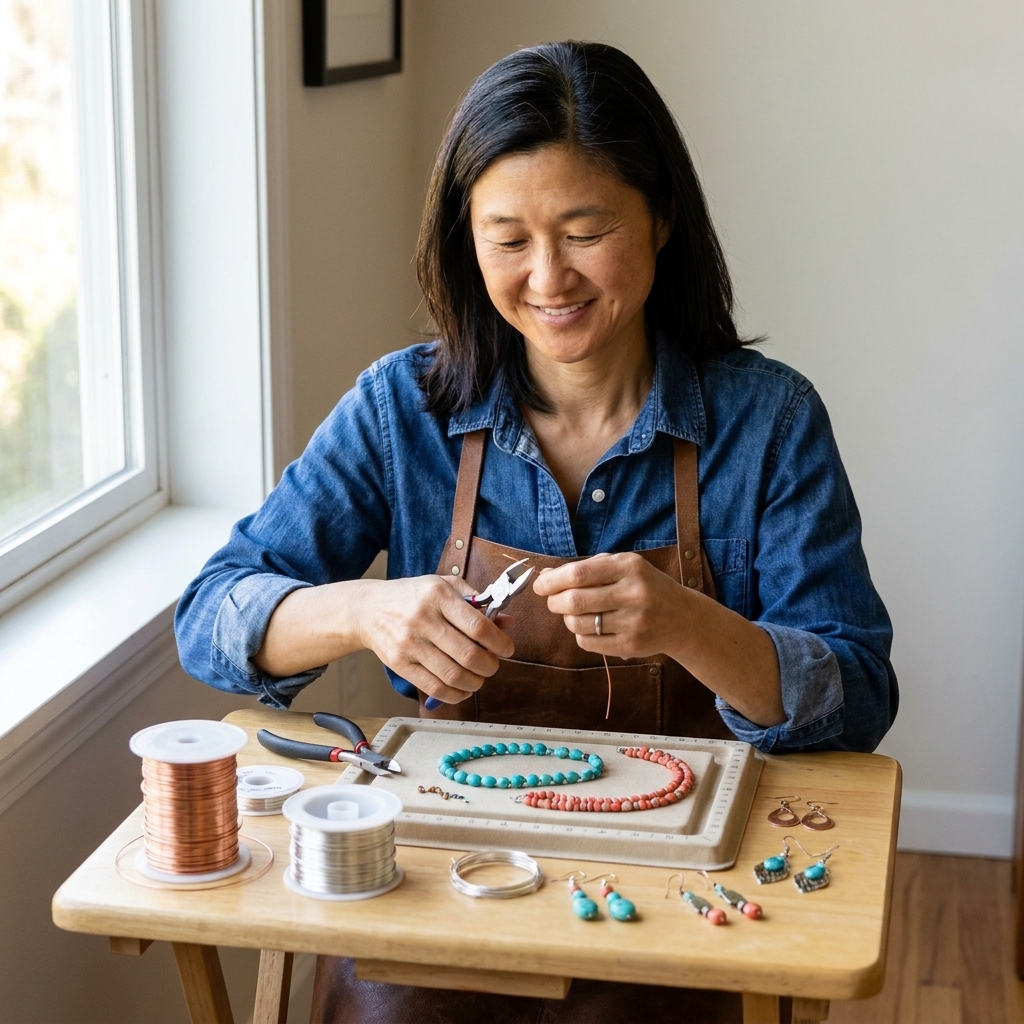
From chain-nose pliers to flush cutters and wire gauges, here’s what to buy first for neat wire wraps, tidy loops, and frustration-free beading.
Wire wrapping is one of my favorite “instant gratification” jewelry skills. It looks fancy, it forgives a little wobble, and it lets you turn a bead and a bit of wire into something you will actually wear. If you have ever stared at a spool of wire and thought, “Okay, but where do I even start?” you are in the right place.
Below are five foundational techniques I teach to brand-new makers. They build on each other, so by the end you will understand not only how to make the wraps, but why they stay put.
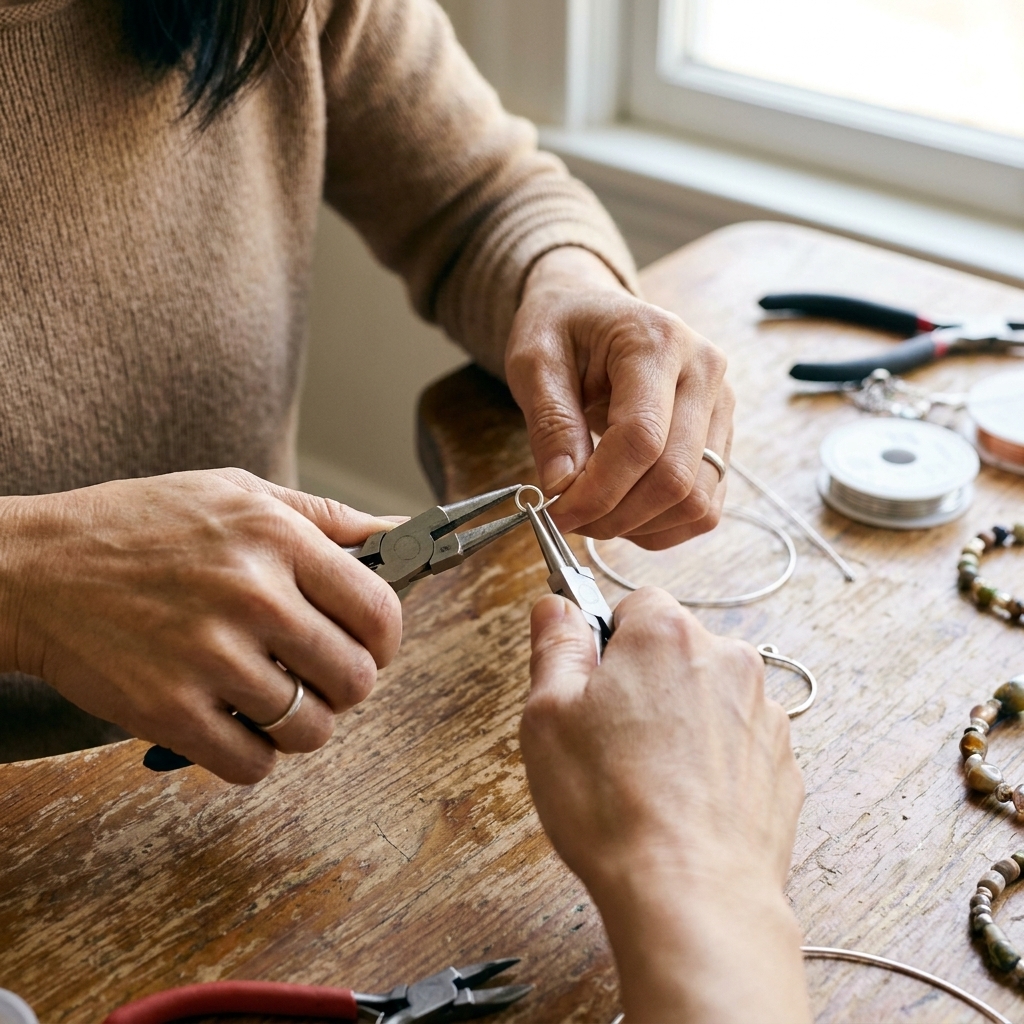
Quick supplies
You can do a lot with a tiny toolkit. Here is the beginner setup I recommend, plus the wire gauges that will save you frustration. (These techniques assume round wire, which is the standard for beginner wrapping.)
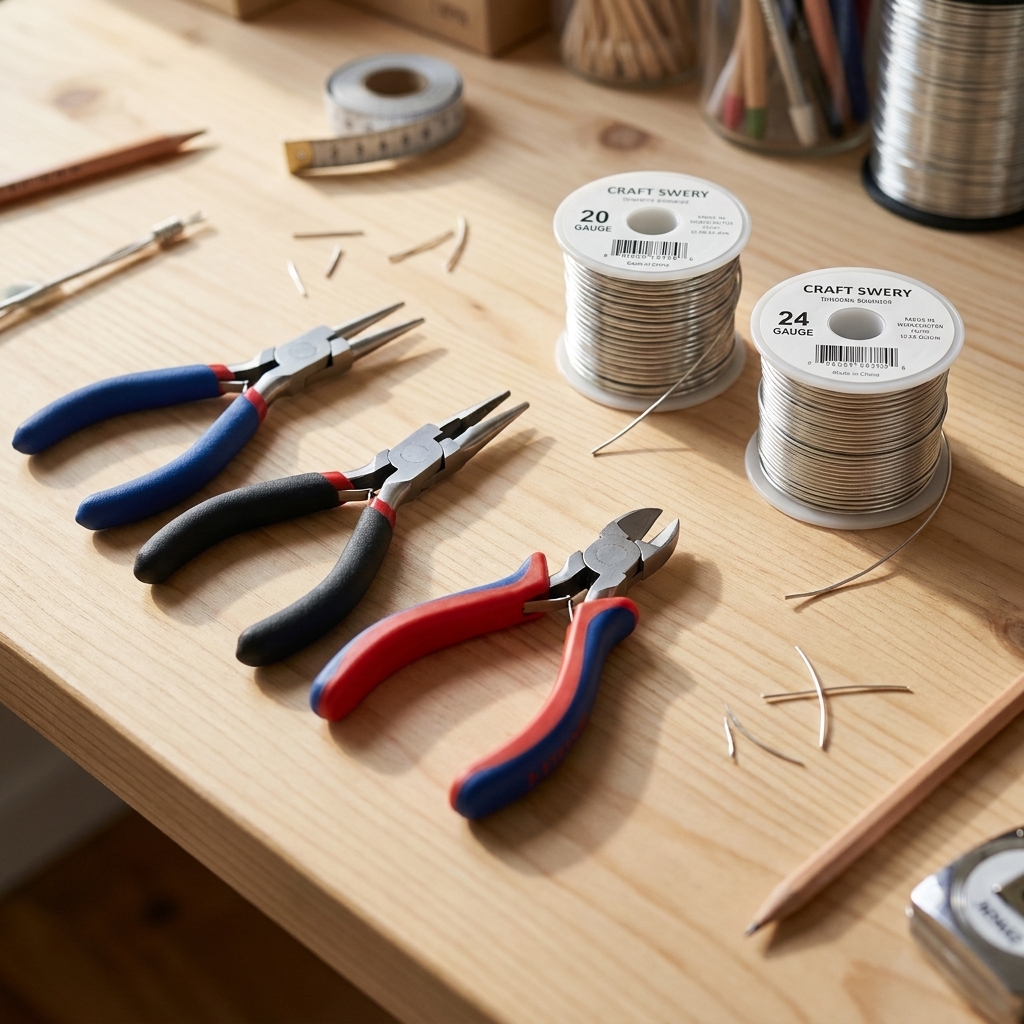
Tools
- Round-nose pliers: for making loops.
- Chain-nose pliers: for gripping, straightening, and tightening wraps.
- Flush cutters: for clean wire ends. (Regular scissors will hate you for trying.)
- Nylon-jaw pliers (optional, but lovely): for straightening wire without tooth marks.
- Small file or cup bur (optional): for smoothing pokey cut ends.
Wire gauge cheat sheet
Gauge numbers can feel backward at first. Smaller number means thicker wire.
- 20g: my go-to for wrapped loops and many briolette wraps. Strong, still bendable.
- 22g: great for basic loops, light dangles, and delicate wraps. It tends to feel more flexible than 20g.
- 24g: best for coils and decorative binding. Too thin for most structural loops.
- 18g (optional): good for sturdier connectors or ear wires, but tougher on beginner hands.
Wire type tip: Start with copper or craft wire to practice. When your hands learn the motion, upgrade to materials like sterling silver, gold-filled, or bronze/brass. (Stainless steel is also an option, but it is much harder to bend and can be rough on hands and tools, so I do not recommend it as your first “upgrade.”)
Temper tip: Dead-soft wire is easier to learn on because it bends readily. Half-hard wire holds shape better in finished pieces, but it takes more effort to form. If your finished loop feels a little too easy to squish, that is the dead-soft life.
Tool tip: Softer metals show tool marks fast. Smooth jaws, nylon jaws, or even a bit of tape on your plier tips can save your finish while you learn.
Safety note: When you cut wire, hold the cut end with your fingers or pliers so it does not launch. Eye protection is a smart habit, especially once you start production-mode cutting.
Technique 1: Straighten wire
This is the unglamorous secret to neat wire work. If you start with wavy wire, your loops will look tipsy no matter how hard you try.
Best wire gauge
20g or 22g for practice.
Steps
- Cut a manageable length (4 to 6 inches). Long wire is harder to control.
- Grip one end with chain-nose pliers.
- Pull firmly with your other hand using a scrap of cloth or paper towel to protect your fingers. You are not yanking, just giving it a confident tug.
- Stop if it starts to thin: if you feel very soft wire stretching instead of straightening, ease up. You want straighter wire, not skinnier wire.
- Optional: Run the wire through nylon-jaw pliers once or twice to smooth it.
My classroom trick: If your wire has a stubborn curve from the spool, gently roll it under your fingers on the table for a few seconds before you straighten it. Think of it like coaxing ribbon to curl, but in reverse.
Technique 2: Basic loop
A basic loop is the simple loop you see on many headpins and eye pins. It is quick, perfect for bead dangles, and ideal for learning hand control. (You can buy findings with loops already made, but learning to form your own is a game-changer.)
Best wire gauge
22g is beginner-friendly. Use 20g for slightly sturdier dangles.
Best for
- Simple earrings
- Bead drops on charm bracelets
- Connecting components with a jump ring
Steps
- String your bead onto the wire.
- Make a right-angle bend just above the bead using chain-nose pliers.
- Switch to round-nose pliers and place them at the bend.
- Roll your wrist to bring the wire tail around the plier jaw until a loop forms.
- Center the loop by gently nudging it with chain-nose pliers so it sits right above the bead.
- Trim cleanly: cut the tail so it meets the loop neatly (not sticking out like a tiny spear). If you have a whisper of a tail left, press it down with chain-nose pliers so it sits flush.
Common beginner wobble: If your loop looks more like an oval, you probably moved the pliers mid-roll. Try to keep the pliers still and let your wrist do the work.
Technique 3: Wrapped loop
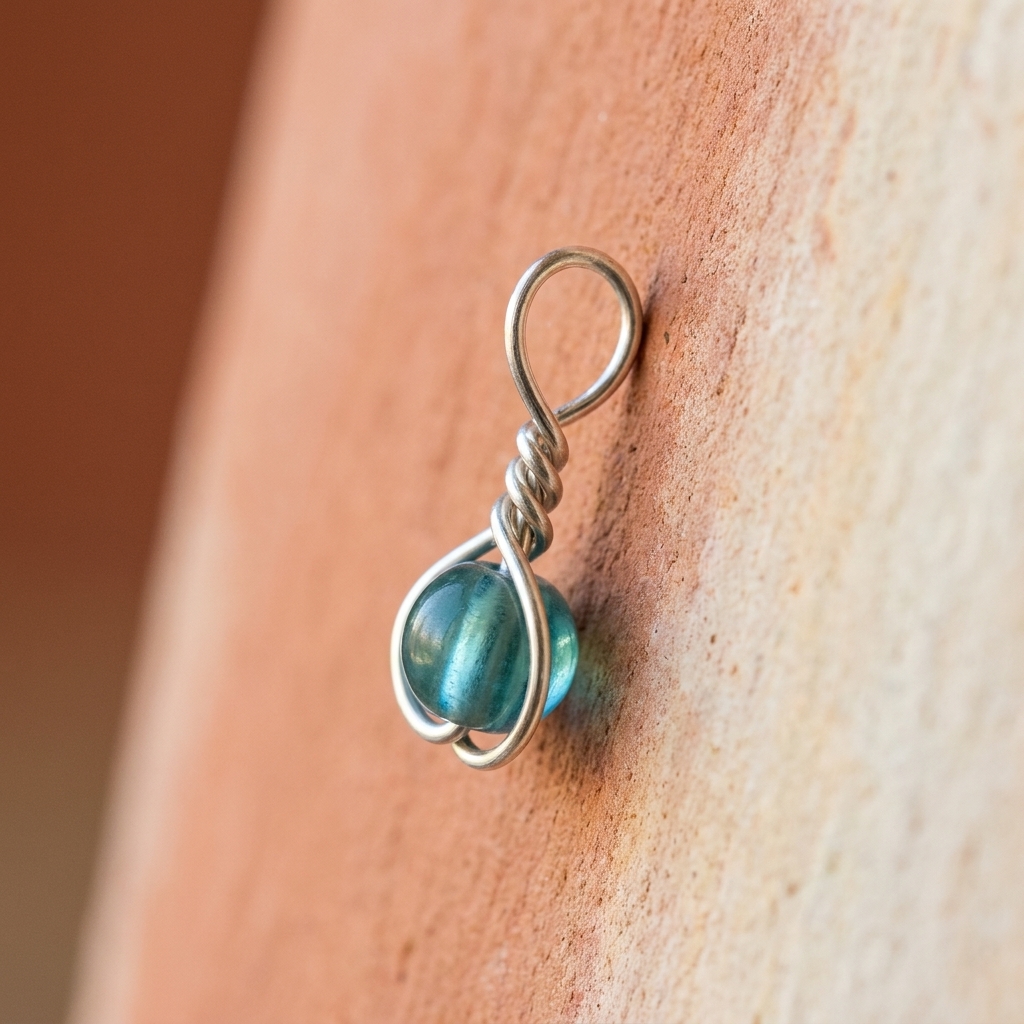
If you only learn one technique from this whole article, make it the wrapped loop. It is stronger than a basic loop because the tail is wrapped around the neck of the loop, which helps prevent the loop from pulling open.
Best wire gauge
20g is my top pick for beginners. 22g also works, but can feel a little floppy until your tension improves.
Steps
- String your bead and make a right-angle bend above it.
- Leave a neck: measure about 2 to 3 mm of straight wire above the bead (this is your wrapping space).
- Make a partial loop with round-nose pliers, but do not close it tight against the neck yet. You want a “lollipop” shape with a little stem.
- Reposition and close the loop neatly so it sits centered above the bead.
- Wrap the tail around the neck 2 to 4 times. Use chain-nose pliers to guide the wraps so they sit snugly next to each other.
- Trim the tail as close as you can to the wraps with flush cutters.
- Tuck the cut end by pressing it gently with chain-nose pliers so it does not scratch skin or snag sweaters.
Tension tips
- Hold the loop steady with chain-nose pliers while you wrap. Otherwise the loop twists and your wraps gap.
- Wrap with intention. Too timid and the wraps look loose. Too aggressive and you can distort the loop.
- Count your wraps. Matching wrap counts makes earrings look like a pair, not cousins.
- Work-hardening note: wire gets stiffer the more you bend it. Unwrapping and rewrapping is totally normal, just know the wire can eventually snap if you “fix it” fifteen times in the same spot.
Technique 4: Wire coils
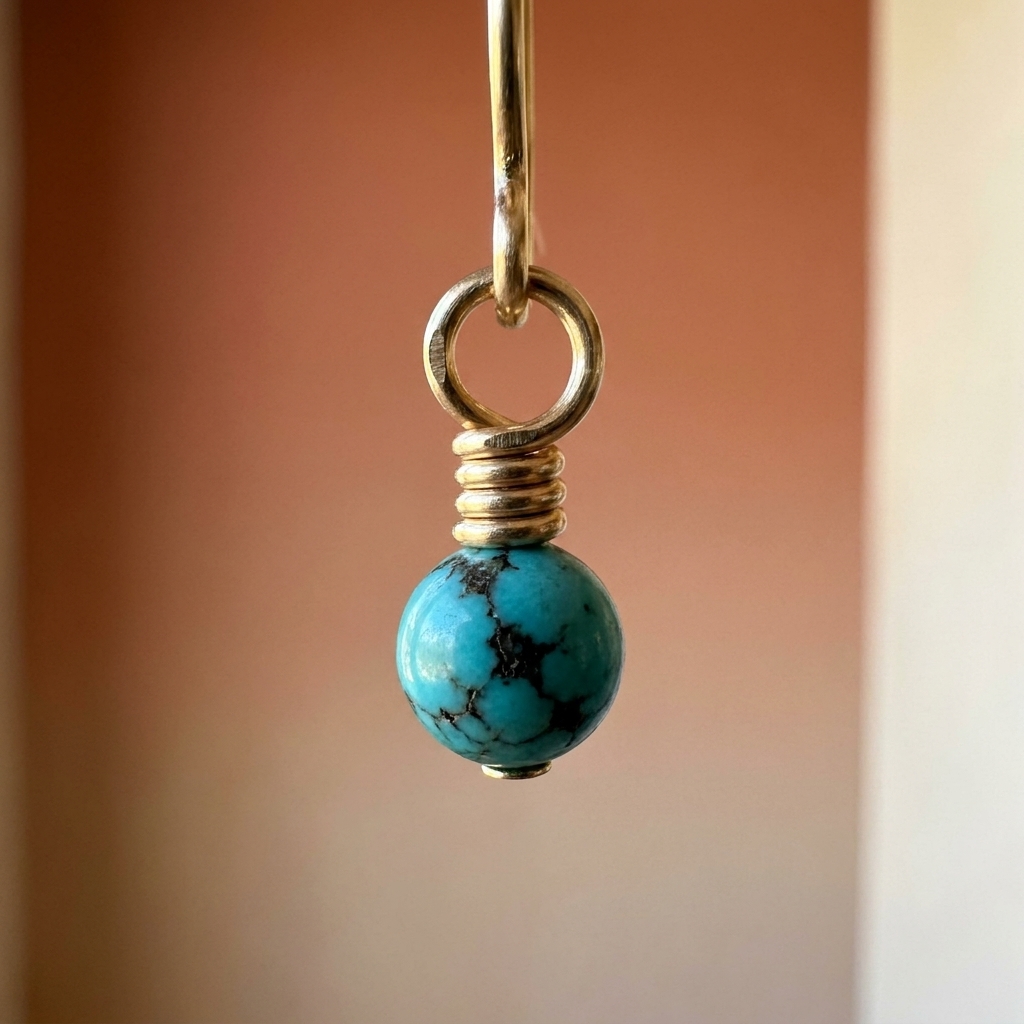
Coils are those tidy spirals you see on ear wires, connectors, and decorative accents. They are also incredibly useful for briolette wraps and for covering a “less cute” section of wire.
Best wire gauge
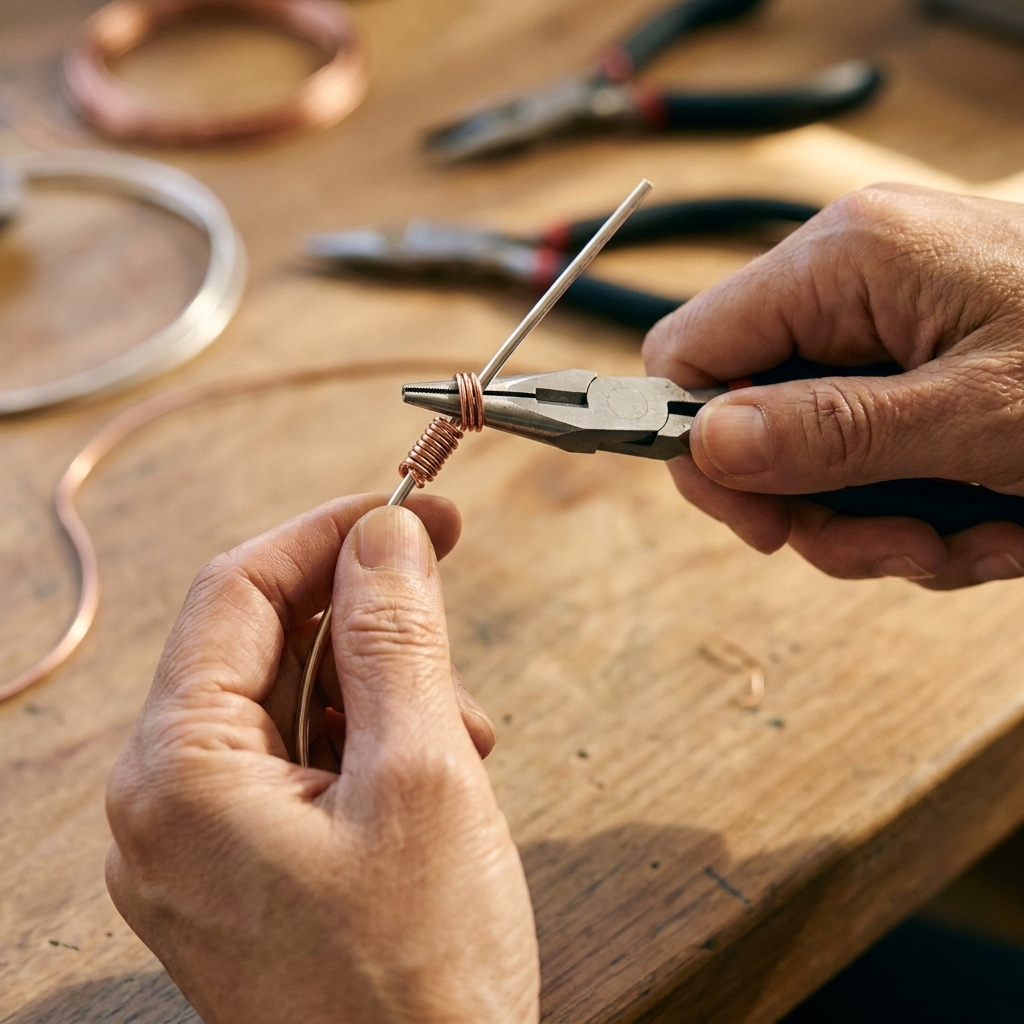
24g for coiling around a thicker base wire (like 20g or 18g). If you only have one spool, 22g can coil around 20g in a pinch, but it looks bulkier.
Steps
- Cut 6 to 10 inches of 24g wire. Coils eat wire like a hungry little craft gremlin.
- Anchor the end by holding the 24g against the 20g base wire with chain-nose pliers.
- Wrap the 24g around the base wire, one turn at a time, keeping each turn snug against the last.
- Compress gently if gaps appear. Nylon-jaw pliers are best here. If you only have chain-nose pliers, use a light touch and push the wraps together without scraping along the wire.
- Trim and tuck both ends of the coiling wire so they sit flush.
My no-snag rule: Always tuck coil ends so they point into the work, not out toward skin or fabric.
Technique 5: Briolette wrap
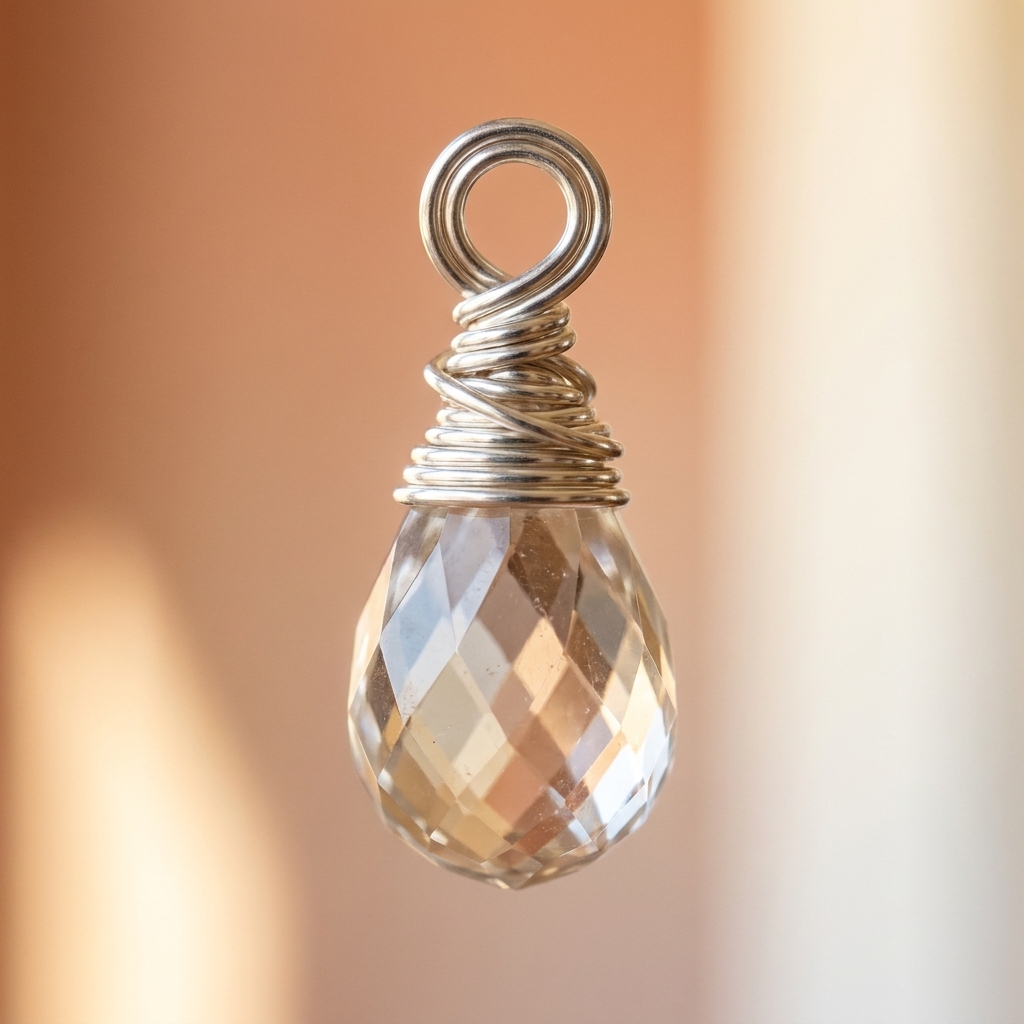
Briolettes are often faceted teardrop beads, usually drilled near the top (though you will also see side-drilled versions and slightly different silhouettes). A proper briolette wrap keeps the bead secure and gives you a clean loop for attaching to ear wires or chain.
Best wire gauge
- 20g for most glass or crystal briolettes (strong and reliable).
- 22g for small, lightweight briolettes.
- 24g only as a decorative binding wire, not the main wrap.
Steps
- Cut 4 to 5 inches of 20g wire.
- Thread the briolette so the bead sits near the middle of the wire.
- Bring both wire ends up along the sides of the bead so they meet above the bead’s hole.
- Cross the wires once above the bead to snug it in place, then decide which end becomes your “tail” for wrapping.
- Form a loop above the bead using round-nose pliers, leaving a small neck for wraps.
- Wrap the tail down the neck 2 to 4 times, keeping wraps tight and stacked.
- Trim and tuck the tail end.
Extra security
If your briolette hole is a little roomy, you can add a gentle side wrap: after threading the bead, wrap one wire end around the “shoulder” of the briolette once before bringing it back up. Keep it light so you do not chip the bead edge.
Troubleshooting
- My loop is sideways: Grip the loop or the stem with chain-nose pliers (not the bead) and gently twist until the loop faces forward. Small adjustments are normal.
- My wraps have gaps: Use pliers to scoot wraps together, or unwrap and redo. (I redo more often than I admit.)
- My wire has tool marks: If you can, switch to smoother jaws. You can also wrap a bit of painter’s tape around plier tips for practice sessions. Just remember tape reduces grip, so go slow.
- The cut end is scratchy: Trim again with flush cutters so it sits flatter, then tuck. A quick file pass helps too.
- My bead cracked: Back off the tension, especially on glass. The wire should hold the bead, not squeeze it.
Practice project
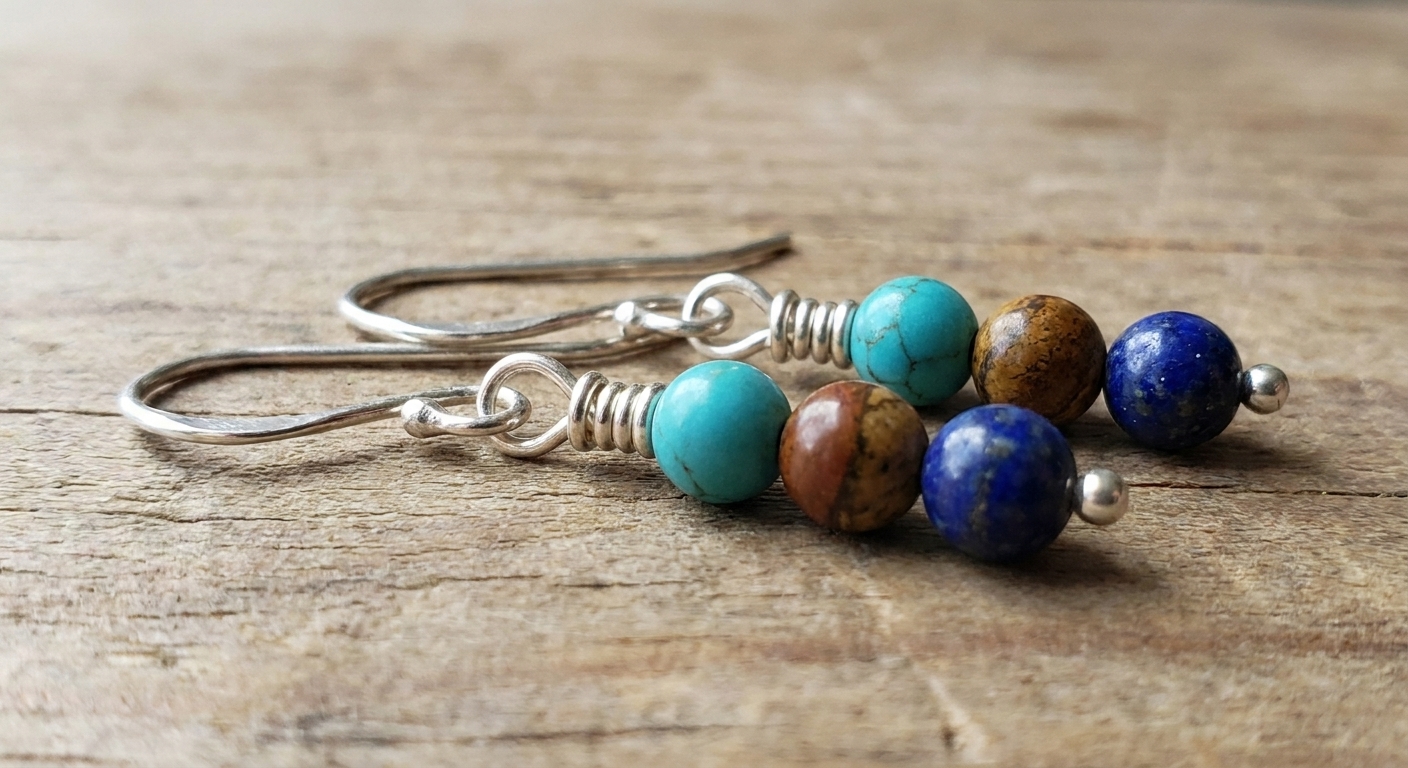
If you want a simple way to drill these skills, make two bead dangles for earrings:
- Use 22g wire to practice basic loops, then repeat using 20g and wrapped loops.
- Aim for the same loop size and the same number of wraps on both.
- Turn the “less perfect” one into a zipper pull or keychain charm. No waste, no guilt.
FAQ
What wire gauge should I start with?
If you want one spool that can do a lot, start with 20g. It is sturdy enough for wrapped loops and many briolette wraps, but still workable for beginners. Add 24g later for coiling and decorative binding.
Is craft wire okay for learning?
Absolutely. Craft wire and copper are fantastic for building muscle memory. Once your wraps look consistent, upgrade to higher-quality wire for gifts or pieces you will wear often.
How do I keep wrapped loops from looking messy?
Three habits help the most: straighten your wire first, hold the loop steady with pliers while you wrap, and tuck the cut end so it sits flush. Also, leave a small neck to wrap on. If you close the loop right down against the bead, you will have nowhere to put those tidy wraps.