A beginner-friendly guide to using the color wheel for harmonious craft palettes, plus easy formulas, value tips, and fixes when colors feel off.
There is something deeply satisfying about acrylic pour painting: you prep your colors, take a breath, tip the canvas, and suddenly the paint starts making decisions with you. If you have ever wanted those dreamy cells, river-like ribbons, and marbled swirls, this guide will walk you through the exact steps I use, plus a few beginner-friendly “save it” fixes for when the paint gets a little too enthusiastic.
What it is (and why it works)
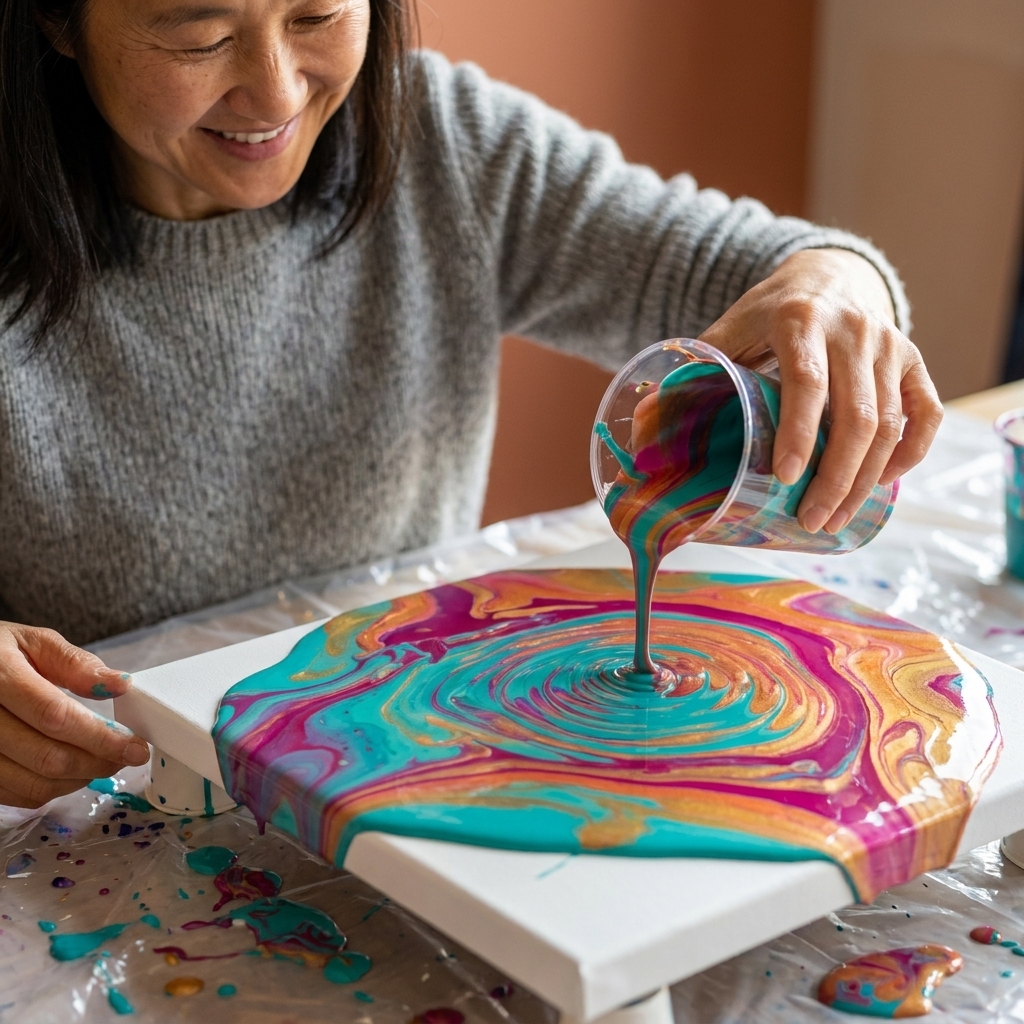
Acrylic pour painting, also called fluid art, is when you thin acrylic paint to a pourable consistency, layer or combine colors, then pour and tilt the canvas so the paint flows into abstract patterns. The magic comes from a few things working together:
- Viscosity: Thicker and thinner paints move at different speeds, creating ribbons and lacing.
- Density: Some pigments are heavier than others, which can encourage separation and cells.
- Surface tension and chemistry: Different mediums, additives, and even a little heat can change how paint breaks and spreads. Silicone can help create cells, but it is only one option, not a requirement.
The goal is not “perfect control.” It is setting up the conditions so the paint can do something beautiful.
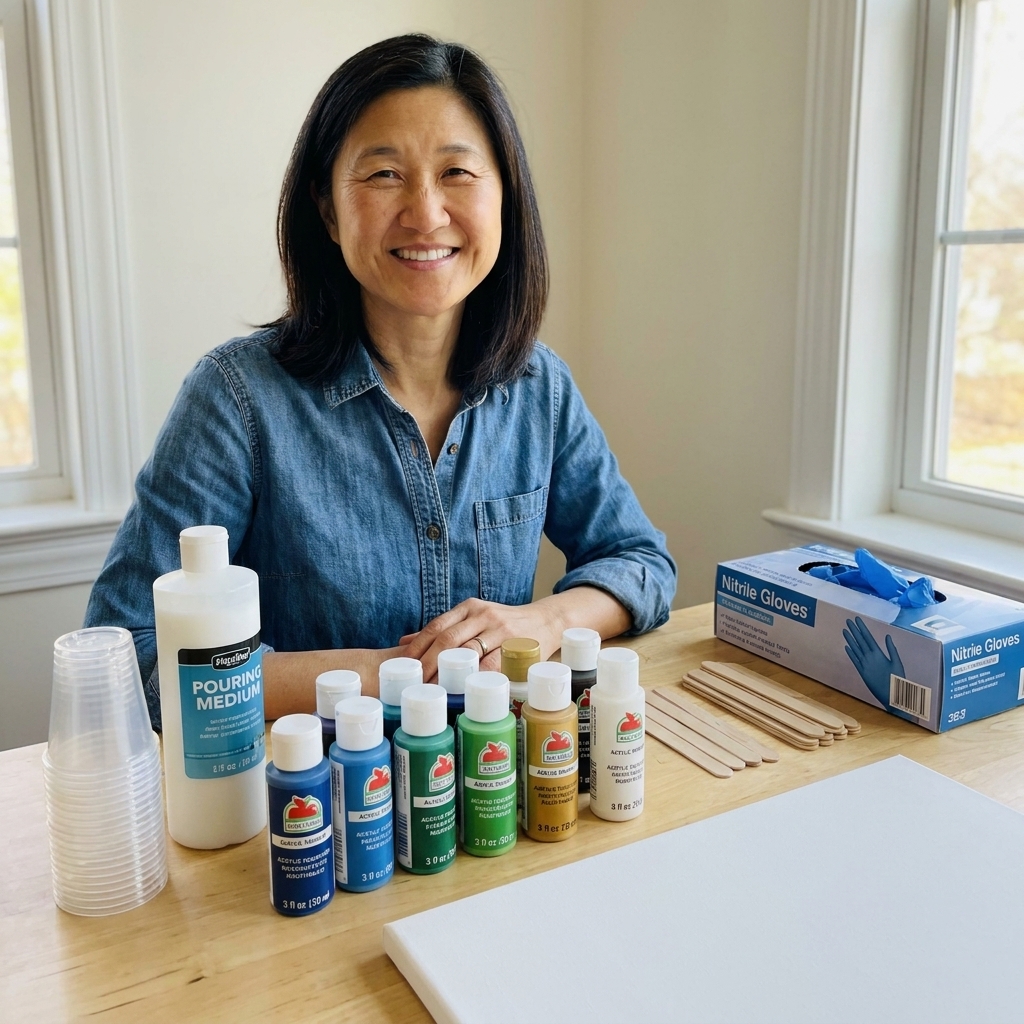
Supplies you will need
You do not need a studio full of fancy gear, but a few basics will make your life easier and your pours cleaner.
Paint, medium, and add-ins
- Acrylic paint: Student or artist grade. Heavy body works too, it just needs more thinning.
- Pouring medium: Pre-made pouring medium is easiest. You can also use gloss medium or a pour-specific medium designed for acrylics.
- Water: For small adjustments only, not the main thinner.
- Optional silicone oil: For cells. Use sparingly.
Tools and setup
- Stretched canvas or cradled wood panel
- Disposable cups (one per color, plus one for the “dirty pour” cup)
- Craft sticks for mixing
- Level (or a leveling app) to keep your canvas flat while paint settles
- Gloves and apron or old clothes
- Drop cloth, trash bag, or freezer paper for your table
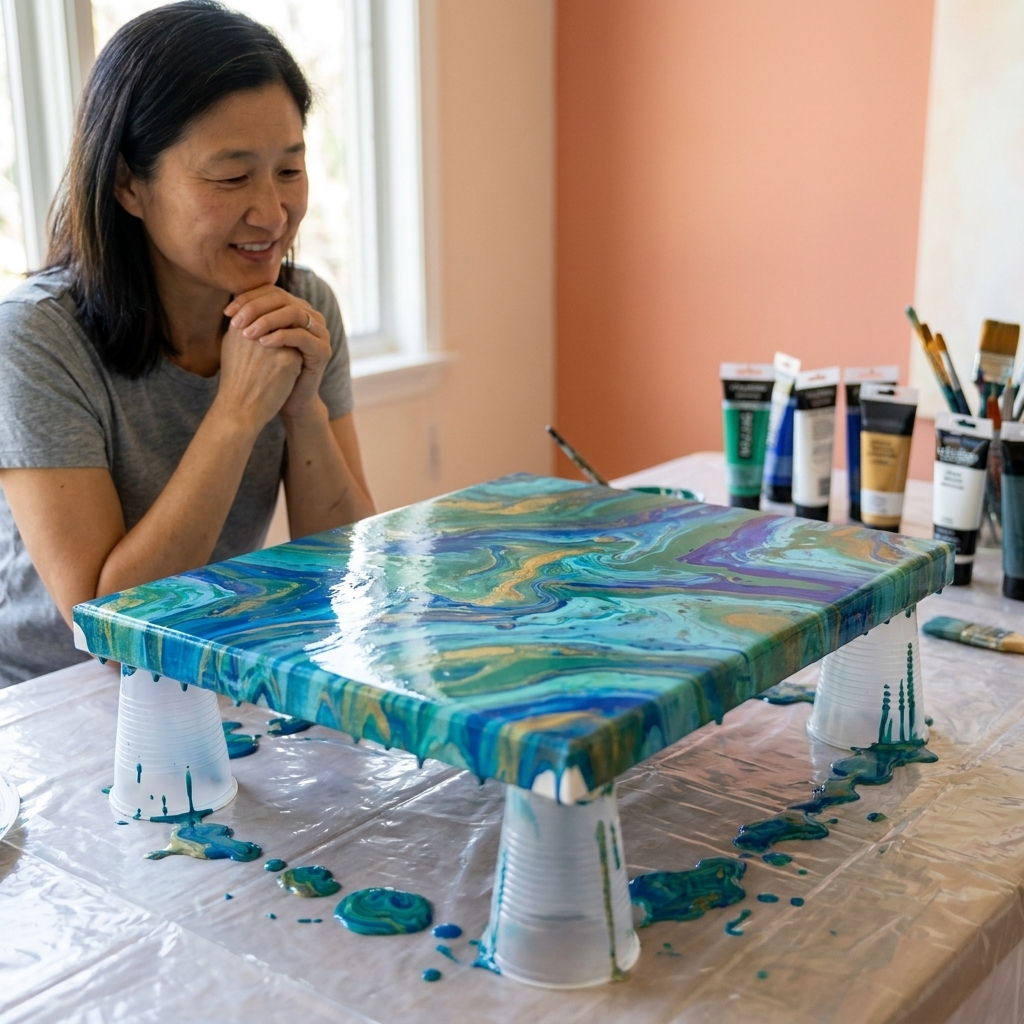
- Push pins or small cups to elevate your canvas for drips
- Blow torch or heat gun (optional but helpful)
Pick your surface
Canvas is classic, light, and easy to hang. The downside is bounce and sag if your paint is very wet. Wood panels give a smoother, firmer surface and often make it easier to get crisp lacing.
Most store-bought canvases come pre-primed. You can pour right on them, but if your canvas feels very absorbent or rough, an extra coat of gesso (fully dry) can help create a more even surface. Either way, start with a level work area. If your table is slanted, the painting will keep creeping in one direction while it dries, and your prettiest cells will slowly migrate into the corner like they have plans.
Mix paint and medium
Cracking, crazing, muddy color, and weak coverage usually come from some combination of paint that is too thin (often too much water), paint that is poured too thick, incompatible products, and paint mixtures that do not flow similarly. Good, consistent mixing will not solve everything, but it fixes a lot.
Starter ratio
Because different brands have different thicknesses, think in ranges:
- Start point: 1 part acrylic paint to 2 parts pouring medium
- Adjust: Add a little more medium if it is too thick, or a tiny splash of water if needed
Mix slowly to avoid bubbles, scraping the sides and bottom of the cup. Let each color sit for 2 to 5 minutes so bubbles rise.
Consistency check
Lift your stir stick and watch the paint fall back in. You want a steady ribbon that disappears into the surface within a couple seconds.
- If it mounds up and sits there like pudding, it is too thick and can lead to lumps, ridges, and cracking in very thick areas.
- If it runs like colored water, it is too thin and can lead to weak color, pigment separation, and fragile paint film.
Silicone oil (optional)
If you want cells, add 1 to 2 tiny drops of silicone oil to a color cup (often to white, black, or a contrasting color), then gently stir just a few turns. Too much silicone can cause:
- Oily pits that refuse to dry cleanly
- A surface that resists varnish later
- Cells that look so busy the piece loses its focal point
How much paint to mix
This is the question everyone asks after their first “why is my canvas bald?” moment. A simple rule of thumb for an average dirty pour with a base coat is about 1 to 2 ounces of mixed paint per square foot of surface area, plus a little extra for drips. Thick pours and heavy tilting need more.
- 8x10 inch canvas: about 2 to 4 ounces total (roughly 60 to 120 ml)
- 10x10 inch canvas: about 3 to 5 ounces total (roughly 90 to 150 ml)
- 12x12 inch canvas: about 4 to 7 ounces total (roughly 120 to 210 ml)
These are starting points, not laws. Your medium, your pigments, your base coat thickness, and how hard you chase the edges all change the number. The fastest way to get dialed in is to jot down canvas size and total ounces used each time.
Color planning
Acrylic pours can get muddy when complementary colors overmix, like blue plus orange, or red plus green. You can absolutely use complements, just separate them with a buffer color like white, black, gold, or a metallic.
Easy palettes
- Ocean: teal, turquoise, navy, white, a touch of metallic gold
- Sunset: magenta, coral, warm yellow, white, a touch of purple
- Neutrals: black, white, taupe, copper or bronze
If you are unsure, pick 3 colors plus white. White helps create contrast and can encourage cells.
Step by step: Dirty pour
A dirty pour means you layer multiple pre-mixed colors into one cup, then pour them all at once. It is the best technique for beginners because it gives complex results without complicated tools.
1) Prep the canvas
- Cover your table.
- Elevate the canvas on cups or push pins so drips can fall.
- Check that the canvas is level.
2) Add a base coat
Spread a thin layer of one color, often white or black, over the canvas. This helps the poured paint glide and reduces bare spots.
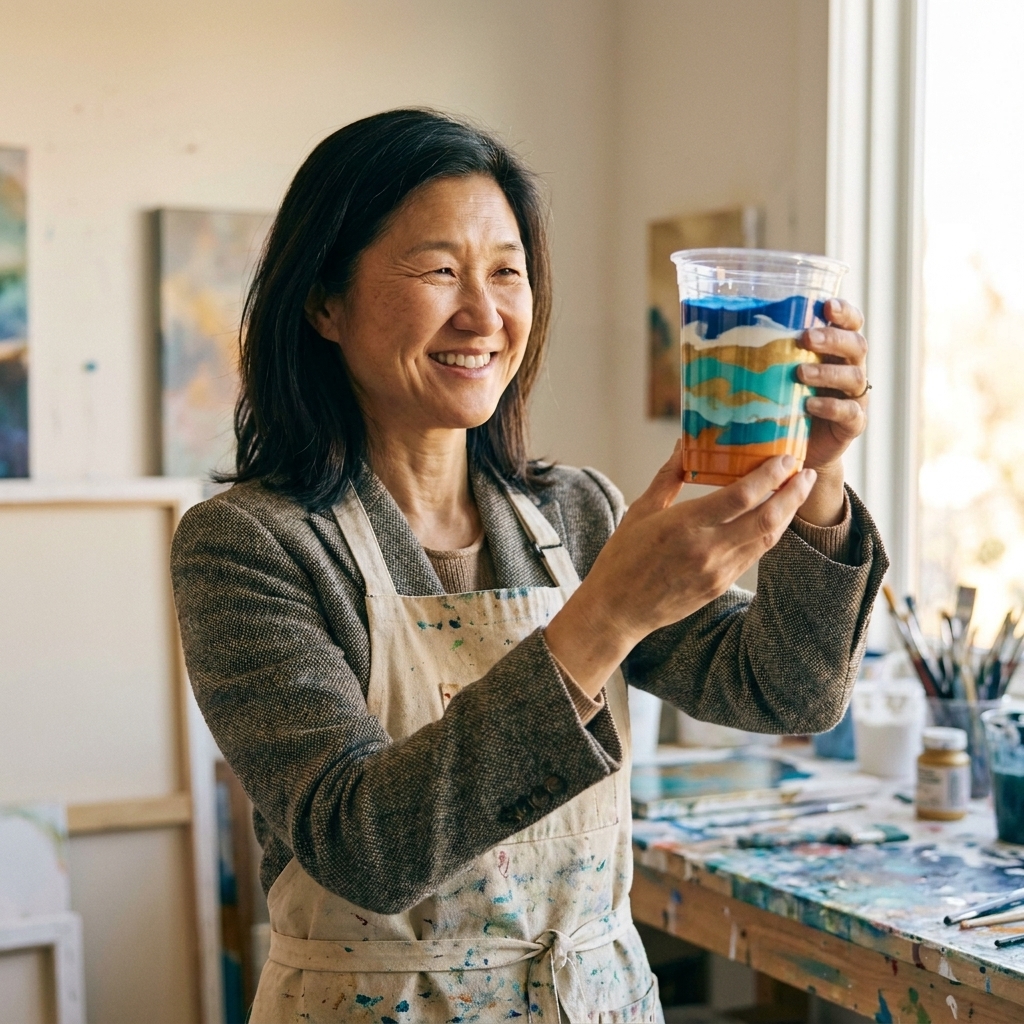
3) Layer colors into one cup
In a clean cup, pour your mixed colors in layers. You can do:
- Thin layers: more delicate ribbons
- Thicker layers: bolder bands of color
Tip: Pour down the side of the cup, not straight into the middle, to keep layers distinct longer.
4) Flip cup
Place the canvas on top of the cup like a lid, hold both firmly, then flip so the cup is upside down on the canvas. Let it sit for 10 to 30 seconds to let paint settle and mingle.
Lift the cup slowly. You can lift straight up for a centered puddle, or lift and slightly drag for a comet-like shape.
5) Tilt and stop on purpose
Tilt the canvas gently toward each edge, rotating as you go. Try not to over-tilt too long in one direction. If you chase every last bare spot, you can overmix the surface.
- Leave negative space if you like a modern look.
- Cover the edges by letting paint flow over them, or swipe paint along the sides with a gloved finger.
6) Pop bubbles and encourage cells
Quick passes with a torch or heat gun (kept moving) can pop surface bubbles and help cells rise. Do not linger in one spot, especially on canvas, or you can scorch paint or warp the surface.
More techniques
Once you have done a few dirty pours, these are the next techniques I recommend. They use the same paint mixtures, so you do not need to relearn everything, just the motion.
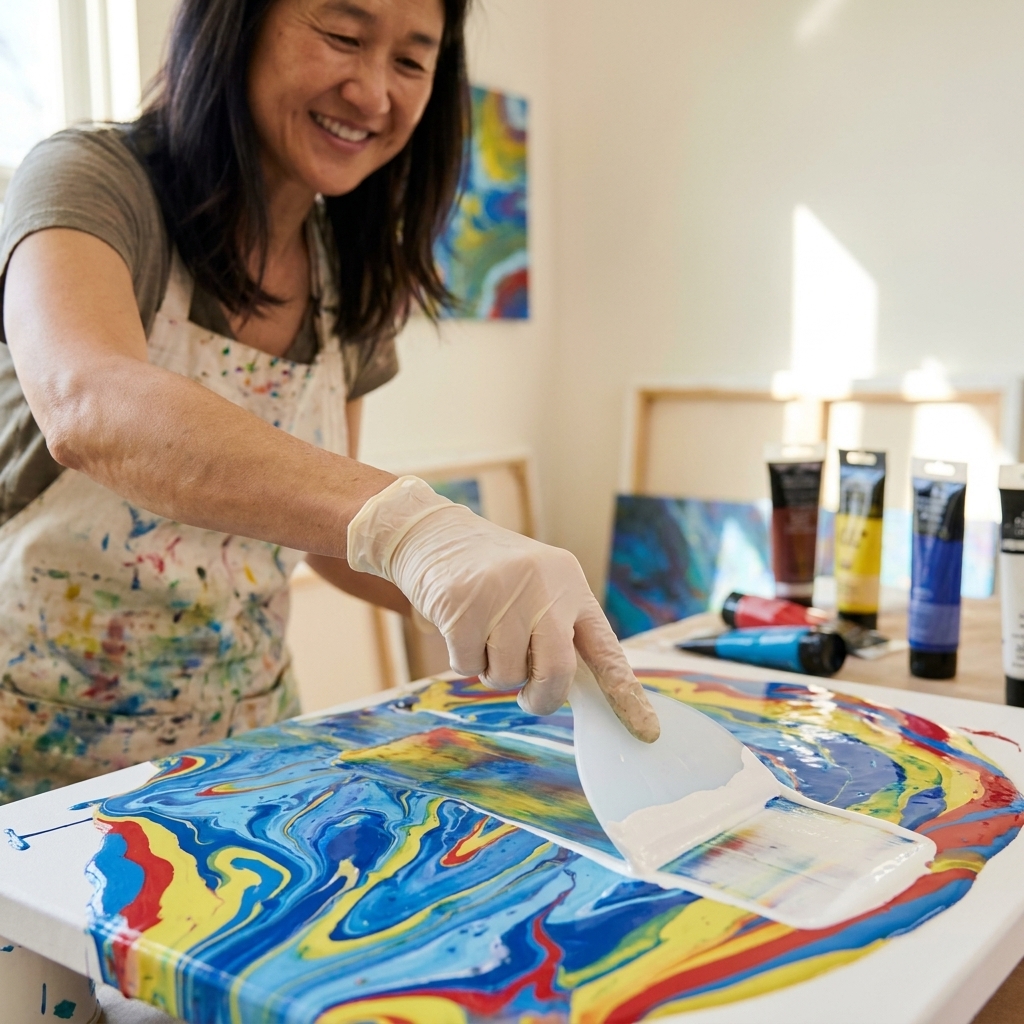
Swipe
Best for: high-contrast designs with lacing and bold cells.
- Pour puddles or stripes of color onto the canvas.
- Add a line of white (or another “swipe” color) across the top.
- Use a damp paper towel, makeup wipe, or a plastic spatula edge to gently drag the swipe color across the surface in one smooth motion.
- Torch lightly to bring up cells.
Puddle pour
Best for: controlled concentric ripples and soft movement.
- Pour one color into the center.
- Pour the next color directly on top of the first, staying centered.
- Repeat, building a layered puddle.
- Tilt gently to expand rings outward.
Bloom
Best for: dramatic, organic “flower” shapes with lots of cell action.
- Lay down a base coat, often dark (black or deep blue).
- Pour a puddle of white where you want the bloom.
- Add a few colors on top of the white puddle.
- Add a small amount of silicone in one of the bloom colors (optional).
- Use a quick torch pass to “open” the bloom and create cells.
This one takes practice, but it is so fun once you get the feel for it.
Drying and curing
Fresh pours look dry on top long before they are truly cured. If you move the canvas too soon, the paint can shift, crack, or form ripples.
Drying setup
- Leave the canvas elevated so drips can fall.
- Cover with a large plastic bin or cardboard box to keep dust and pet hair out.
- Keep it in a warm, stable room with low humidity if possible.
How long to wait
- Touch-dry: often 24 to 72 hours, depending on thickness, room conditions, and the medium you used
- Cure before varnish: commonly 2 to 4 weeks for thicker pours, sometimes longer
If your pour was extra thick, give it extra time. Trapped moisture is a common cause of cloudy varnish or later cracking.
Finishing and varnish
Before you seal a pour, make sure it is truly cured, not just dry to the touch. If you used silicone, do a quick cleanup before varnish.
Remove silicone residue
- Wait until fully cured. Cleaning too early can soften the paint film.
- Wipe gently with a soft cloth dampened with mild dish soap and water, then wipe again with a clean damp cloth to remove soap.
- Avoid saturating raw canvas edges or the back. You want “barely damp,” not “bath time.”
- Let it dry completely again.
If you prefer, you can also wipe lightly with isopropyl alcohol on a soft cloth. Use ventilation, keep it away from flames, and do a small spot test first.
Varnish options
- Acrylic varnish (brush-on): accessible and beginner-friendly.
- Spray varnish: good for avoiding brush marks, use light coats.
- Epoxy resin: super glossy, but more advanced and needs careful measuring and ventilation.
When in doubt, do a small test patch on the edge or a test tile first. It is a lot less stressful than committing to the whole piece in one go.
Troubleshooting
My colors turned muddy
- Use fewer colors (3 plus white is plenty).
- Separate complementary colors with white or metallic.
- Tilt less and stop sooner to avoid overmixing.
I have bald spots
- Add a base coat next time.
- Mix a bit more paint so you are not stretching it too thin.
- Tilt more gradually so paint has time to flow evenly.
No cells showed up
- Try a touch of silicone in one color and torch lightly.
- Make sure your paints are similar consistency.
- Increase contrast, especially using white against darker colors.
Cracking as it dries
- Paint may be too thin or too much water was used, which can weaken the binder.
- Very thick pours on flexible canvas can crack. Try a panel for thicker pours.
- Drying too fast near a heater or in direct sun can contribute to cracking.
Lots of bubbles
- Mix slowly and let paint rest before pouring.
- Use a quick torch pass to pop bubbles after pouring.
- If you are using a foam brush for base coat, switch to a palette knife or gloved hand to spread more smoothly.
Budget-friendly tips
- Use smaller canvases first: 8x10 or 10x10 lets you practice without burning through paint.
- Catch drips: Place a tray under your elevated canvas. Once drips dry into skins, you can peel them up for mixed-media collages.
- Make test tiles: Pour leftover paint onto ceramic tiles or thick cardstock for instant coasters or gift tags.
- Limit your palette: More colors often equals more waste and more mud.
Safety and cleanup
- Work in a well-ventilated area, especially if torching, spraying varnish, or using resin.
- Keep torches and heat guns away from hair, paper towels, solvent fumes, and anything else that likes to catch fire. Never torch near aerosol sprays.
- Wear gloves. Pigments stain fast.
- Do not pour leftover paint down the drain. Let it dry in the cup and peel it out.
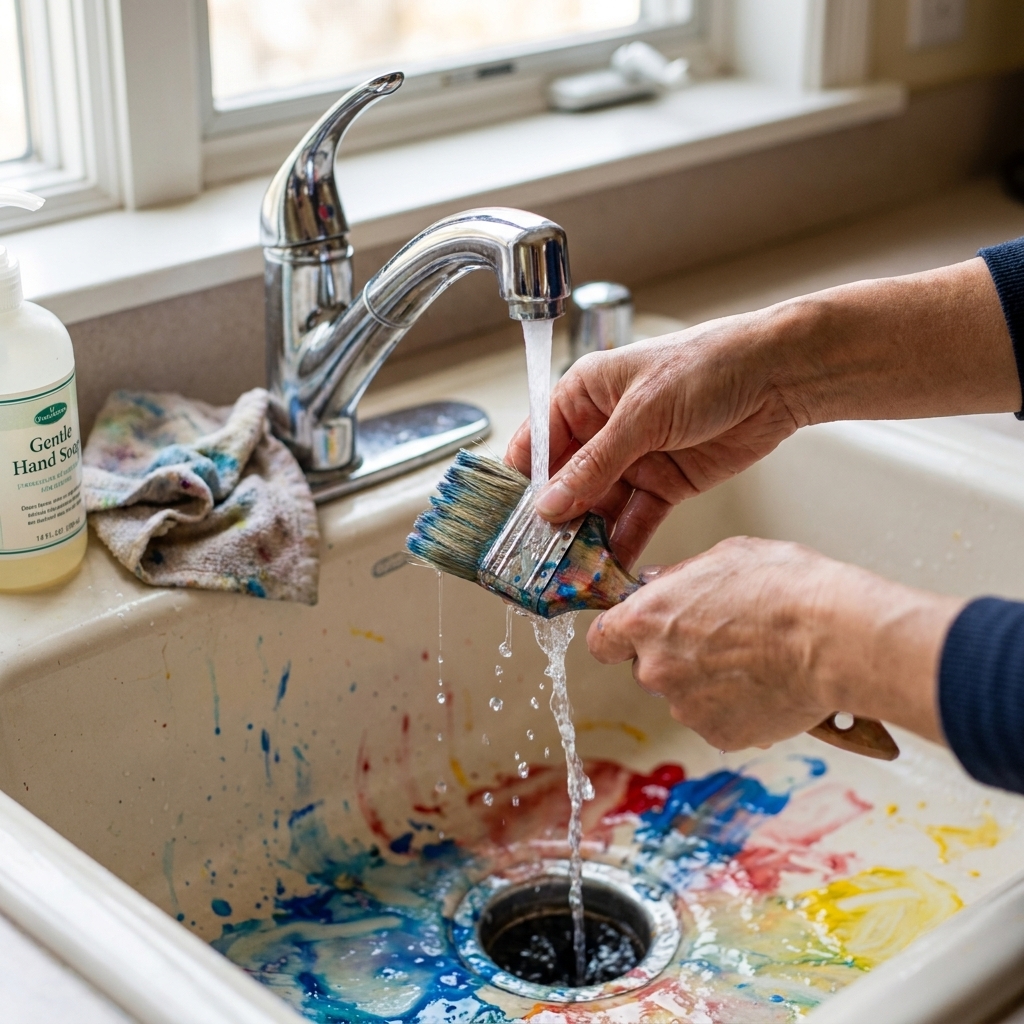
- Wipe tools with paper towels first, then wash with soap and water.
FAQ
Can I do acrylic pouring with regular craft paint?
Yes. Many craft paints work great with pouring medium. You may need a little extra medium to smooth out thickness, and you will usually get best results if you add white for contrast.
Do I have to use a pouring medium?
I strongly recommend it. Water alone can over-thin the binder in acrylic paint, which can lead to weak color, poor adhesion, and cracking. Pouring medium keeps the paint film stronger as it dries.
What about Floetrol or glue mixes?
You will see people use Floetrol or PVA-style glue mixes because they are budget-friendly and can create great cells. They can also behave differently from artist pouring mediums, and long-term durability can vary by brand, ratios, and environment. If you are aiming for the most predictable, archival result, I would stick with an acrylic pouring medium made for fine art. If you experiment, do a few test tiles first and keep notes.
What size canvas is best for a first dirty pour?
An 8x10 inch canvas is a sweet spot: big enough to see movement, small enough to stay affordable and manageable while you learn how much paint you need.
How do I figure out how much paint to mix?
Start with the rule of thumb in this guide (about 1 to 2 ounces per square foot, plus extra for drips), then adjust based on your results. Keeping notes on canvas size and total ounces used helps a lot.
Your first pour plan
If you are feeling a little overwhelmed, here is the exact beginner combo I would do tonight:
- Canvas: 8x10
- Colors: teal, navy, metallic gold, white
- Technique: flip cup dirty pour
- Finish: light torch pass, then stop tilting when you love it (not when it is perfect)
And if it gets messy? Welcome to the club. The best pours I have ever made started with a moment of “oh no,” followed by a deep breath and one more gentle tilt.