A step-by-step beginner guide to pressed flower resin jewelry, including the right supplies, mixing ratios, and pouring techniques for crystal-clear, bubble-...
If resin crafting has been calling your name but the supply lists feel like a black hole, you are in the right place. I have taught enough messy art stations to know this truth: beginners do best with a small, solid setup, not a cart full of gadgets.
Below are the 10 essential resin crafting supplies I recommend for absolute beginners. This is the stuff that helps you get consistent results, keeps your workspace safer, and saves you from the classic “why is my resin still sticky?” heartbreak.
1) Epoxy resin and hardener (the right kind)
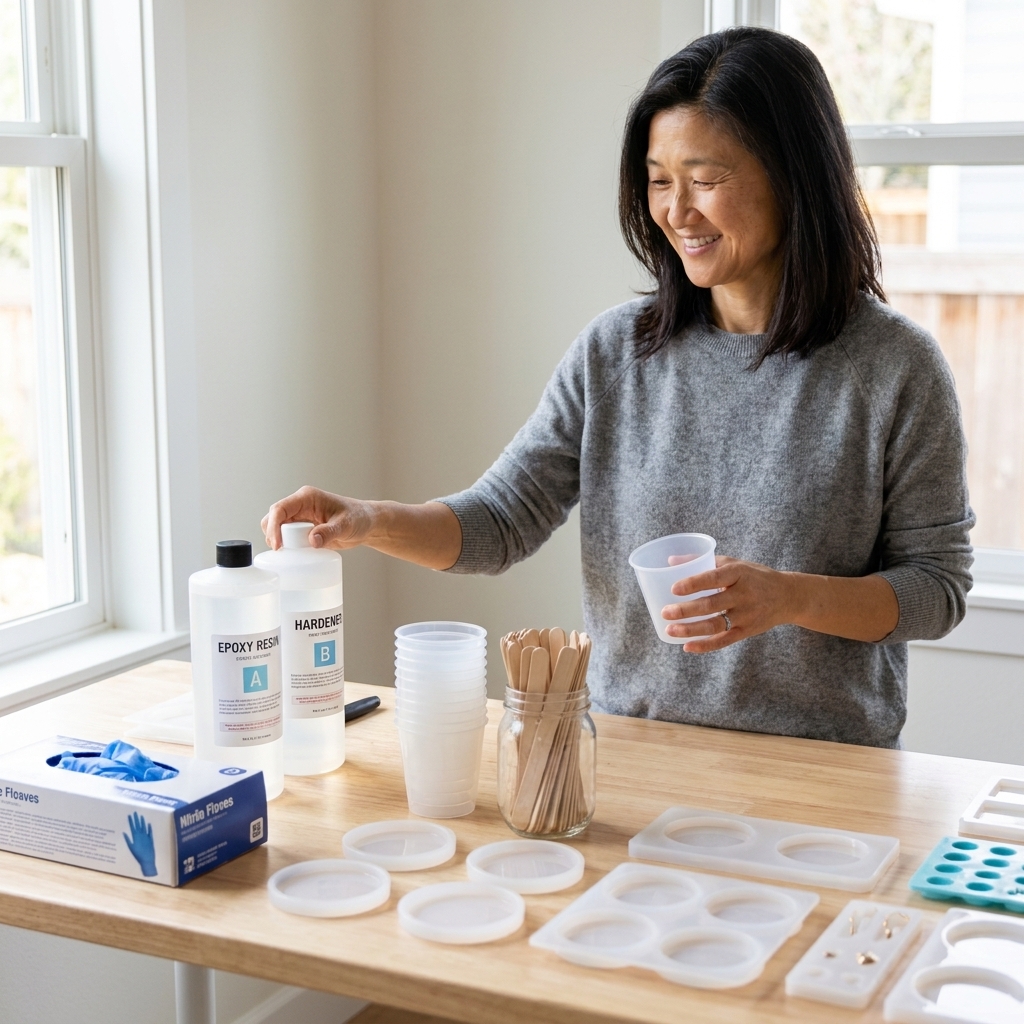
Your number one supply is, of course, the resin itself. For beginners, I strongly suggest a two-part epoxy resin labeled for crafting, casting, or jewelry.
- Look for: “1:1 mix ratio by volume” if you want the easiest measuring, “low odor,” “low viscosity,” and “self-leveling.”
- Know this: “Low odor” does not mean “no vapors.” Sensitivity varies, so check the SDS for your specific brand and follow its safety guidance.
- Skip (for your first projects): deep-pour formulas. They are great for thick pours, but they are usually unnecessary (and slow) for small, thin, fast projects.
- Tip from my classroom days: Buy the smallest kit that fits your first few projects. Fresh resin can behave more predictably than a half-used kit that has been sitting around, especially if it was stored warm, cold, or with the caps not sealed tight.
2) Accurate measuring tools
Most resin disasters start with inaccurate measuring. Even “close enough” can lead to tacky, bendy, never-fully-cured pieces.
- If your resin is 1:1 by volume: graduated mixing cups or marked measuring cups are usually enough.
- If your resin is measured by weight: you need a small digital scale that can measure in grams.
- My favorite beginner combo: clear graduated cups plus a simple kitchen scale. It covers you no matter what brand you try next.
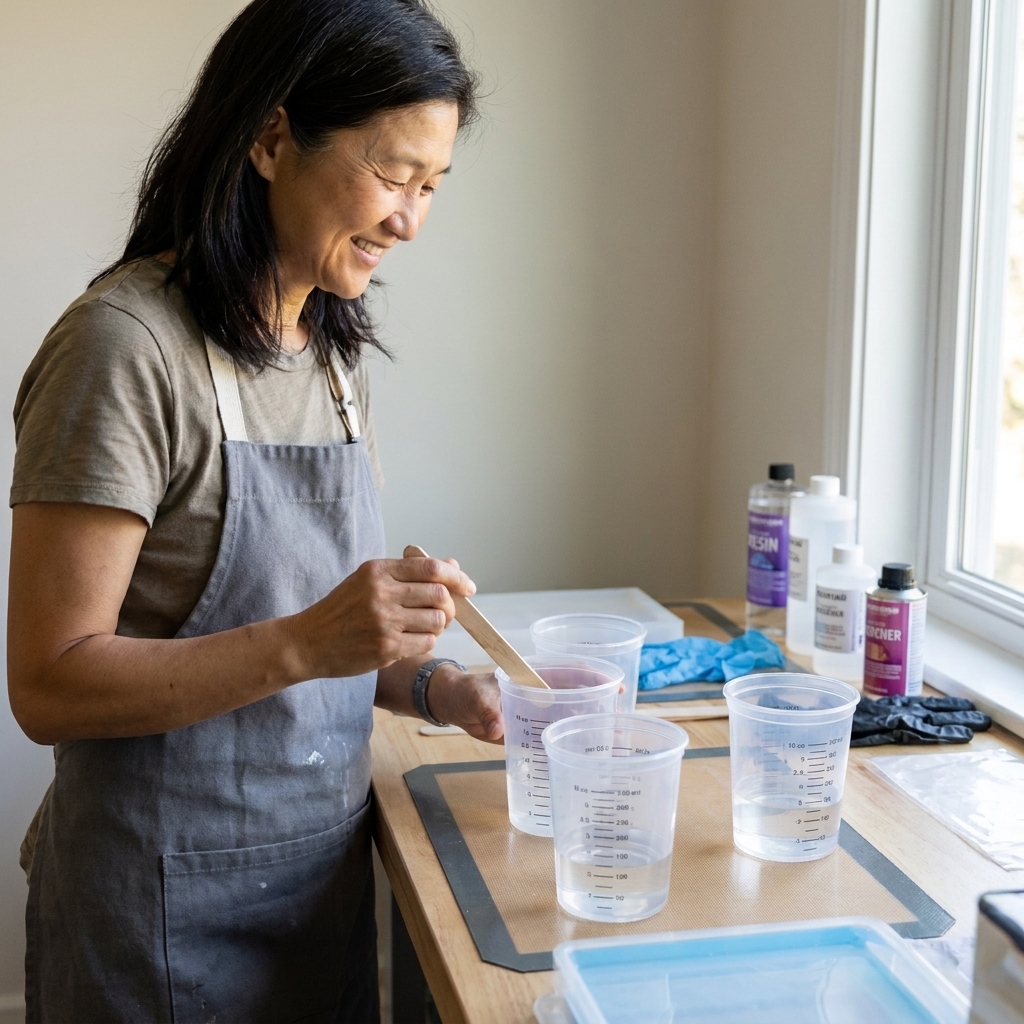
3) Mixing cups (silicone or disposable)
You need cups that are easy to measure in and easy to mix in. Resin is sticky and it finds every crack, so pick cups that suit your patience level.
- Silicone mixing cups: reusable, flexible, and great for reducing waste. Once cured, most resin peels right out.
- Disposable plastic cups: convenient for messy sessions, but use sturdy ones so they do not warp.
- Quick tip: Have a few sizes. Small cups for colors, a larger cup for your main batch.
4) Stir sticks and scraping tools
Mixing is not just stirring. It is stirring and scraping. Unmixed resin clinging to the sides and bottom of the cup can give you soft spots or sticky patches.
- Stir sticks: wooden craft sticks work fine, silicone sticks are even better for scraping.
- Mini silicone spatula: this is the unsung hero. It helps you scrape the bottom and pour cleanly.
- Beginner mixing rhythm: stir slowly for 3 to 5 minutes (follow your brand), scraping sides and bottom often. Slow mixing helps reduce bubbles.
- Also watch the clock: every resin has a working time (pot life). Once it starts warming up and thickening, stop fussing with it and pour.
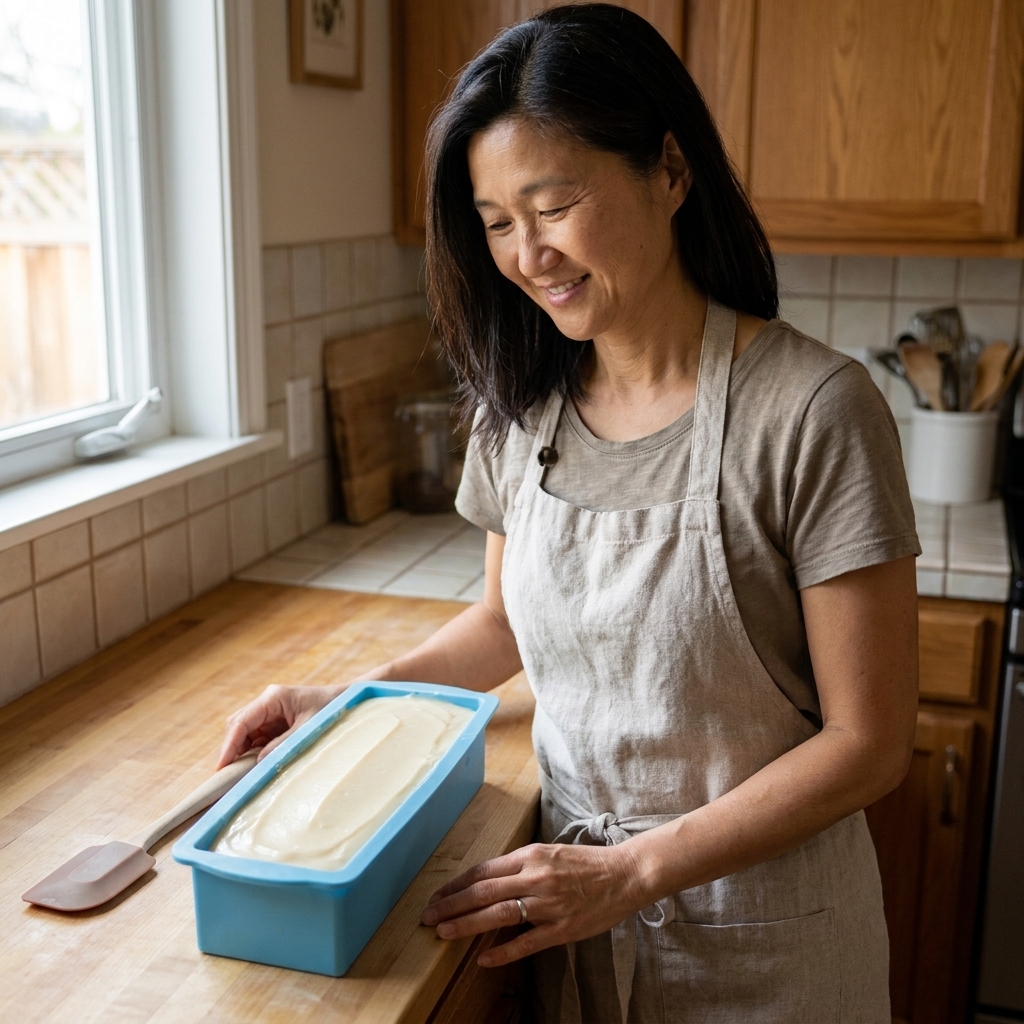
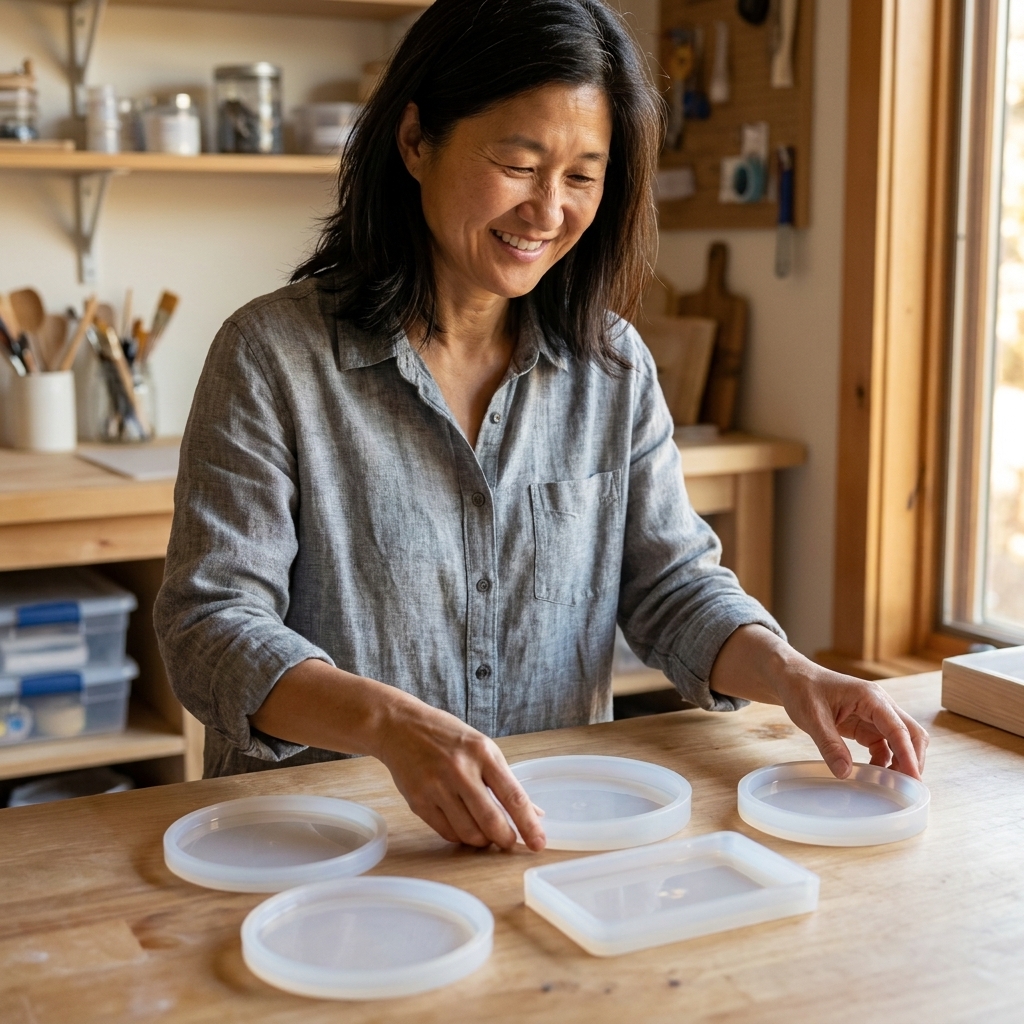
5) Silicone molds (start with 2 to 3 shapes)
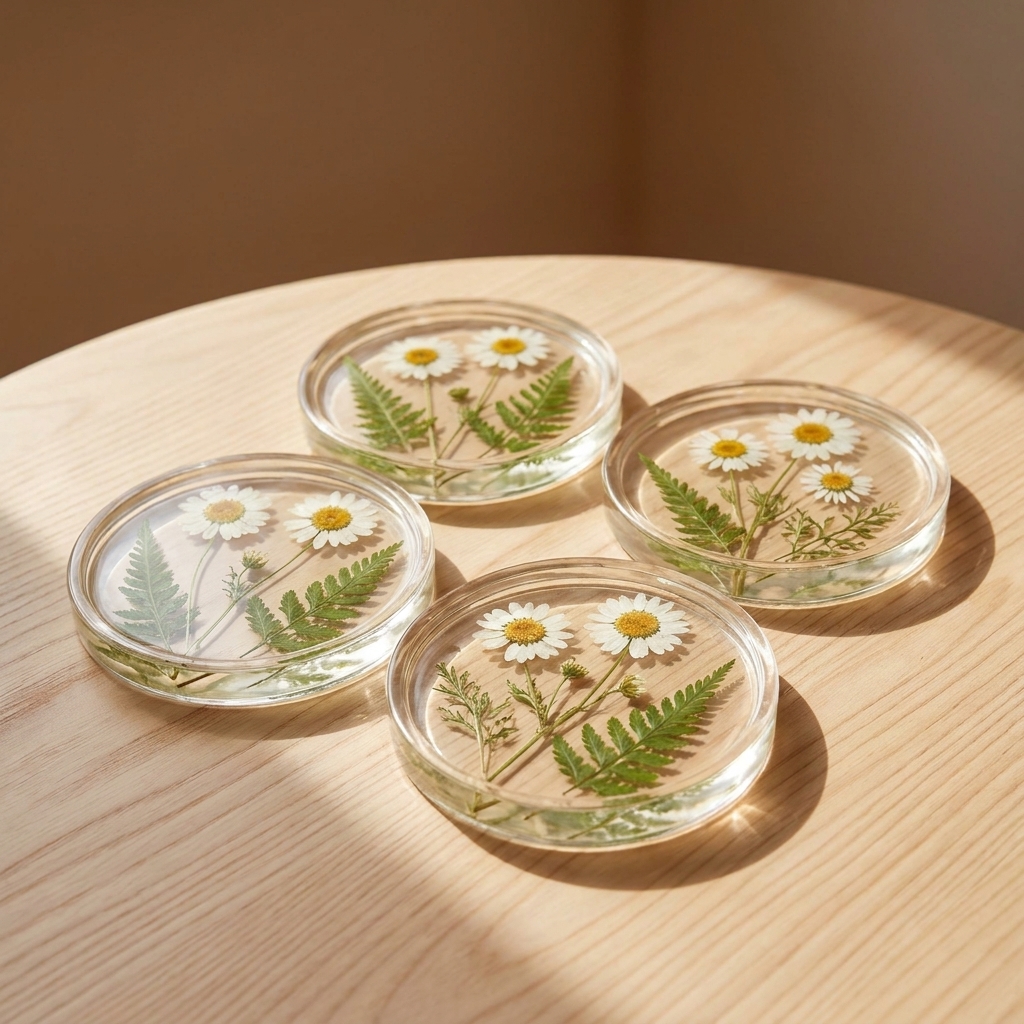
Silicone molds are the easiest way to get satisfying results fast. Resin releases from silicone beautifully, and you can make everything from coasters to little trinket trays.
- Start with: coaster molds, a small dish or tray, and a simple pendant or keychain mold.
- Look for: thick, sturdy silicone with crisp edges. Flimsy molds can bow and give you lopsided pieces.
- Tip: Wash new molds with mild soap and water and let them dry fully. Dust and factory residue can affect the finish.
6) Table protection and a level surface
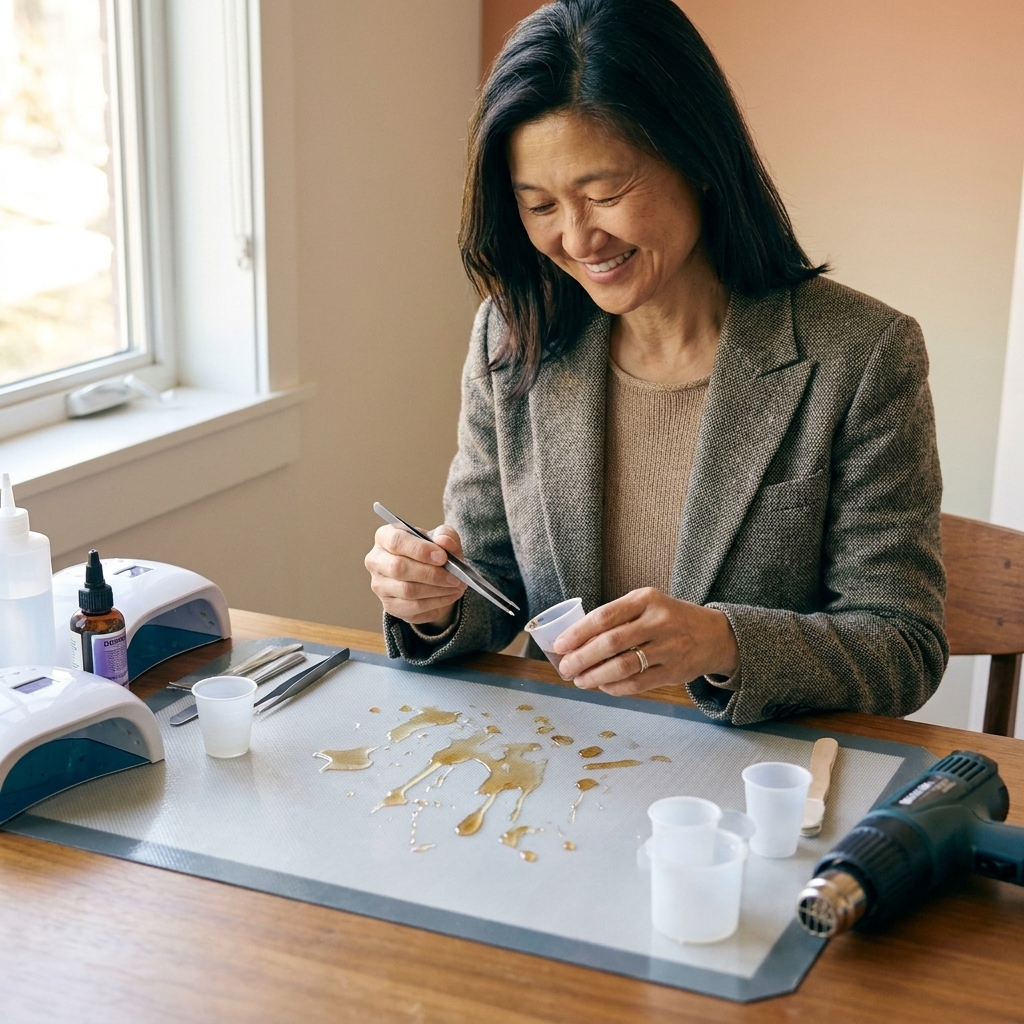
This is the supply nobody gets excited about, and it is the one that saves your table and your sanity. Resin drips happen. Also, resin will self-level, which is great until your workspace is slightly tilted and every coaster cures with a “mysterious” slope.
- Protect your surface: use a silicone craft mat, plastic sheeting, or freezer paper (shiny side up) under your work.
- Level matters: do a quick check with a small level, or use the low-tech method and see if a stir stick rolls.
- Bonus: a protected, level setup also makes cleanup less dramatic.
7) Nitrile gloves (not latex)
Please do not skip gloves. Uncured resin can irritate skin and repeated exposure can increase sensitivity over time.
- Choose: nitrile gloves. They tend to hold up better against chemicals than latex.
- Keep extras nearby: you will want to swap gloves if you get resin on them and then need to touch a door handle, phone, or scissors.
- My “real life” note: Put your hair up. Resin plus loose hair is a craft blooper you only need once.
8) Ventilation and a respirator (plus eye protection)
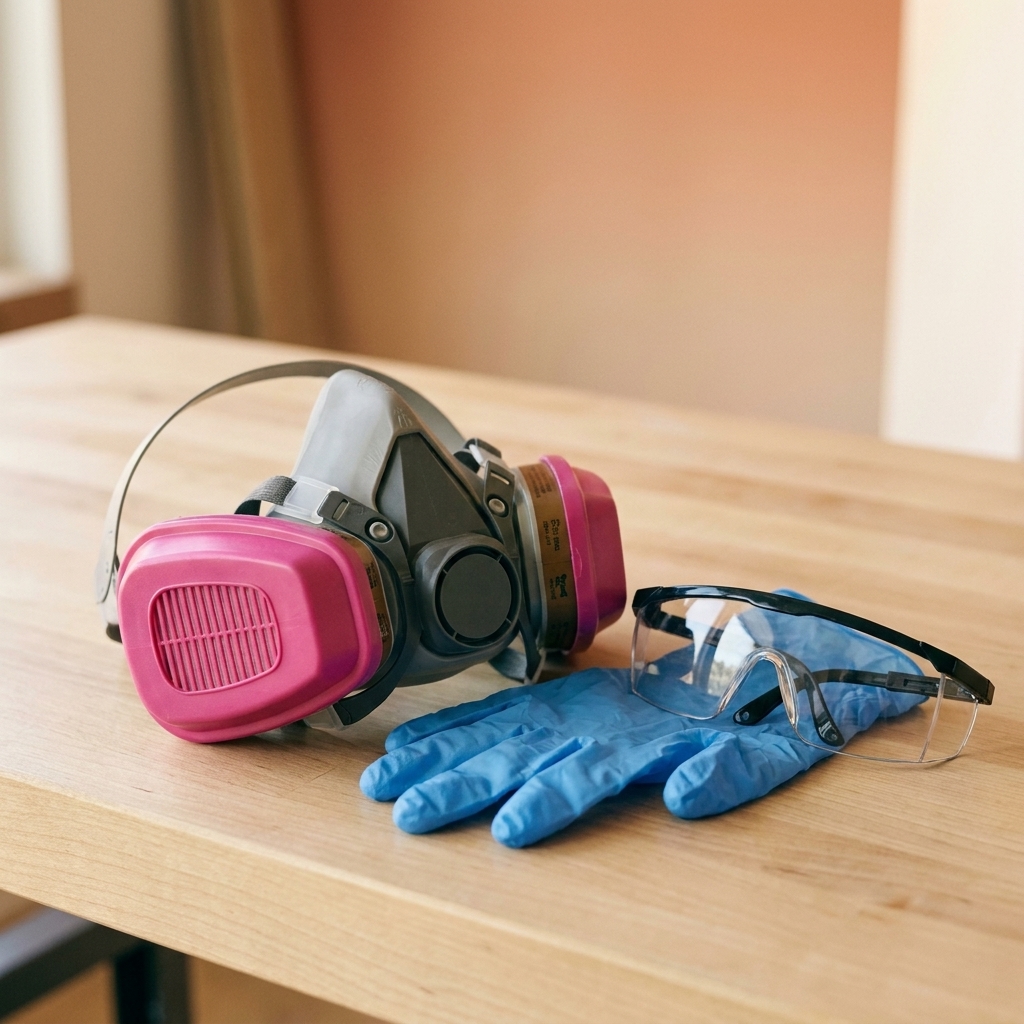
Even “low odor” resin can release VOCs and vapors, and sanding cured resin creates fine dust you do not want in your lungs. Safety is part of the craft, not an add-on.
- Best practice for pouring: work in a well-ventilated space and wear a half-face respirator with organic vapor (OV) cartridges, especially if you craft often. Always follow your resin brand’s SDS and instructions.
- For sanding and drilling: use P100 particulate filtration (either P100 filters on your respirator or OV plus P100 combo cartridges if you do both tasks).
- Eye protection: safety glasses are a smart habit, especially during sanding or when working with a heat tool.
- Also helpful: a small fan pulling air away from you (not blasting directly onto your wet resin, which can kick up dust).
9) A heat tool for bubbles (heat gun or torch)
Bubbles are normal, especially when you are learning. A little heat can help pop surface bubbles for that glossy, glass-like finish.
- Heat gun: easy to control. Use on low, keep it moving, and do not hover.
- Small butane torch: works fast on surface bubbles, but it is easier to scorch resin or melt molds if you are not careful.
- My rule: quick passes, then pause. Too much heat can cause ripples or a too-fast cure on the surface.
10) Colorants made for resin
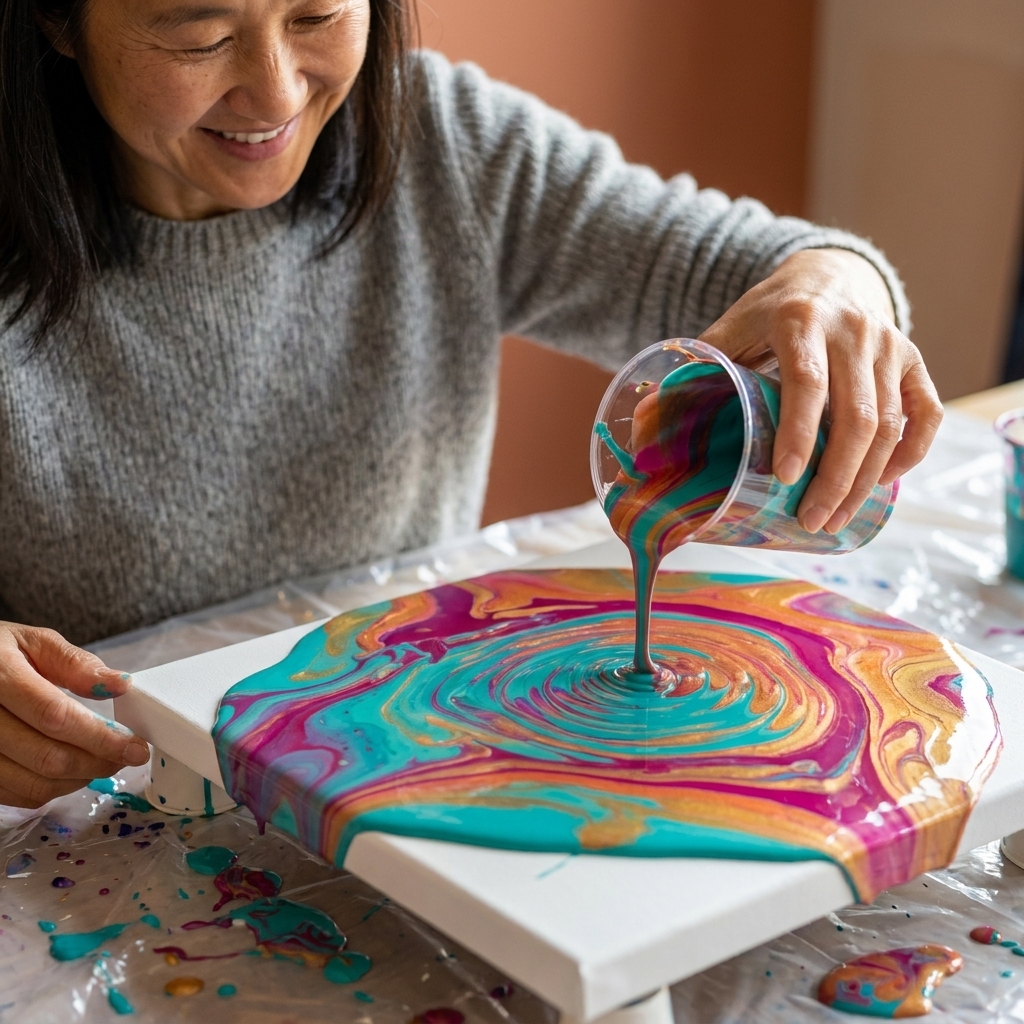
Most beginners want color right away, and it is smarter to plan for it than to grab whatever paint is nearby. Some additives can mess with curing, cause clumps, or leave your piece sticky.
- Beginner-friendly options: mica powders, resin dyes, and pigments specifically labeled for epoxy resin.
- Use a light hand: a little goes a long way. Too much pigment can interfere with curing or turn your resin thick and pasty.
- Avoid (unless the brand says it is resin-safe): water-based paints and craft acrylics mixed directly into resin. They can cause curing issues or a weird finish.
Finishing basics
Even with great molds, you will occasionally get a sharp edge, a drip, or a slightly matte spot. Finishing supplies turn “homemade” into “handmade in the best way.”
- Wet/dry sandpaper: start around 400 grit and work up through 800, 1000, and higher for a smoother finish.
- Polishing compound or plastic polish: brings back shine after sanding.
- Top coat option: a thin resin top coat can restore gloss on flat pieces like coasters or trays.
My beginner low-waste extras
These are not part of the “must-have ten,” but they make resin life easier without adding a lot of clutter.
- Painter’s tape: tape the back of open bezel charms or create temporary “walls.”
- Baby wipes and isopropyl alcohol: for quick cleanup on tools and surfaces before resin cures. Use them thoughtfully: do not clean resin off your skin with alcohol or wipes (it can spread resin around). Wash skin with soap and water and follow the SDS. Isopropyl alcohol is also flammable, so keep it away from open flames and torches.
- Covered storage bins: keeps dust and pet hair away from curing pieces.
- Disposable apron or shop towel roll: not glamorous, very useful.

Quick setup checklist
- Epoxy resin and hardener
- Measuring cups and/or a digital scale
- Mixing cups
- Stir sticks plus a small scraper
- Silicone molds
- Table protection plus a level surface
- Nitrile gloves
- Ventilation plus a respirator and eye protection
- Heat gun or small torch for surface bubbles
- Resin-safe colorants
Beginner questions
Do I need a pressure pot?
Not to start. Pressure pots are fantastic for crystal-clear castings, but they are expensive and add complexity. You can make gorgeous coasters, trays, and jewelry without one.
Can I use plastic cups and popsicle sticks from the dollar store?
Yes, with two cautions: use sturdy cups that will not soften, and mix thoroughly while scraping. For sticks, flat ones are easiest for scraping the sides and bottom.
Why is my resin still sticky?
The most common causes are inaccurate measuring, incomplete mixing, or curing in a space that is too cold. Measure carefully, scrape while mixing, and cure at the temperature range your resin brand recommends.
What is the easiest first resin project?
Coasters are my favorite first win. They are flat, forgiving, and you learn the big skills fast: mixing, tinting, bubble control, and demolding.
What should I do with leftover resin?
Let small leftovers cure in the mixing cup, then dispose of the solid waste according to your local guidelines. Do not pour liquid resin down the drain.
One last friendly reminder
Resin crafting is equal parts science and sparkle. Set yourself up with the right basics, take your time with measuring and mixing, and do a tiny test pour when you try a new brand or pigment. Check the SDS when in doubt. Your future self will thank you, and your crafts will look clean, glossy, and confidently made.