From craft knives to guillotine and rotary trimmers, here are precise paper cutting tools for scrapbooking and card making, plus tips to fix common cutting p...
There is something downright calming about stitching a book together with your own two hands. Japanese stab binding (often called yotsume-toji for the classic four-hole version) looks fancy, but it is one of the most beginner-friendly ways to bind a journal at home because you do not have to sew signatures or wrestle with a complicated spine.
Today I will walk you through the whole process: choosing materials, measuring your hole spacing, punching clean holes, and stitching a strong, tidy bind. You will end up with a custom notebook that feels gift-worthy, even if your first attempt includes a little wonky thread tension. Mine usually do.

What it is
Japanese stab binding is a style where you stitch through the entire stack of paper and cover near the spine edge. The stitches form decorative patterns on the outside, and the structure is surprisingly sturdy when you use the right thread and keep your holes aligned.
Why beginners love it
- No special bookbinding press required. Clips and a firm surface get you far.
- Works with single sheets. Great for mixed papers, recycled sheets, or artwork.
- Beautiful results fast. The stitching is the decoration.
A quick reality check
Stab bound books do not open perfectly flat like some sewn bindings. They open nicely for journaling and sketching, but the inner margin is a little tighter. If you want more “lay-flat,” I will share a simple workaround later.
One more practical note: because you are stitching through the full thickness, stab binding is happiest as a slimmer book. If you are brand-new, aim for a stack under about 1/2 inch (12 mm) thick (including covers). You can absolutely go thicker later, but thin books are easier to punch cleanly and stitch neatly.
Supplies and tools
You can go very budget here. My no-waste heart loves using what is already in the house, then upgrading one tool at a time.
Materials
- Paper: 20 to 40 sheets is a sweet spot for a first journal. Aim for similar sizes and weights for easier punching.
- Covers: heavy cardstock, watercolor paper, thin chipboard, or cut-down cereal box covered with decorative paper.
- Thread: waxed linen thread is ideal, but embroidery floss, crochet cotton, or strong polyester thread also works.
- Optional spine strip: a narrow piece of cardstock, kraft paper, or thin leather to protect the stitch edge.
Tools
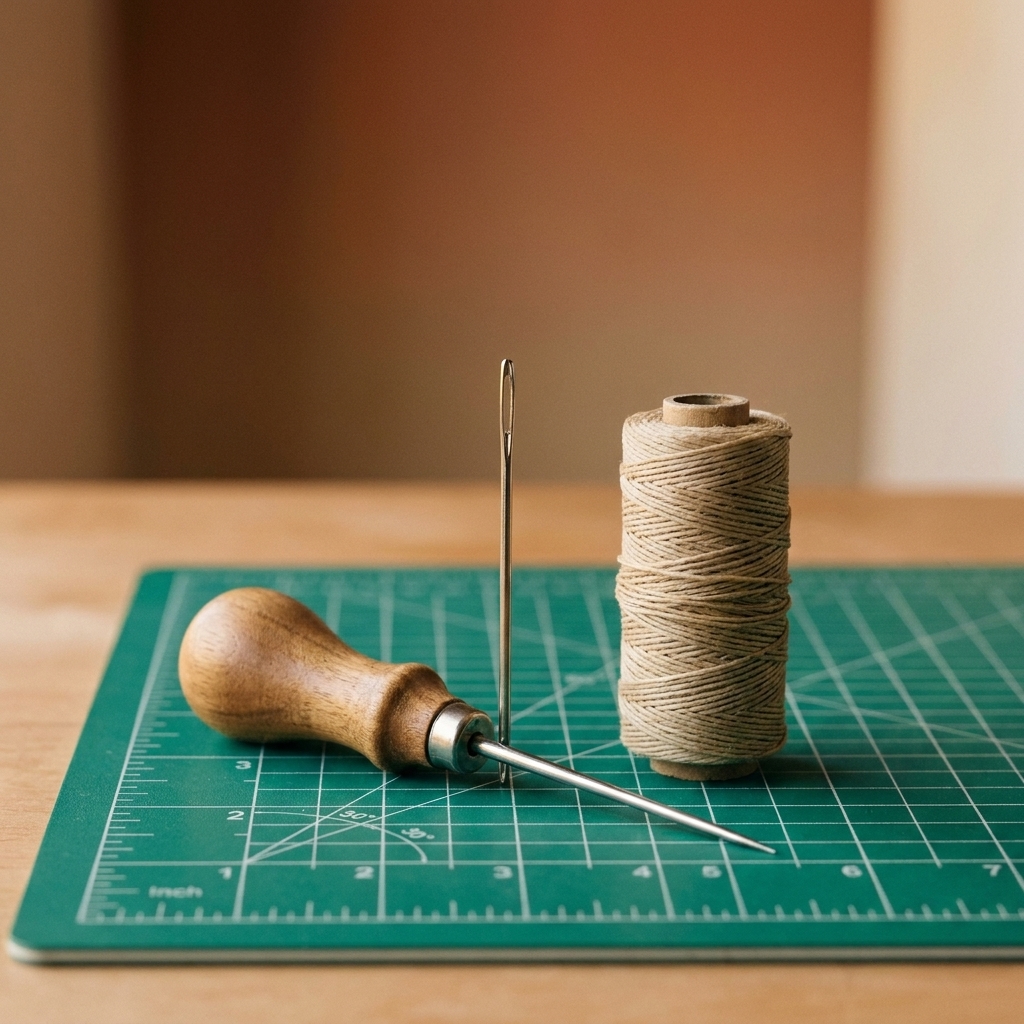
- Awl (best) or a thick needle, push pin, or small nail for punching
- Bookbinding or tapestry needle with a large eye (blunt tip is easiest)
- Ruler and pencil
- Binder clips or small clamps
- Cutting mat or a thick piece of cardboard to punch on
- Bone folder (optional) for crisp cover edges
- Thimble (optional) if your fingers complain
Safety and sanity tip: An awl is sharp. Keep your non-punching hand well away from the hole line, and punch on a surface you do not mind scarring.
Prep the pages
Step 1: Trim to size
Decide your finished size first. A5-ish (about 5.8 x 8.3 inches) is easy to hold and uses paper efficiently.
- Stack your pages and tap them on the table to align edges.
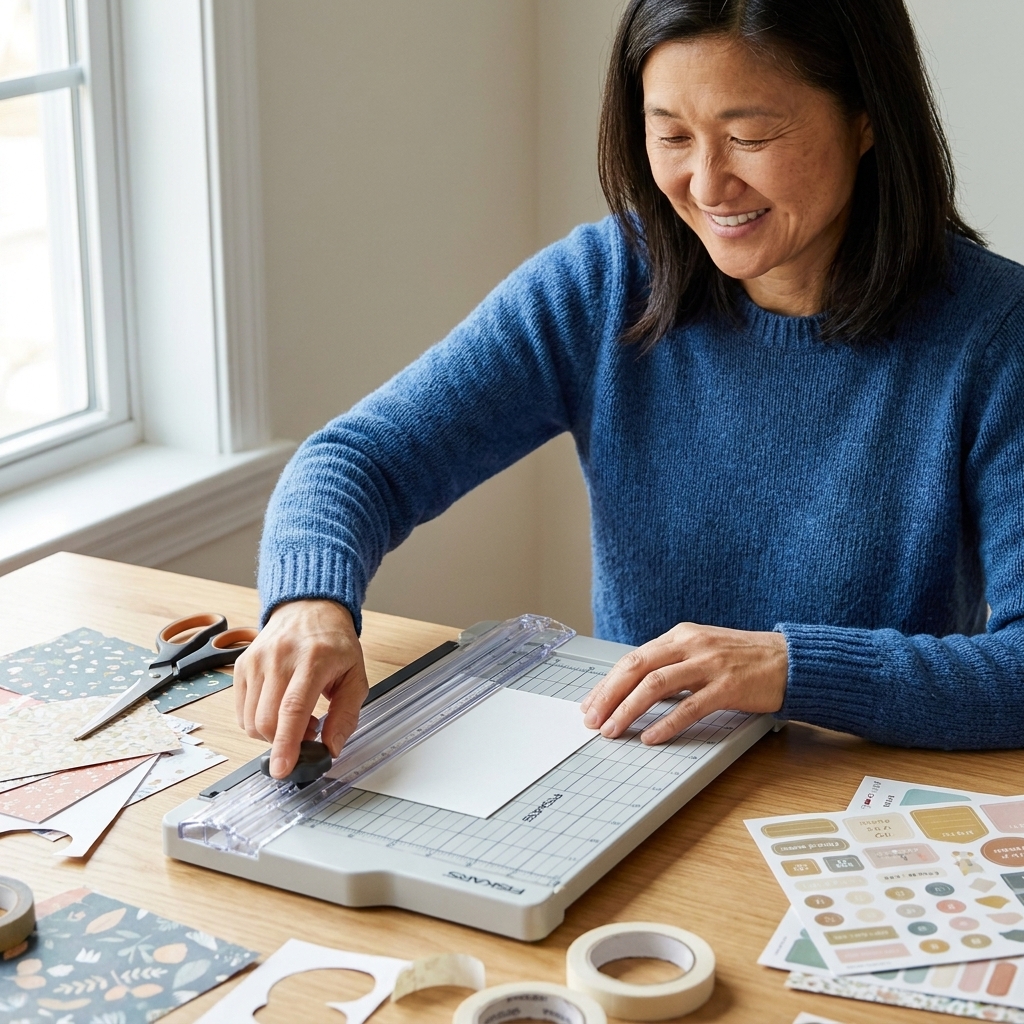
- Trim with a paper cutter if you have one, or carefully with a craft knife and ruler.
- Cut two covers the exact same size as the pages.
Step 2: Mind the grain (optional, but nice)
If you are using cardstock or decorative paper with a clear grain direction, having the grain run parallel to the spine edge helps covers flex more comfortably. If that sentence made your eyes glaze over, skip it. Your journal will still be lovely.
Step 3: Choose a binding margin
The “spine” side is the edge you will stitch. Leave at least 1/2 inch (about 12 mm) from the paper edge to your holes. Thicker books like a slightly wider margin.
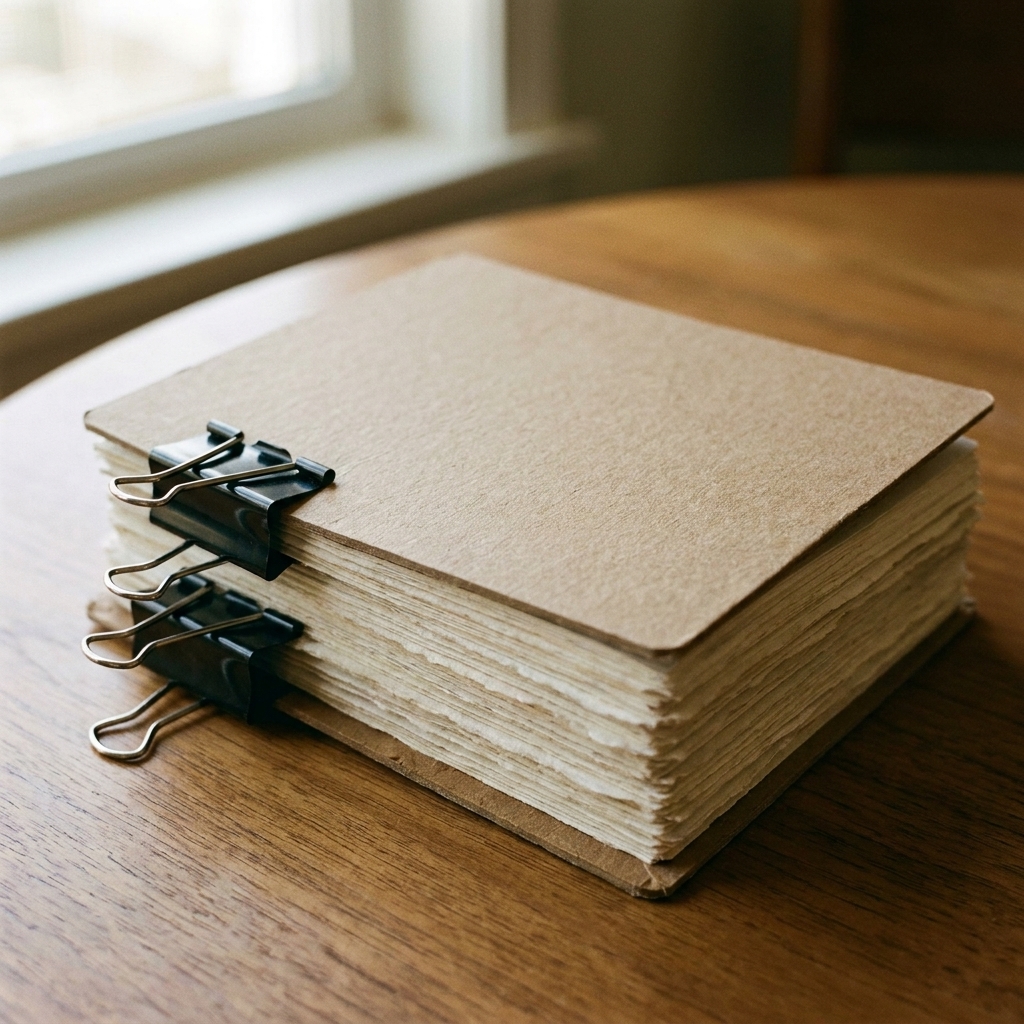
Step 4: Clip the stack
Layer in this order: back cover, pages, front cover. Clip with binder clips near the top and bottom of the stitching edge.
Small but important: keep the clips out of the way of your hole line so the stack stays flat and does not shift while you mark and punch.
Mark the four-hole pattern
This is the most beginner-friendly pattern and the one I teach first because it is both pretty and forgiving.
Simple, reliable spacing
Hole spacing is not one sacred law of the universe. This is just a clean, dependable setup that works well for most small journals.
- Hole 1 (top): about 1 inch (25 mm) down from the top edge.
- Hole 4 (bottom): about 1 inch (25 mm) up from the bottom edge.
- Holes 2 and 3 (middle): evenly spaced between holes 1 and 4.
- Distance from spine edge: about 1/2 inch (12 mm) in from the stitched edge for all holes.
If you want it extra neat, make a simple hole template from scrap cardstock: mark the four hole points once, then reuse that template for future journals.
Marking tip
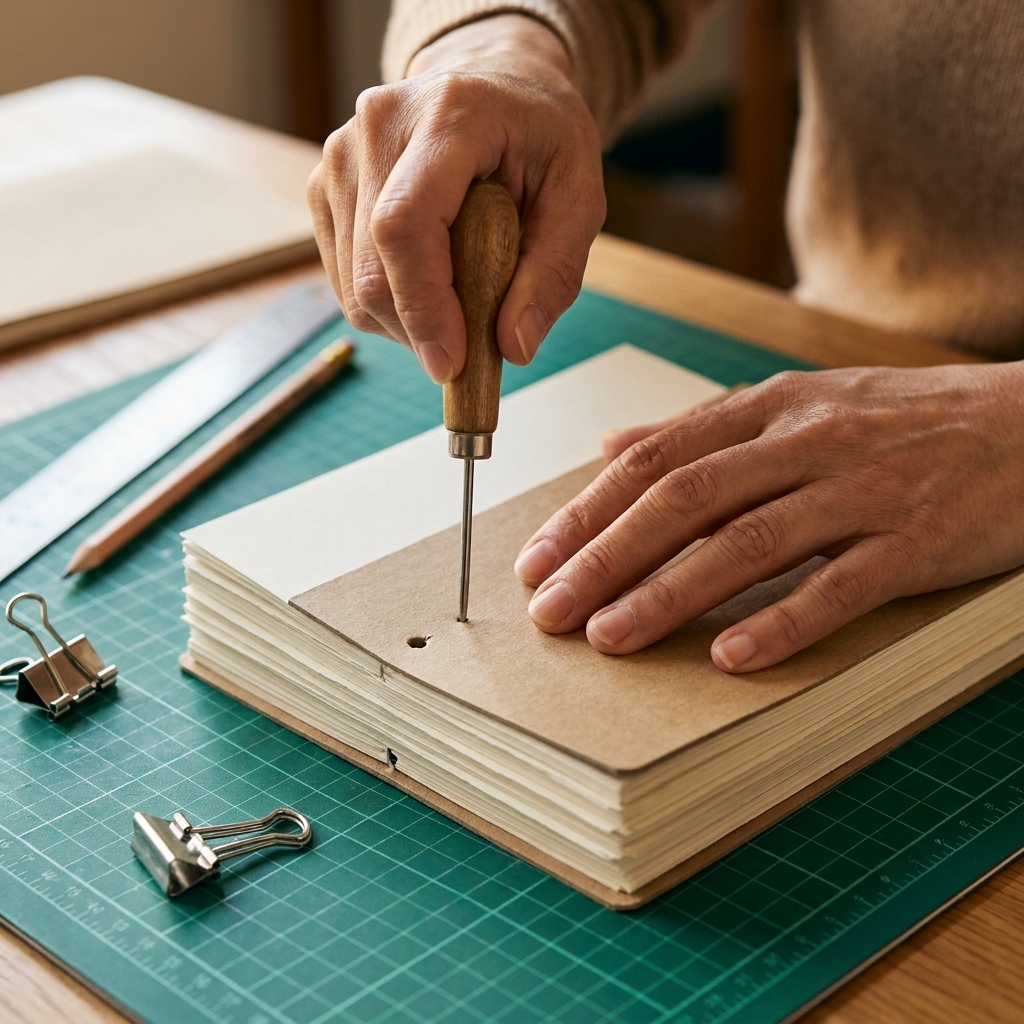
Mark your holes on the front cover only, then use the awl to punch straight down through the whole stack so every sheet matches.
Punch clean holes
Step 1: Protect your surface
Place the clipped stack on a cutting mat or thick cardboard. If you have scrap cardboard, you can slide a piece under just the hole area and replace it when it gets chewed up.
Step 2: Punch straight down
Hold the awl vertical and twist gently as you push. The twist helps cut paper fibers instead of ripping them.
Step 3: For thick stacks, punch in stages
If your book is on the thicker side, you will get cleaner holes by either:
- Punching in smaller sections (pages plus one cover), then restacking, or
- Punching halfway from each side (front to middle, then flip and finish from the back).
Step 4: Check alignment
Unclip and peek at the holes in the middle of the stack. If one looks tight, re-punch before you start stitching. This tiny check saves a lot of frustration later.
Stitch the four-hole bind
Take your time here. The stitches look complex, but you are basically wrapping the edge and linking holes in a consistent path.
Thread length
Cut thread about 6 to 8 times the height of your book. This is a solid rule of thumb for the four-hole pattern, but thickness and thread choice matter. When in doubt, cut longer. Running out at the last hole is a special kind of craft heartbreak.
Before you begin
- Thread your needle and tie a strong knot at the end.
- If your thread is not waxed, use beeswax or thread conditioner if you have it. A candle can work in a pinch, but it can soot or discolor lighter thread and paper, so keep it clean and gentle.
Number the holes
Imagine your holes from top to bottom: 1, 2, 3, 4. The “outside” is the front cover, the “inside” is between covers.
Stitching steps
- Start inside at hole 2. Push the needle from inside to outside at hole 2, leaving the knot inside.
- Wrap the spine edge. Go around the spine edge and come back in through hole 2 (outside to inside). This creates a neat bar along the edge.
- Go to hole 3 (inside). From inside, travel down to hole 3 and push out (inside to outside).
- Wrap and return. Wrap around the spine edge and go back in through hole 3.
- Travel inside to hole 4. Push out through hole 4.
- Secure the bottom corner. Wrap around the bottom edge (the foot of the book) and go back in through hole 4. For a stronger corner, you can do one more wrap through hole 4.
- Make the outside connector (hole 4 to hole 3). Bring your needle back out at hole 4 if you are not already outside. Then, on the outside/front cover surface, lay the thread neatly along the spine edge and enter hole 3 (outside to inside). You should now see a straight outside line connecting holes 4 and 3.
- Repeat upward (hole 3 to hole 2). Inside, travel to hole 2 and go out. Wrap the spine edge and go back in through hole 2. Then, go back out at hole 2 and again use the outside/front cover surface to enter hole 3 (outside to inside) if you want that clean outside connector between holes 2 and 3. Keep your outside lines parallel and tidy.
- Finish at the top. Inside, travel to hole 1 and go out. Wrap around the top edge of the book, then go back in through hole 1. For a stronger top corner, add one more wrap through hole 1.
- Tie off inside. You should end inside near hole 1 or 2. Tie a square knot around an existing thread segment on the inside. Snip the tail, leaving about 1/2 inch, and tuck it between pages.
My tension rule: snug, not strangled. If your cover starts to bow, loosen slightly and smooth the stack flat.
Outside stitch check: you should see wraps at each hole, plus straight outside connector lines between 2 and 3 and between 3 and 4, and tidy corner wraps at the top and bottom.

Make it yours
Easy cover upgrades
- Fabric cover: wrap chipboard with cotton fabric using glue, then punch holes after it dries.
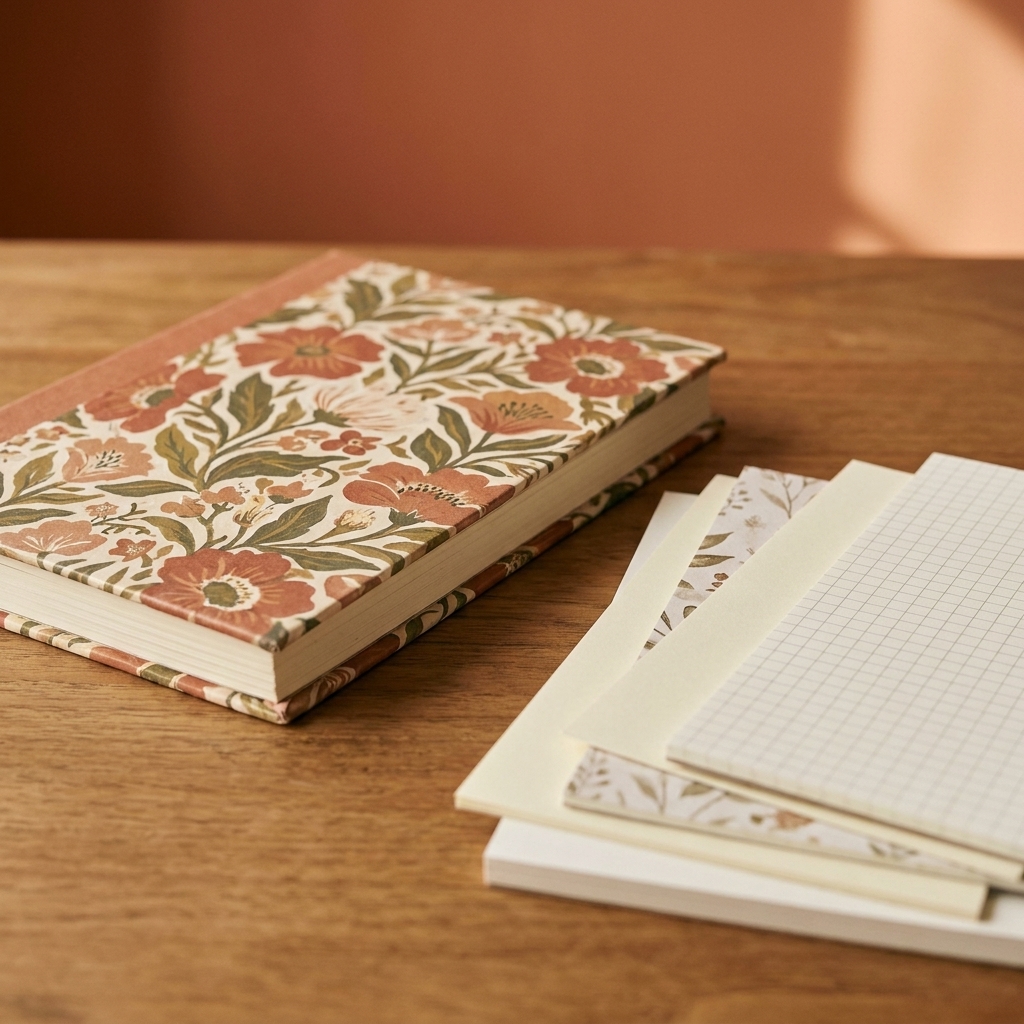
- Thrifted map or sheet music: decoupage onto cardstock for instant character.
- Painted cover: a simple gouache wash looks dreamy and hides scuffs.
- Spine protector: add a narrow strip of kraft paper or thin leather under the stitches for extra durability.
Fun paper mixes
- Half plain pages, half dotted pages for journaling and planning.
- Recycled paper plus a few heavier sheets for collage.
- Watercolor paper for a sketchbook style journal (use fewer sheets because it is thick).
Troubleshooting
My holes do not line up
This usually happens when the stack shifted while punching. Re-clip tightly and re-punch straight down through all layers. If a hole is slightly off, widen it gently with the awl rather than forcing the needle.
My thread keeps tangling
- Use shorter thread (or wax it) for smoother stitching.
- Let the needle dangle occasionally to untwist.
- Slow down at each hole and pull the thread through in one steady motion.
The pages are tearing near the holes
Move your hole line farther from the edge next time (at least 1/2 inch). Also consider stronger paper, fewer sheets, or adding a spine strip under the stitches.
My book will not open comfortably
That is normal for stab binding. Two easy fixes:
- Use fewer pages for a slimmer journal.
- Create a hinge margin by cutting a thin strip off the spine side of each page before binding. This gives the pages more room to swing open.
Pattern variations
After you master the four-hole pattern, you can keep the same basic process and just change your hole layout and stitch path.
Easy next steps
- Five-hole binding: add a center hole for extra stability and a slightly different rhythm.
- Asanoha: hemp leaf inspired, creates a star-like look with crisscross stitches.
- Kikko: tortoiseshell inspired, geometric and very satisfying if you like symmetry.
Tip from my teacher brain: change one variable at a time. Keep the same paper and cover thickness while you learn new stitch patterns.
Care and finishing
- Press it flat: place the finished journal under a few heavy books overnight.
- Seal delicate covers: a light brush-on matte sealer helps protect paper covers from fingerprints.
- Add a label: glue a small paper rectangle on the front, or tie on a tiny tag with the leftover thread.
FAQ
Can I do Japanese stab binding without an awl?
Yes. A push pin can work for thinner stacks, and a thick needle can work if you wiggle carefully. An awl is the best upgrade if you fall in love with bookbinding.
What is the best thread?
Waxed linen thread is a favorite for many binders because it is strong and resists tangling. Embroidery floss is a great beginner option and comes in gorgeous colors. If you use floss, keep your page count lower so the stitch line does not get too bulky.
How many pages can I bind?
For a first journal, aim for 20 to 40 sheets of standard printer paper and keep the whole stack (covers included) under about 1/2 inch thick. If you are using thicker paper, reduce the sheet count. If you want a chunky journal, consider making two thinner books instead of one very thick one.
Can I bind loose art or mixed media pages?
Absolutely. Just keep the page sizes consistent and avoid anything extremely dimensional near the binding edge. Flat collage and light paint layers are fine.
A gentle nudge
If you are hesitating because you think bookbinding has to be perfect, let me lovingly stop you right there. Your first stab bound journal is allowed to be a little crooked. It is allowed to have pencil marks. It is allowed to look handmade, because it is. And every time you stitch one, your hands learn something new.
If you make one, try a color of thread you would normally never pick. That tiny act of creative bravery is half the fun.