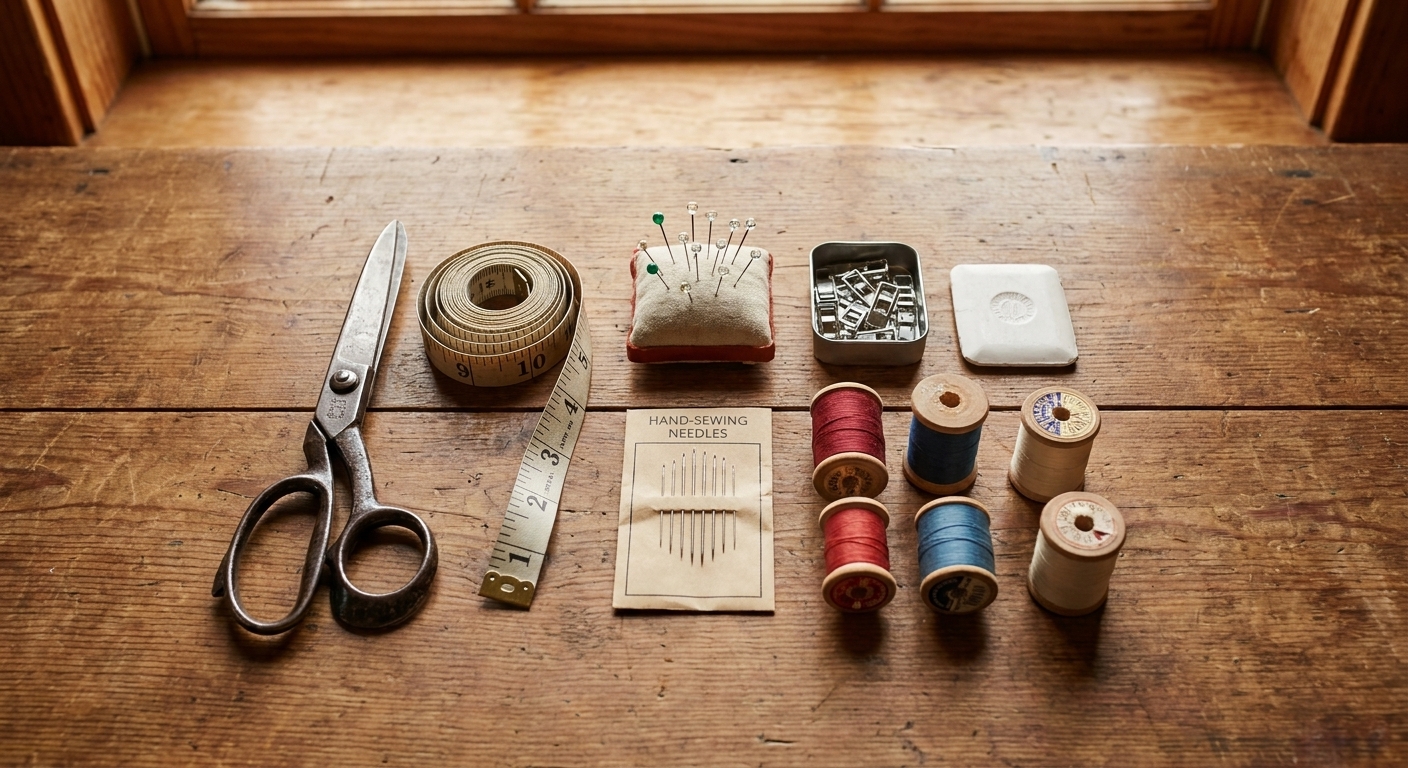
A beginner-friendly breakdown of the measuring, cutting, pinning, and marking tools that make sewing easier, neater, and way less frustrating.
Hand embroidery looks fancy, but it is really just a handful of repeatable motions. Once your hands learn the “alphabet” of stitches, you can spell out anything: florals, lettering, tiny landscapes, mending, you name it. This guide walks you through 15 foundational stitches I teach beginners (and the ones I reach for most when I want something to look polished without a lot of fuss).
Quick promise from your friendly former art teacher: your first few inches will look a little wiggly. That is normal. Embroidery is a slow craft, and the neatness comes from rhythm, not perfection.
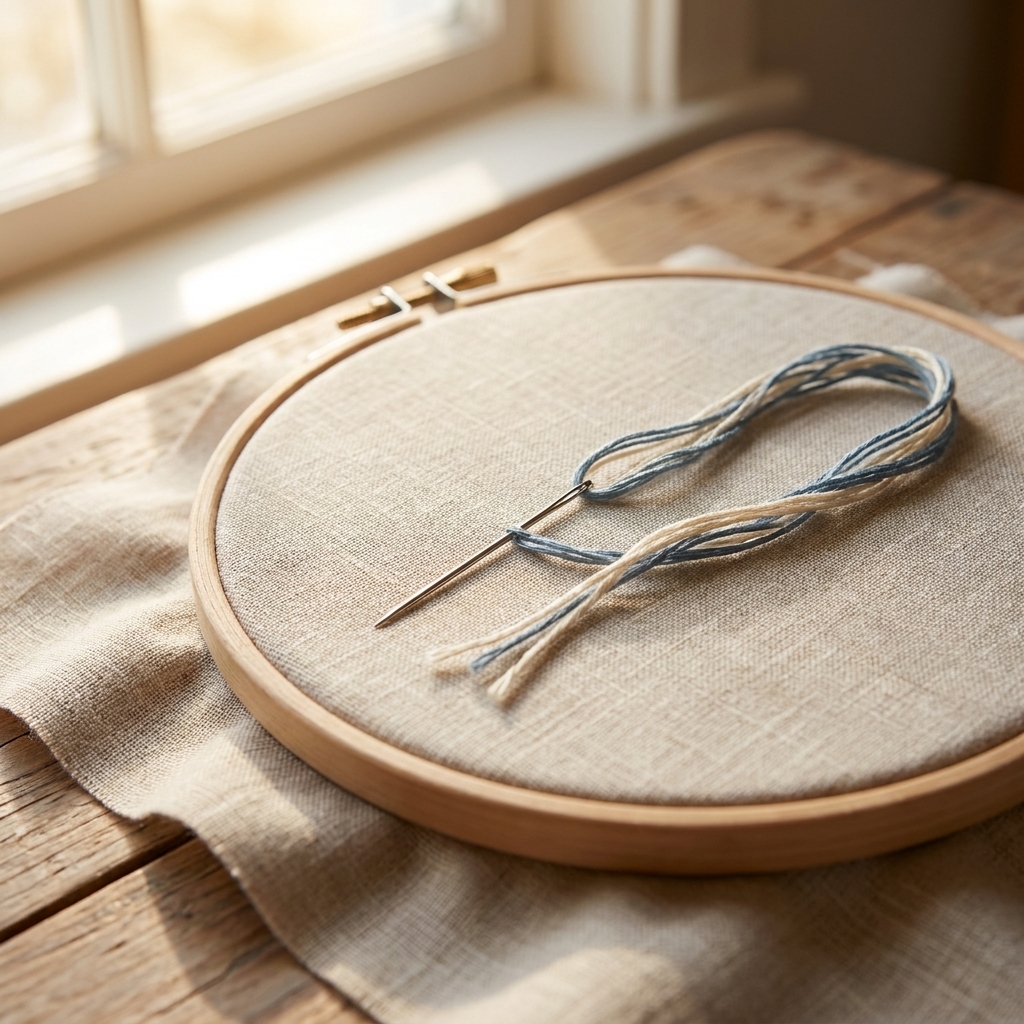
What you need to start
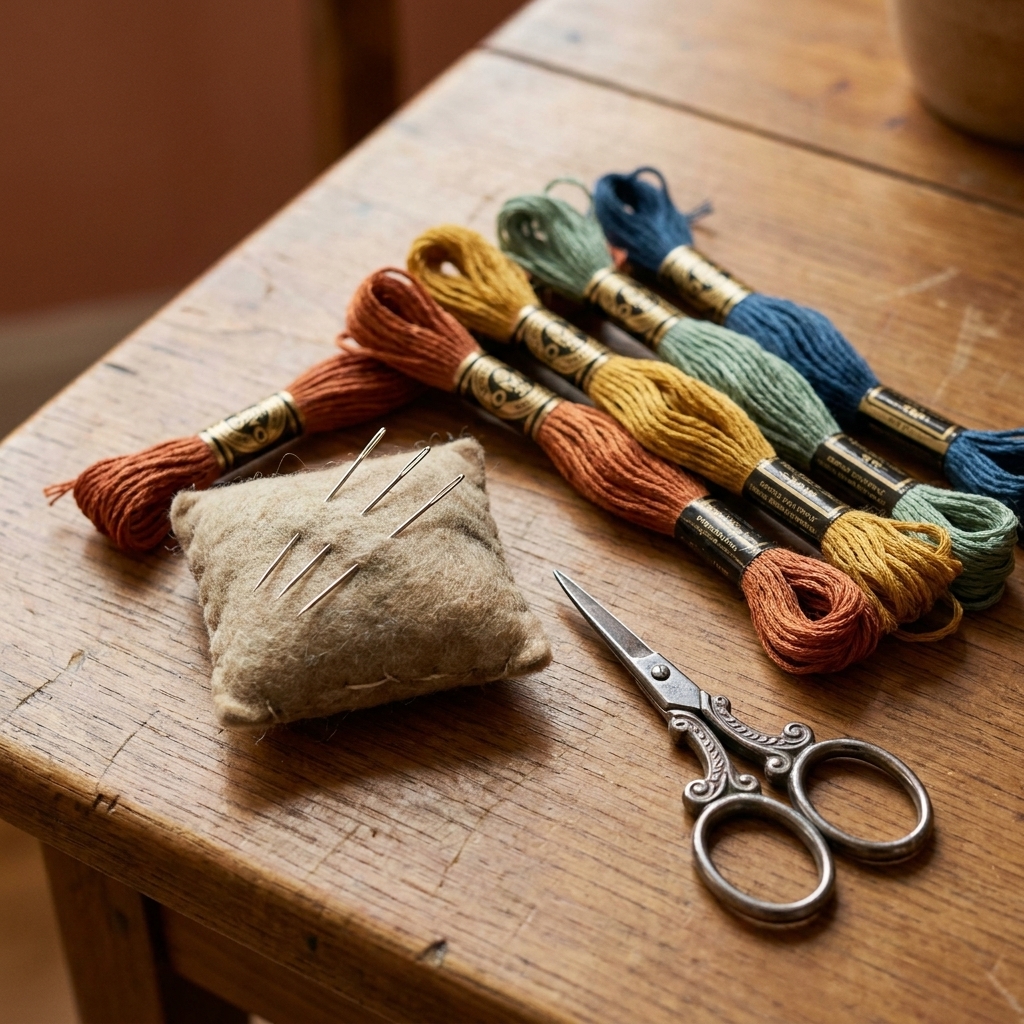
- Fabric: tightly woven cotton, linen, or quilting cotton. Avoid stretchy knits while learning.
- Needles: embroidery (crewel) needles, often around sizes 7 to 10 depending on your fabric and thread (sizes vary by manufacturer). Size 8 is a popular all-around starter.
- Thread: stranded cotton embroidery floss (the kind with 6 strands you can separate).
- Hoop: a 6-inch hoop is beginner-friendly and easy to hold.
- Scissors: small sharp scissors, even basic ones, as long as they are not dull.
- Transfer tool: water-soluble pen, heat-erase pen, or a light box or window tracing method.
Thread tip: Start with 2 strands of floss for most practice. Use 1 strand for delicate details and 3 to 6 strands for chunky lines and texture.
Optional but wonderful: a needle threader. It is not cheating. It is just kind.
Before you stitch: 5 setup habits that make everything easier
1) Put fabric in the hoop like a drum
Loosen the screw, place the inner hoop under the fabric, press the outer hoop on top, then tighten while gently tugging the fabric edges. You want it taut, not stretched into distortion.
2) Keep your thread length reasonable
As a general rule, cut about 18 to 22 inches. Longer thread tangles, frays, and makes you dislike embroidery for no good reason.
3) Use a clean start and finish
For practice, you can knot. For nicer work, “waste knot” or “away knot” starts look cleaner, and weaving tails under stitches finishes securely.
4) Watch your tension
Pull the thread until it lies flat on the surface. Not so tight it puckers. Not so loose it makes loops.
5) Make a stitch sampler
Draw 15 short lines and little boxes. Label lightly in pencil. Your sampler becomes your personal stitch dictionary.
How to separate floss strands (the beginner superpower)
Most embroidery floss comes in 6 strands twisted together. You can stitch with all 6, but you will get a cleaner line if you pull out only what you need.
- Cut your thread length.
- Pinch the floss near the end and pull out one strand slowly.
- Let the remaining strands bunch up, then smooth them back down.
- Repeat until you have the number of strands you want, then lay them together and thread your needle.
If your floss keeps knotting while you separate, slow down and pull one strand at a time. It feels fussy, but it saves you so much tangling later.
How to read the stitch directions
I will use the same simple terms each time:
- Bring up at A: push the needle from the back to the front.
- Go down at B: push the needle from the front to the back.
- Come up at C: bring the needle back up where noted.
If you ever get lost, remember this: almost every stitch is just a “down” and “up” in a repeatable order.
The 15 essential hand embroidery stitches
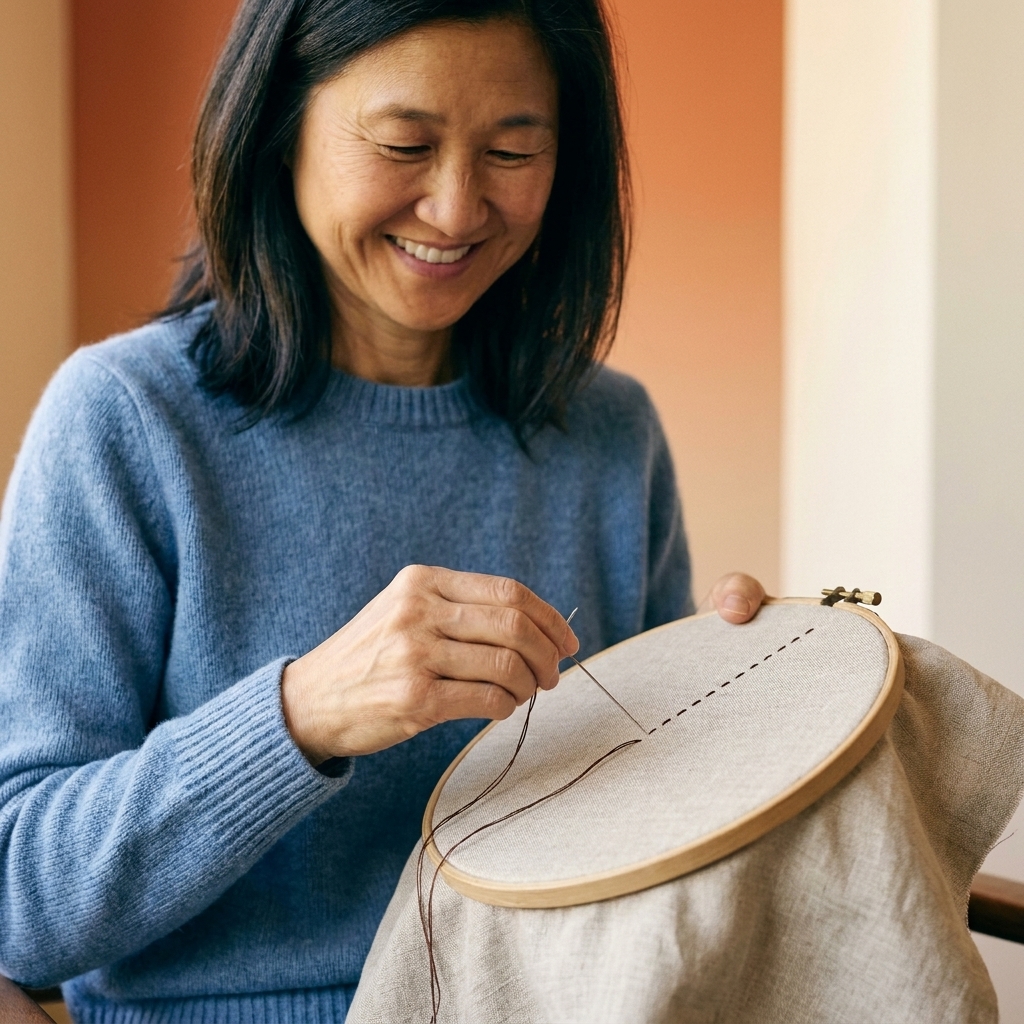
1) Running Stitch
Best for: simple outlines, dashed lines, quilting-style details, quick fills when grouped.
How:
- Bring up at A.
- Go down at B (a short distance away).
- Come up at C (same distance away), then go down again. Repeat like a little dashed road.
Neatness tip: Mark a guideline and aim for even stitch length. Or embrace unevenness for a sweet handmade look.
2) Backstitch
Best for: crisp outlines, lettering, anything that needs a solid line.
How:
- Bring up at A.
- Go down at B.
- Come up at C, one stitch length ahead.
- Go down at A (back into the end of the previous stitch). Repeat: up ahead, down back.
Practice tip: Backstitch loves consistent stitch length. Try 2 to 3 mm stitches for curves and lettering.
3) Stem Stitch
Best for: vines, gentle curves, florals, linework with a soft twist.
How:
- Bring up at A.
- Go down at B.
- Come up at C, about halfway between A and B and slightly to the side of the line.
- Keep your thread consistently on the same side of the needle each time (always below or always above). Repeat.
My “why does mine look bumpy?” fix: If you swap thread sides halfway through, the rope-like twist breaks. Pick a side and commit.
4) Split Stitch
Best for: smooth outlines, filled satin areas when used as a base, pet portraits and painterly work.
How:
- Make one straight stitch from A to B.
- Bring up at C by coming up through the middle of that stitch, splitting the strands.
- Go down at D ahead. Repeat: always come up splitting the previous stitch.
Thread tip: Split stitch is easiest with fewer strands (1 to 3).
5) Outline Stitch
Best for: similar to stem stitch, but slightly more “beaded” along the edge.
How:
- Work like stem stitch and keep the thread on the same side of the needle each time.
- Instead of coming up halfway back, bring the needle up right at the end of the previous stitch (or very close to it), then go down one stitch length ahead. Repeat.
When to choose it: If stem stitch feels too twisty on you, outline stitch is a friendly alternative.
6) Straight Stitch
Best for: tiny rays, whiskers, fur strokes, starbursts, minimalist florals.
How:
- Bring up at A.
- Go down at B. Done.
Practice tip: Make a “sun” by radiating straight stitches from a center point in different lengths.
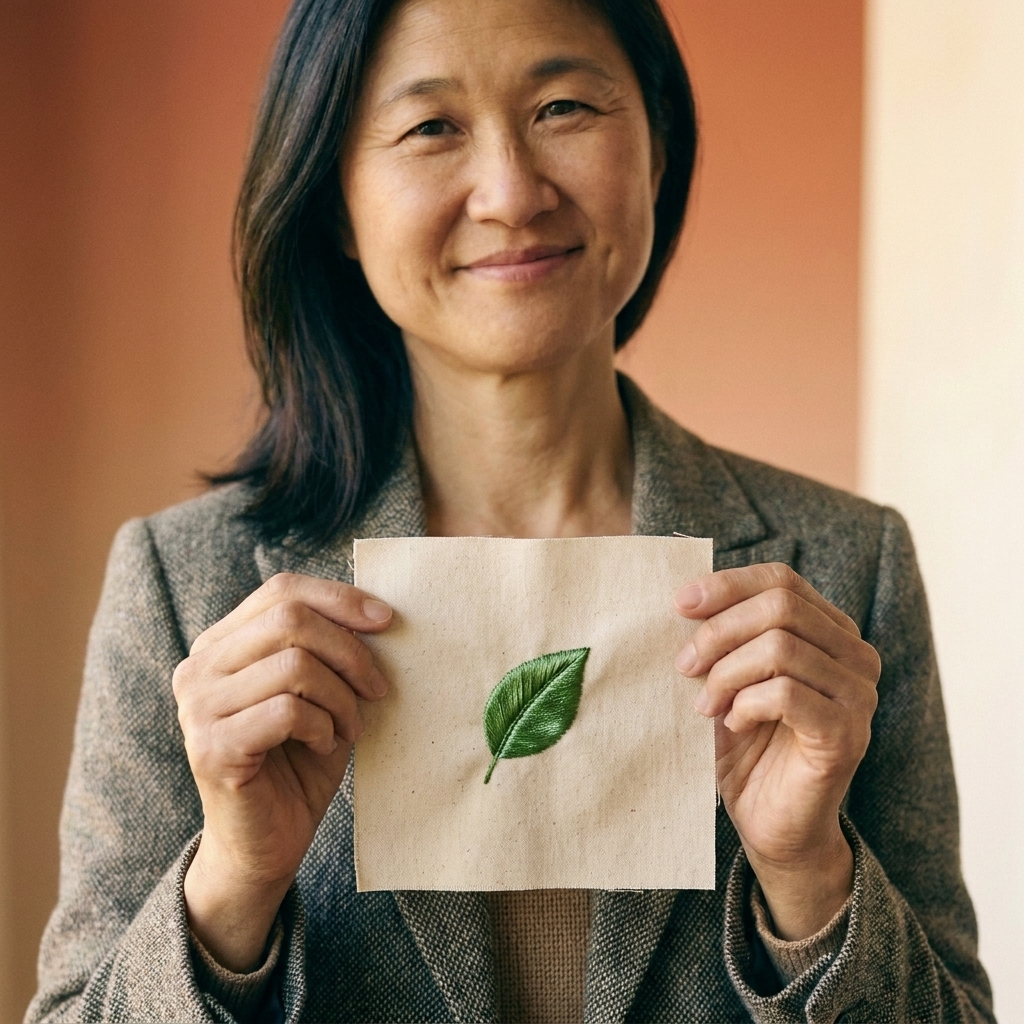
7) Satin Stitch
Best for: solid fills (leaves, petals, lettering blocks).
How:
- Outline the shape lightly (or stitch a split stitch outline).
- Bring up on one edge, go down on the opposite edge, keeping stitches parallel and close.
- Repeat, packing stitches snugly with no fabric showing.
Neatness tip: Satin stitch shines on small shapes. For larger fills, long and short stitch is often easier to keep smooth (and padding or laid work can help too).
8) Long and Short Stitch
Best for: shading, realistic fills, big petals, gradients.
How:
- Make a row of stitches along one edge, alternating long and short.
- For the next row, stitch into the gaps, keeping the stitch ends staggered like bricks.
- Blend colors by gradually swapping thread shades row by row.
Beginner-friendly blending: Use two close shades and alternate them in the same row before committing to a full color change.
9) Chain Stitch
Best for: bold outlines, decorative lines, chunky letters.
How:
- Bring up at A.
- Go down at A, then bring the needle up at B a short distance away, leaving a loop of thread on the surface.
- As you come up at B, catch the loop with your needle.
- Pull gently to form a chain link. Repeat by going down at B and coming up at C inside the loop.
Finish: End with a tiny straight stitch just outside the last loop to tack it down.
10) Lazy Daisy (Detached Chain)
Best for: petals, leaves, simple florals, little teardrop shapes.
How:
- Bring up at A.
- Go down at A and come up at B a short distance away, forming one loop.
- Pull gently to shape the loop into a petal.
- Make a tiny tack stitch over the loop tip to hold it in place.
Fun practice: Stitch a whole flower by making 5 to 7 lazy daisies around a center French knot.
11) French Knot
Best for: flower centers, tiny berries, textured fills.
How:
- Bring up at A and hold the thread taut with your non-needle hand.
- Wrap the thread around the needle 1 to 2 times.
- Insert the needle down very close to A (not the same hole), keeping wraps snug near the fabric.
- Pull the needle through slowly while holding the wraps in place until a neat knot sits on top.
Troubleshooting: If the knot slips through, your down point is too close to the same hole, or you are not holding the wraps snug as you pull through.
12) Bullion Knot
Best for: roses, textured lines, caterpillars, dimensional details.
How:
- Bring up at A.
- Insert needle down at B and come up at C, with C very close to A (the needle stays partially in the fabric).
- Wrap thread around the needle multiple times (start with 6 to 10 wraps).
- Hold wraps and pull the needle through the wraps carefully.
- Go down at B to anchor the coil.
Beginner tip: If pulling through feels like wrestling a tiny octopus, use fewer wraps and a larger needle until your hands learn the motion.
13) Feather Stitch
Best for: borders, botanical sprigs, whimsical texture.
How:
- Draw a faint center guideline. It helps your stitches “aim” and keeps the pattern balanced.
- Bring up at A.
- Go down at B and come up at C, leaving the thread looped under the needle.
- Pull to form a V shape.
- Repeat on alternating sides down the center line, keeping the loop caught under the needle each time.
Practice tip: Keep your stitch points angled toward the center line for that neat, breezy symmetry.
14) Blanket Stitch
Best for: edging felt, appliqué, borders, decorative frames.
How:
- Bring up at A on the edge line.
- Go down at B a short distance away and come up at C, with C on the edge line again.
- Keep the working thread under the needle so it forms the classic L-shaped bite on the edge.
- Repeat evenly along the edge.
No-waste crafter note: Blanket stitch is magic for finishing felt ornaments from scrap felt and floss leftovers.
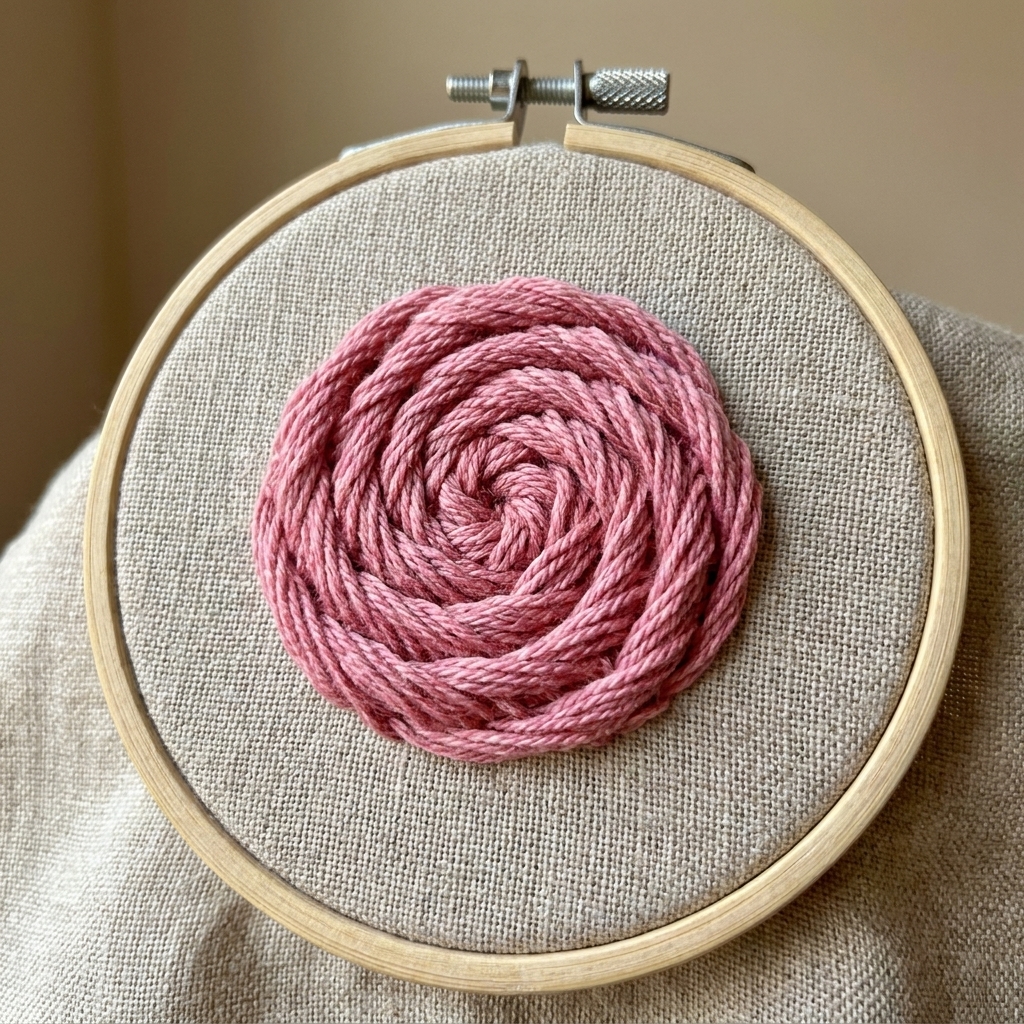
15) Woven Wheel Rose
Best for: showstopper roses with lots of texture, even for beginners.
How:
- Make 5 straight stitches from the center out like spokes of a wheel (an odd number is important).
- Bring the needle up near the center.
- Weave over one spoke, under the next, over, under, without piercing the fabric.
- Keep weaving around until the rose is full and puffy.
- Tuck the thread down under the rose to finish.
Tip: Do not pull tight. Let it stay fluffy.
Simple stitch practice plan (15 minutes a day)
If you are learning from scratch, consistency beats marathon sessions. Here is a low-pressure plan you can repeat for a week:
- Days 1 to 2: Running stitch, backstitch, straight stitch. Fill one line each, focusing on even spacing.
- Days 3 to 4: Stem stitch, split stitch, chain stitch. Practice curves and circles.
- Day 5: Satin stitch and long and short stitch. Fill two small leaf shapes.
- Day 6: French knots and bullion knots. Do a polka dot garden of knots.
- Day 7: Blanket stitch edging on a scrap of felt plus one woven wheel rose for fun.
Keep your sampler. The goal is not a museum piece, it is a record of your hands getting smarter.
Common beginner hiccups (and quick fixes)
My thread keeps tangling
Shorten your thread, let the needle dangle every few stitches to untwist, and avoid stitching with super long tails.
My fabric is puckering
That is almost always tension. Loosen your pull slightly, and make sure the fabric is taut in the hoop before you start.
My lines look wobbly
Use shorter stitches on curves, and draw a light guideline. Also, wobble is part of the charm, but I get wanting it neater.
My satin stitch looks bumpy
Outline the shape first (a split stitch outline helps a lot), keep stitches parallel, and do not jump across huge areas. Smaller is smoother.
Mini FAQ
How many strands of floss should I use?
Two strands is a great default. Use one strand for delicate details and three or more for bold lines and chunky texture.
Do I need to knot the end?
Not necessarily. Knots can create lumps. Try an away knot for starting and weave your tail under stitches to finish. For quick practice, a small knot is totally fine.
What stitch should I learn first?
Backstitch and running stitch. They show up everywhere and build control fast.
Can I wash finished embroidery?
Often yes, but test first. Some transfer pens can leave residue or reappear later, and some floss (especially hand-dyed and some reds) can bleed. If you are confident your floss is colorfast and your marks are fully removable, hand wash gently in cool water, pat dry, and press from the back with a towel in between.
Your next cozy step
Pick three stitches from this list and stitch them on a little sampler square today. My vote: backstitch, stem stitch, and French knot. You will be shocked how real embroidery it looks in under half an hour.
And if your first French knot looks like a sad comma, welcome to the club. Mine did too. Keep going.