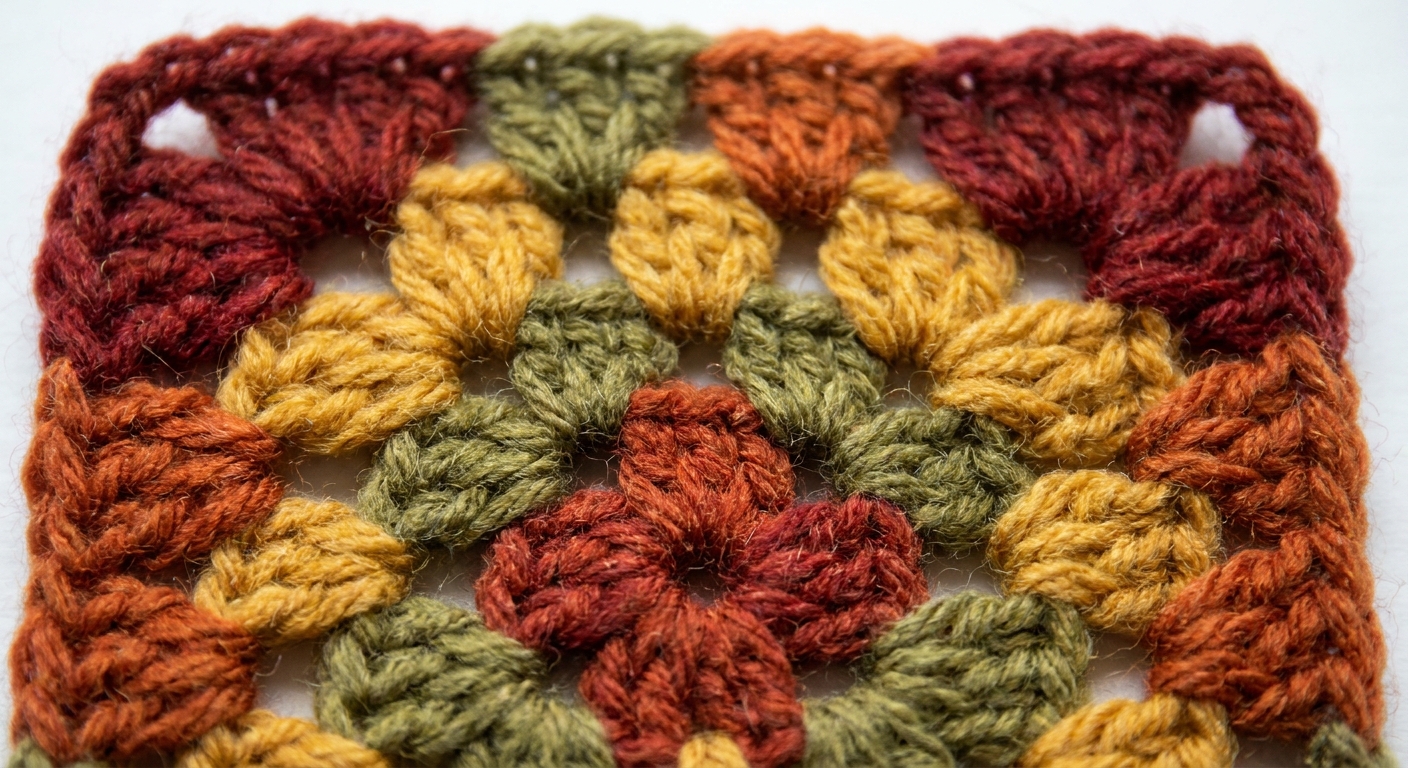
A cozy, beginner-friendly granny square lesson: yarn holding, stitch counting, clean corners, fasten-off, and an easy way to join two squares.
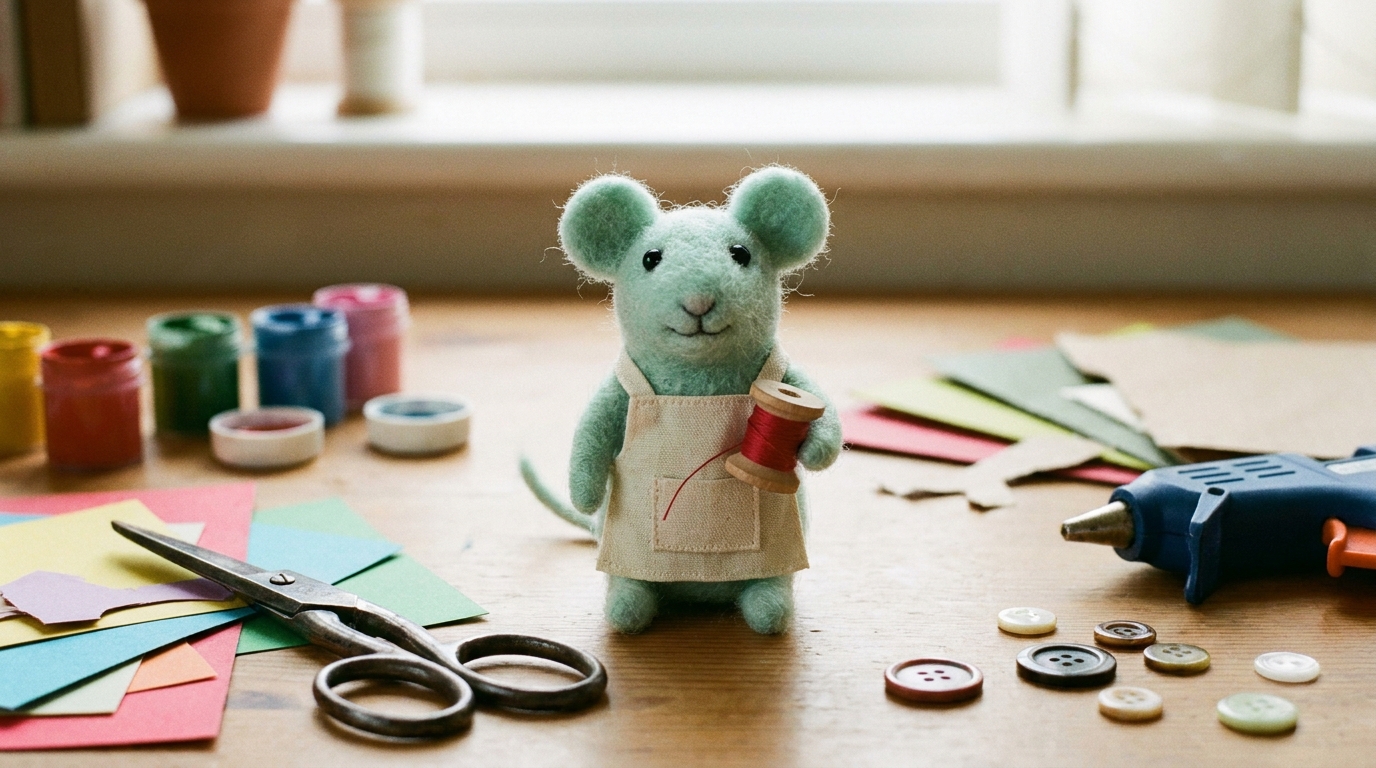
Small paws. Big project plans.
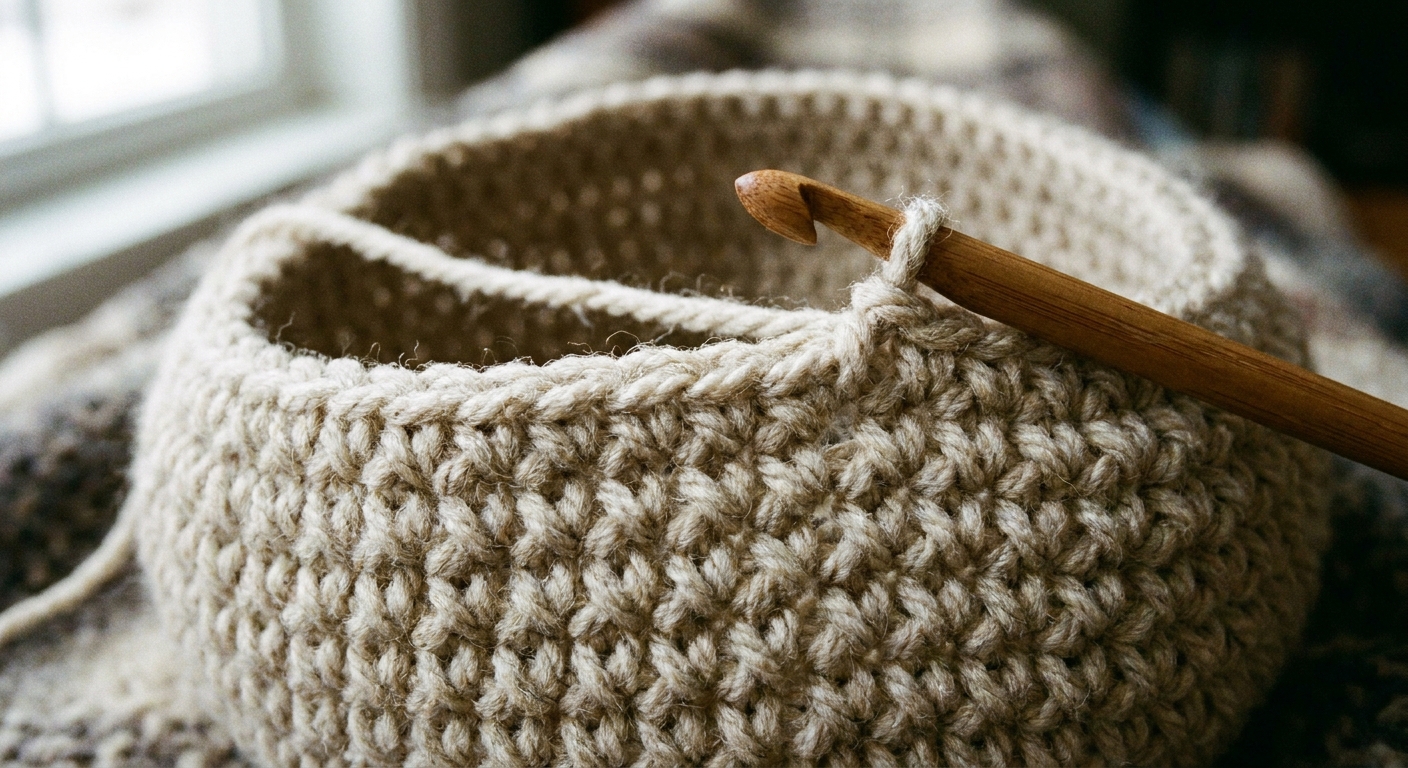
If you can make a slipknot and pull up a loop, you can crochet a beanie. This one is beginner-friendly on purpose: single crochet only, worked in joined rounds from a magic ring, with a folded brim that uses the very same stitch. No fancy shaping. No guesswork. Just a cozy hat that fits.
What you need
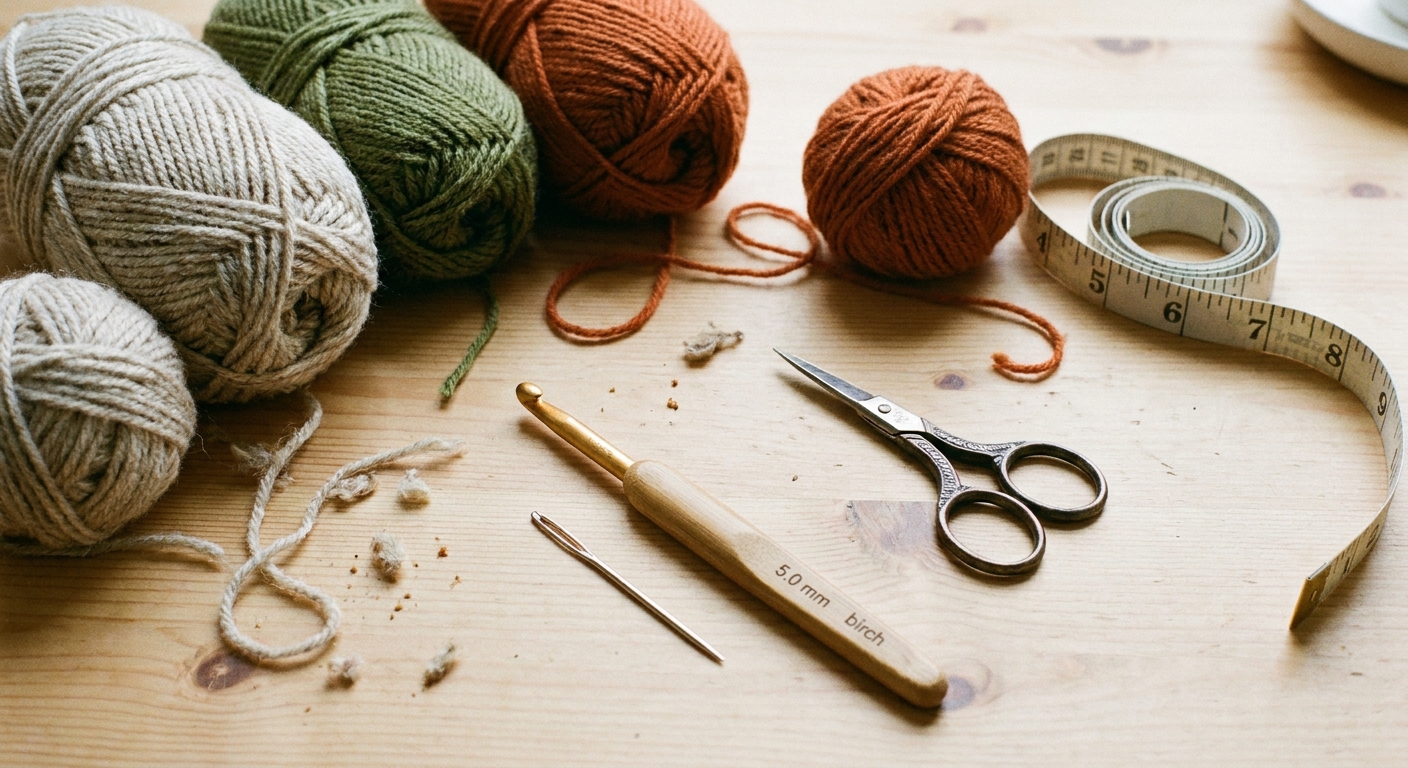
- Yarn: Worsted weight (#4). A smooth, light-colored acrylic or wool blend is easiest to see while learning.
- Hook: 5.0 mm (H/8) crochet hook. This is a common starting point for worsted yarn. If your fabric feels stiff, go up to a 5.5 mm. If it feels too loose and holey, go down a size.
- Notions: Stitch marker (or a scrap of yarn), yarn needle for weaving in ends, scissors, and a measuring tape.
Good to know: Because everyone crochets a little differently, this pattern includes a head-circumference fit check before you commit to the hat body. That is the secret sauce for a beanie that fits.
Stitches and abbreviations
- ch = chain
- sl st = slip stitch
- sc = single crochet
- inc = increase (work 2 sc in the same stitch)
- st(s) = stitch(es)
Skill level: true beginner. If you have never used a magic ring before, go slowly once, then it clicks.
The beanie pattern
Construction: Top-down beanie. You will make a flat circle for the crown, check the fit, then work straight rounds for the body, and finish with extra rounds folded up into a brim.
Joined rounds rule: Each round ends the same way. Sl st to the first sc to join, then ch 1 to start the next round. The ch 1 does not count as a stitch.
Step 1: Magic ring
Make a magic ring. Ch 1 (does not count as a stitch).
Round 1: Work 6 sc into the magic ring. Pull the tail to close the ring snug. Sl st into the first sc to join. Ch 1. (6 sts)
Step 2: Crown increases
You will add 6 stitches every round to keep the crown flat. Keep placing your stitch marker in the first sc of the round so you always know where the round begins.
- Round 2: 2 sc in each st around. Join, ch 1. (12 sts)
- Round 3: (1 sc, inc) repeat around. Join, ch 1. (18 sts)
- Round 4: (2 sc, inc) repeat around. Join, ch 1. (24 sts)
- Round 5: (3 sc, inc) repeat around. Join, ch 1. (30 sts)
- Round 6: (4 sc, inc) repeat around. Join, ch 1. (36 sts)
- Round 7: (5 sc, inc) repeat around. Join, ch 1. (42 sts)
- Round 8: (6 sc, inc) repeat around. Join, ch 1. (48 sts)
- Round 9: (7 sc, inc) repeat around. Join, ch 1. (54 sts)
- Round 10: (8 sc, inc) repeat around. Join, ch 1. (60 sts)
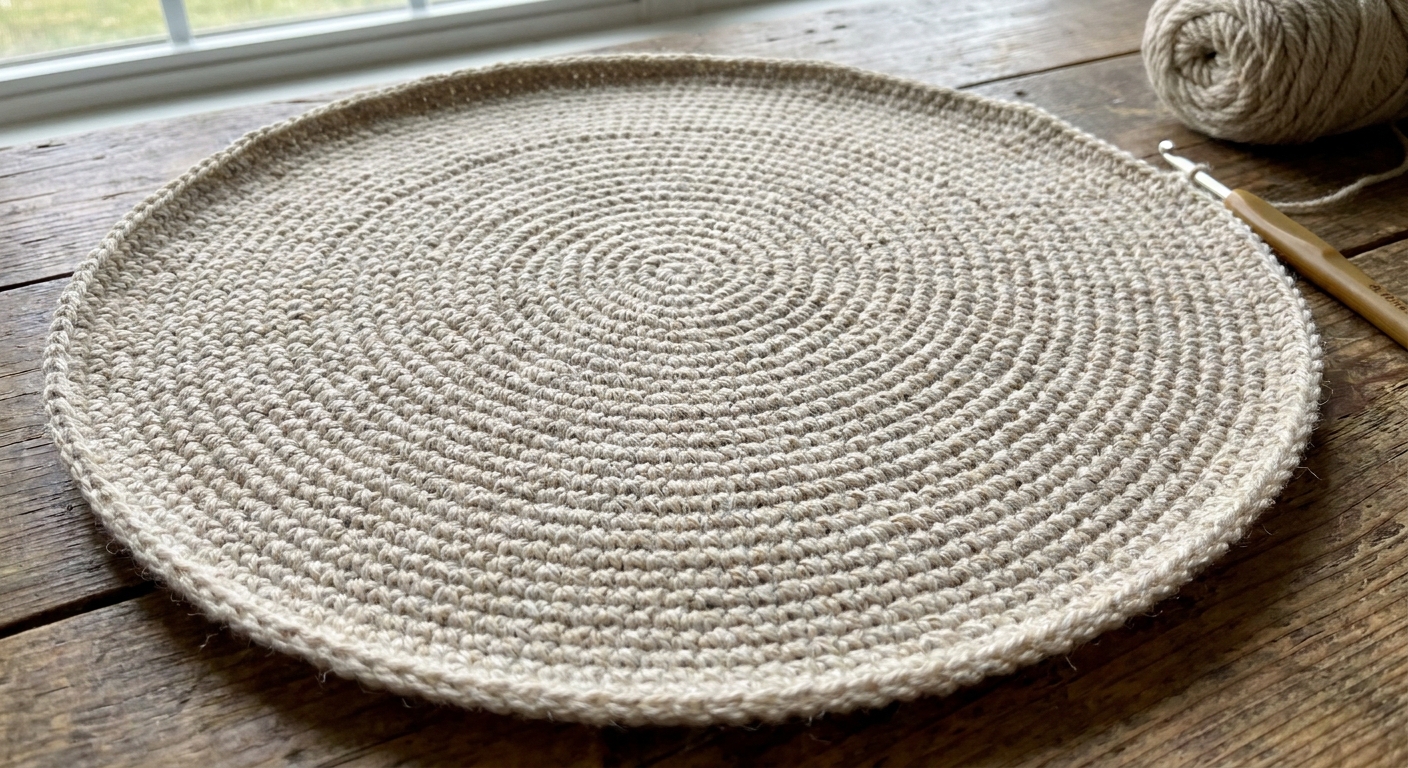
Important: Your crown should stay mostly flat like a neat circle. If it starts ruffling, you are increasing too quickly. If it starts cupping like a bowl, you may crochet tightly and need one more increase round sooner, or a slightly larger hook.
Fit check
Stop after a crown round and measure the circle around the edge (the circumference). Run the tape along the outer edge of the circle without stretching it tight and without letting it droop loose.
Beanies need negative ease, meaning the hat should be a little smaller than the head so it can stretch and stay put.
Rule of thumb: Stop increasing when the crown circumference is about 1 to 2 inches smaller than the wearer’s actual head circumference.
- Adult (average): for a 22 in head, aim for about 20 to 21 in around the crown.
- Child: for a 20 in head, aim for about 18 to 19 in around the crown.
Backup shortcut (use only if you cannot measure the head): Lay the crown flat and measure straight across the middle (diameter). Adult beanies often land around 6.5 to 7.5 in diameter, depending on yarn, hook, and how snug you want it. Kids beanies often land around 5.5 to 6.75 in. If you can measure the wearer’s head, trust that measurement first. Small paws hate guessing games.
If your crown is too small: work another increase round following the same pattern, for example (9 sc, inc) around.
If your crown is a little big: it may still work if your yarn is springy and you plan on a snug folded brim, but if it is clearly larger than the head measurement, undo the last increase round. Small paws prefer hats that stay on.
Step 3: Beanie body
Once the crown fits, you will crochet even rounds until the hat reaches the right length.
Body rounds: Sc in each st around. Join with sl st to first sc, ch 1. Repeat.
Length targets
Measure from the center top of the crown down the side of the hat.
- Adult fitted beanie: crochet until the hat measures about 6.5 to 7.5 in before you start the brim rounds.
- Child fitted beanie: crochet until the hat measures about 6 to 6.75 in before you start the brim rounds.
Try-on tip: If you can, try it on as you go. Stop the body when the edge reaches about eyebrow level, since the brim will fold up.
Step 4: Folded brim
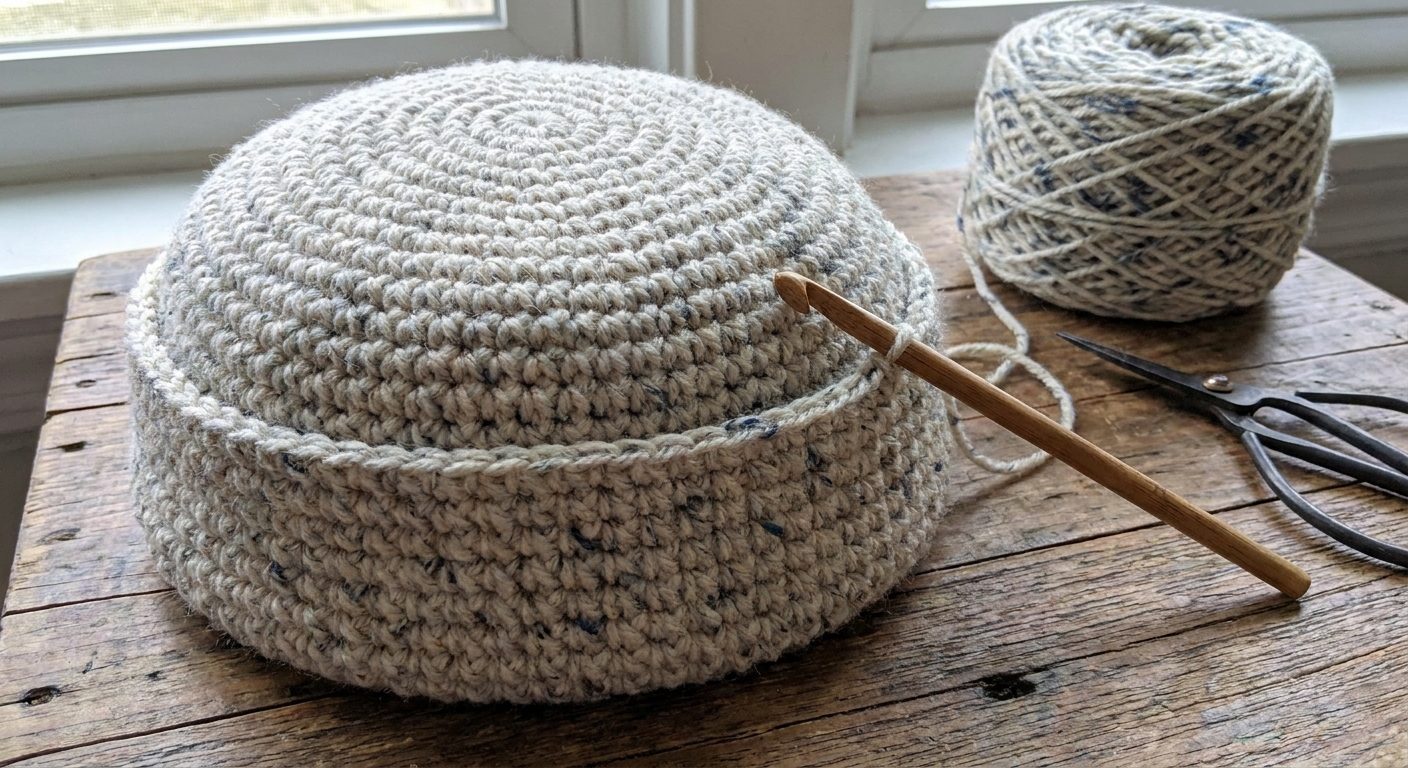
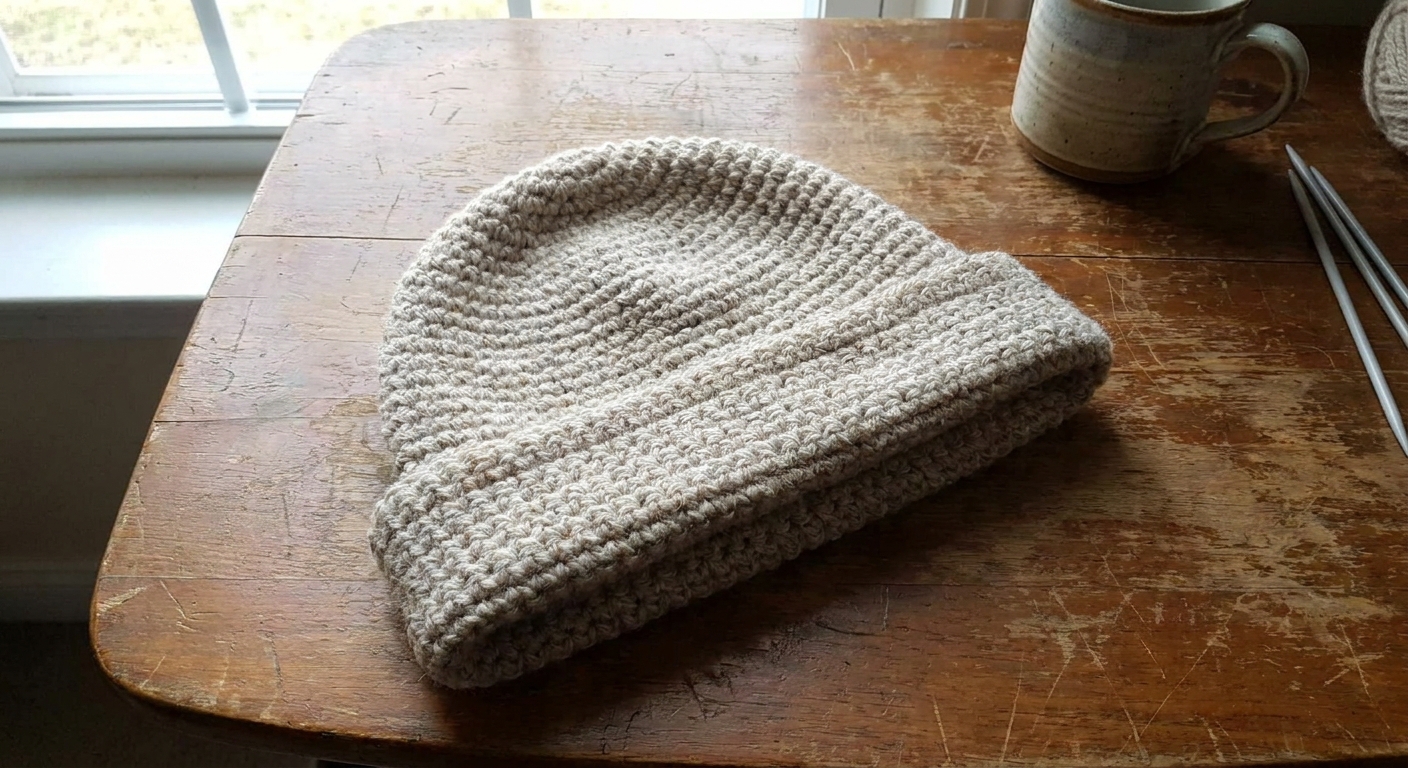
To create a simple fold-up brim, you will crochet extra rounds in the same single crochet stitch, then fold them up. No special ribbing required.
Brim rounds: Continue working sc in each st around for 8 to 12 rounds, depending on how tall you want the fold.
- Shorter fold: 8 rounds
- Taller, cozy fold: 10 to 12 rounds
Total height check: A typical adult beanie ends up around 8.5 to 10.5 in tall including the brim section, depending on style and how deep you fold it. If yours is heading toward too long, start the brim sooner or do fewer brim rounds.
Finish: After your last round, sl st to join. Fasten off, leaving a 6 to 8 in tail for weaving in.
Fold: Turn the brim up to your preferred height. You can leave it loose, or tack it in place with a few small stitches at the sides if you want it to stay put.
Quick gauge reality check
You do not need a formal swatch for this pattern, but do pause and feel your fabric after a few rounds.
- If it feels stiff and looks very tight, go up one hook size (try 5.5 mm) or relax your tension.
- If it looks holey and drapey, go down a hook size.
- If your measurements are drifting, trust the fit check and adjust the number of increase rounds and body length.
Small paws prefer cozy, not cardboard.
Weave in the tails
Top tail (magic ring)
Thread the starting tail onto a yarn needle. On the inside of the hat, weave through several stitches around the center to lock the ring closed. Pull gently, then weave back in a different direction for a few stitches. Trim.
Bottom tail (last round)
Thread the finishing tail. Weave it through the inside loops of the last few rounds, changing direction once to help it stay secure. Trim close, but not so close that it can wiggle out.
Thimble tip: If your tail feels slippery (hello, smooth acrylic), weave a little longer than you think you need. Small paws approve of extra security.
Easy size adjustments
This pattern is one hat you can repeat, just with two simple dials: crown size and length.
Dial 1: Crown size
- Stop increasing when the crown circumference is about 1 to 2 inches smaller than the head circumference you want.
- If you need a bigger crown, add one more increase round: (9 sc, inc) around, then (10 sc, inc) around, and so on.
Dial 2: Length
- For a slouchier beanie, crochet a few extra body rounds before the brim.
- For a more fitted beanie, start the brim sooner or do fewer brim rounds.
Troubleshooting
My crown is wavy
You likely increased too fast for your tension. Frog back one round and try again, or space your increases a little more evenly.
My crown is cupping
You may crochet tightly. Add an increase round sooner, or consider going up one hook size (for example, 5.5 mm) for a looser fabric.
My join looks like a seam
That is normal with joined rounds. Keep your ch 1 consistent, join into the first sc (not into the chain), and tug gently on your working yarn after the slip stitch to snug it up.
It feels too stiff
Try a slightly bigger hook, or choose a softer yarn. Single crochet makes a dense, warm beanie by nature.
Finish it today checklist
- Worsted (#4) yarn and a 5.0 mm hook (or 5.5 mm if you crochet tight)
- Magic ring with 6 sc
- Increase 6 stitches per round until the crown is 1 to 2 inches smaller than the head
- Work even rounds for the body and try it on if you can
- Add 8 to 12 brim rounds and fold
- Aim for about 8.5 to 10.5 in total height for most adult beanies
- Weave in both tails securely
When you are done, put it on immediately. That is the official Craft Minty rule.