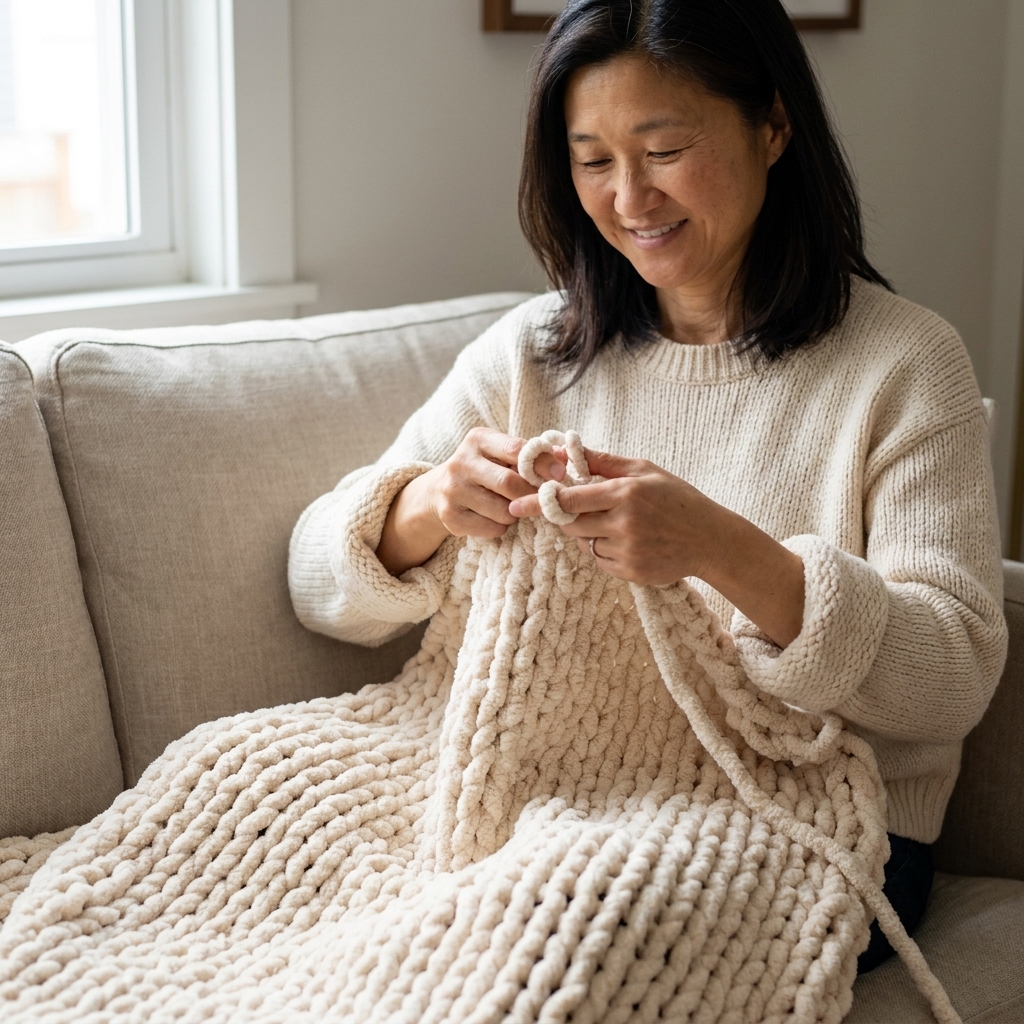
A beginner-friendly tutorial for making a plush chunky knit blanket using arm knitting and oversized chenille yarn, no needles required.
Small paws. Big project plans.
If you can make a slip knot and a chain, you are already on your way to a classic granny square. A granny square is built from simple repeating “clusters” of double crochet with chain spaces between them. Once you learn one, you can make blankets, bags, pillows, and the kind of cheerful patchwork that makes a project feel doable one square at a time.
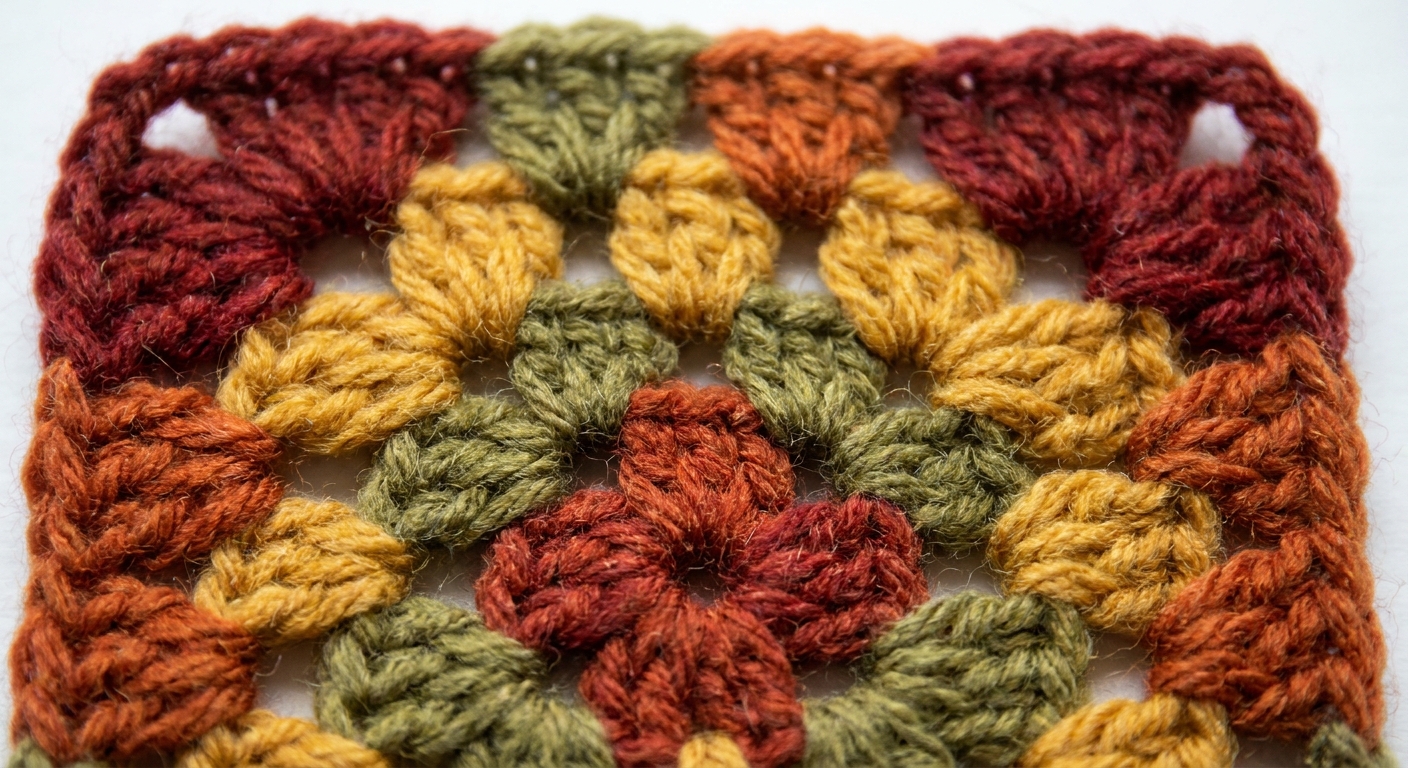
Below, I will walk you through your first square slowly, including how to hold your yarn, how to count so your square stays flat, and how to join two finished squares.
What you need (keep it simple)
- Yarn (starting point): a smooth worsted-weight acrylic or wool blend. A classic option many beginners can find easily is Red Heart Super Saver.
- Hook (starting point): 5.0 mm (H-8) is a common match for worsted weight.
- Scissors
- A yarn needle (blunt tapestry needle) for weaving in ends
Why smooth yarn? Fuzzy or very dark yarn hides stitches. For a first square, pick a light or medium color so you can see your loops.
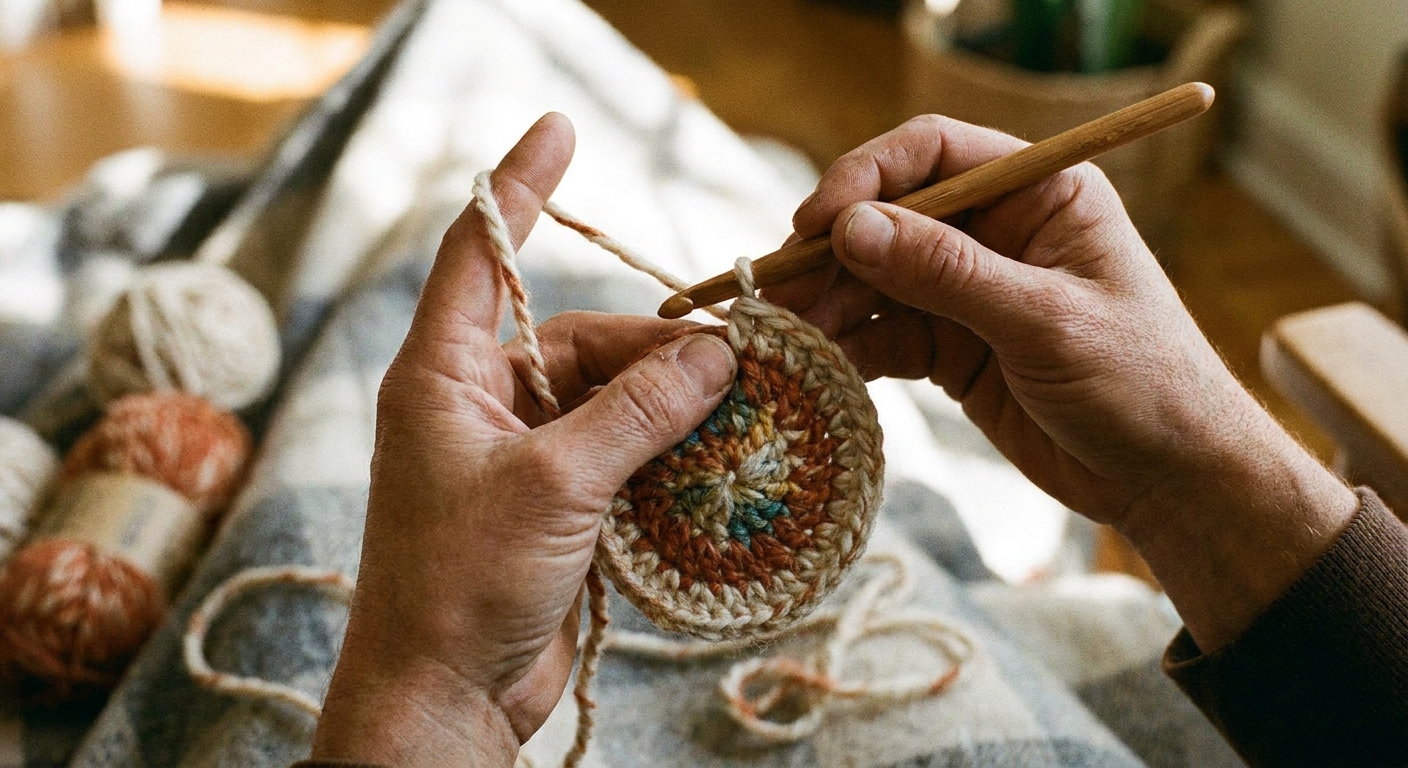
How to hold yarn and hook (no fancy grip required)
There are lots of “correct” ways to crochet. The best hold is the one that keeps your hands relaxed and your tension consistent.
Hook hand
Hold your hook like a pencil or like a knife, whichever feels steadier. Try both for a few stitches.
Yarn hand (tension)
With your non-hook hand, drape the yarn over your index finger and pinch the work lightly between your thumb and middle finger. Your index finger controls how much yarn feeds to the hook.
Tension tip: If your stitches feel tight and you have to wrestle the hook through loops, loosen the yarn over your finger and let the hook do the work.
Granny square basics (the tiny set of rules)
A traditional granny square is made from:
- Clusters: 3 double crochets worked into the same space.
- Chain spaces: little gaps made by chains, usually at corners and between clusters.
- Corners: a corner is typically (3 double crochet, chain 2, 3 double crochet) all in the same corner space.
You will repeat the same idea each round: clusters along the sides, and corners in the corners.
Step-by-step: crochet your first granny square
I am using standard US crochet terms. If you learned UK terms, note that a US double crochet is called a UK treble.
1) Make a slip knot
Make a loop, pull yarn through to form a knot, and tighten it on your hook so it is snug but still slides.
2) Chain 4 (or make a magic ring)
Beginner-friendly option: chain 4, then join with a slip stitch to the first chain to form a ring.
- Yarn over, pull through loop to make a chain. Do that 4 times.
- Insert hook into the first chain, yarn over, pull through both loops on hook to slip stitch.
Alternative: You can use a magic ring later if you want a tighter center, but chaining into a ring is the easiest place to start.
3) Round 1: build the first corners
You are going to work into the center ring you just made.
- Chain 3. This counts as your first double crochet.
- Work 2 double crochet into the ring. You now have one cluster (chain-3 + 2 dc = 3 “tall stitches”).
- Chain 2 to make a corner space.
- Work 3 double crochet into the ring.
- Chain 2.
- Work 3 double crochet into the ring.
- Chain 2.
- Work 3 double crochet into the ring.
- Chain 2.
- Join the round: slip stitch into the top of the beginning chain-3.
At the end of Round 1 you should have 4 clusters and 4 corner chain-2 spaces. It may look a little like a circle at first. That is normal.
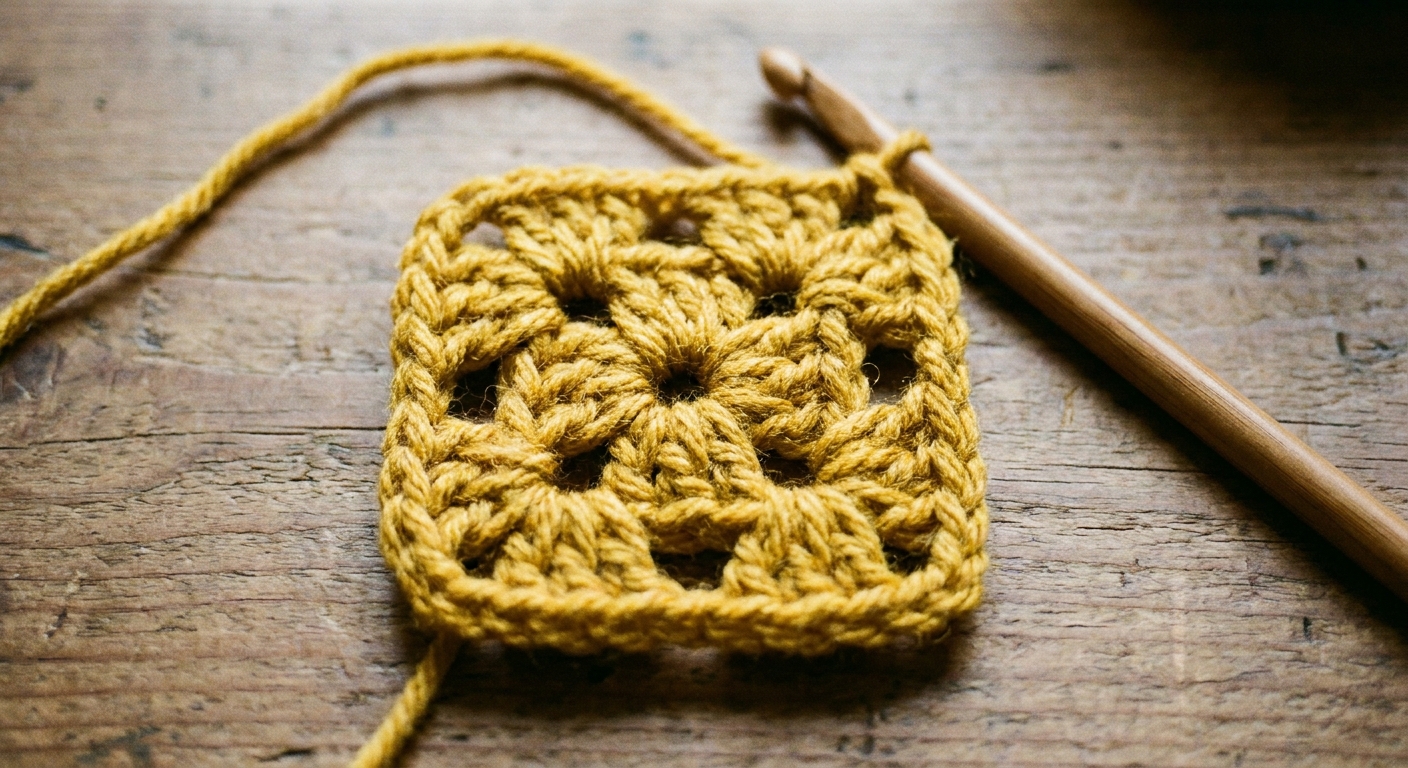
4) Round 2: clusters along sides, corners in corners
In this round, you will work into chain spaces. That means you insert your hook into the gap, not into the top loops of a stitch.
- Slip stitch across the top of the next stitches until you are sitting in a corner chain-2 space. (Many crocheters slip stitch 1 or 2 times, then slip stitch into the corner space.)
- Chain 3 (counts as dc), then work 2 dc into the same corner space.
- Chain 2, then work 3 dc into the same corner space. That completes the corner.
- Chain 1 (this is the side space between clusters).
- In the next corner chain-2 space, work: 3 dc, chain 2, 3 dc.
- Chain 1.
- Repeat corners and chain-1 side spaces around.
- Join with a slip stitch into the top of the beginning chain-3.
Now your square will look much more like a square, with a little space between clusters on each side.
5) Round 3 and beyond: the repeat
Every new round follows the same pattern:
- In each corner chain-2 space: 3 dc, chain 2, 3 dc
- In each side chain space: 3 dc
- Between side clusters: chain 1 (unless you are following a no-gap version, which is a different style)
To start a new round, slip stitch to the nearest corner space, then chain 3 and begin your corner.
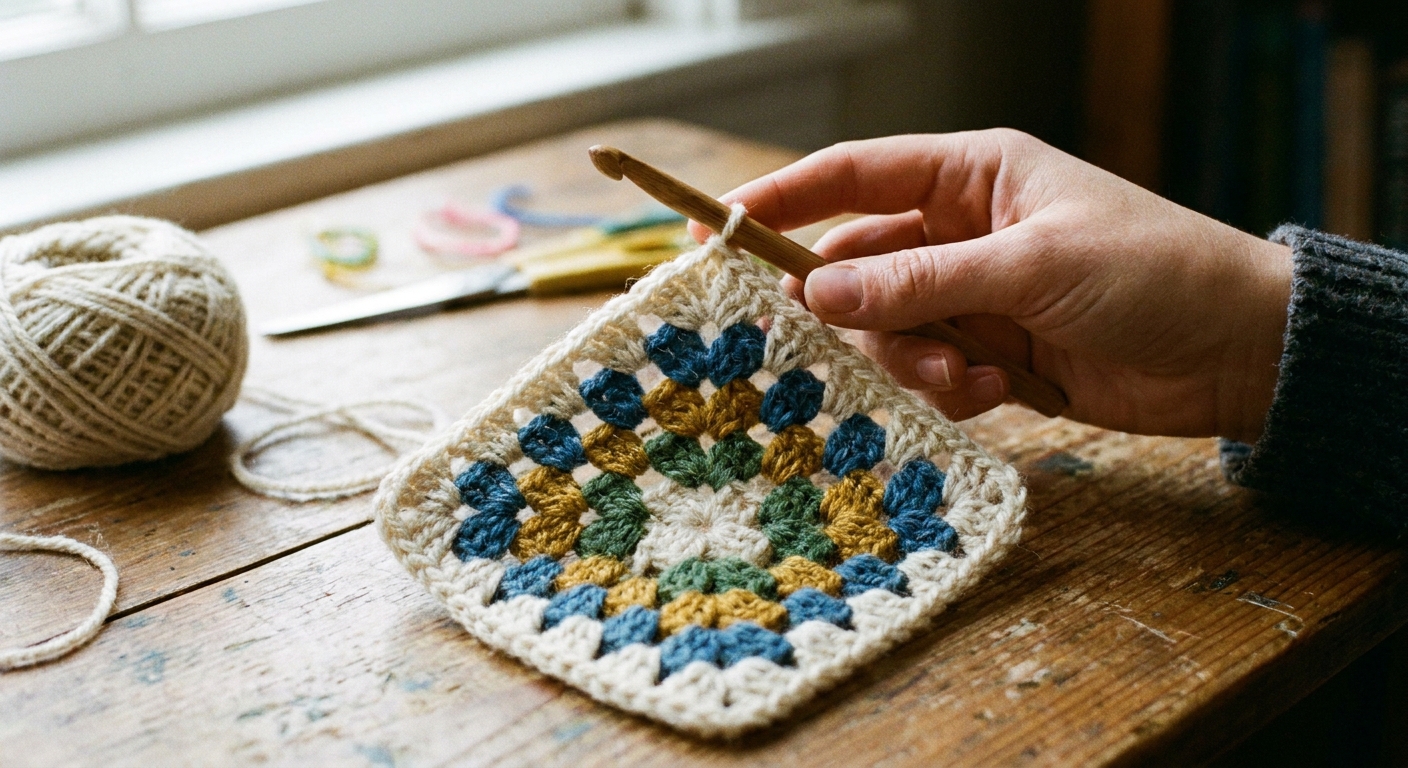
6) Clean fasten-off (so your square stays neat)
- After joining your last round, cut yarn leaving a 6 to 8 inch tail.
- Yarn over and pull the tail all the way through the loop on your hook.
- Snug it down gently.
- Thread the tail onto a yarn needle and weave in through the back of several stitches, changing direction once so it locks.
Weaving-in tip: Try to follow the path of the stitches on the back. That hides the tail and helps it stay put through use and washing.
Counting stitches so your square stays flat
Most beginner granny squares go wavy for two reasons: corners were missed, or extra stitches were added while joining.
What to count
- Corners: Each corner should always be a chain-2 space (or whatever corner chain you choose) with two clusters on either side of it.
- Side spaces: Each chain-1 space on the sides gets one cluster in the next round.
A quick “flatness check” at the end of each round
- Do you see four corners with clear chain-2 spaces?
- Are the sides straight-ish, not ruffling like lettuce?
- Does each corner look the same size?
If it starts ruffling: You may be adding extra chain spaces or accidentally working into a stitch instead of a chain space.
If it cups like a bowl: Your tension may be too tight, or you skipped chain spaces. Loosen your tension and double-check you made each corner.
How to join two granny squares (easy seam)
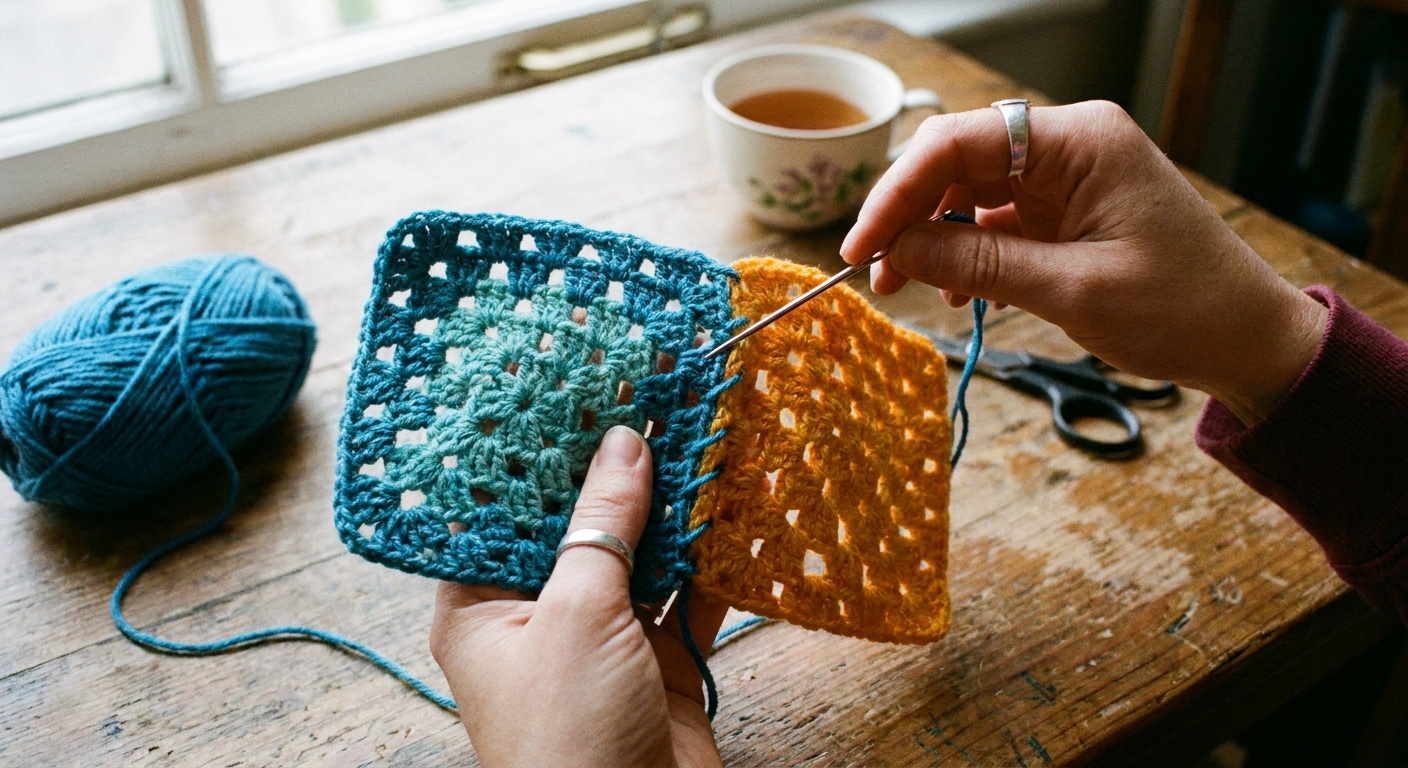
There are many joining styles, but for your first project I like a simple whip stitch seam. It is tidy, forgiving, and easy to undo if you need to fix alignment.
Whip stitch join (yarn needle method)
- Place two squares right sides together (so the wrong sides face out). This helps the whip stitch seam sit neatly on the back when you turn it right side out.
- Thread a yarn needle with a length of yarn in a matching or coordinating color.
- Starting at one corner, stitch through the outer loops along the edge of both squares, moving evenly from stitch to stitch.
- Pull snug but not tight. You want the seam to lie flat.
- Weave in the tail at the end.
Matching corners neatly
When you reach a corner chain space, stitch through both corner spaces once, then continue along the next edge. Keeping corners paired with corners is what makes a joined blanket look crisp.
Common granny square hiccups (and quick fixes)
My square is spinning and looks crooked
That is normal for the first round or two. After Round 3, it usually settles into place. Also check that each round is joined in the same spot and you are not accidentally joining to the wrong chain.
I cannot find the “top” of my beginning chain-3
Look for the third chain in the chain-3. It forms a small V at the top. Slip stitch into that V. If this is tricky, place a stitch marker into that top chain right when you make the chain-3.
The corners look too hole-y
Try chaining 1 at corners instead of 2 once you are comfortable, or choose a different granny square style. For now, chain-2 corners are a friendly standard and make joining easier.
My clusters look uneven
Double crochet height improves fast with repetition. Focus on pulling each loop to the same height before completing the stitch. Consistency matters more than speed.
Beginner FAQ
Do I have to start with a magic ring?
No. A chain-4 ring is a great beginner start. If you want a tighter center later, you can learn the magic ring as an upgrade.
What if my yarn label suggests a different hook size?
Follow the label if you want. The 5.0 mm hook with worsted-weight yarn is just a starting point for learning the motion. If your stitches are tight, go up a hook size. If they are very loose and floppy, go down a size.
How big should a granny square be?
Any size. Many projects use 4 to 6 rounds per square, but you can make tiny squares for patchwork or large “one big square” blankets by adding rounds.
One last cozy tip
If you make a second square right after your first, your hands remember the rhythm and Round 2 will feel dramatically easier. Two squares are also the perfect excuse to practice your first join. Small paws love small wins.