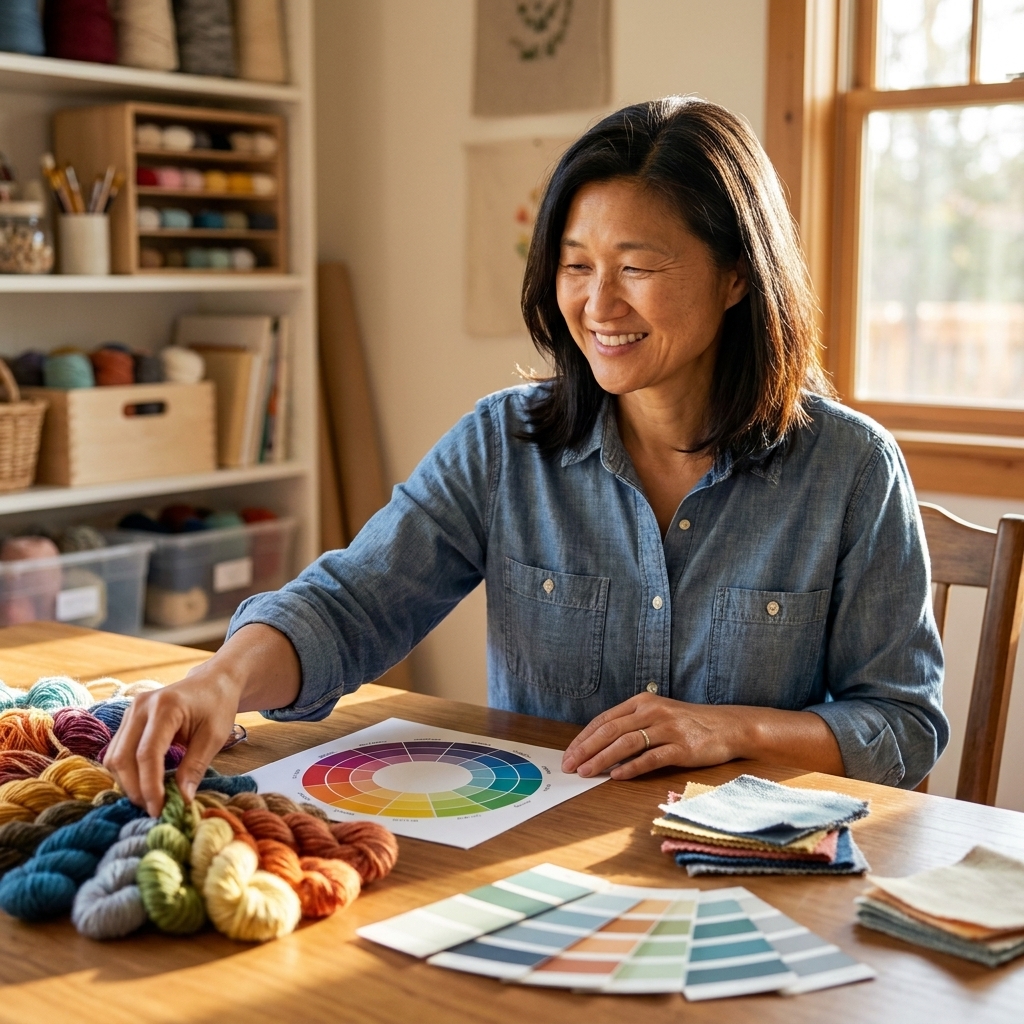
A beginner-friendly guide to using the color wheel for harmonious craft palettes, plus easy formulas, value tips, and fixes when colors feel off.
Small paws. Big project plans.
Tie-dye looks like pure chaos in the best way, but the secret is actually a tidy little order of operations. When you prep the shirt, use the right dye (fiber-reactive), and rinse patiently, your spiral stays punchy, your bullseye has clean rings, and your stripes look intentional instead of… laundry-day accident.
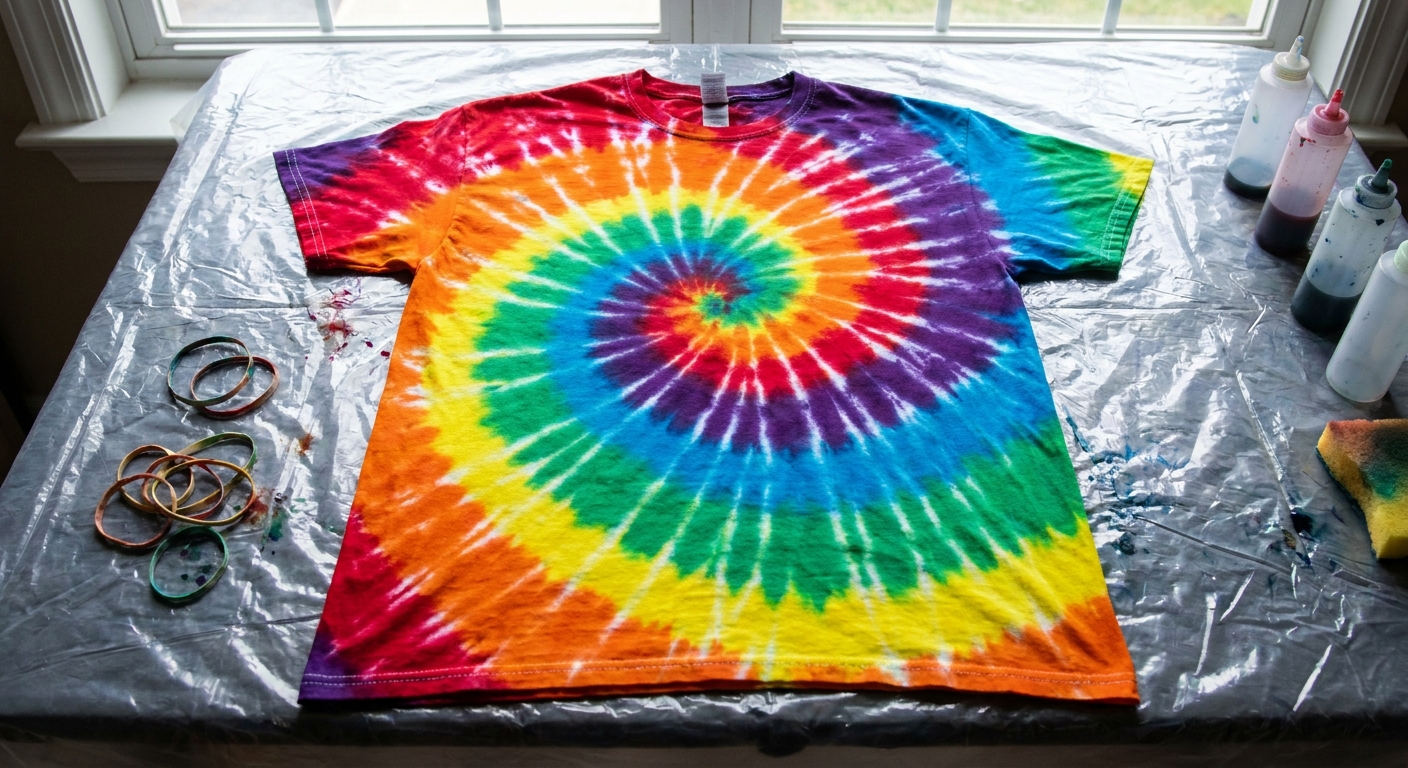
What works best for tie-dye
If you want bright color without heartbreak, start with fabric that actually wants to bond with dye.
Best choices
- 100% cotton (classic tees, baby bodysuits, cotton socks)
- Rayon and linen (they dye beautifully, but rayon can stretch when wet so handle gently)
- Silk can take fiber-reactive dye, but it is a different beast than cotton. Many dyers use gentler conditions (shorter soda ash exposure, cooler water), and some prefer acid dyes for silk for the most predictable results.
Tricky or not worth it
- Polyester and acrylic: fiber-reactive dye will not properly bond, so you get pale or temporary color at best
- Nylon: it may pick up some color, but it is usually less vivid and less washfast than cotton. If nylon is your goal, dyes formulated for synthetics or acid dyes are often the better match.
- Cotton-poly blends: the cotton part dyes, the poly stays light, so colors look muted or heathered (sometimes cute, just not bold)
- Water-repellent or stain-resistant finishes: they can block dye uptake and cause patchy results
For your first go, pick a plain white or very light 100% cotton T-shirt. You can absolutely tie-dye a colored shirt later, but starting white helps you learn what each color really does.
Supplies you actually need
You do not need a tie-dye empire. Here is the practical list.
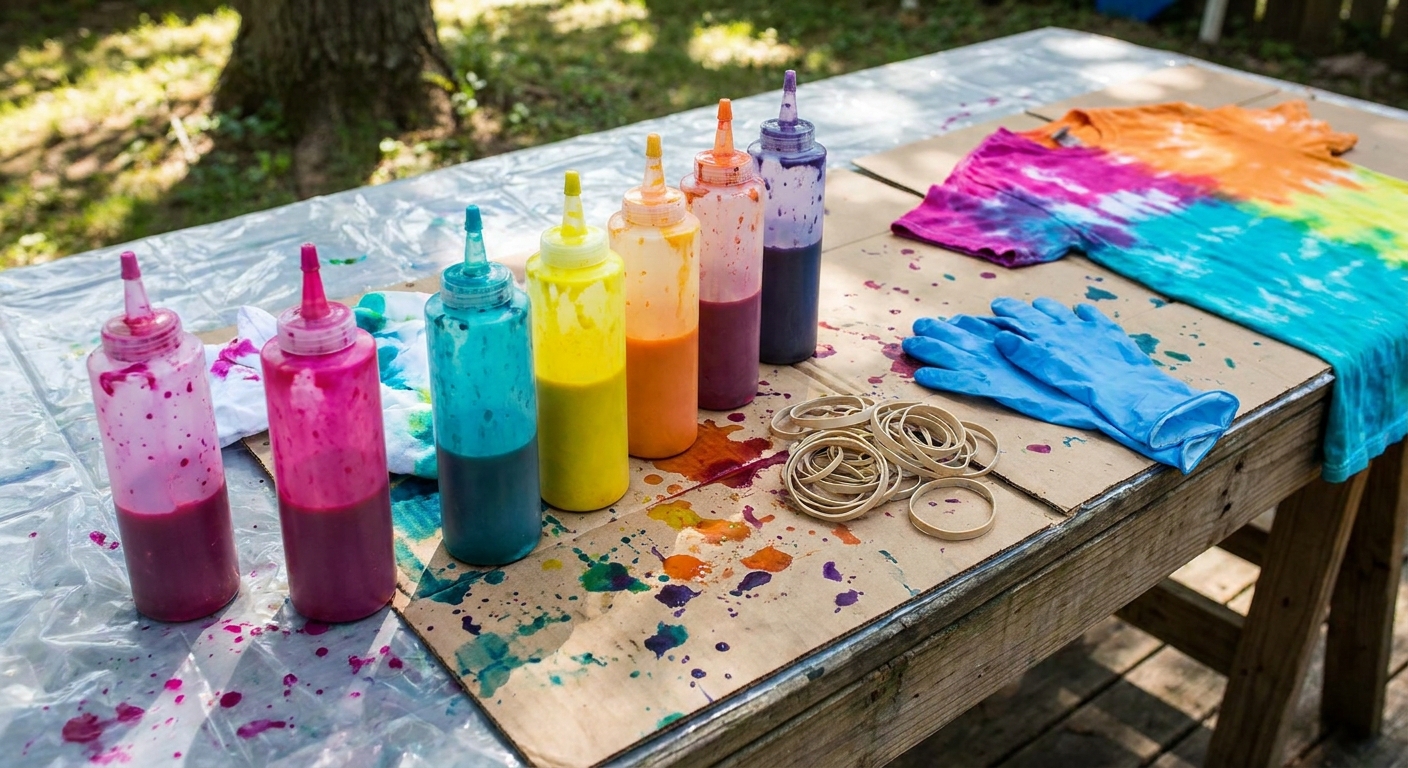
- Fiber-reactive dye powder (often sold for cotton in small jars)
- Soda ash (also called sodium carbonate)
- Squeeze bottles for dye
- Rubber bands (a mix of thin and thick is handy)
- Plastic table cover or trash bags to protect your surface
- Gloves (your paws will thank you)
- Zip-top bags or plastic wrap for batching while the dye sets
- Measuring spoons/cups and a small funnel for dye bottles
Nice-to-have: a wire rack (keeps the shirt out of puddles), and a dust mask for mixing dye powder so you do not inhale fine particles.
Step 1: Prep the shirt
Wash first
Wash the new shirt with a little detergent and skip fabric softener. This removes sizing and finishes that can block dye. Dry it, or go straight into soaking if you are dyeing the same day.
Soak in soda ash
Soda ash raises the pH so fiber-reactive dye can bond to cellulose fibers (cotton, rayon, linen). That bond is what makes color stay bright through wash after wash.
- Typical soak: 15 to 30 minutes
- Then: wring out until damp, not dripping
Use the ratio on your soda ash package if you have it. A common starting point is about 1 cup soda ash per 1 gallon of water (about 240 ml per 3.8 L). You do not need it to be fancy, just consistent.
Paw tip: If your shirt is dripping wet, dye dilutes and runs more, which can blur your pattern and create muddy overlaps.
Soak timing options
- Soak-then-fold (most common): Soak, wring to damp, then fold and bind.
- Fold-then-soak (good for super crisp lines): Fold and bind first, then dunk the bound shirt in soda ash and squeeze it out. This can preserve sharper folds, but it takes a bit more hand strength.
Step 2: Mix the dye
Different brands vary, so follow the directions on your specific dye. The goal is always the same: fully dissolved dye in water in a squeeze bottle.
Also, do not be surprised if your brand mentions add-ons like urea (helps keep dye moist), salt (common for immersion dyeing), or alginate (thickener). For basic tie-dye, you can usually keep it simple and still get great results.
Mixing tips that prevent clumps
- Add a little warm water first, shake to dissolve, then top up to your final volume.
- Use a funnel and mix slowly so powder does not puff into the air.
- Shake again right before applying, especially if the bottle has been sitting.
If you want softer, watercolor-y tie-dye: use more water. If you want bold color: use a stronger mix, and make sure your batching time is long enough (we will get there).
One more tiny thing: hard water can dull dye a bit. If your colors always seem slightly muted, filtered water can help.
Fold 1: Spiral
The spiral is the classic for a reason. It is dramatic, forgiving, and looks like you know what you are doing even on your first try.
How to fold a spiral
- Lay the damp, soda-ash-soaked shirt flat.
- Pinch the fabric where you want the spiral center (middle of the chest is classic).
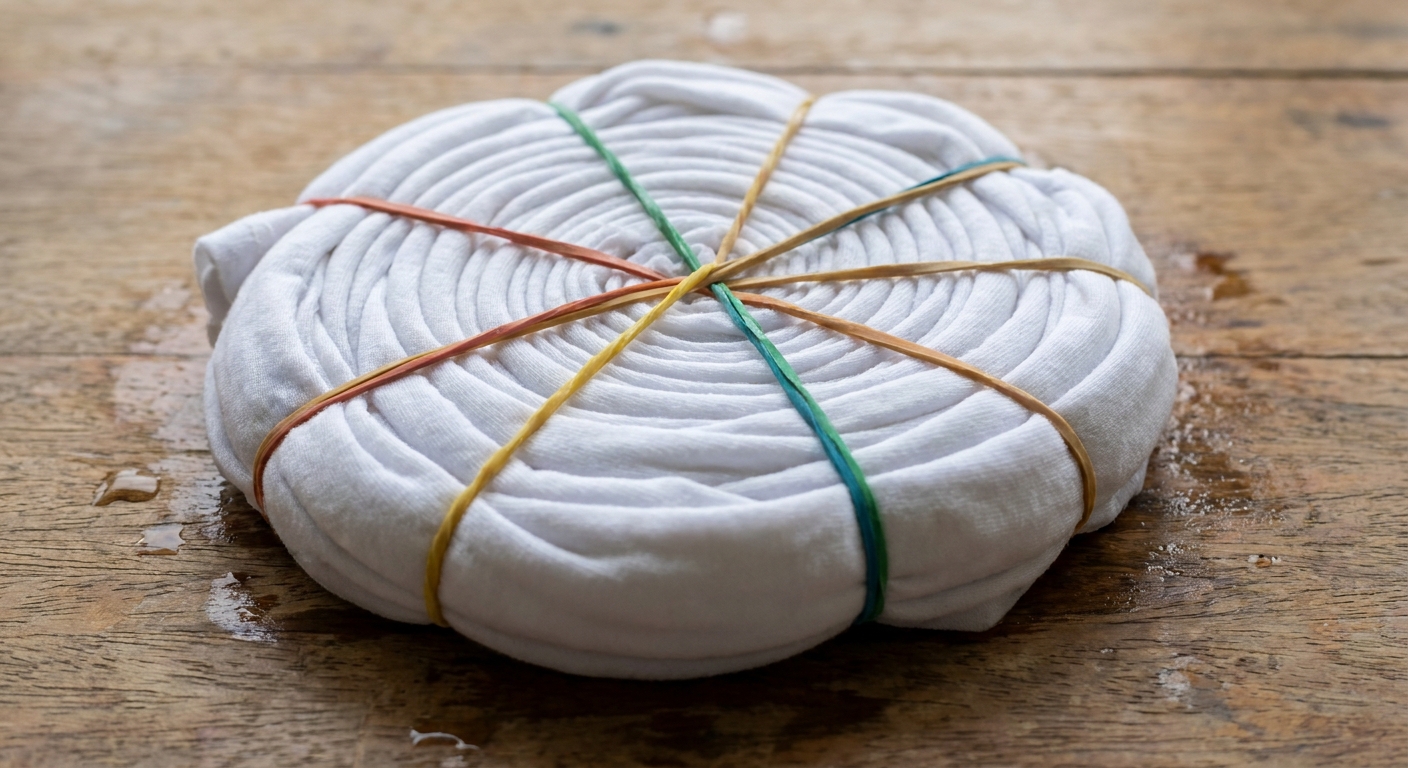
- Twist the shirt like a cinnamon roll, keeping it as flat as you can as it coils.
- Tuck edges in so you end up with a neat disk.
- Wrap 3 to 4 rubber bands across the disk to make wedge sections.
Dye placement ideas
- Bold rainbow: dye each wedge a different color, repeating around the circle
- Two-color spiral: alternate two colors for high contrast
- Negative space spiral: leave one wedge mostly undyed for bright white streaks
Paw tip: Apply dye to one side, flip, and apply to the other. A spiral can look great even if it is not perfectly saturated, but big dry patches can turn into surprise white blocks.
Fold 2: Bullseye
Bullseye is my favorite “wow, that was easy” pattern. It makes clean rings with very little fuss.
How to fold a bullseye
- Lay the damp shirt flat.
- Pinch the fabric where you want the center of your bullseye (center chest, shoulder, or lower hem all work).
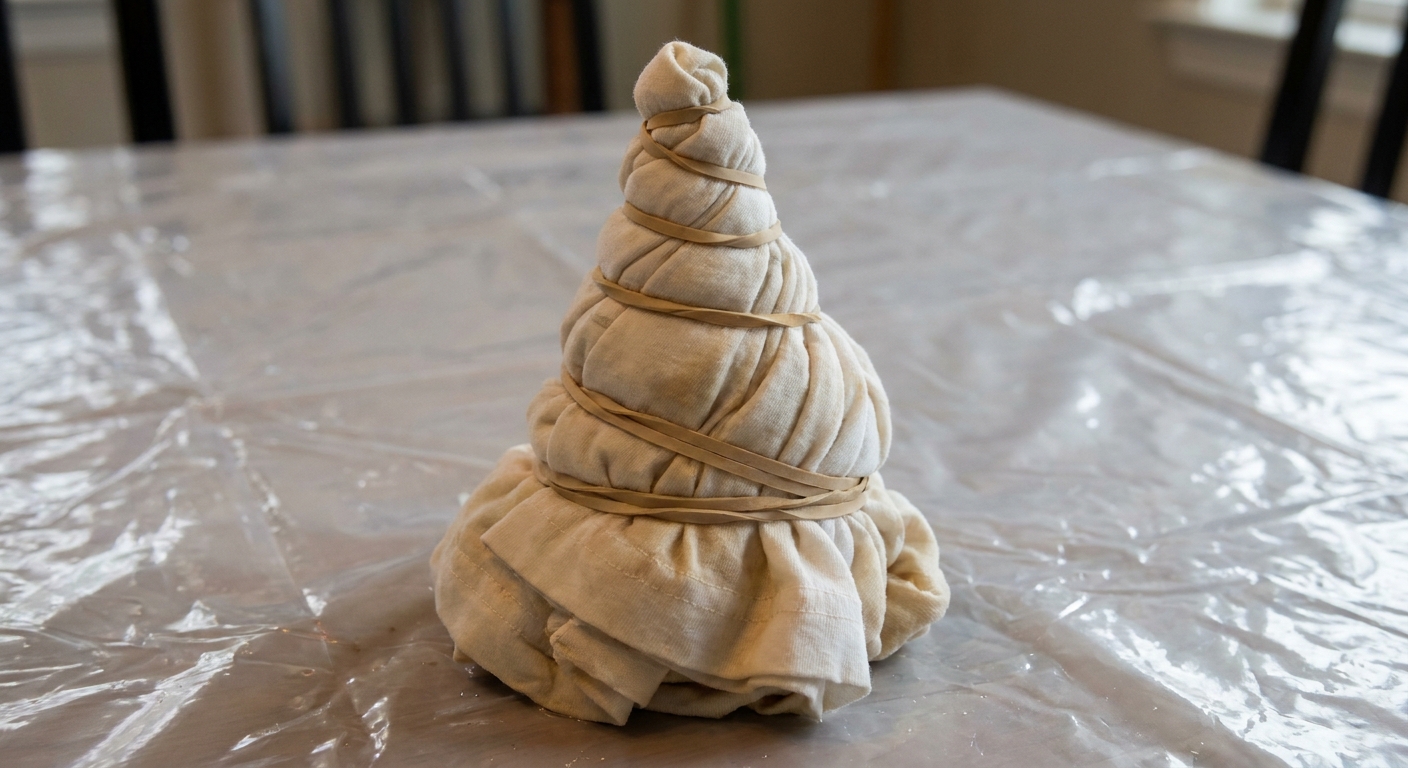
- Pull straight up to make a tall fabric cone.
- Wrap rubber bands down the cone at even intervals. Each band marks a ring.
How to dye the rings
Starting at the tip (center), apply one color per section between rubber bands. Flip and repeat on the back for more even rings.
If you want crisp rings, do not over-soak the shirt and avoid flooding dye past the rubber bands. Gentle, controlled squeezing beats blasting dye everywhere.
Fold 3: Stripes
Stripes can be bold and graphic or soft and beachy. The fold direction is what decides the look.
Two stripe fold options
- Horizontal stripes: accordion fold from the bottom hem up to the collar
- Vertical stripes: accordion fold from one side seam to the other
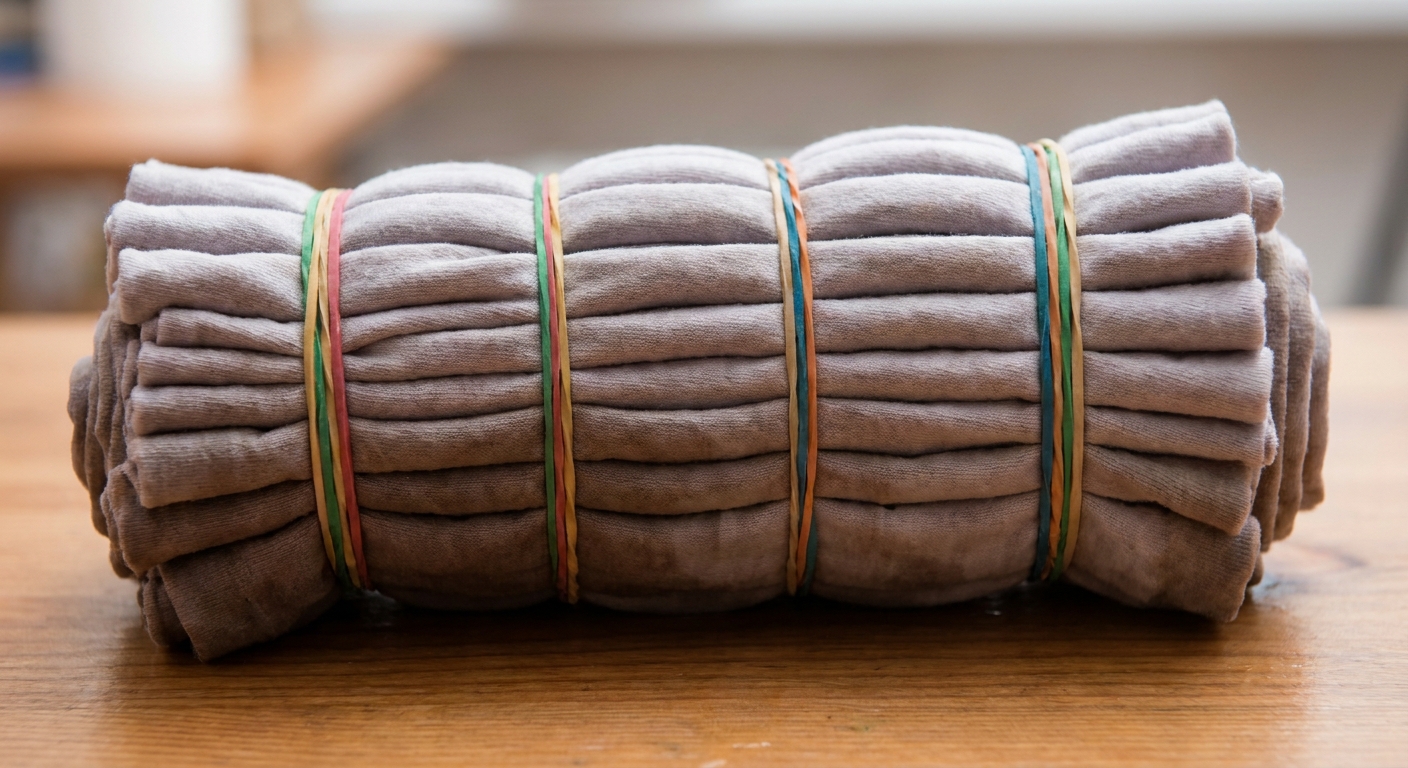
How to accordion fold
- Lay the damp shirt flat and smooth it.
- Fold back and forth in even pleats, about 1 to 2 inches wide.
- Bind with rubber bands across the folded strip. Space them evenly for repeating stripes.
Dye placement ideas
- Classic stripes: dye each section between bands a different color
- Ombre stripes: use one color and apply more at one end, less at the other
- Two-tone: one color on one side of the bundle, another color on the opposite side
For the crispest stripe edges, keep the folds aligned and the bundle tight. Loose folds equal wiggly stripes (which can still be cute, just more organic).
Let the dye set
After dye is on the shirt, it needs time in a warm-ish environment so the dye reaction can finish.
How to batch
- Place the dyed bundle in a zip-top plastic bag or wrap it in plastic wrap.
- Keep it out of direct sun, but not in a cold draft either.
How long to wait
- Minimum: 6 to 8 hours
- Best color payoff: 12 to 24 hours
Temperature matters. Fiber-reactive dye fixes faster and brighter in a cozy range (roughly 70 to 90 F, or 21 to 32 C). If your room is chilly, aim closer to 24 hours, and stash the bag someplace gently warm, like near (not on) a running dryer.
Rinse and wash
This is the part that decides whether your bright rainbow stays a rainbow or turns into a swampy blur. The main rule: cold first, hot last.
Step-by-step rinsing
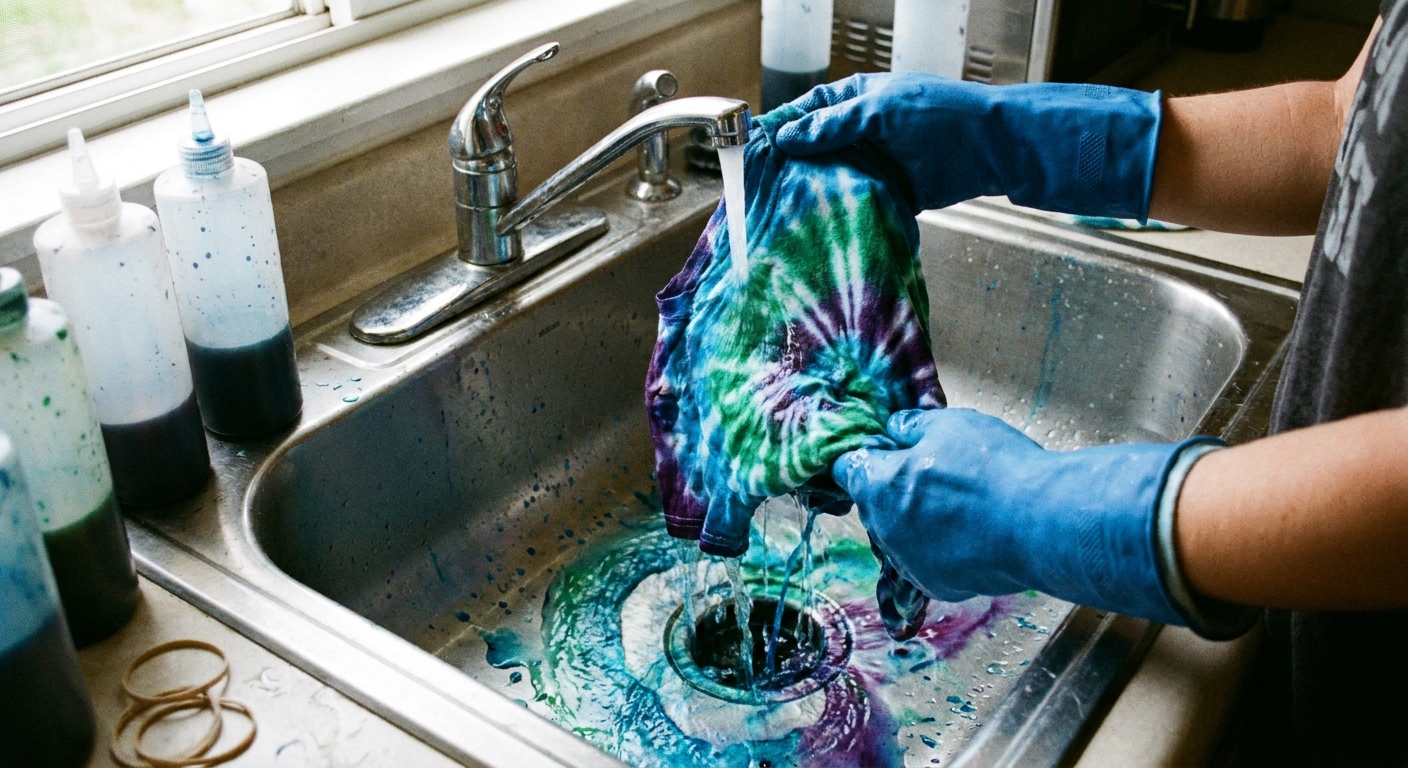
- Keep the rubber bands on. Rinse under cold running water to remove surface dye while the folds are still protected.
- Gradually warm the water. Rinse until the water runs less tinted.
- Remove bands and unfold. Keep rinsing, warming the water more as you go.
- Hot rinse at the end. Hot water helps flush unattached dye.
- Wash separately. Use a small amount of detergent and run a warm wash if the garment can handle it. Use hot only if the care label says it is safe. Then dry as usual.
Two simple ways to prevent muddying
- Do not soak the unfolded shirt in a tub of water at the start. That is how loose dye migrates everywhere.
- Rinse until it runs mostly clear before the first real wash.
Color and pattern tips
Use fewer colors than you think
Three colors can look more graphic and crisp than eight colors. More colors means more overlaps, and overlaps create new mixed colors.
Leave bits of white
White is not “missing dye.” White is contrast. Especially in spirals and stripes, a little breathing room makes the colors pop.
Watch muddy combos
If you layer complementary colors heavily (like red and green, or blue and orange), you can get browns and grays. Sometimes that is the vibe, but if you want bright, keep those colors separated by a lighter color or more white space.
Quick troubleshooting
My colors are pale
- Shirt may be a cotton-poly blend, or treated fabric
- Not enough batching time, or it was too cold while batching
- Dye mix too weak
- Skipped soda ash, or shirt dried out before dyeing
My spiral is mostly one color
- Dye oversaturated and flooded across sections
- Rubber bands too loose
- Bundle sat in a puddle of mixed dye
I got lots of back-side white patches
- You dyed only one side, or did not push dye into the folds
- Bundle was very thick and needed more time and saturation
Safety and cleanup
- Wear gloves. Dye loves fingertips.
- Mix dye powder carefully and avoid breathing it in.
- Cover your work surface and protect clothing.
- Wipe up stray dye powder with a damp paper towel instead of blowing it around.
- Rinse squeeze bottles and tools right away so nothing crusts shut.
Once your shirt is washed and dry, you can launder it normally. For the first couple washes, it is still smart to wash it with darks or by itself, just in case.
Pick your fold
If you are standing there with a damp tee and decision paralysis, here is a tiny helper:
- Spiral for maximum color and a classic look
- Bullseye for crisp rings and an easy win
- Stripes for bold, graphic patterns that look great in two or three colors
And remember: tie-dye is one of the friendliest crafts around. The “mistakes” usually look like style choices once the shirt is dry.