Five functional beginner sewing projects designed to help you master the straight stitch, with simple steps, fabric picks, and troubleshooting tips.
Small paws. Big project plans.
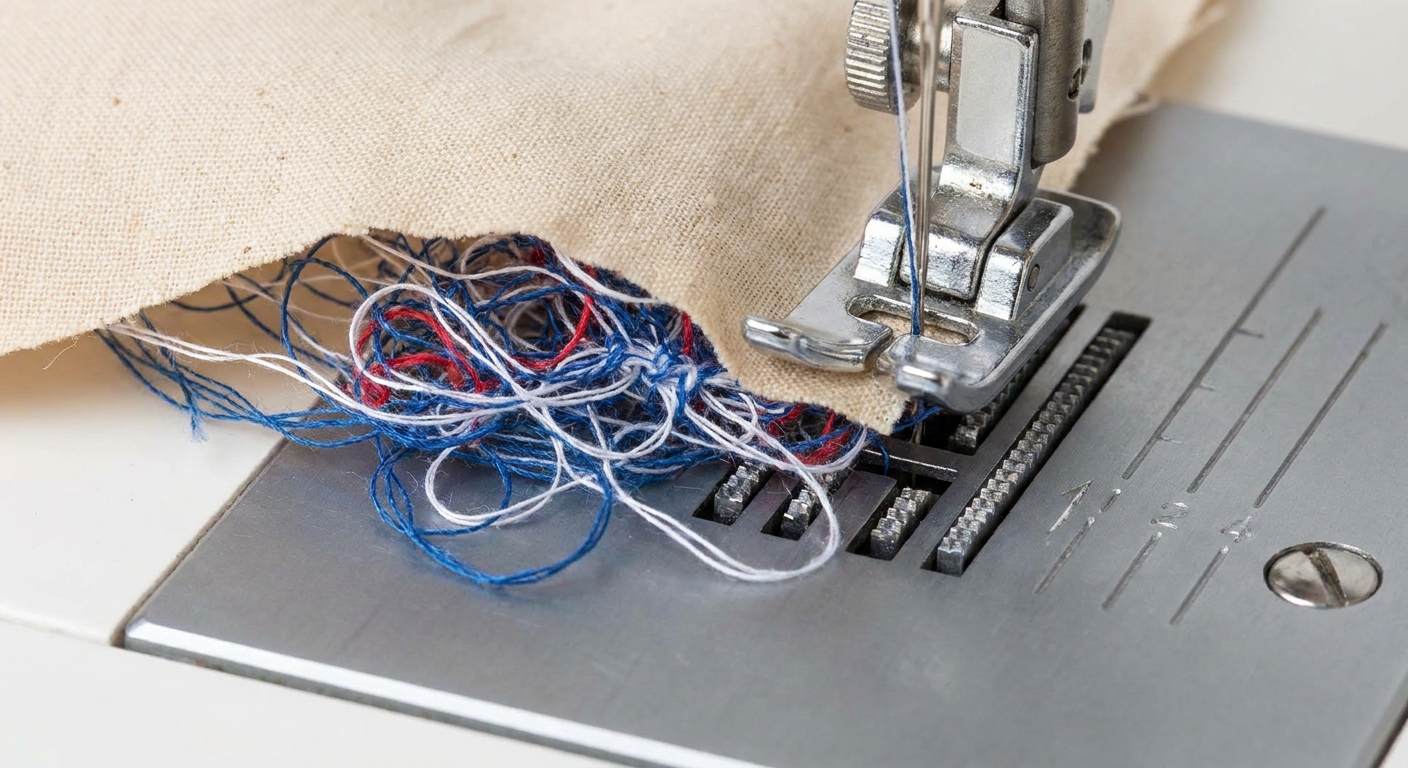
If your stitches look fine on top but the underside turns into a fluffy knot nest, you have officially met the sewing machine birdnest. It feels dramatic, but the cause is usually simple: the top thread is not under proper control, so it gets pulled down and piles up under the fabric.
This guide walks you through the checks that fix most underneath bunching, in the order that saves the most time. Grab scraps and thread you do not mind sacrificing, and let’s troubleshoot with calm, practical steps.
First, know what the machine is telling you
Birdnesting underneath usually means the upper thread is not threaded correctly, not seated in the tension discs, or is not being held taut at the start. Less often, it points to a bobbin setup issue or a needle problem.
Quick clue: which side looks messy?
- Messy loops and piles on the underside while the top looks mostly normal: most often an upper threading problem or presser foot issue.
- Messy loops on the top while the underside looks normal: more often a bobbin issue (incorrect insertion, wrong bobbin type, lint in the case) or bobbin tension issue.
- Both sides look bad: needle, thread quality, wrong threading, or something snagging thread along its path.
One more important note: if you changed anything recently, start there. New spool, new needle, different fabric, different bobbin, even a quick “I’ll just thread it with the presser foot down” can be the whole mystery.
Do this fast reset before anything else
This is the quickest way to fix most underneath bunching, and it also gives you a clean baseline.
- Stop sewing immediately. Keep stepping on the pedal makes the knot tighter.
- Raise the needle to its highest position using the handwheel.
- Lift the presser foot.
- Cut the threads near the spool and gently pull the upper thread out from the needle area. If it is jammed, cut it free at the needle plate instead of yanking.
- Remove the fabric and clear loose thread bits from the needle plate area.
- Rethread the upper thread completely with the presser foot still lifted.
- Remove and reinsert the bobbin (more on correct direction below).
- Put in a fresh needle if the current one is bent, dull, or questionable.
If you only try one thing from this article, let it be the “presser foot up rethread.” It fixes more birdnests than any tension dial ever will.
The most common cause: upper thread not in the tension system
Your tension discs only do their job when the presser foot is up during threading. With the foot down, the discs are closed, and the thread can sit outside them. The machine then feeds thread with almost no resistance, and the excess gets pulled to the underside into loops.
Upper threading checklist (in order)
- Presser foot up. Always, every time you thread.
- Thread seated in the take-up lever. If you miss it, the thread can slack wildly.
- Thread in every guide. Skipping a guide can change the angle and let the thread slip or snag.
- Thread goes through the needle the correct direction. Most home machines thread front-to-back, but some are side-threaded. Check your machine’s markings.
- Thread tail length. Leave a 4 to 6 inch tail behind the presser foot.
Presser foot basics that prevent instant tangles
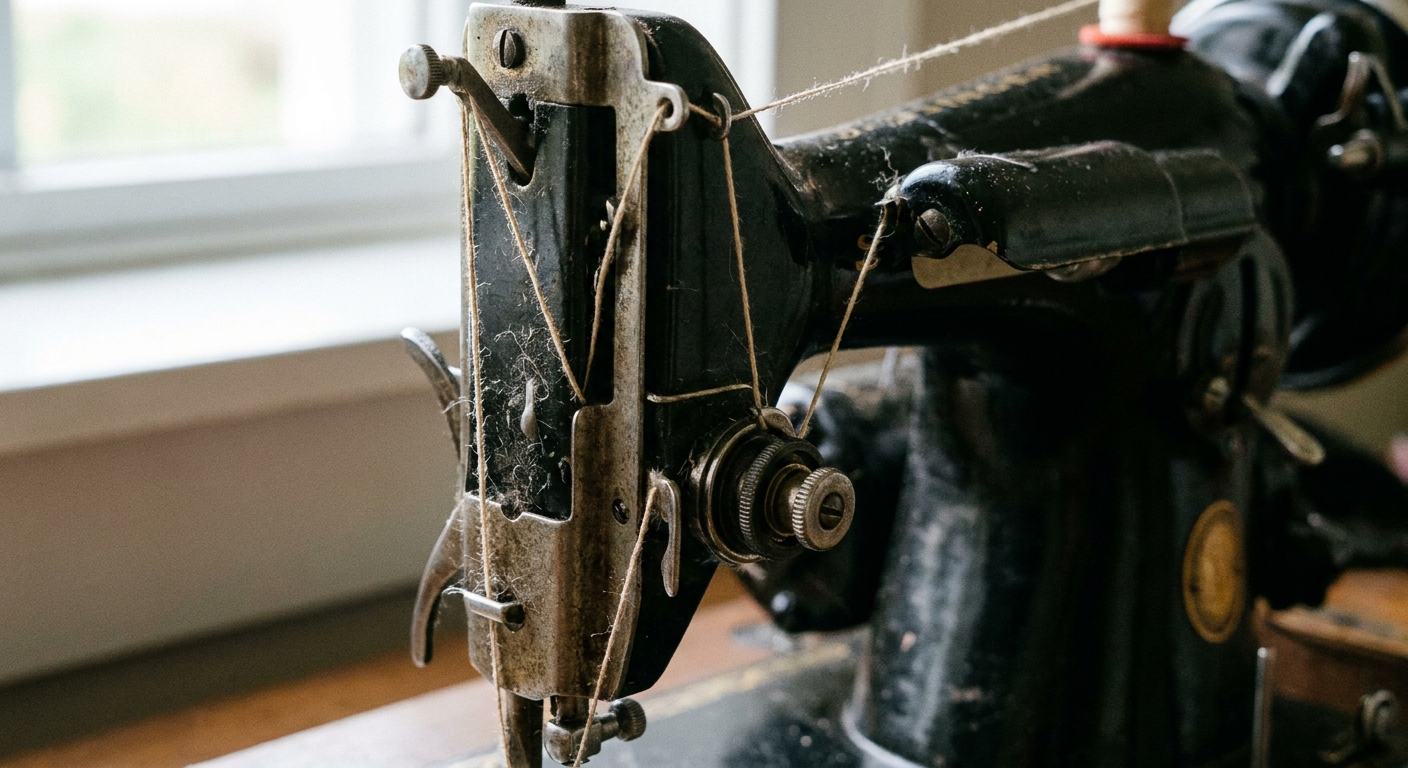
Birdnesting right at the start of a seam is often a control problem, not a tension problem.
Before you sew a single stitch
- Lower the presser foot. Sewing with the foot up means the tension system is not engaged. That is a guaranteed nest for many machines.
- Hold both thread tails for the first 2 to 3 stitches. Just gently, toward the back. This keeps the machine from sucking the tails down into the bobbin area.
- Start on fabric, not on air. If you start right at the edge, consider a “leader” scrap, or start a few stitches in and backstitch.
If your machine has a drop-in bobbin, it is especially easy for thread tails to get pulled into the hook area during the first stitch or two. Holding tails is a tiny habit with big payoff.
Bobbin setup: small details, big consequences
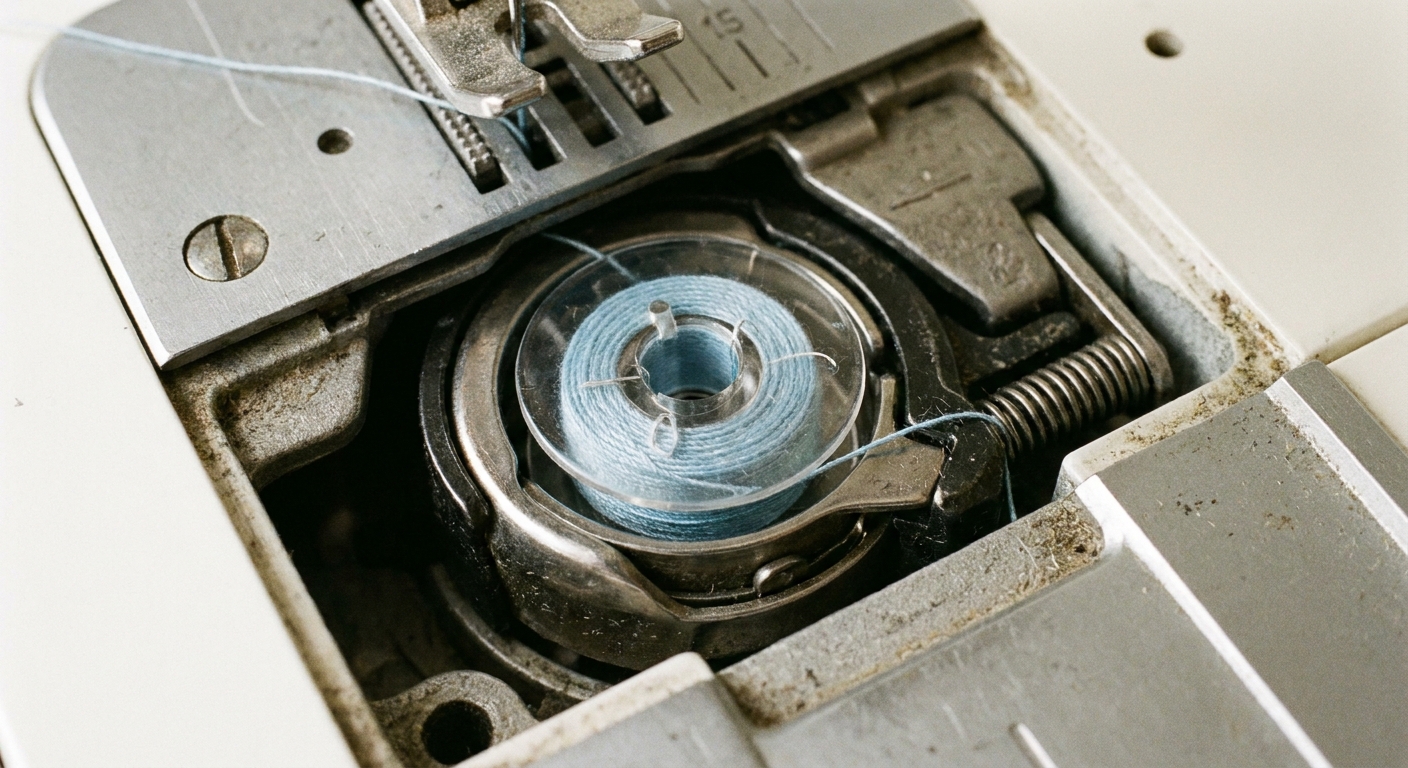
If rethreading the top does not fix it, the next best suspect is the bobbin area. A bobbin that is inserted wrong, wound poorly, or fighting lint can create weird tension behavior that looks like a thread explosion.
Bobbin checklist
- Use the correct bobbin type for your machine. Similar-looking bobbins can still be different heights or shapes. Using the wrong one can cause inconsistent feeding and tangles.
- Insert the bobbin in the correct direction. This is the classic “it was fine yesterday” mistake. Your manual usually shows a little drawing of the bobbin rotation direction.
- Make sure the thread clicks into the bobbin tension slot. On many drop-in systems, you should feel it seat into place.
- Check bobbin winding quality. It should be smooth and firm, not spongy, lumpy, or loosely cross-wound.
- Match thread weight top and bottom. A very thick top thread with a fine bobbin thread (or vice versa) can make tension harder to balance.
Needle issues that look like tension problems
A needle is a tiny tool doing a lot of work. If it is wrong, dull, or inserted incorrectly, it can skip stitches, shred thread, or cause looping that mimics a bobbin problem.
Needle checks
- Replace the needle. If you cannot remember when you last changed it, change it now. Needles are cheaper than your frustration.
- Insert it fully. Push the needle up into the clamp as far as it will go before tightening.
- Make sure it faces the right direction. Most home machines have the flat side to the back, but not all. Confirm for your model.
- Use the right type and size. Universal is fine for many woven cottons, but knits like ballpoint or stretch, and dense fabrics need a size that can handle them.
Thread shredding near the needle, repeated snapping, or “thunk” sounds can all point to a needle that is bent or installed incorrectly.
Is it tension, or is it threading? A simple test
It is tempting to spin the tension dial like a safecracker. Before you do, run this quick test on scrap fabric with a normal straight stitch.
What you are looking for
- Balanced stitch: top and bobbin threads lock in the middle of the fabric layers.
- Loops underneath: usually top thread is not controlled (mis-threaded, presser foot up while sewing, take-up lever missed).
- Loops on top: bobbin not seated correctly, wrong bobbin type, bobbin thread not in the tension channel, or debris in the bobbin case.
If you rethreaded correctly and the presser foot was down while sewing, then small tension tweaks can help. Use tiny moves, test, repeat. If you have made big tension changes already and things are worse, return to your machine’s default tension and start fresh.
Clean-out check: lint and thread bits in the hook area
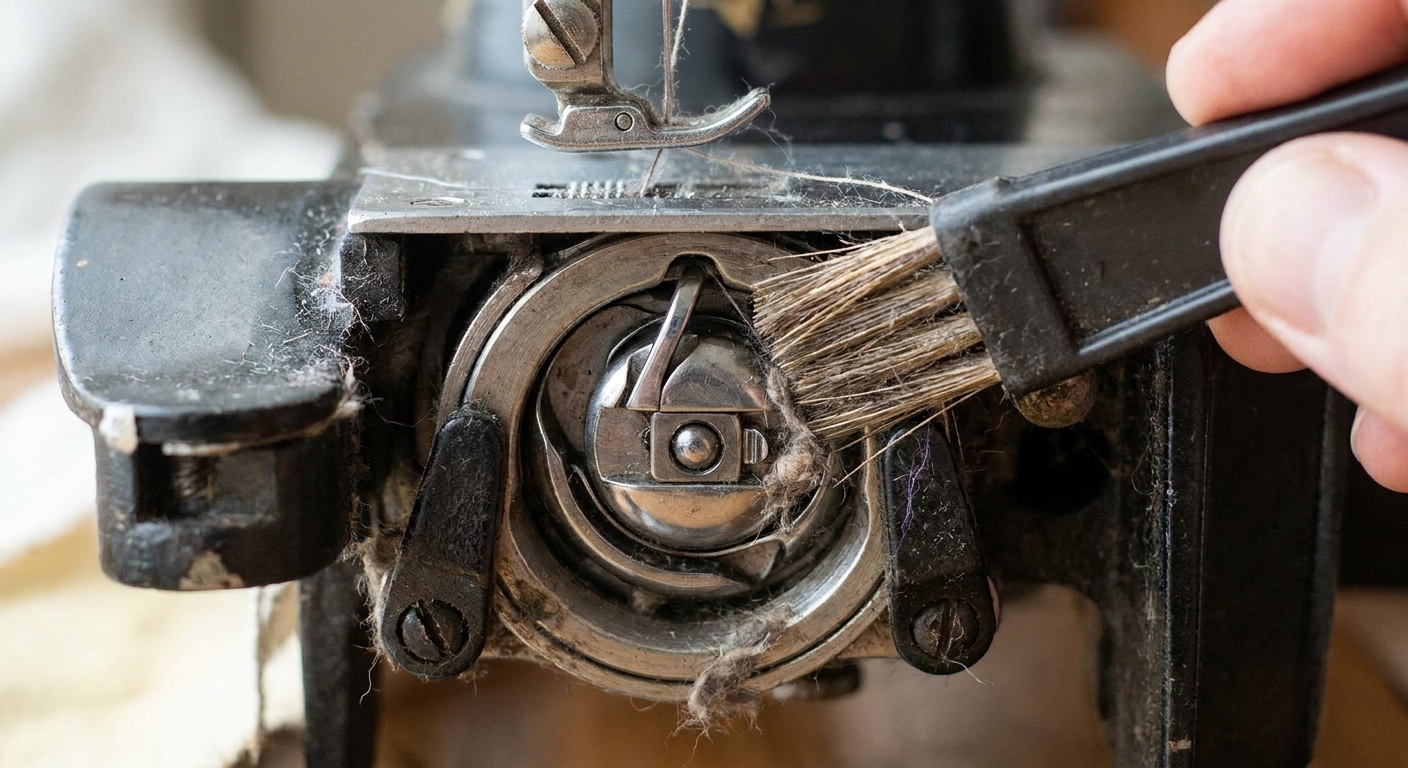
A single snapped thread can leave fuzzy crumbs in exactly the wrong spot. That can interfere with how the bobbin thread feeds and how the hook catches the needle thread.
What to do
- Turn off the machine.
- Remove the bobbin and the needle plate if your machine allows easy access.
- Brush out lint with a small brush. Focus around the feed dogs and the hook race.
- Remove thread scraps with tweezers if needed.
Avoid blasting lint deeper with canned air. A gentle brush does the job without relocating the mess.
Common birdnest triggers (and the quick fix)
- You threaded with the presser foot down. Fix: lift presser foot, rethread completely.
- You started sewing with the presser foot up. Fix: lower presser foot before stitching.
- You did not hold thread tails at the start. Fix: hold both tails for the first stitches.
- Bobbin inserted backwards. Fix: remove and reinsert following the machine’s direction guide.
- Needle is old or wrong. Fix: new needle, correct type and size.
- Thread is snagging on the spool. Fix: check the spool cap, spool orientation, and that the thread is not catching on a notch.
When to stop rethreading and consider service
Most birdnesting is user-fixable. Some problems are mechanical. If you have done the reset, verified correct threading with presser foot up, replaced the needle, confirmed bobbin type and insertion, and cleaned the bobbin area, it may be time to pause the DIY loop.
Signs your machine may need service
- Thread repeatedly jams in the same spot even with different thread and fabric.
- You hear grinding, clunking, or scraping from the hook area.
- The needle hits the needle plate or bobbin case.
- Tension is wildly inconsistent from stitch to stitch with no changes.
- The machine will not pick up the bobbin thread reliably after correct setup.
If a jam was severe, the machine can get slightly out of time or a part can get nicked. Those are good reasons for a technician visit, not more tension dial spinning.
Mini FAQ
Why does my top thread keep pulling to the bottom?
Most often, the upper thread is not seated in the tension discs or the take-up lever, or you are sewing with the presser foot up. Rethread with the presser foot lifted, then sew with it lowered.
Why does it only birdnest on lightweight fabric?
Lightweight fabrics show problems faster because the stitches have less structure to lock into. Use a fresh, appropriate needle (often a smaller size), hold thread tails at the start, and consider stabilizing the first inch with a scrap leader.
Can changing the bobbin tension fix birdnesting?
Usually no. On many home machines, bobbin tension is meant to stay set. Birdnesting underneath is far more often an upper threading issue. Start there before touching bobbin tension screws.
My machine was sewing fine, then suddenly started nesting. What changed?
Common culprits are a needle that quietly bent, a bobbin that was reinserted backward, lint buildup, or threading with the presser foot down during a quick rethread.
A calm finishing checklist
If you want the short version to keep by your machine, here it is:
- Needle up, presser foot up, rethread top.
- Presser foot down to sew.
- Hold thread tails for the first stitches.
- Reinsert bobbin correctly and make sure the thread is in the bobbin tension channel.
- New needle, correct type, inserted fully.
- Brush lint out of the bobbin area.
Birdnests feel like a disaster, but they are usually just a small setup mismatch. Once you get the threading and bobbin routine consistent, your machine settles back into the satisfying hum of normal stitches.