From biodegradable glitter to clearer, lower-toxicity dyeing, these 7 simple swaps help you craft with less waste without losing the fun.
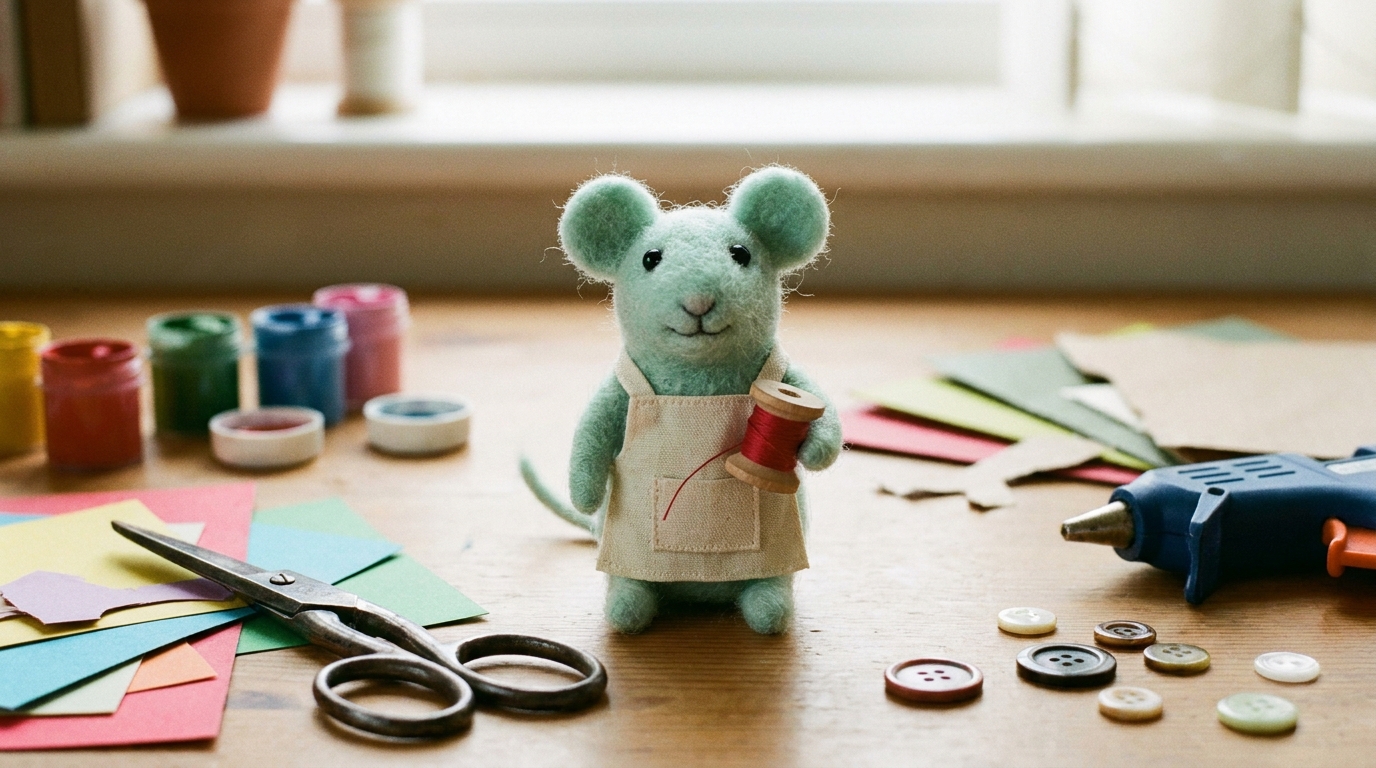
Small paws. Big project plans.
If you like crafts that feel a little bit like sculpting and a little bit like magic, needle felting is for you. It is a no-sew fiber craft where a barbed felting needle tangles fluffy wool roving into a firm shape, one poke at a time, on a foam pad. Today we are making a first form you can finish in one sitting: a tidy wool ball. (And if you want to turn it into a heart, I will show you that too.)
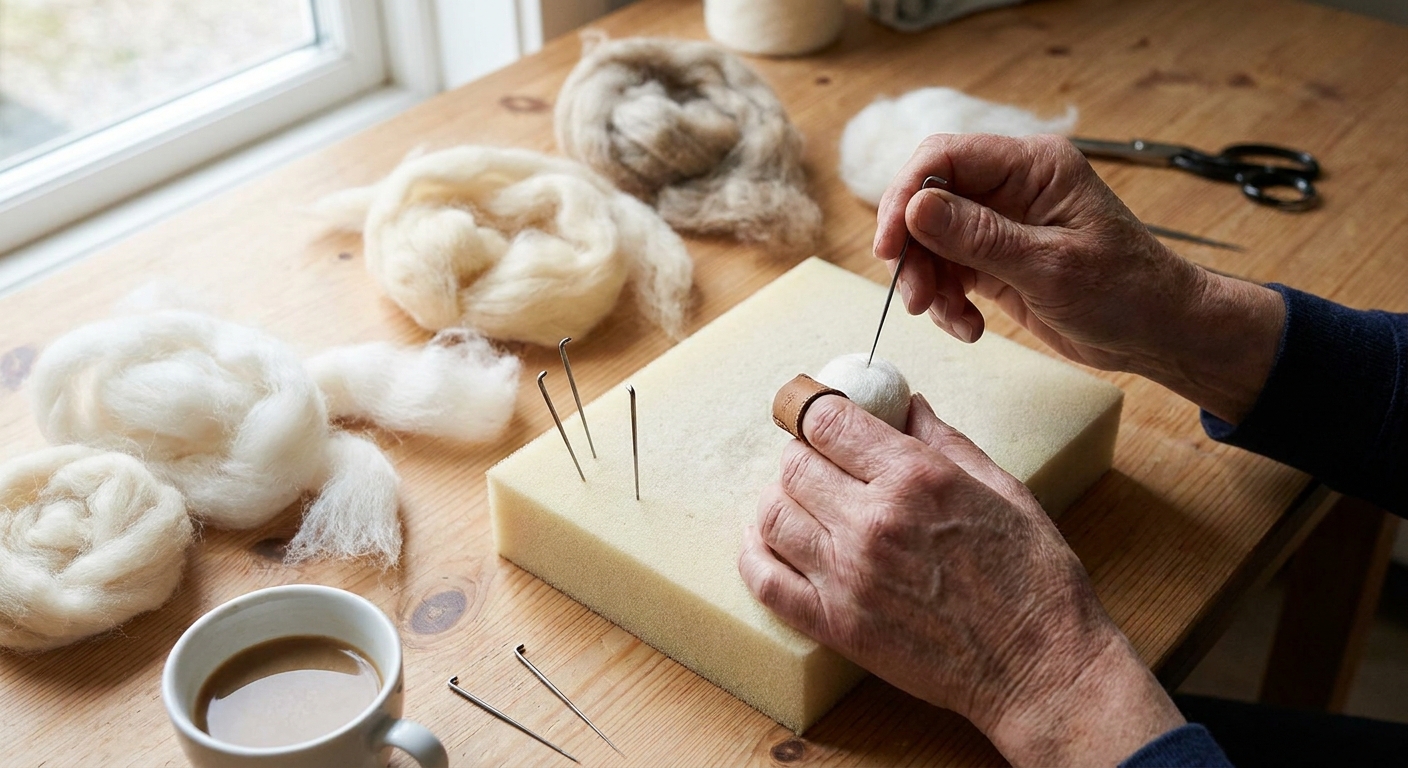
What you need (just the basics)
You do not need a big kit to start. For this first shape, keep it simple.
- Wool roving (the fluffy, unspun kind)
- Felting needle (a single needle is perfect for learning)
- Foam felting pad (this is your work surface and needle catcher)
Nice-to-have extras (not required, but very kind to paws and fingers):
- Finger guards or a leather thimble (for the hand holding the wool)
- A small container for broken needles (so snapped tips do not wander off)
A quick safety note from a small mouse with a healthy respect for sharp things: felting needles are very sharp and they break if bent. Keep the needle working straight up and down, and keep it on your pad when you are not using it so it is not rolling around where paws and fingers land.
How needle felting works (in one minute)
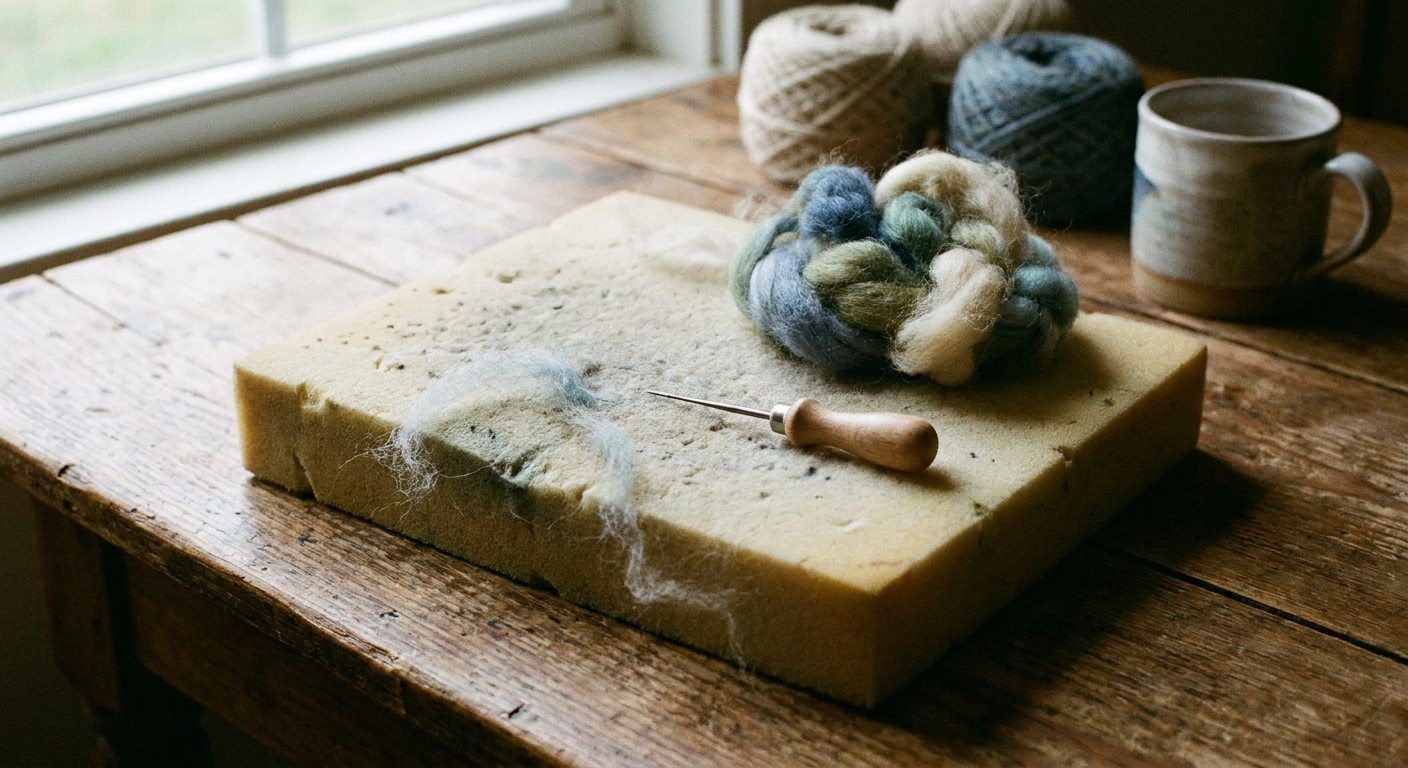
A felting needle has tiny barbs along the shaft. When you poke into wool, the barbs grab fibers and push them deeper, tangling everything together. Repeating that motion turns airy fluff into a dense, sturdy form.
Think of it as this rhythm:
- Fluff becomes shape with light pokes.
- Shape becomes firm with lots of pokes.
- Firm becomes smooth with shallow, careful pokes and a little patience.
Start here: Make a simple felted ball
Step 1: Pull wool, do not cut it
Pinch off a strip of wool roving and tear it away rather than cutting. Tearing leaves fuzzy ends that blend into the next layer more smoothly.
For a first ball, start with a piece about the size of a big cotton ball. You can always add more later.
Step 2: Roll it into a loose ball
Gently roll and tuck the wool between your palms to make a loose sphere. It will feel soft and unstable. That is perfect right now.
Step 3: Begin felting on the pad
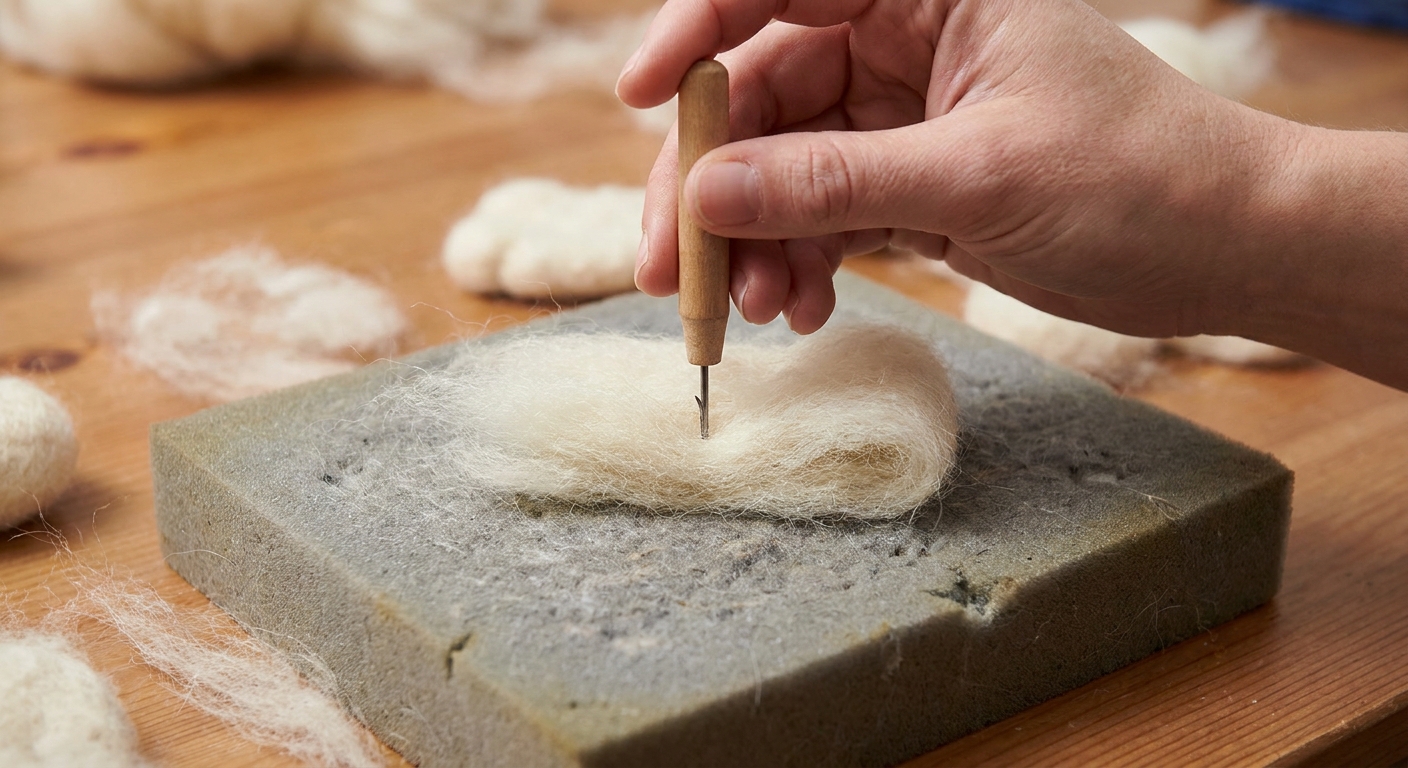
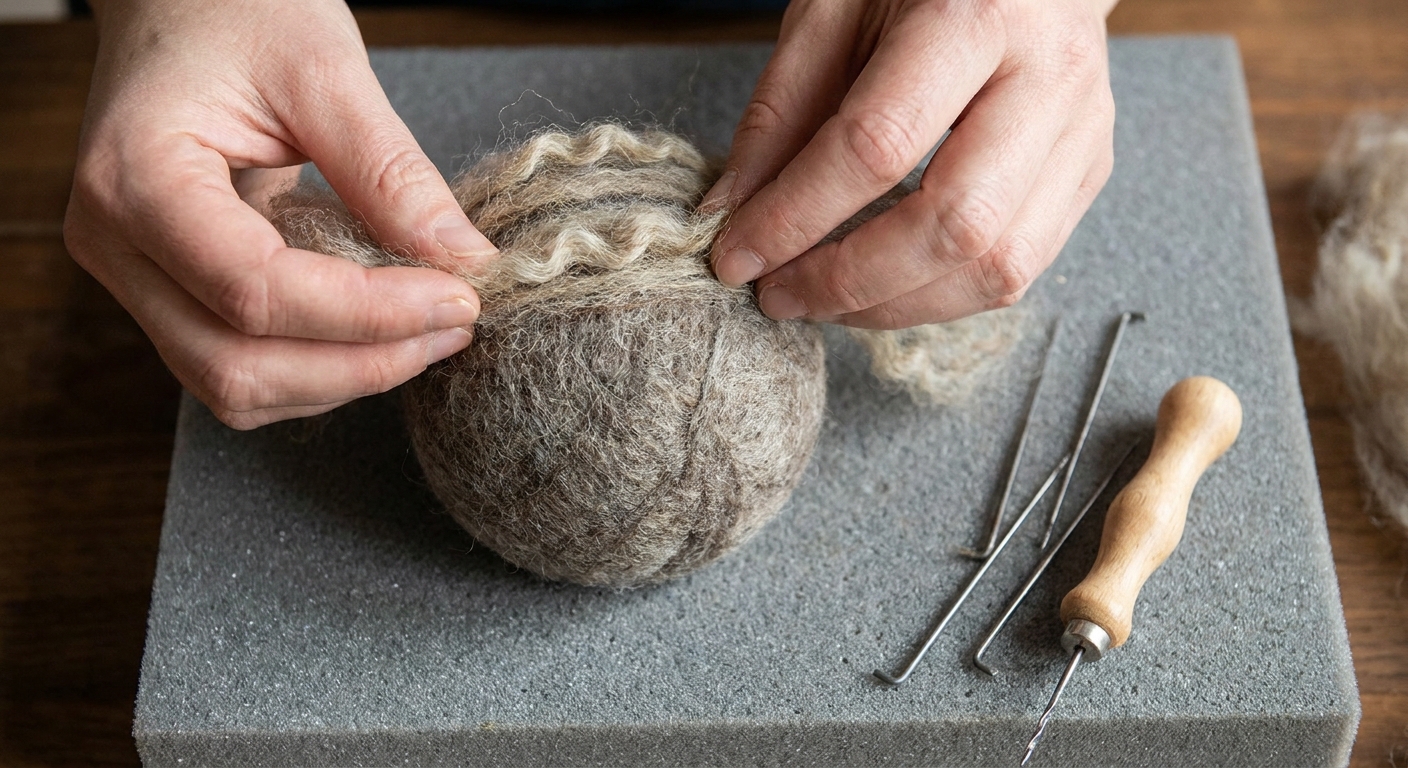
Set the ball on the foam pad. Hold the needle like a pencil, and poke straight down into the wool.
- Use short strokes. You only need to go in a little way, roughly a few millimeters to about 1 cm depending on your needle and the fluffiness of the wool. Try not to drive the needle hard into the foam every time.
- Lift straight out. Pulling at an angle bends needles and makes them snap.
- Rotate often. Give the ball a quarter turn every 10 to 20 pokes so it felts evenly.
You will notice the outer fuzz starts to tighten and the ball begins to hold its shape.
How many times do I poke?
Needle felting is not about counting exact pokes. It is about checking firmness as you go. Needle size, wool type, and how dense you want the finish all change the pace.
- Early stage: As a rough starting point, 1 to 2 minutes of poking per side is often enough for the surface to start holding together.
- Middle stage: Keep rotating and poking until the ball feels springy, not squishy.
- Finish stage: Poke more lightly and more shallowly to tighten the outer fuzz.
A helpful test: gently squeeze the ball between two fingers. If it flattens easily and stays dented, it needs more felting. If it feels bouncy and keeps its shape, you are getting close.
If your shape stays loose: add wool the right way
Almost everyone needs to add wool on their first try. Here is how to do it so it looks seamless.
Add a patch
- Pull off a small, wispy tuft of roving.
- Stretch it slightly so the fibers open up.
- Lay it over the loose spot like a blanket.
- Felt it down with gentle pokes around the edges first, then across the middle.
Work in thin layers. Thick clumps felt unevenly and can leave lumps.
Fix an uneven ball
If your ball has a flat side, build it back up by adding a thin layer of wool to that area, then felt it firmly while rotating. The more you rotate, the rounder it gets.
Make it a heart (optional, very cute)
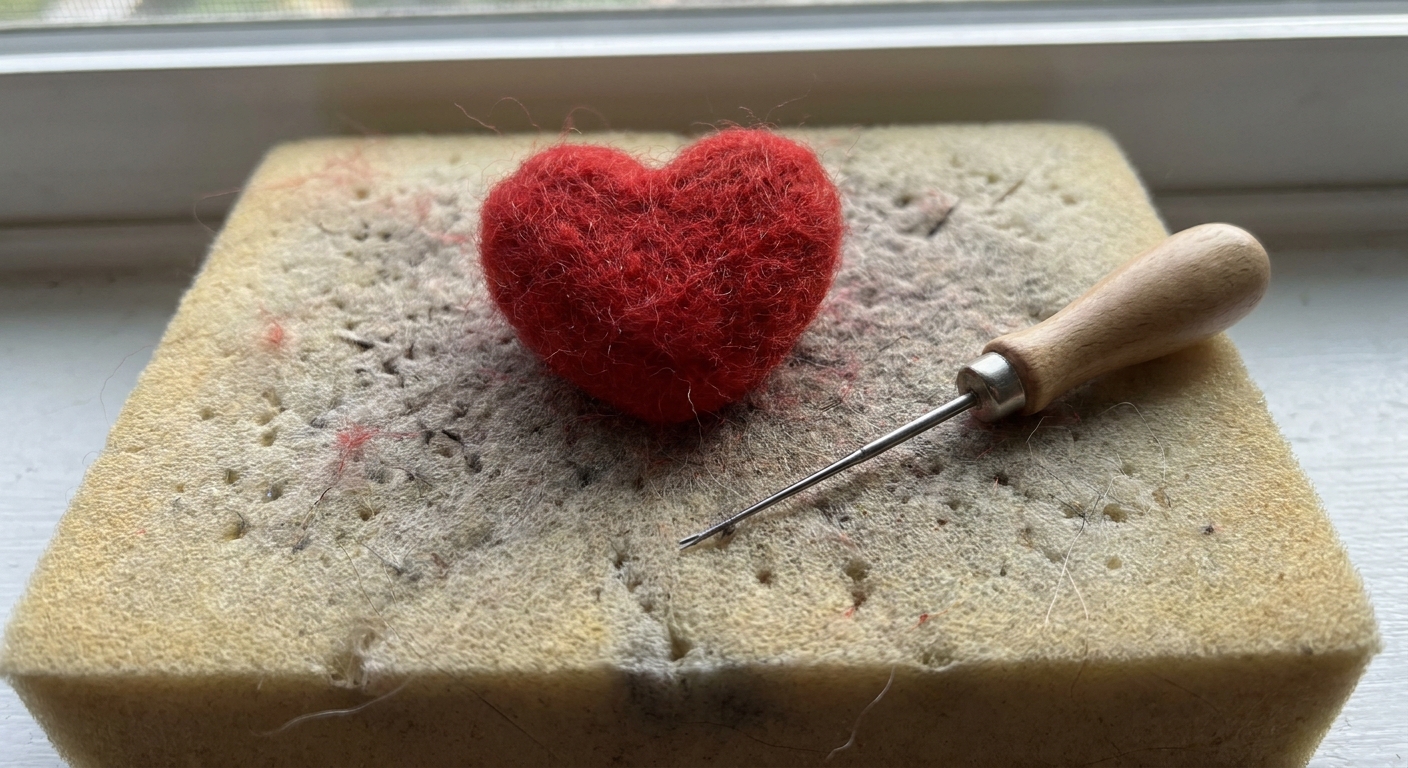
Once you have a firm ball, turning it into a heart is a simple shape tweak.
- Create the point: Pick one side to be the bottom. Felt that area more firmly, focusing your pokes to narrow it into a gentle point.
- Create the top dip: On the opposite side, poke a shallow line across the center to form an indentation.
- Build the two lobes: If one side looks smaller, add a whisper of wool to that lobe and felt it in.
Rotate constantly and check the silhouette from multiple angles. Hearts look best when both lobes are evenly sized.
Smooth the surface
The difference between “fluffy craft puff” and “I made a tiny sculpture” is the finishing. Also, a gentle warning from your mouse friend: smoothing often takes longer than shaping. That is normal.
Use shallow, gentle pokes
For smoothing, aim the needle just under the surface fuzz. You are tacking down stray fibers, not reshaping the whole piece.
- Poke more lightly than you did earlier.
- Work in small sections, rotating as you go.
- If fuzz pops up again, keep going. It settles with repetition.
Wrap with a final thin layer
If your ball looks a little bumpy, pull a very thin sheet of wool, wrap it around the outside, and felt it down. This “skin layer” evens everything out fast.
Tip: match the direction of fibers as you wrap, then felt the seam line until it disappears.
Troubleshooting
My needle feels stuck
This usually means you are poking too deep, the wool is getting dense, or you are pulling out at a slight angle. Pause, then pull straight out slowly. Shorter strokes help. If it still grips, a tiny, gentle wiggle while staying aligned with the hole can help, but do not twist or lever the needle.
My needle broke
It happens, especially when learning. Needles break when bent. Use a fresh needle and focus on straight in, straight out motions. Dispose of broken pieces right away so nobody finds them the hard way.
My shape is firm but lumpy
Add a thin outer layer of wool and felt it as a smoothing coat. Then do shallow finishing pokes.
I keep poking my fingers
Try holding the piece on the pad rather than in midair, and keep your fingertips farther from the area you are poking. Slow, controlled pokes help a lot. Finger guards can too.
What to make next
Once you can make a firm ball, you can make almost anything. Balls become:
- Heads for tiny animals
- Pom-pom style garlands
- Fruit shapes like berries and cherries
- Mini ornaments
My favorite next step is stacking two balls into a snowman shape, then adding a thin layer for a scarf. Still no sewing. Still very finishable.
Needle felting basics FAQ
Do I need a foam pad?
For beginners, yes, use a foam pad or another felting surface anytime the needle might go through your work. A foam pad is common and friendly to learn on, but you can also use a wool felting mat or a brush mat. Brush mats can fuzz the surface a bit more, so a foam or wool mat is often easier for neat finishes.
Can I felt with any wool?
Most animal wools needle felt well, and wool roving is the easiest place to start. Superwash wool is treated to resist felting, so it can be frustrating for needle felting. Plant fibers like cotton and linen do not needle felt well on their own, and synthetics can felt a little but behave differently and may not firm up the same way.
Do needle sizes matter?
They can, but you do not need a full set to begin. Many felters use a coarser needle for shaping and a finer needle for smoothing. If you only have one, you can still make a great first ball. Just adjust your patience levels accordingly.
How do I know when I am done?
When the shape holds firmly, feels bouncy rather than squishy, and the surface fuzz has been tacked down with shallow finishing pokes, you are done.