
A cozy, beginner-friendly intro to paper engineering: five simple pop-up mechanisms with clear steps, troubleshooting tips, and ideas to decorate your cards ...
Small paws. Big project plans.
Salt dough ornaments are one of those cozy, make-at-home crafts that feel like instant tradition. You only need flour, salt, and water, plus a little patience while they dry and bake. I will walk you through a reliable ratio, the bake temps that help prevent puffing and cracks, and the sealing steps that keep your ornaments looking good long after the tree comes down.
Quick note: These are for decorating, not eating. The high salt content means they should be kept away from pets and little kids who might take a bite.

Salt dough ratio
This is a sturdy, lower-water mix that helps reduce bubbles and puffing, especially when you are making ornaments (not thicker sculptures).
- 2 parts all-purpose flour
- 1 part fine table salt
- 3/4 part warm water (add a tiny splash more only if needed)
A common batch size:
- 2 cups all-purpose flour
- 1 cup fine salt
- 3/4 cup warm water
Why this works: The high salt content helps the ornaments dry hard, and keeping the water slightly on the low side helps the dough hold crisp edges and bake with fewer puffy spots.
Prefer a softer, more classic-feeling dough? Many crafters also use a 2:1:1 flour:salt:water mix. It can be a bit easier to knead, but it may take longer to dry fully.
What you will need
- Mixing bowl and spoon
- Rolling pin
- Parchment paper or a silicone baking mat
- Cookie cutters
- Drinking straw, skewer, or chopstick (for hanging holes)
- Baking sheet
- Acrylic paint or paint pens (optional)
- Sealer (details below)
- Ribbon, twine, or ornament hooks
Step by step
1) Mix the dough
Stir flour and salt together first. Add warm water slowly and mix until shaggy, then knead by hand for 3 to 5 minutes until smooth.
You are aiming for a texture that feels like play dough: smooth, firm, and not sticky.
- If it is crumbly, wet your fingertips and knead in moisture gradually.
- If it is sticky, dust with a little flour and knead again.
2) Roll evenly
Roll the dough on parchment or a lightly floured surface to an even thickness. For ornaments that bake nicely and do not crack, aim for:
- 1/4 inch thick for most shapes
- 3/8 inch thick for larger ornaments (stars, big circles)
Try to keep everything the same thickness on one tray. Mixed thickness bakes unevenly.
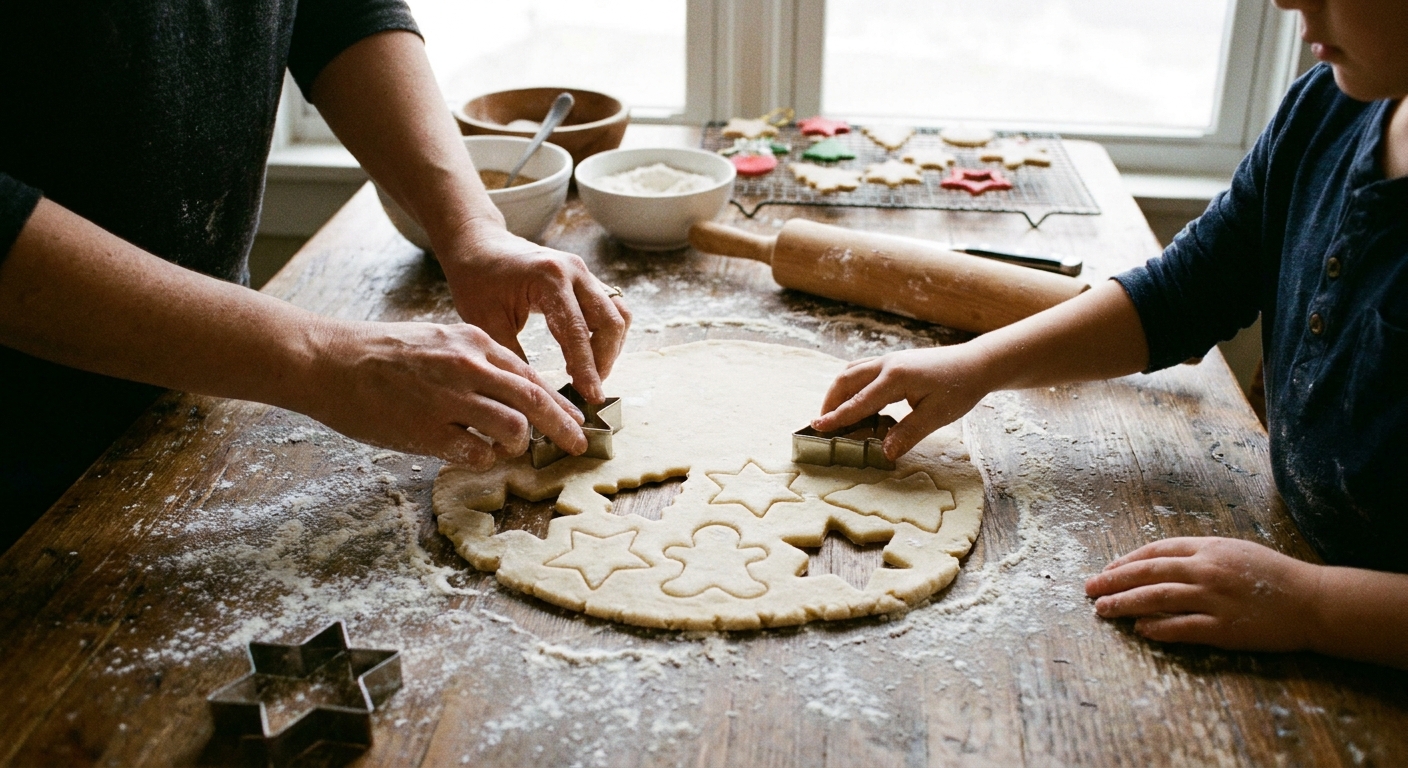
3) Cut shapes
Press cookie cutters straight down and lift straight up. Move shapes to a parchment-lined baking sheet. If edges get ragged, smooth them with a fingertip lightly dipped in water.
Do not forget the hole
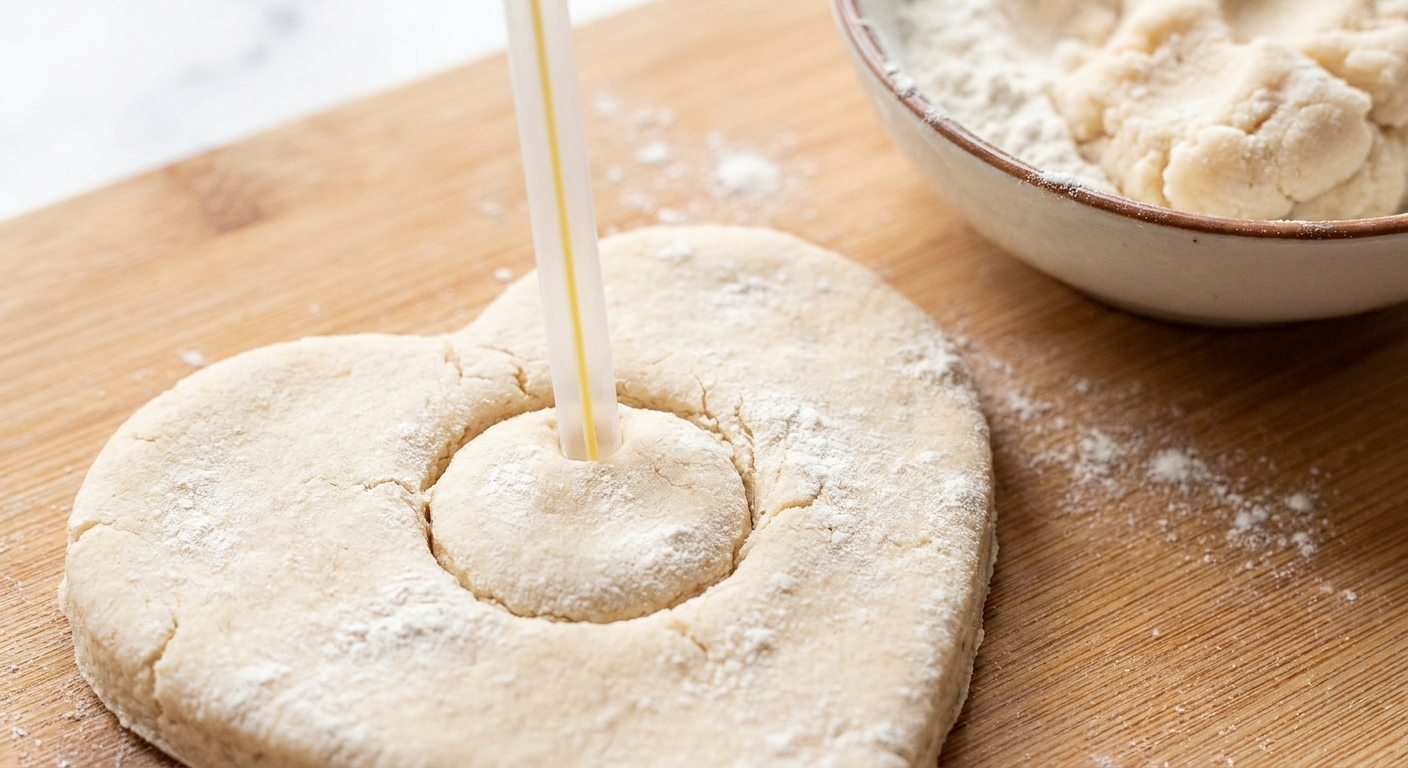
Make the hanging hole before baking, while the dough is still soft.
- Use a drinking straw for a clean, round hole.
- Place the hole at least 1/4 inch from the top edge so it does not tear later.
- For heavy or large ornaments, make two holes side by side and thread ribbon through both for extra support.
Quick tip: Twist the straw as you press to pull out a neat plug of dough.
Bake without cracks
Salt dough is more like drying clay than baking cookies. Low and slow is your friend.
You can air-dry ornaments, but baking is more reliable for getting them hard all the way through (especially in humid houses).
Best temperature
200 to 250°F (95 to 120°C)
This gentler range helps the moisture leave slowly, which reduces puffing and surface cracks. Hotter ovens can brown the dough quickly while the inside is still damp, which invites cracking later.
How long to bake
Time depends on thickness and your oven, and it is normal for salt dough to take a while. Use these as a guide, then keep going if needed:
- 1/4 inch thick: 1.5 to 2.5 hours
- 3/8 inch thick: 2.5 to 3.5 hours
Flip halfway: Turn ornaments over midway through baking so both sides dry evenly.
How to tell they are done
- They feel hard and dry, not cool or squishy in the center.
- The bottom is dry to the touch.
- If you tap gently, they sound more like a dull “clack” than a soft “thud.”
After baking: Turn the oven off, crack the door open, and let ornaments cool inside for 30 minutes. This gradual cool-down helps prevent sudden temperature changes that can lead to cracks.
Dry time matters
Even after baking, ornaments can hold a bit of moisture inside. For the best long-term results, let them air-dry on a rack or parchment for 24 hours before painting or sealing. This reduces the chance of trapped moisture causing bubbles under paint or sealer.
Paint your ornaments
Once fully dry, decorate however you like. Acrylic paint is the easiest option.
Simple painting plan
- Base coat: Paint a thin first layer, let it dry, then add a second thin layer. Thick paint can stay tacky.
- Details: Use a small brush or paint pens for dots, names, or lines.
- Let paint cure: Give painted ornaments at least a few hours, ideally overnight, before sealing.
Tip for crisp color: If your dough surface looks grainy, lightly sand with fine-grit sandpaper once fully dry, then wipe off dust before painting.

Seal them to last
Sealing matters because salt dough can absorb humidity over time. A good seal helps keep ornaments harder, cleaner, and less likely to soften or flake.
Good sealers for salt dough
- Water-based polyurethane (durable, clear finish, may amber slightly over time depending on the product)
- Acrylic craft sealer (brush-on or spray)
- Mod Podge (easy, though usually less moisture-resistant than polyurethane)
Ventilation note: If you use spray sealer or any strong-fume finish, work in a well-ventilated area and follow the label directions.
How to seal
- Make sure ornaments are fully dry and paint is cured.
- Apply a thin coat to the front and edges. Let dry.
- Flip and seal the back and edges. Let dry.
- Add a second coat for better moisture protection, especially if you live in a humid area.
Important: Seal both sides. Leaving the back unsealed can let moisture in and cause warping over time.
Add ribbon and hang
Once the sealer is completely dry, thread ribbon or twine through the hole.
- If the hole partially closed during baking, gently re-open it with a skewer or a small drill bit by hand.
- For a tidy finish, tie a knot and add a small dab of glue on the knot if needed.

Troubleshooting
My ornaments puffed up
- Oven temp may be too high. Use 200 to 250°F (95 to 120°C).
- Dough may be too wet. Next batch, hold back a bit of water and knead longer.
- Roll to an even thickness. Thick centers puff more.
They cracked in the oven
- Too hot or cooling too fast. Bake lower and let them cool gradually in the oven with the door cracked.
- Too thick. Keep most ornaments around 1/4 inch.
- Dough was too dry (often from too much flour while rolling). Next time, use less flour on the surface and knead in a few drops of water so the dough stays smooth and pliable.
They warped or curled
- Flip halfway through baking.
- Use parchment and keep shapes evenly thick.
- Seal both sides after decorating.
White crystals or salty dust showed up later
That can happen in humid conditions, especially if the ornament was not fully sealed. Wipe gently with a dry cloth, let the ornament dry out, then add another thin coat of sealer.
Storing your ornaments
To help them last year to year:
- Store completely dry ornaments in a lidded box.
- Layer with tissue paper or paper towels so paint does not stick.
- Add a small packet of silica gel if you have one, especially in humid climates.
- Avoid attics or damp basements where temperature swings can invite moisture.