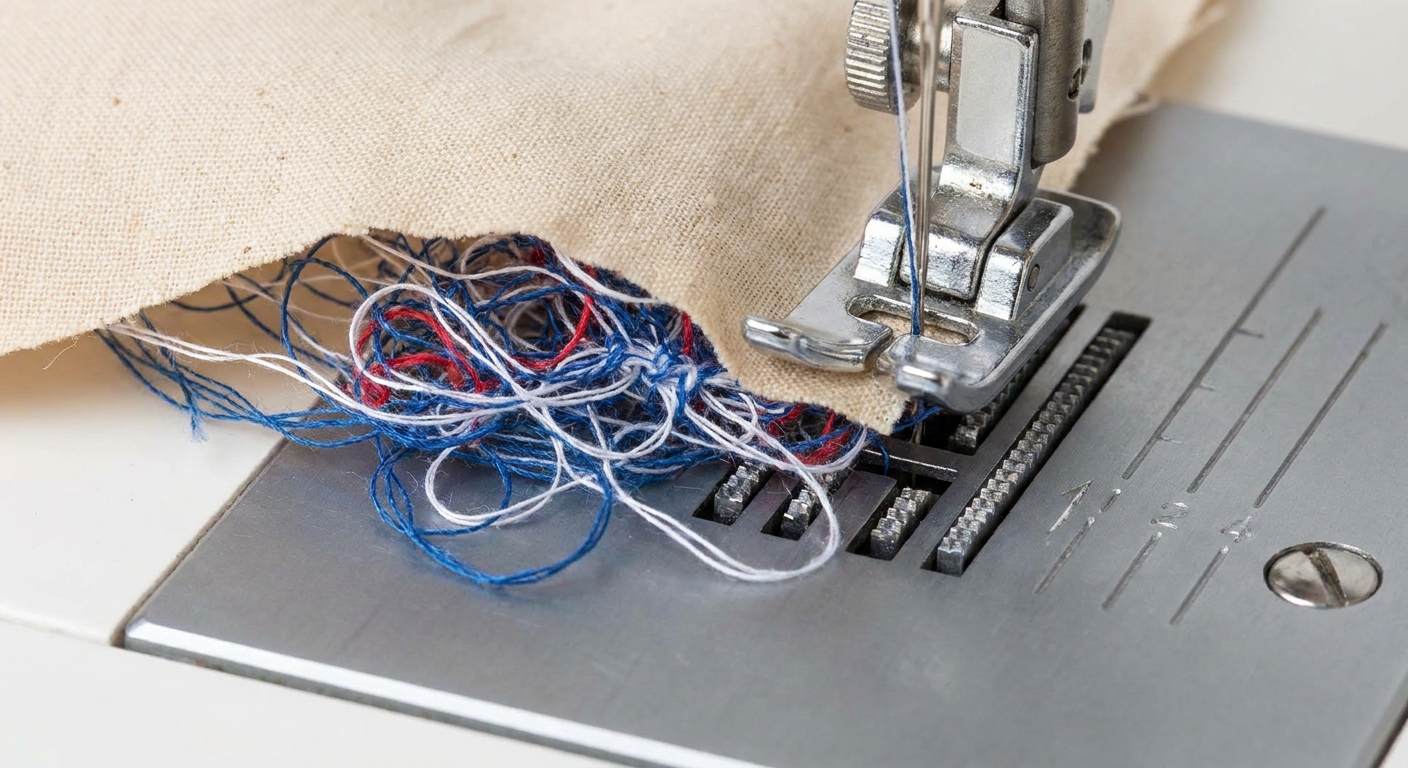
A step-by-step diagnosis guide for birdnesting underneath: upper threading path, presser foot, bobbin setup, needle basics, tension clues, and when to stop t...
Small paws. Big project plans.
If your sewing machine needle keeps breaking, it most often happens in one of two dramatic ways: the needle snaps in the fabric, or it strikes the needle plate (that metal plate under the presser foot) and breaks on impact.
The good news is that most repeat needle breaks come from a handful of fixable causes. The trick is to change one thing at a time, then sew a short test seam on scrap that matches your project fabric and layers.
Safety first (quick but important)
- Turn the machine off before you change the needle or check the needle area.
- Remove any broken pieces right away. Use tweezers if needed.
- Wear glasses if you have them. Tiny needle shards are sneaky.
Step-by-step: the usual causes
1) Wrong needle size or type
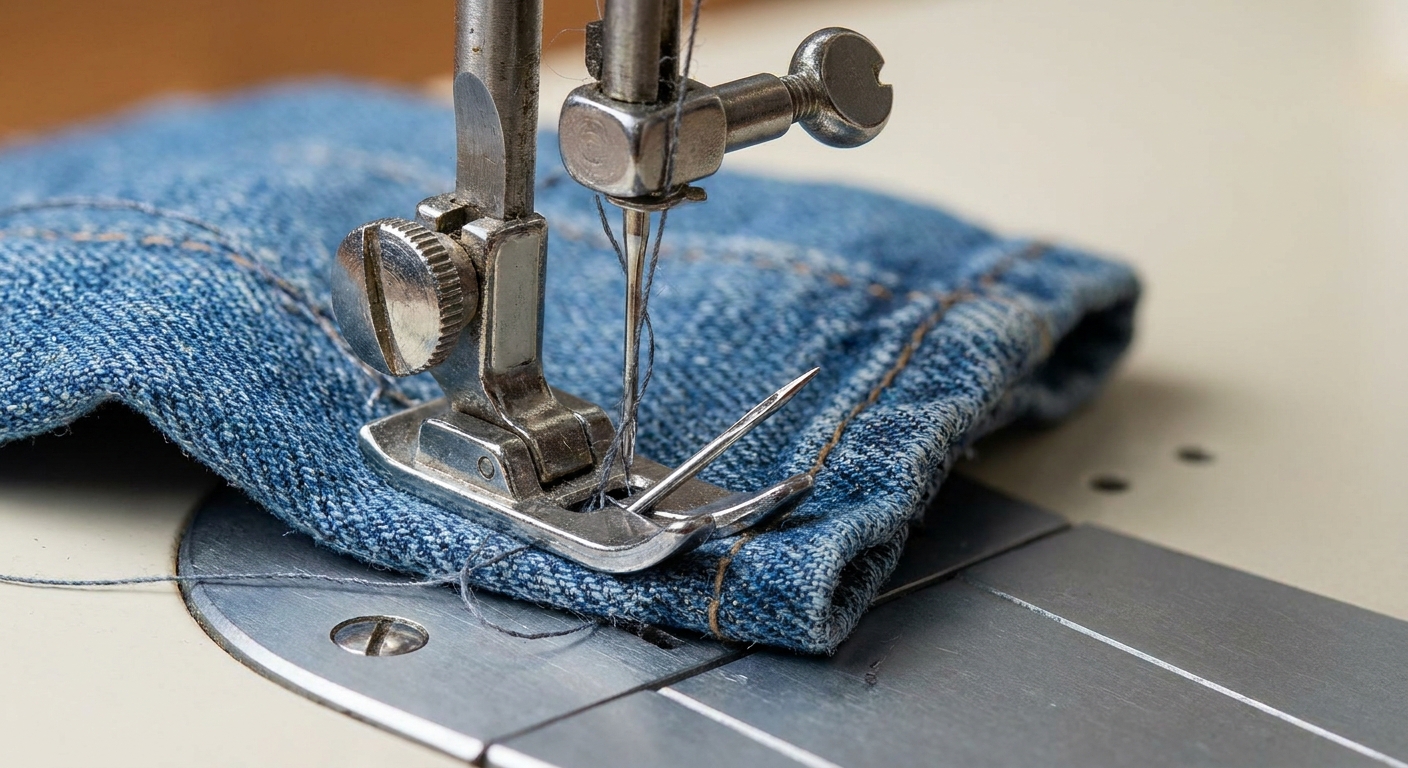
A needle that is too fine for thick layers, or the wrong point style for the fabric, is one of the most common reasons a needle snaps in the fabric. When the needle cannot pierce cleanly, it flexes and can deflect just enough to hit metal or break under stress.
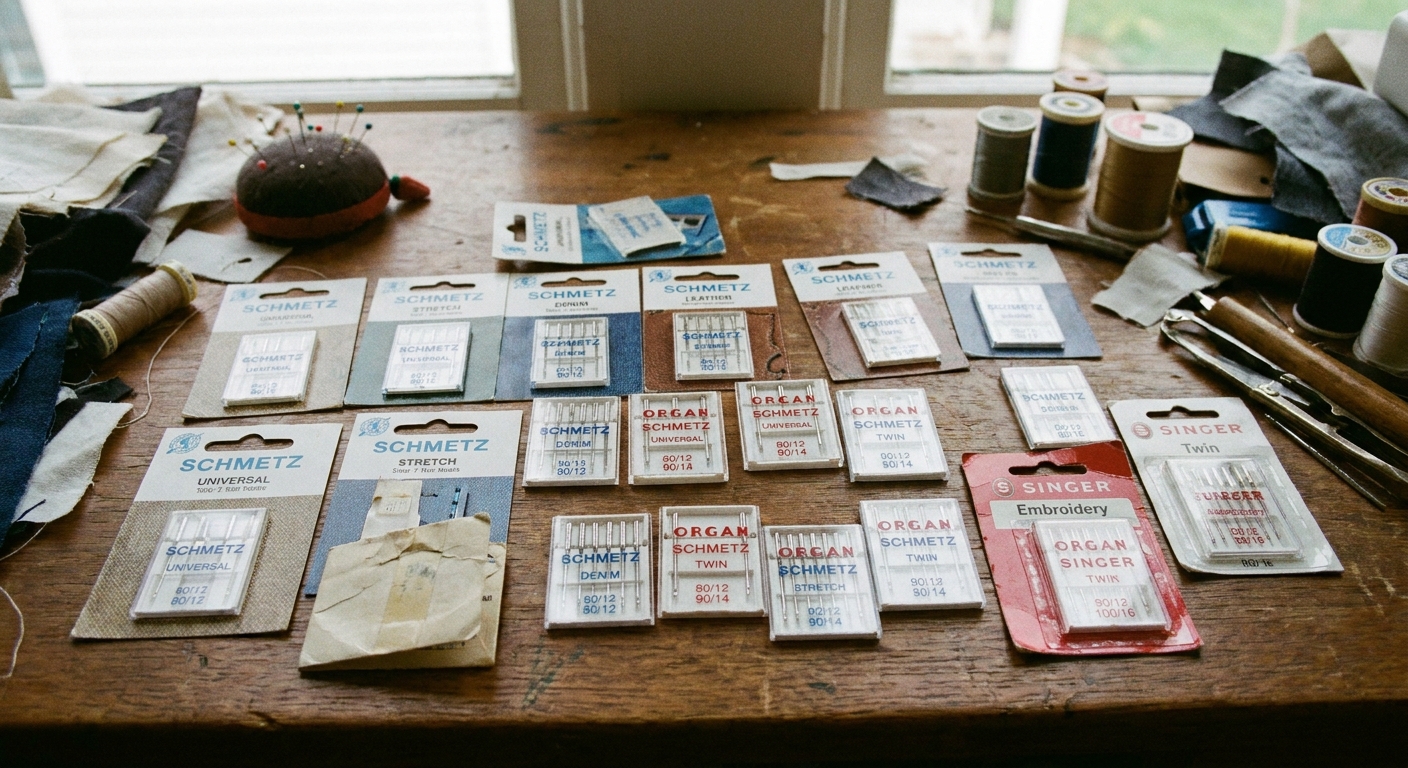
Match the needle to the fabric:
- Woven cotton, quilting cotton: Universal 80/12 is a great starting point.
- Denim, canvas, heavy twill: Denim/Jeans 90/14 or 100/16.
- Knit fabrics: Ballpoint or Stretch needle 75/11 or 80/12 (knits dislike sharp points).
- Very thick seams or many layers: Go up a size before you blame the machine.
- Leather, vinyl: Leather needle (it cuts a slit). Holes are permanent, and some faux leathers can look rough once pierced, so test on scraps first.
How to test: Stack your scrap the same way as your project (same number of layers, same interfacing, same seam allowances). Sew slowly over the thickest part. If you hear a thunk, see the needle deflect, or the needle breaks, try the next needle size up or switch to the correct needle type.
2) Bent or dull needle
A needle can be bent by pulling fabric, hitting a pin, or landing wrong after a jam. A dull needle can struggle to pierce and will push fabric down into the needle plate hole. Both issues increase stress and make breaks much more likely.
Quick check: Remove the needle and roll it on a flat surface. If it wobbles, it is bent. If you cannot remember when you last changed it, treat it as suspicious.
Fix: Replace it. Needles are meant to be swapped often, especially after a long project, thick materials, or a pin strike.
How to test: With a fresh needle installed, sew 6 to 10 inches on scrap at a medium speed. If the break was caused by a weakened needle, this alone often solves it.
3) Needle not fully seated (or installed the wrong way)
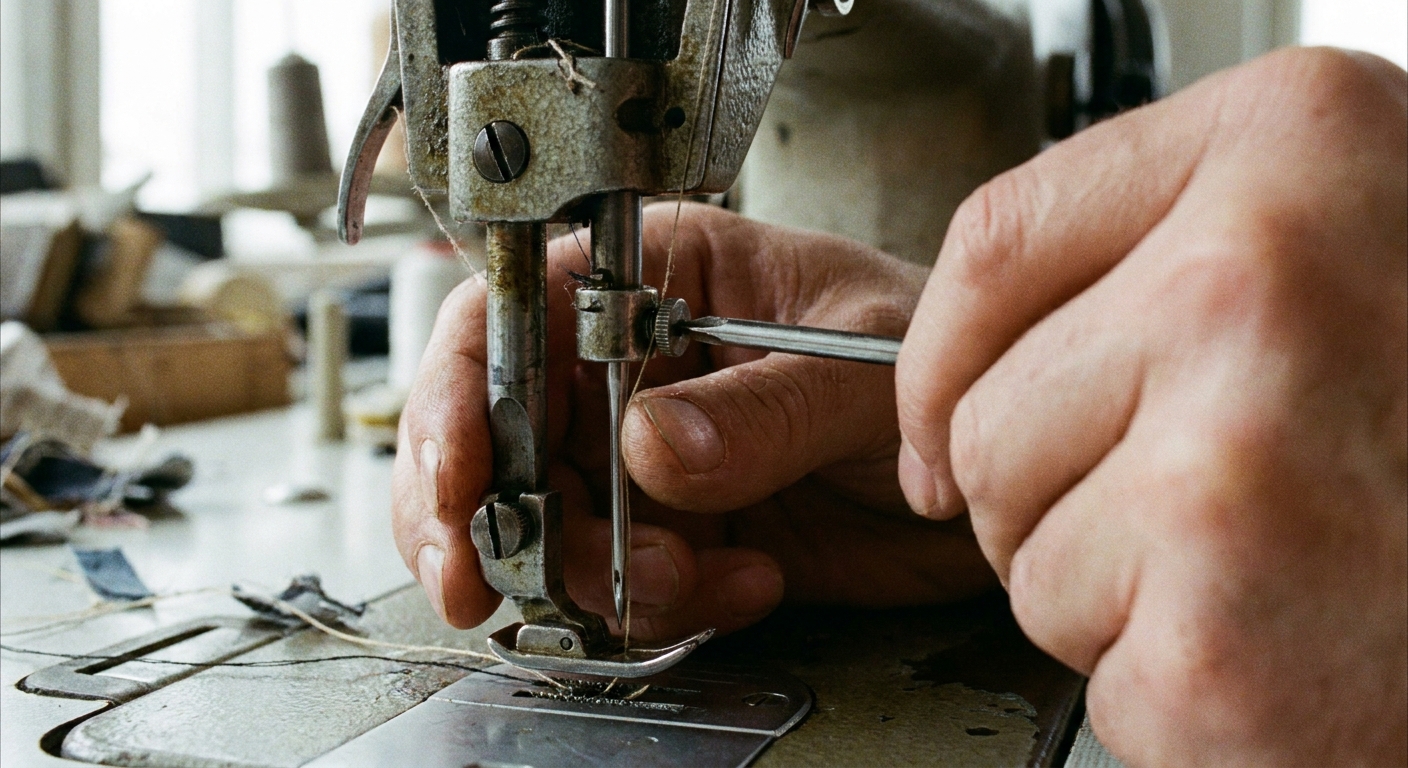
If the needle is not pushed all the way up into the needle clamp, it sits too low. That changes the geometry enough that the needle can hit the plate, the presser foot, or the hook area.
What to do:
- Loosen the needle clamp screw.
- Push the needle up as far as it will go.
- Make sure the flat side of the needle faces the direction your machine requires (often to the back, but some machines use flat side left or right). Check your manual if you are not sure.
- Tighten the clamp screw firmly.
How to test: Hand turn the handwheel in the normal sewing direction (usually toward you) for several stitches with no thread and no fabric. Watch the needle go down through the needle plate opening. It should pass cleanly without grazing metal. Then do a short sewn test on scrap.
4) Fabric is being pulled (or the seam is too bulky)
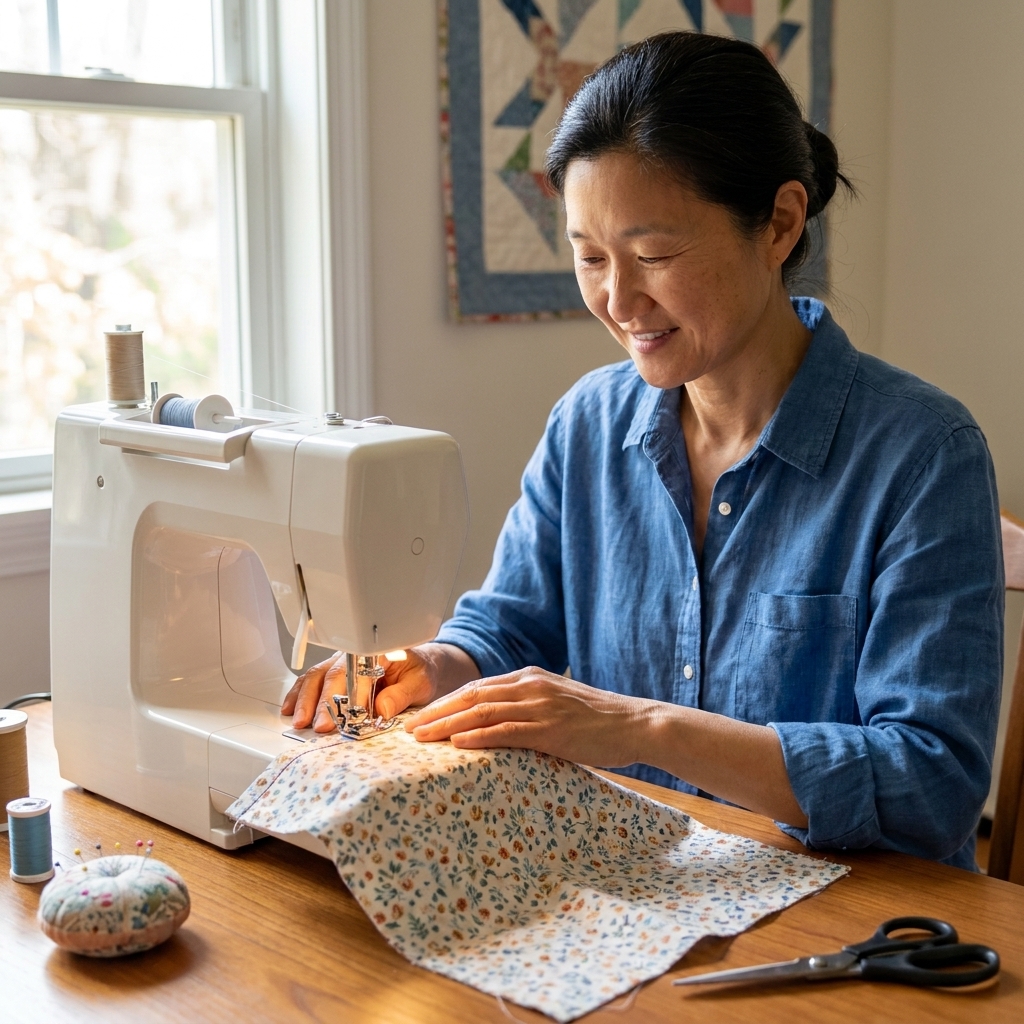
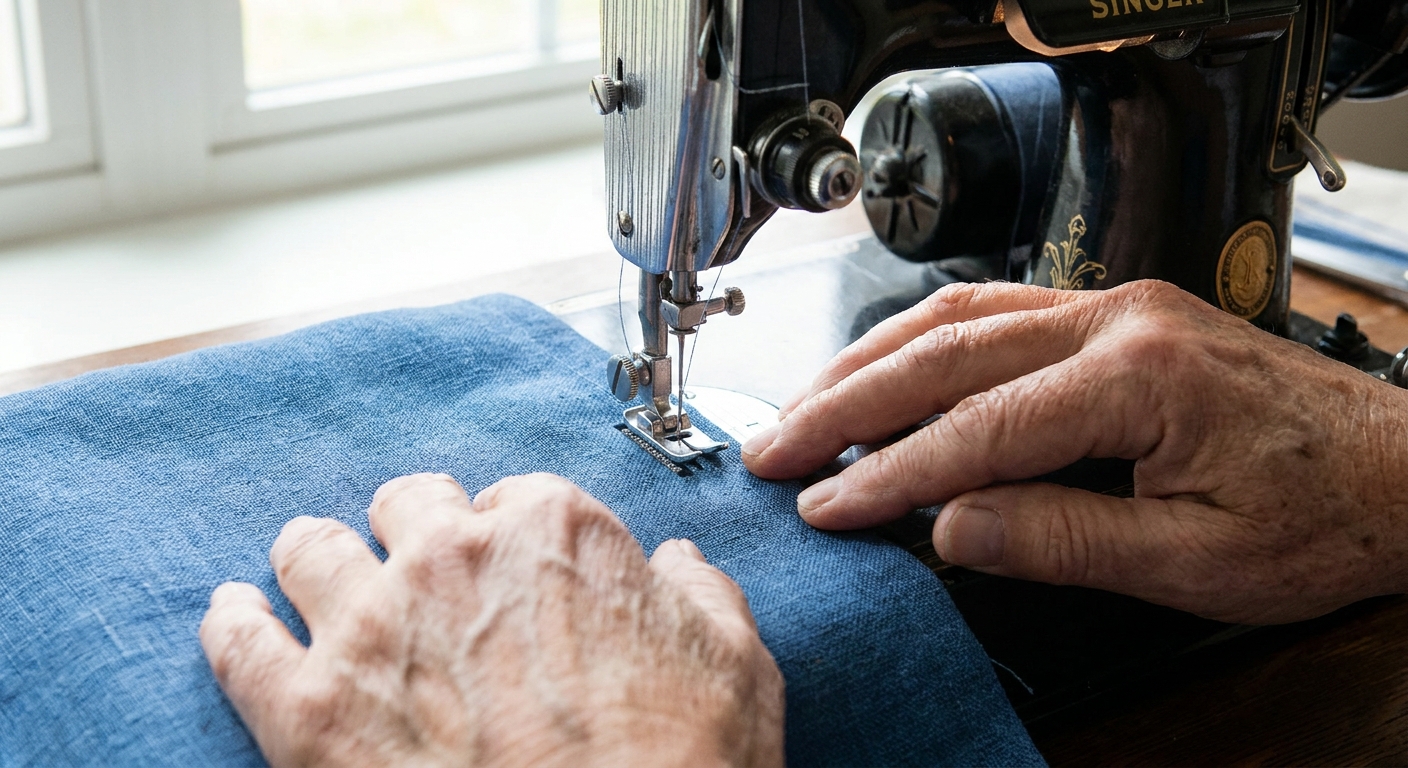
This one is classic. The feed dogs (those little grippy teeth under the plate) are designed to move your fabric. If you pull the fabric from the front or push hard from behind, you can bend the needle slightly while it is inside the fabric. That tiny bend can be enough for the needle to strike the needle plate or snap mid stitch.
Signs this is the culprit:
- Needle breaks most often when you start a seam, pivot, or cross a bulky spot.
- You feel yourself tugging to “help” the machine.
- The fabric looks like it is fighting to go under the foot.
Fix:
- Let the feed dogs do the pulling. Use your hands only to guide, not to drag.
- Reduce speed, especially over thickness.
- Use a longer stitch length for bulky seams so the needle does not punch the same area so densely.
- If the fabric is sticky or grabby (vinyl, laminated cotton), use a Teflon foot, walking foot, or tissue paper as a temporary glide layer.
- When climbing onto a thick seam, use a hump jumper or a folded scrap of fabric behind the presser foot to keep the foot level. A level foot helps the needle stay upright.
How to test: On scrap, sew slowly while keeping your hands relaxed and flat, only steering. If you notice the fabric stalls and you instinctively start tugging, pause and reset. The goal is to feel the machine feed the fabric without your help. If guiding gently stops the thunking and breaking, you found your cause.
5) Threading issues that cause jams
Sometimes the needle breaks because the machine is fighting a thread jam, not because the needle is wrong. A jam can pull the fabric oddly, lock up the stitch formation, or create a thread wad that the needle hits on the next downstroke.
Two quick fixes that prevent a lot of chaos:
- Rethread the top thread with the presser foot up. Foot up opens the tension discs so the thread can seat correctly.
- Hold your thread tails (top and bobbin) for the first few stitches so they do not get sucked down and birdnest.
How to test: After rethreading, stitch a few inches on scrap. If you were getting early birdnesting or sudden jams, this often calms things down immediately.
6) Plate, foot, and stitch setting mismatch
If your settings and hardware do not match, the needle may literally be aiming at metal.
Common gotchas:
- Straight stitch plate: A straight stitch needle plate has a small hole. If you try zigzag or a wide decorative stitch with that plate, you can break needles fast.
- Wrong presser foot: A straight stitch foot may not have enough clearance for zigzag.
- Needle position shifted: A centered straight stitch with the needle moved left or right can drive the needle into the plate or foot.
- Stitch width too wide: Even with a zigzag foot, an extra-wide setting can hit metal on some machines.
Fix: Return the needle position to center, choose the correct foot and plate for the stitch, then increase width slowly while hand turning the wheel to confirm clearance.
How to test: With the machine unthreaded, hand turn one full zigzag cycle (left swing and right swing). If you see the needle come close to the foot or plate, stop and adjust before you sew.
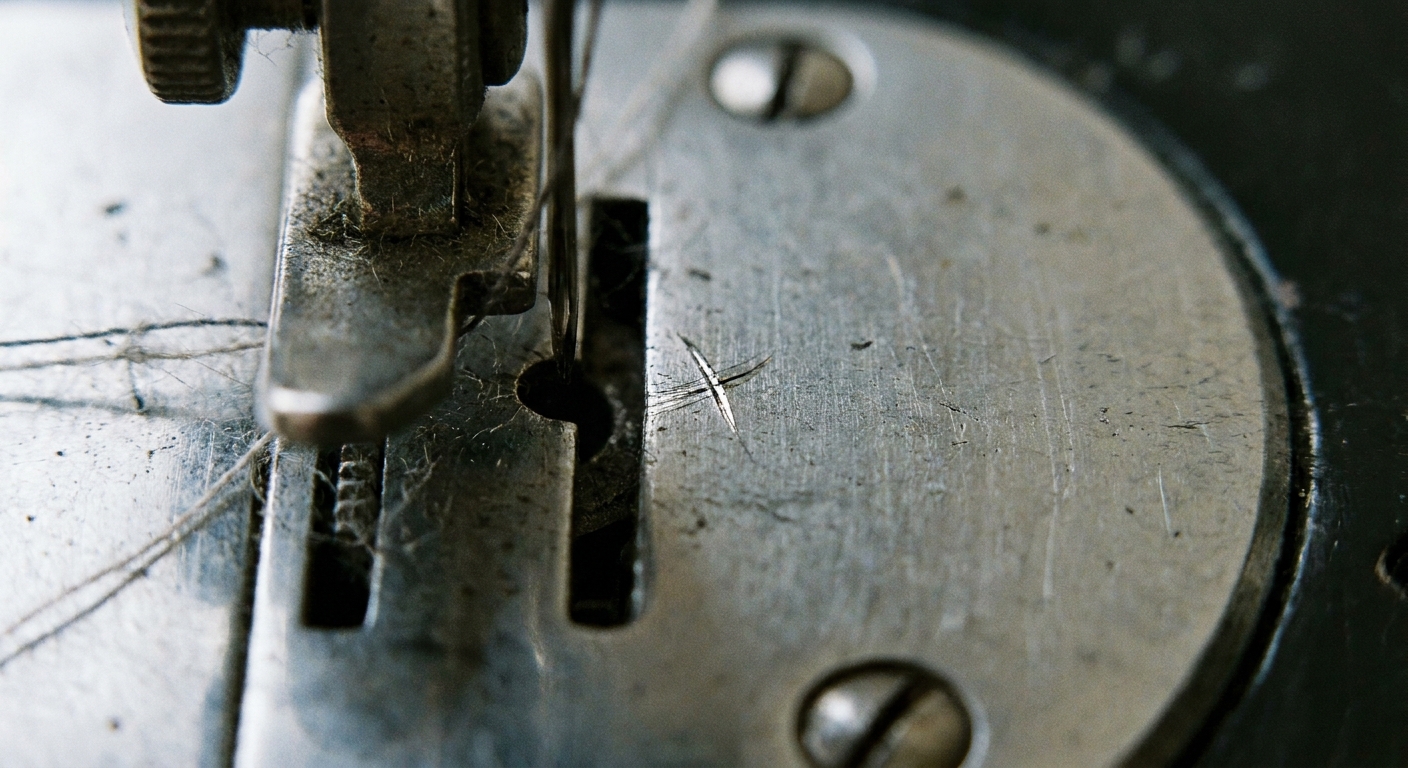
7) Obstructions: lint, tangles, burrs, or a nicked needle plate
If something is physically in the needle’s way, the needle will lose that battle.
Common blockers:
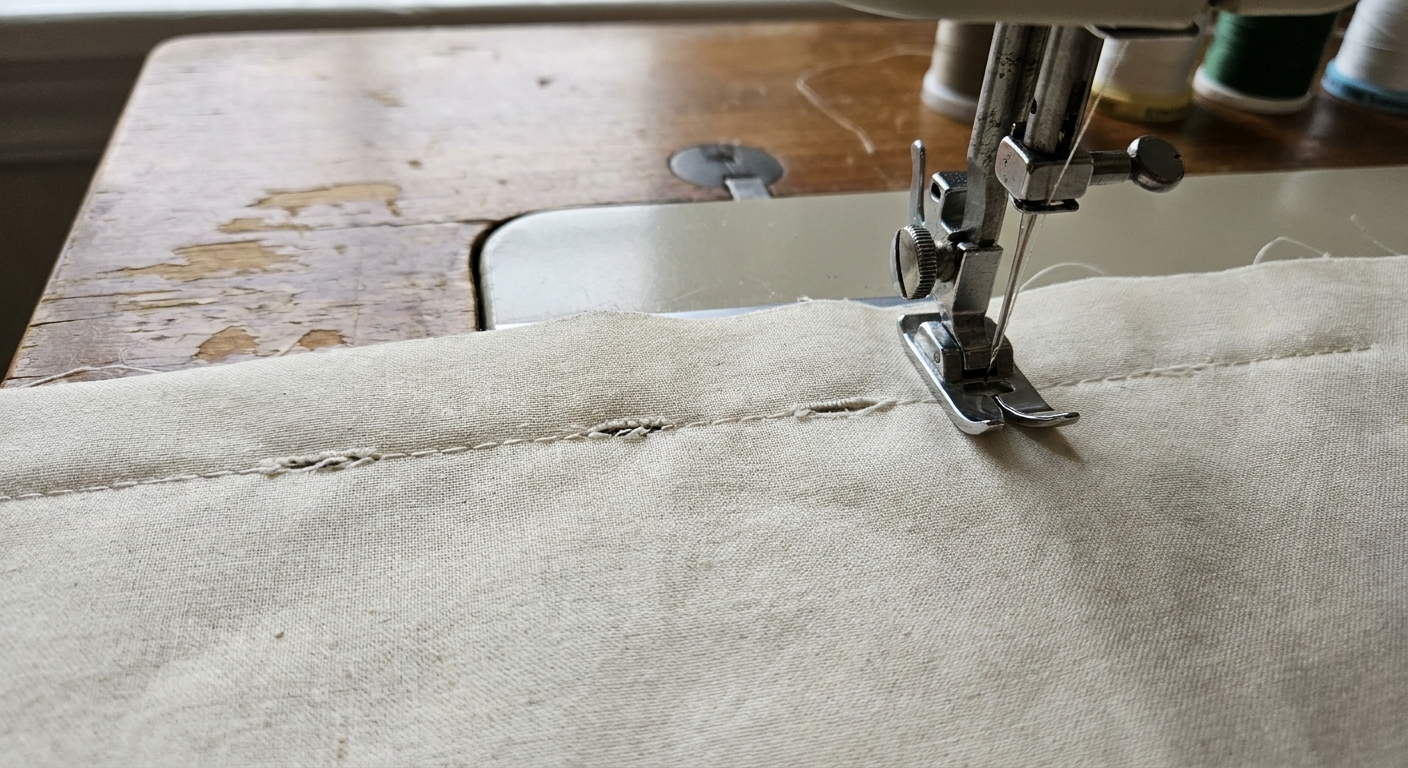
- Birdnest-like thread wad under the needle plate from a previous jam.
- Lint buildup in the bobbin area, especially with fleece and flannel.
- A nicked needle plate opening that catches the needle or deflects it.
- Presser foot contact if the foot is mounted crooked or not seated properly.
What to do:
- Remove the presser foot and needle plate (if your manual allows) and clean out lint with a small brush.
- Check that the bobbin is inserted correctly and the bobbin thread is not snagging.
- Run your fingernail around the needle plate hole. If you feel a burr or sharp nick, that edge can deflect the needle.
- Confirm your stitch selection matches your needle position and plate. Straight stitch plus a shifted needle is a classic plate-strike combo.
How to test: After cleaning, install a new needle and sew slowly on scrap. If the needle still taps metal, stop and do the handwheel test again. If you feel resistance, something is still obstructing the path.
A simple troubleshooting routine
- New needle in the correct type and size.
- Seat it fully and confirm orientation (check the manual if unsure).
- Rethread with the presser foot up and hold thread tails for the first stitches.
- Handwheel test unthreaded, then threaded, in the normal sewing direction (usually toward you).
- Confirm plate and foot match the stitch (straight stitch plate and zigzag do not mix).
- Clean under the plate if you had a recent jam.
- Sew without pulling and slow down over bulk, using a hump jumper or folded scrap to level the foot.
After each step, sew a short seam on scrap. If the break stops, you found the cause. If it continues, move to the next step.
When it might be time for a technician
If you have worked through the checklist and the needle still breaks, especially if it breaks while hand turning the wheel, the machine may have internal damage.
Get service if you notice:
- The needle hits metal even with the correct needle installed properly.
- You hear repeated clunking from the hook area.
- The machine had a severe jam and now breaks needles frequently.
- You see visible gouges inside the bobbin area.
A scarred or nicked hook (the rotating part that catches the top thread) can snag thread and pull the needle off course, or it can indicate the machine timing or alignment was knocked out during a jam. Hook issues are a job for a technician because the repair involves precise alignment and sometimes parts replacement.
Quick FAQ
Why does my needle break right when I start sewing?
Common causes are pulling the fabric, starting too fast on a thick edge, a thread jam at the start, or the needle not being fully seated. Try holding thread tails for the first few stitches, start slowly, and confirm the needle is pushed all the way up.
Why does my needle break on zigzag stitches but not straight stitch?
Usually the needle is swinging into the presser foot or plate because the foot is wrong for zigzag, the stitch width is too wide for the foot and plate opening, the needle position is shifted, or you have a straight stitch plate installed. Switch to a zigzag foot and zigzag plate (if your machine uses one), return the needle position to center, then test on scrap.
Can a cheap needle cause breaking?
Any needle can break if it is wrong for the fabric or installed incorrectly, but inconsistent quality can make problems more frequent. If you are snapping multiple needles in a row, swap to a fresh needle from a different pack and re-test on scrap.
Do I need to oil my machine to stop needle breaks?
Oiling helps some machines run smoothly, but it is not the first fix for needle breaks. Focus on needle choice, correct installation, correct plate and foot, and clearing obstructions. If your manual specifies oiling points, follow the manual exactly.
A tiny Thimble reminder
If you fix just one thing today, make it this: change the needle and seat it all the way up. Those two steps solve a surprising number of snap-happy needle mysteries.
Once your machine is stitching smoothly on scrap, go back to your project and sew a little slower than you think you need to, especially over thick spots. Your needle will thank you, and your seams will look calmer too.