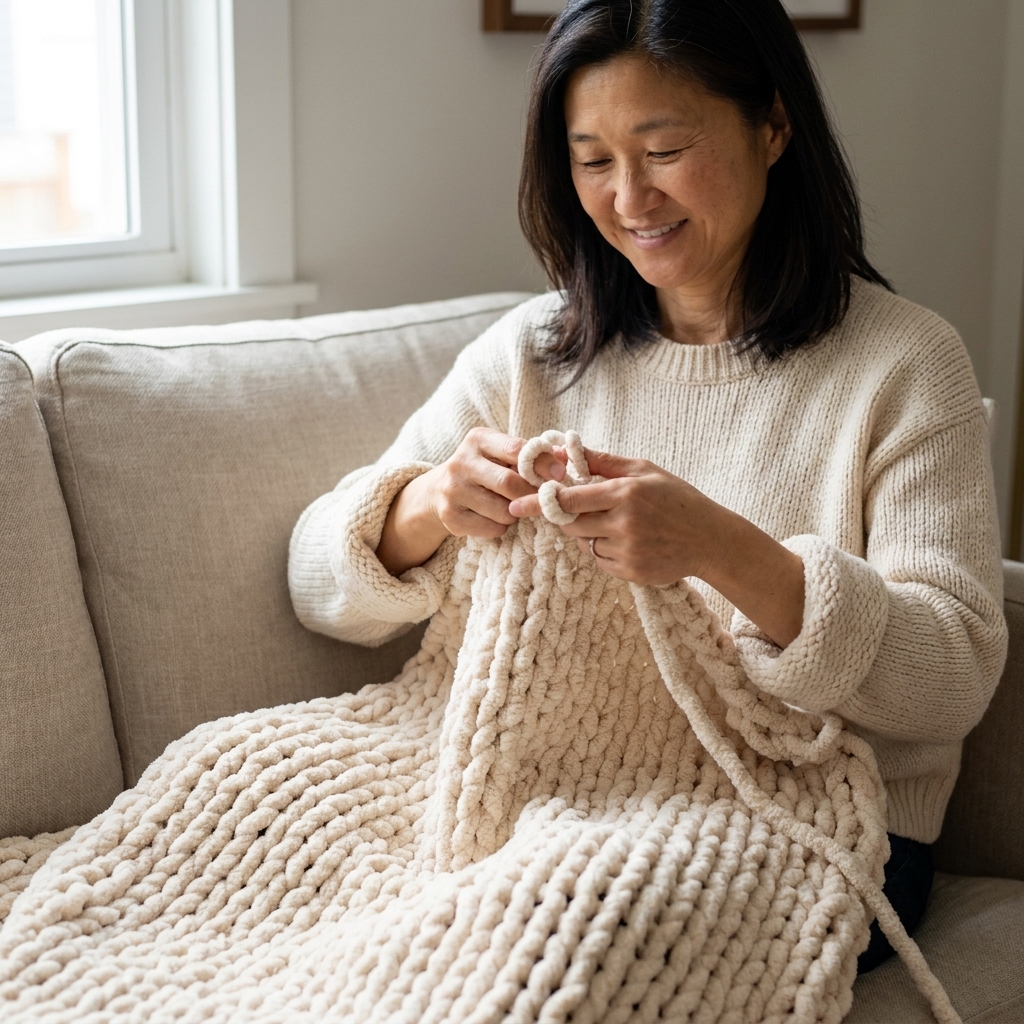
A beginner-friendly tutorial for making a plush chunky knit blanket using arm knitting and oversized chenille yarn, no needles required.
Small paws. Big project plans.
If you want a blanket you can finish in one afternoon with no sewing machine, a fleece tie blanket is my favorite kind of magic trick. It is just two cozy fleece rectangles, lined up neatly, then tied together all the way around with knotted fringe. You end up with a warm throw that looks finished, feels plush, and survives real life on the couch.

What you will need
- Fleece: 2 pieces, same size (anti-pill or blizzard fleece both work well)
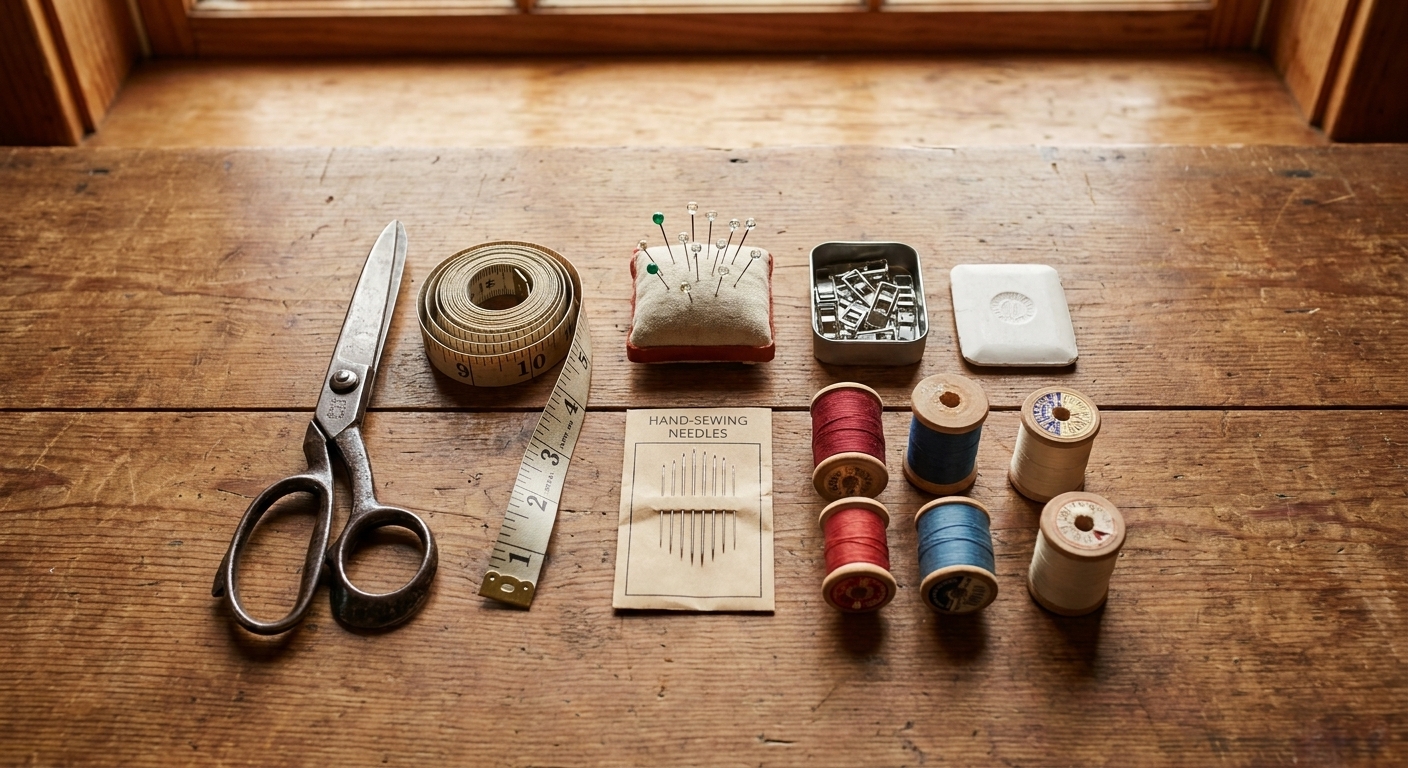
- Sharp fabric scissors (fleece likes a clean cut)
- Measuring tape or ruler
- Washable marker or chalk (optional, for marking cut lines)
- Clips or binder clips (optional, to keep layers from shifting)
- Large flat surface like a table or clean floor space
Tip from a tiny mouse who loves tidy edges: Dull scissors make wavy fringe, and wavy fringe makes uneven knots. If you only upgrade one thing, upgrade your scissors.
How much fleece to buy
Fleece is often about 58 to 60 inches wide, but it varies by retailer and product line. If you want your sizing to be exact, check the bolt label or product description for the width.
For a simple lap throw, you can use the fabric width as one dimension and choose the length based on how snuggly you want it.
- Lap throw: 1.5 yards of fleece for each layer (two cuts total). This typically gives you about 58 to 60 x 54 inches before fringe.
- Extra-long lap throw: 2 yards per layer for more coverage.
- Kid blanket: 1 to 1.25 yards per layer is often plenty.
Keep in mind: The fringe uses up fabric on all sides. If you cut 4-inch fringe, your finished blanket size will be about 8 inches smaller in both directions than your starting rectangles (4 inches lost on the left plus 4 on the right, and the same top to bottom). If you tie your knots very tight, it can look a touch smaller still.
Quick formula: finished size = starting size − (2 × fringe length)
Example: Start with 60 x 54 inches and use 4-inch fringe. Your finished blanket will be about 52 x 46 inches (before any “extra” snugging from the knots).
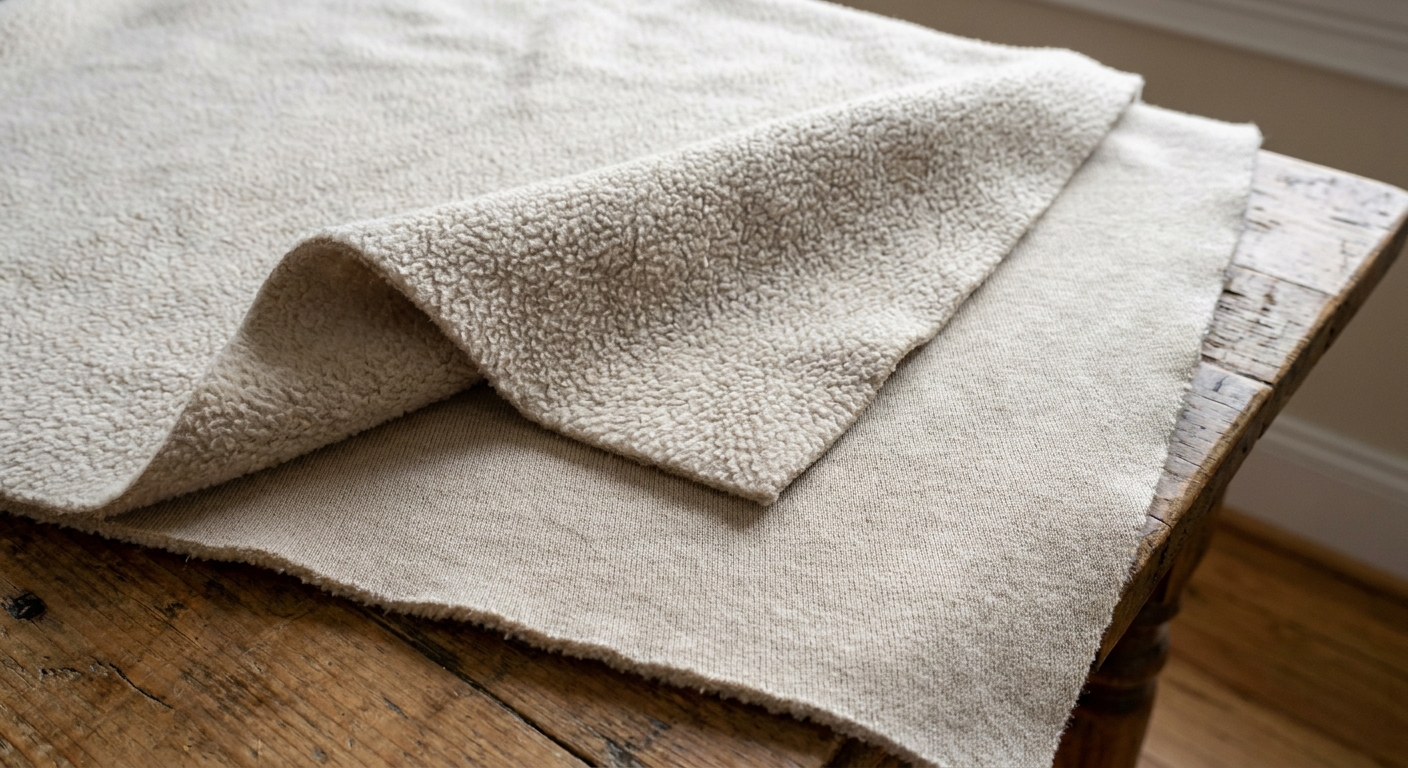
Which side faces out?
Fleece is wonderfully forgiving because it usually looks similar on both sides. If you rub each side with your hand, you will often notice a more fluffy side and a less fluffy side.
- Fluffy sides out: Put the fluffy sides facing away from each other so the outside feels extra soft. This is the most common choice.
- Fluffy sides in: Put the fluffy sides together if you prefer the other side showing on the outside, or if one print looks sharper from a particular side.
Do not worry about “right side” and “wrong side” rules. The only real rule is: pick the two sides you want to see and touch, then keep that orientation consistent before you start cutting fringe.
Step-by-step tie blanket
1) Pre-wash if it will be washed often
Fleece does not fray, but it can shrink a little depending on the type and how it is dried. If this blanket is headed for a kid, a dorm, or a frequently washed couch situation, consider pre-washing and drying both fleece pieces the way you will launder the finished blanket.
2) Square up the layers
Lay one fleece piece flat, smoothing it gently. Stack the second piece on top and match the edges as closely as you can.
- If the edges do not match perfectly, trim so both rectangles are identical.
- If your fleece wants to scoot around, add a few clips along the edges.
Why this matters: If the layers are off by even a little, your fringe lengths will vary, and the knots will look uneven around the blanket.
3) Cut out the corner squares
Decide your fringe length first. A classic tie blanket fringe is 4 inches long, and you remove a 4 x 4 inch square from each corner (cutting through both layers at once).
- Standard fringe: 4-inch fringe with 4-inch corner squares
- Extra chunky look: 5-inch fringe with 5-inch corner squares
Cutting the corners out first makes it easy to turn the corner cleanly with your fringe cuts.
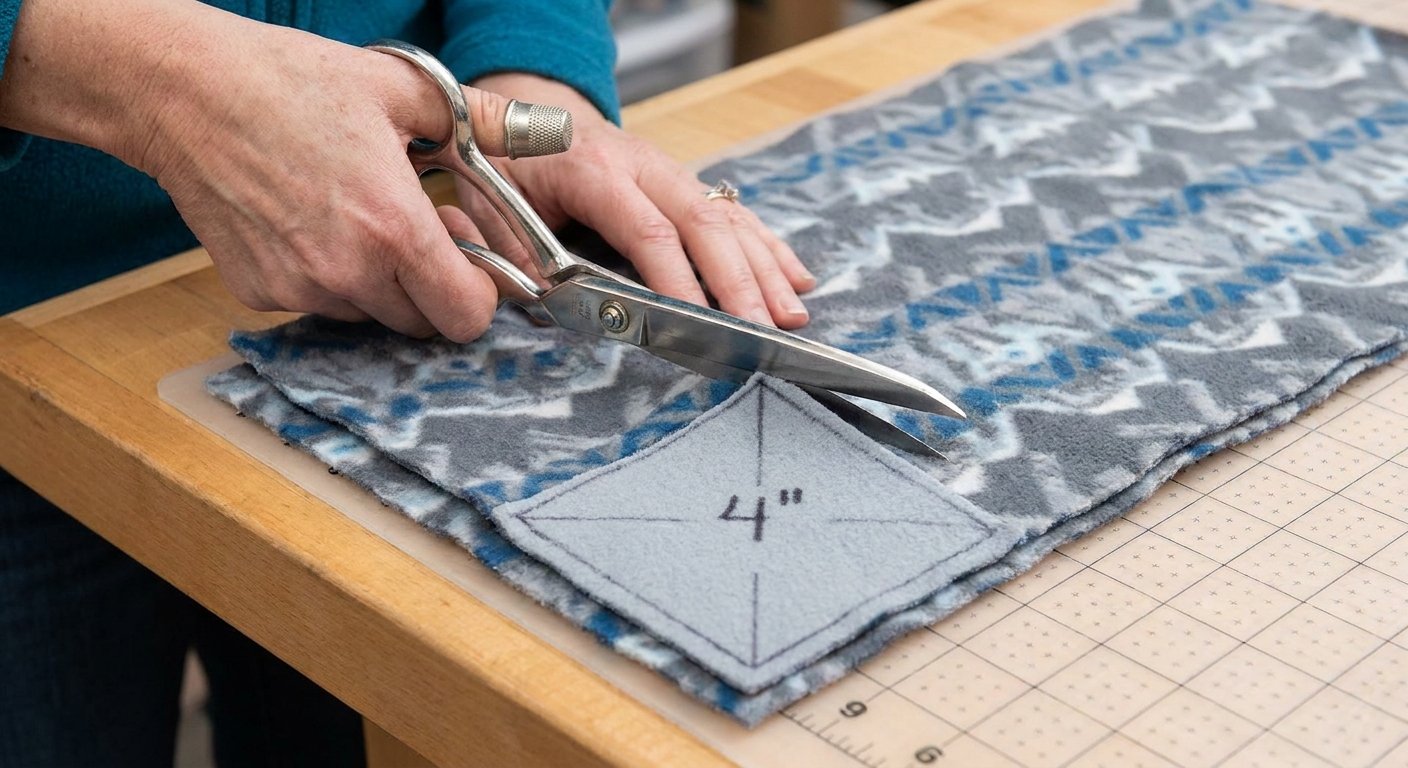
4) Cut the fringe all the way around
Now cut strips into the edge on all sides, stopping at the inner edge of the corner cut-out.
For perfectly matched fringe: Cut through both layers at once. Your knots will line up more neatly, and your edge will look more even.
Fringe width that holds: Aim for strips that are 1 inch wide. This is the sweet spot for knots that stay tied without making the edge bulky.
- Too narrow: under 3/4 inch can stretch and look skinny after washing
- Too wide: over 1.25 inches makes big knots that can feel lumpy
If measuring every strip makes you sigh, you can cut a little 1-inch cardboard guide and use it as a quick spacer.
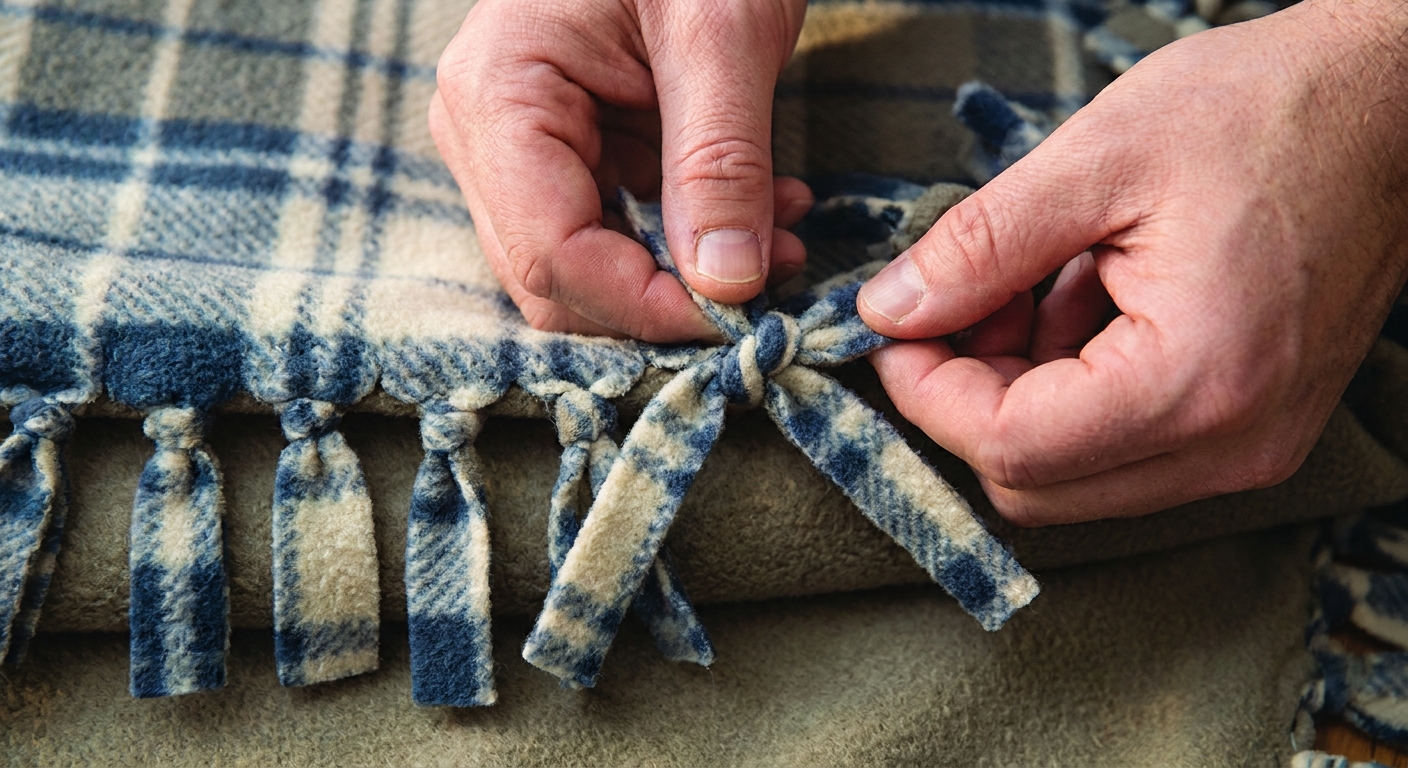
5) Tie the blanket
Each fringe “pair” is one strip from the top layer and the matching strip from the bottom layer. Tie those two strips together.
Easy, tidy option: Start by tying every other strip first (skip one, tie one, skip one). Then go back and tie the strips you skipped.
- This helps the edge lie flatter because you are not pulling the fabric tight in one direction as you go.
- It also keeps your layers aligned as you work your way around.
One more tiny-paw neatness trick: Pick a knot direction (the same loop over the top every time) and stick with it. Consistency makes the fringe look calmer and more “on purpose.”
6) Choose your knot
Both of these are beginner-friendly.
- Standard knot (quick): Tie each pair with a simple overhand knot and snug it up firmly.
- Tighter knot for washable blankets: Tie the overhand knot, then tie a second overhand knot right on top of it in the same spot (a double knot). Pull firmly, but do not yank so hard that the fleece curls.
My tiny-paw tip: Try to make each knot land about the same distance from the blanket edge. Consistent knot placement is what makes the fringe look “store-bought neat.”
Quick sizing guide
- Fringe length: 4 inches (easy to tie, classic look)
- Fringe width: about 1 inch (knots hold well)
- Corner cut-out: same as fringe length (4 x 4 inches if fringe is 4 inches)
- Finished size change: finished blanket is about 2x the fringe length smaller in both directions
Common questions
Why is my edge ruffling or curling?
This usually happens when the knots are pulled very tight in a row, or when fringe widths vary a lot. Try the method of tying every other strip first, then filling in the skipped ones. Also check that your strips are roughly the same width.
Can I use two different fleece types?
You can, but it is easiest when both layers stretch about the same amount. If one layer is much stretchier, it can ripple as you tie. If you are mixing, take extra care squaring the layers and use clips.
How long does this take?
For a lap throw size, plan on 1 to 2 hours depending on how fast you cut fringe and tie knots, and whether you are measuring and marking each strip. It is a very friendly project to do while watching a movie.
Do I need to hem fleece?
Nope. Fleece does not fray, which is why this project works so well without sewing.
Make it extra cute
- Rounded corners: Instead of a square corner cut-out, gently round the outer corner after you cut the square. The knots can look a bit softer and less boxy.
- Longer fringe: Stick with 1 inch wide, but go longer like 5 inches for extra swish.
- Reversible look: Use two different prints or a print plus a solid so it feels like two blankets in one.
Care tips
For most fleece tie blankets, gentle washing keeps the knots looking neat.
- Wash: cold or warm, gentle cycle if possible
- Dry: low heat or air dry to reduce pilling
- Best knot choice for frequent washing: double knot each pair
Safety note
Tied fringe is cozy, but it can be tempting for little hands and curious pets. If you are making this for a very young child or a chewer, consider shorter fringe and always supervise use.