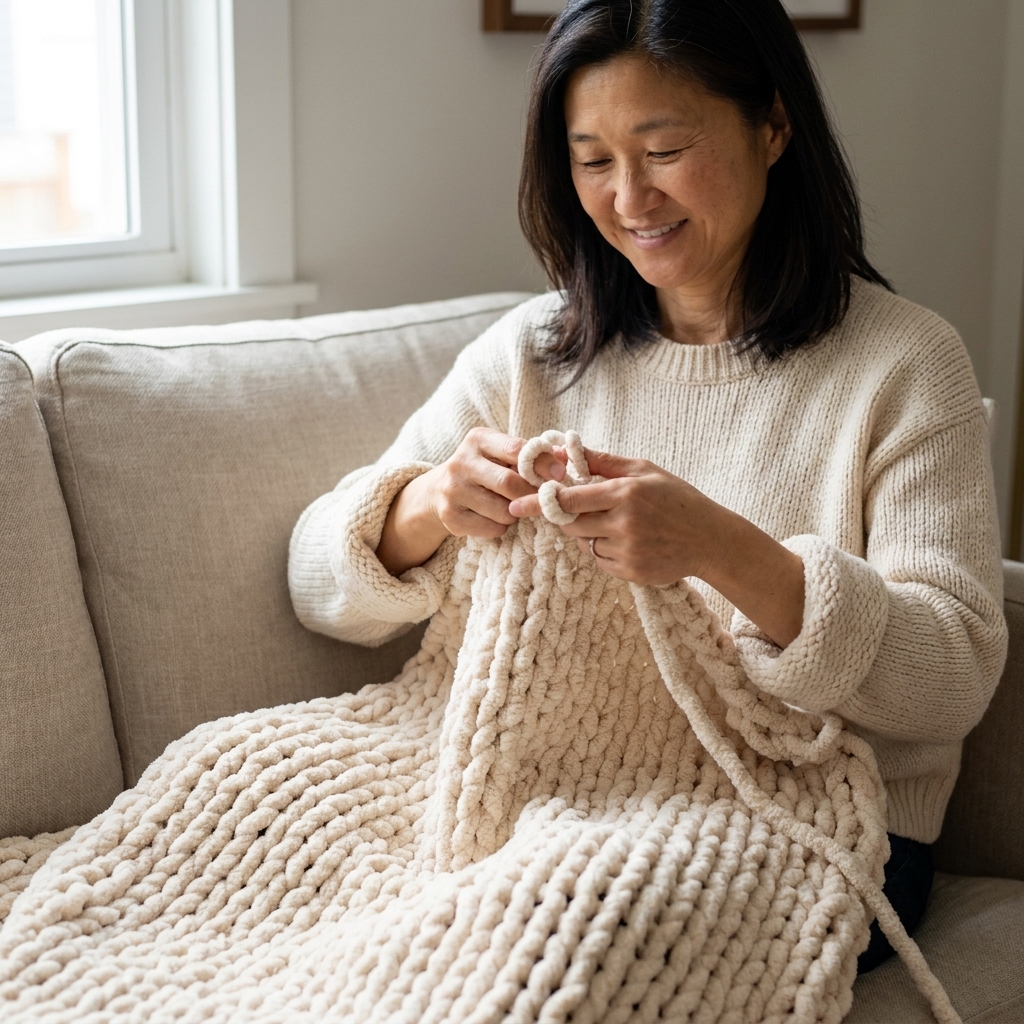
A beginner-friendly tutorial for making a plush chunky knit blanket using arm knitting and oversized chenille yarn, no needles required.
Small paws. Big project plans.
If you have ever wanted to knit something that looks like knitting, feels cozy, and does not require a pile of new skills, a garter stitch scarf is the perfect first finish. Garter stitch means you knit every row. That is it. No purling required, no fancy charts, and no mystery shaping.
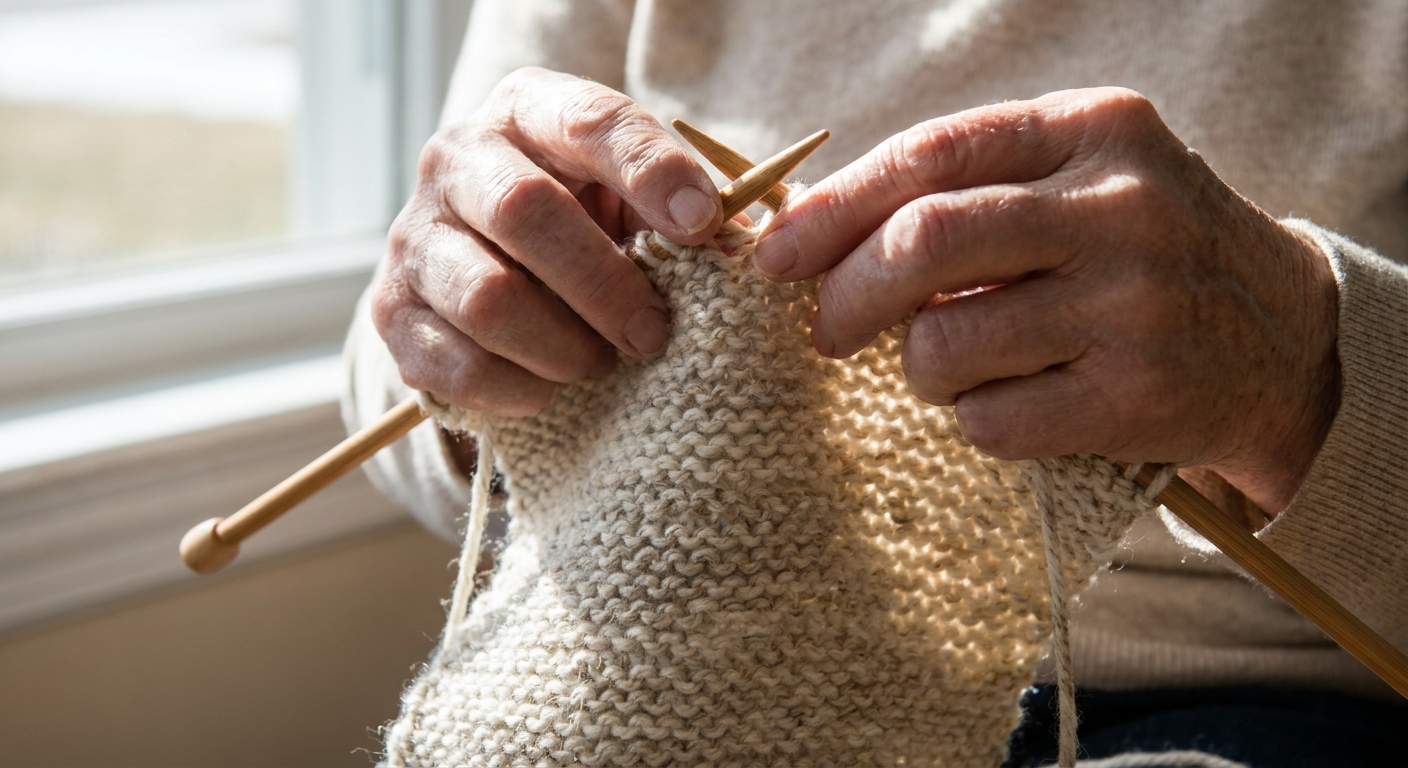
Below, I will walk you through the whole scarf from yarn pick to bind-off, including how to rescue a dropped stitch so your scarf does not become a stress project.
What you need
Yarn: go medium and smooth
For a first scarf, choose a smooth, medium-weight yarn so you can see your stitches clearly. On most labels this is worsted or aran weight (often marked as a #4 medium).
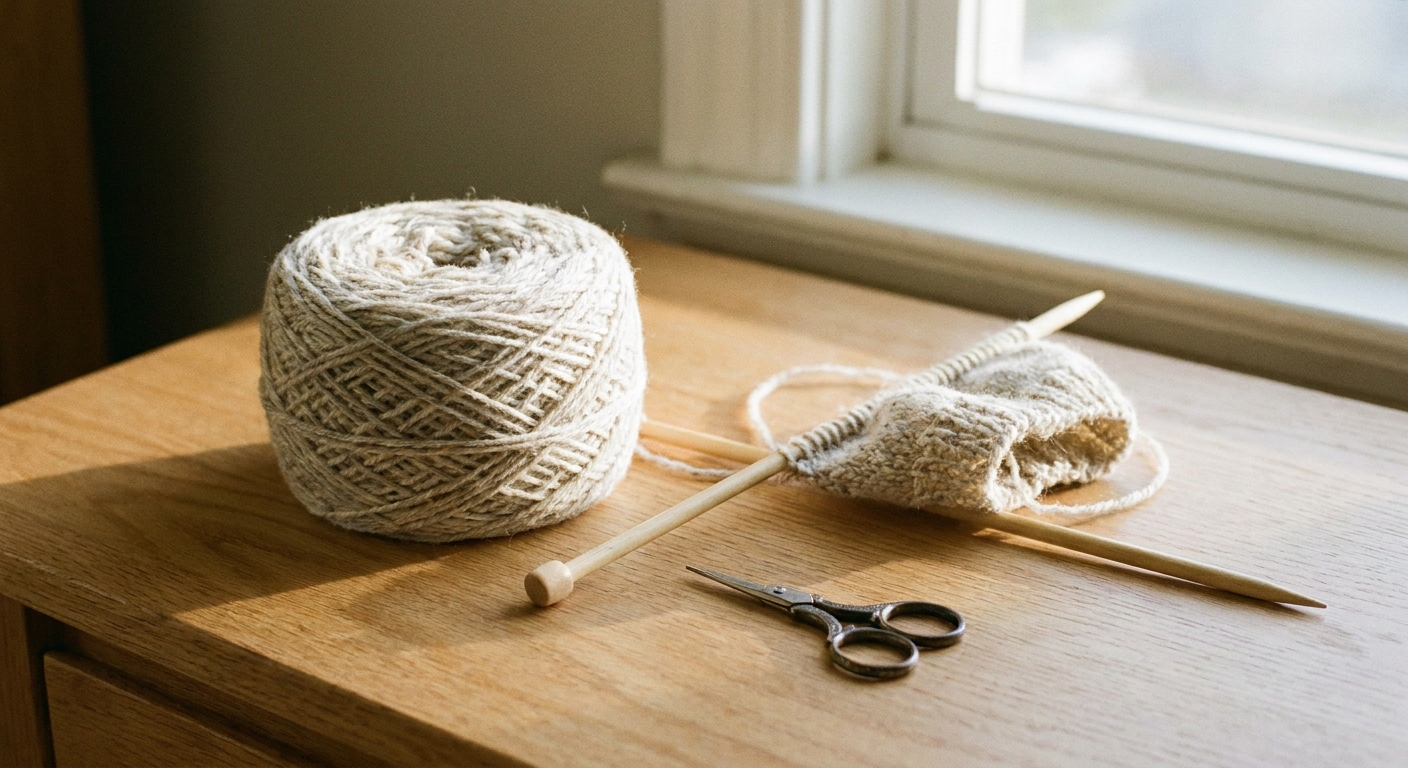
- Amount: 200 to 300 g total, or roughly 350 to 500 yards depending on the yarn. If you want an extra-long wrap scarf, buy an extra skein.
- Fiber tips: Acrylic or wool blends are forgiving and easy to care for. Very fuzzy yarns look dreamy but hide mistakes, which makes learning harder.
Needles: match the yarn, then go a touch bigger if you want drape
Check your yarn label for a recommended needle size. A common pairing for worsted yarn is US 8 (5 mm). If you want a looser, drapier scarf, you can size up to US 9 (5.5 mm).
- Tools: Straight knitting needles in a comfortable length for you (10 to 14 inches is common).
- Helpful extras: Scissors, a tapestry needle for weaving in ends, and one stitch marker or safety pin (optional but handy for tracking the right side).
Quick skill map
- Long-tail cast-on
- Knit stitch (every row)
- How to hold yarn
- Fix a dropped stitch on the current row
- Standard bind-off
Pick a wearable size
Width: do the wrist-to-wrist check
A scarf should feel good when wrapped and not turn into a rope. A simple way to check width without math is a wrist-to-wrist check:
- Hold your work up and spread your hands like you are about to hug someone.
- A classic scarf width usually looks right when the fabric is around half to two-thirds of your wrist-to-wrist span.
- If you prefer a slimmer scarf, go closer to one-third of your span.
Starting stitch count
For worsted yarn on US 8 to US 9 straight needles, start with:
- 30 stitches for a slimmer scarf
- 36 stitches for a classic everyday width
- 42 stitches for a wide, cozy wrap style
Thimble note: Your yarn and your tension decide the final width. The stitch counts above are a friendly starting point, then we let the wrist-to-wrist check be the judge.
Long-tail cast-on
Long-tail cast-on makes a neat edge and is comfortable to knit into. The only tricky part is leaving a long enough tail.
Step 1: Measure your tail
A good rule: wrap the yarn around your needle about 25 to 30 times for a 30 to 36 stitch cast-on. If you are casting on 42 stitches, wrap closer to 35 to 40 times. Add a little extra for comfort, then pinch that point and make your slipknot there.
Step 2: Make a slipknot
Make a slipknot and place it on your needle. This counts as your first stitch.
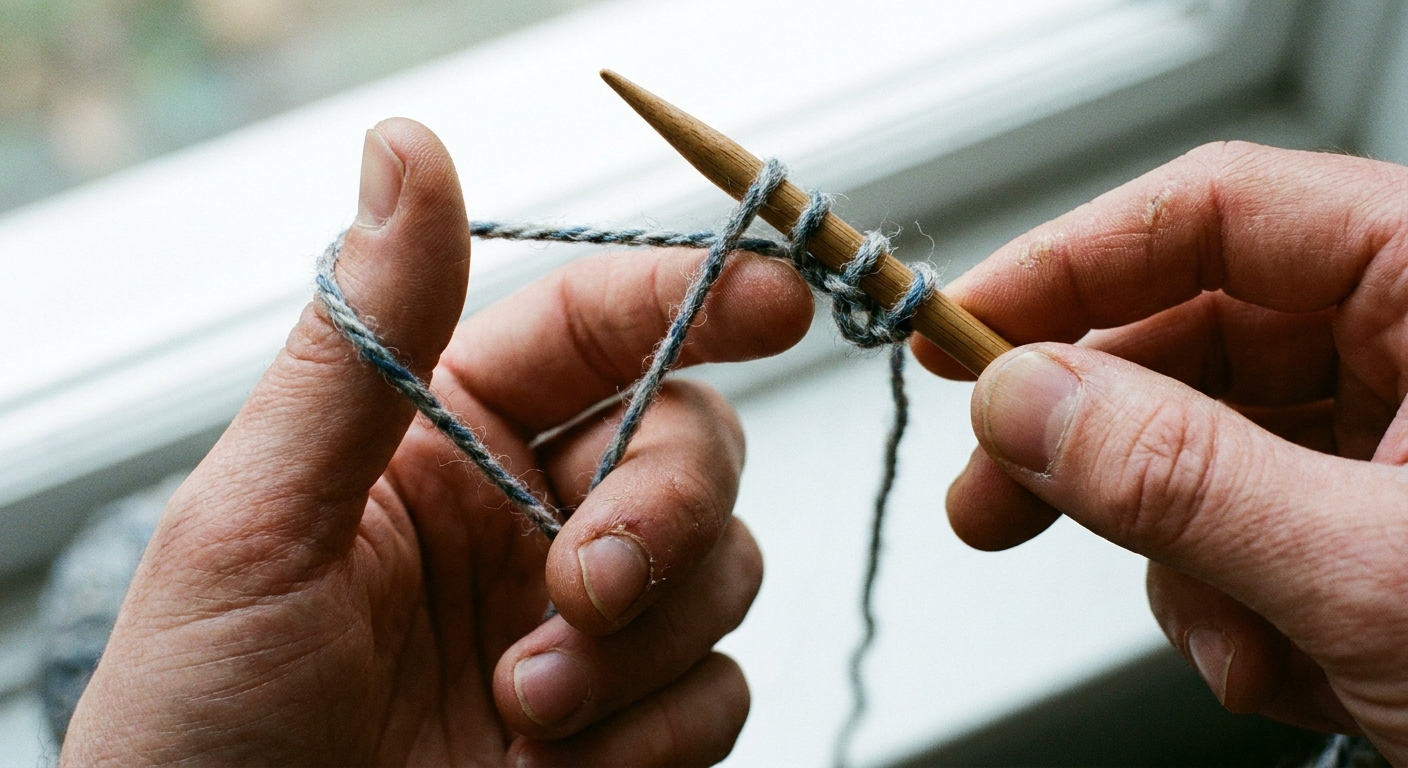
Step 3: Set up your hands
Hold the needle in your right hand. With your left hand, place the tail over your thumb and the working yarn (attached to the ball) over your index finger. The strands form a slingshot shape.
Step 4: Cast on stitches
- Dip the needle tip down through the loop on your thumb (from front to back).
- Bring the needle over to catch the strand on your index finger.
- Pull that strand back through the thumb loop.
- Drop the thumb loop off your thumb and tighten gently by pulling both strands.
Repeat until you have your chosen stitch count. Do not crank the stitches tight. You want them to slide along the needle without wrestling.
If you run out of tail
It happens. If you are only a few stitches short, it is usually faster and neater to start over with a longer tail than to try to patch it.
Hold the yarn
There is no single correct hold. Choose the one that feels steady in your paws and keeps the yarn under gentle tension.
Option A: Throwing
Hold the working yarn in your right hand. You wrap the yarn around the needle tip with your right hand each stitch. Many beginners find this easiest to understand.
Option B: Picking
Hold the working yarn in your left hand. The right needle tip scoops or picks the yarn. This can feel faster once it clicks.
Tension tip: If your stitches are so tight the needle squeaks, relax your grip and let the needles do the work. If your stitches are huge and loopy, wrap the yarn the same way each time and keep a light, consistent tension.
Knit every row
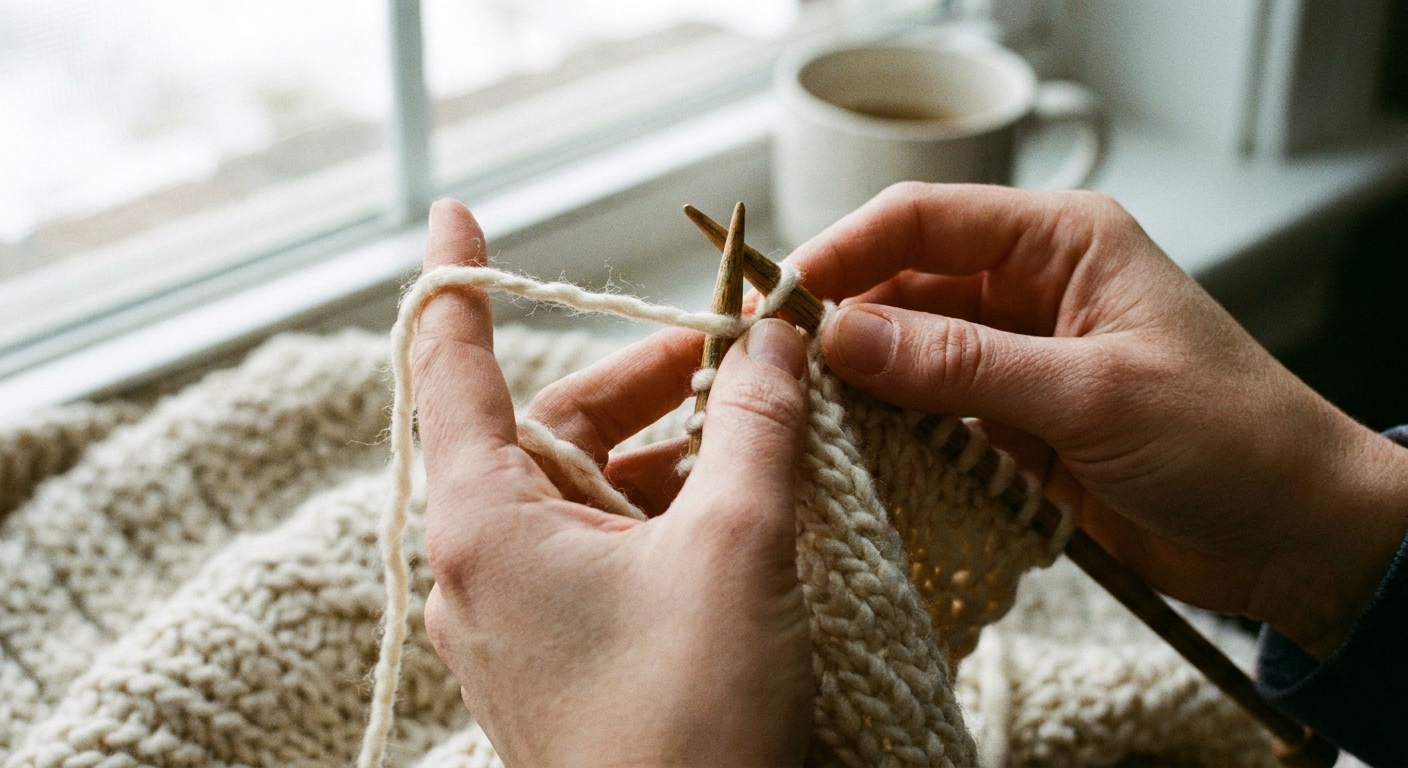
Row 1 (and every row): knit across
- Hold the needle with the cast-on stitches in your left hand.
- Insert the right needle tip into the first stitch from left to right (front of stitch) so the needles form an X.
- Wrap the working yarn around the right needle (or pick it, depending on your style).
- Pull the new loop through.
- Slide the old stitch off the left needle.
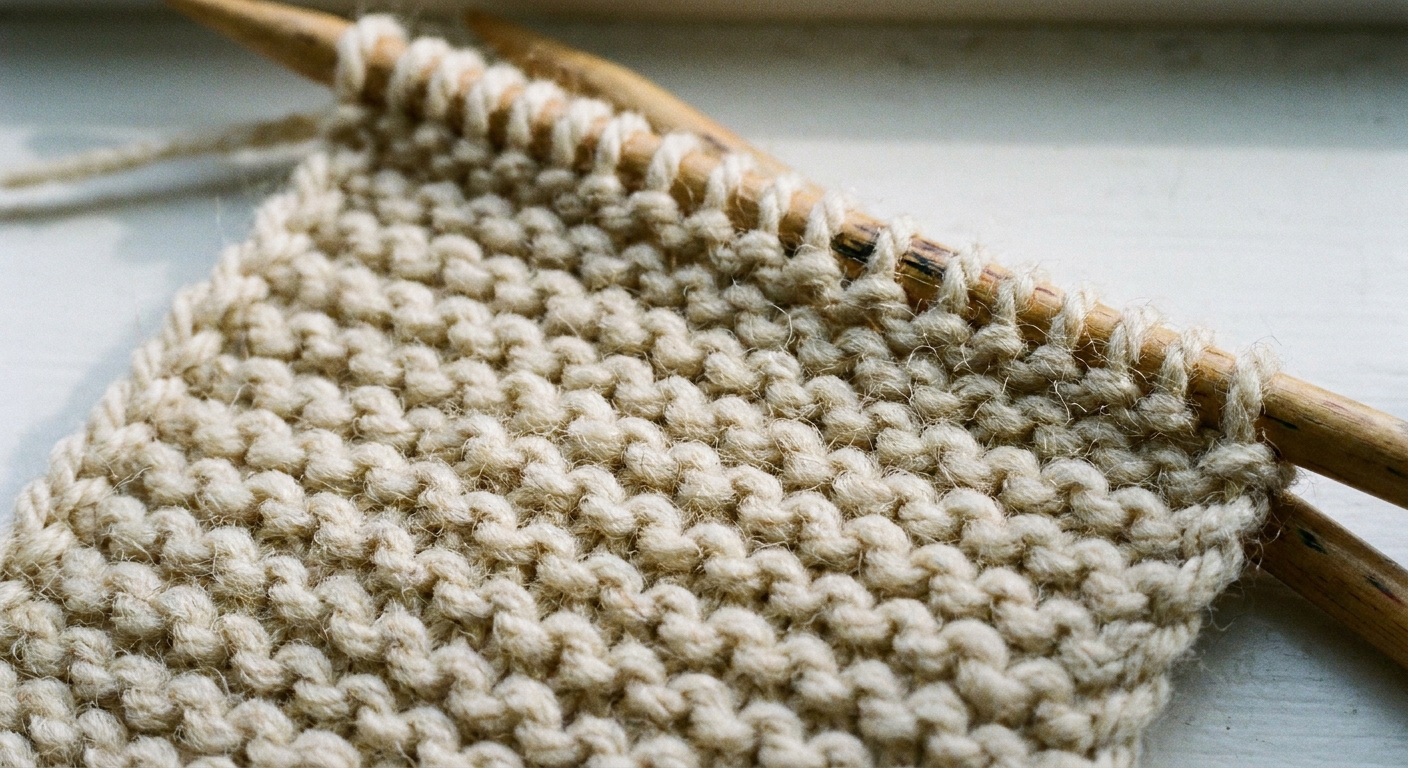
When you reach the end of the row, switch hands. The needle that was in your right hand is now in your left, and you knit across again. That is garter stitch.
How long to knit
A classic scarf length is often 60 to 72 inches, but your life is not a measuring contest. An easy check:
- Wrap it around your neck once. Do the ends reach at least your waist or hip area, depending on the look you want?
- Wrap it around twice. Can you still breathe and move comfortably?
Knit until you love the length, or until you have enough yarn left to bind off plus a tail for weaving in (about 12 inches of yarn tail is a safe minimum).
Neater edges
Edges can look wobbly at first. One simple habit helps: keep a gentle snug pull on the first stitch of each row after you knit it, just enough to remove slack. Avoid yanking.
Fix a dropped stitch
Dropped stitches feel dramatic, but garter stitch is very forgiving. Here is the simplest rescue when the stitch drops off your needle and it is on the current row.
When the stitch is one loop
- Stop knitting. Set your work down so it cannot unravel further.
- Find the dropped loop. It will look like a loose V or a big open loop near the needle.
- Use your right needle tip (or a crochet hook if you have one) to pick up that loop.
- Place it back onto the left needle in the same orientation as the other stitches (the front leg of the stitch should sit toward the needle tip).
- Keep knitting.
If it wants to run down
If the loop looks like it is tugging downward, pin it immediately with a stitch marker or safety pin. Then gently pick it back up onto the needle. Garter stitch tends to catch itself more than stockinette, but it can still ladder if you ignore it.
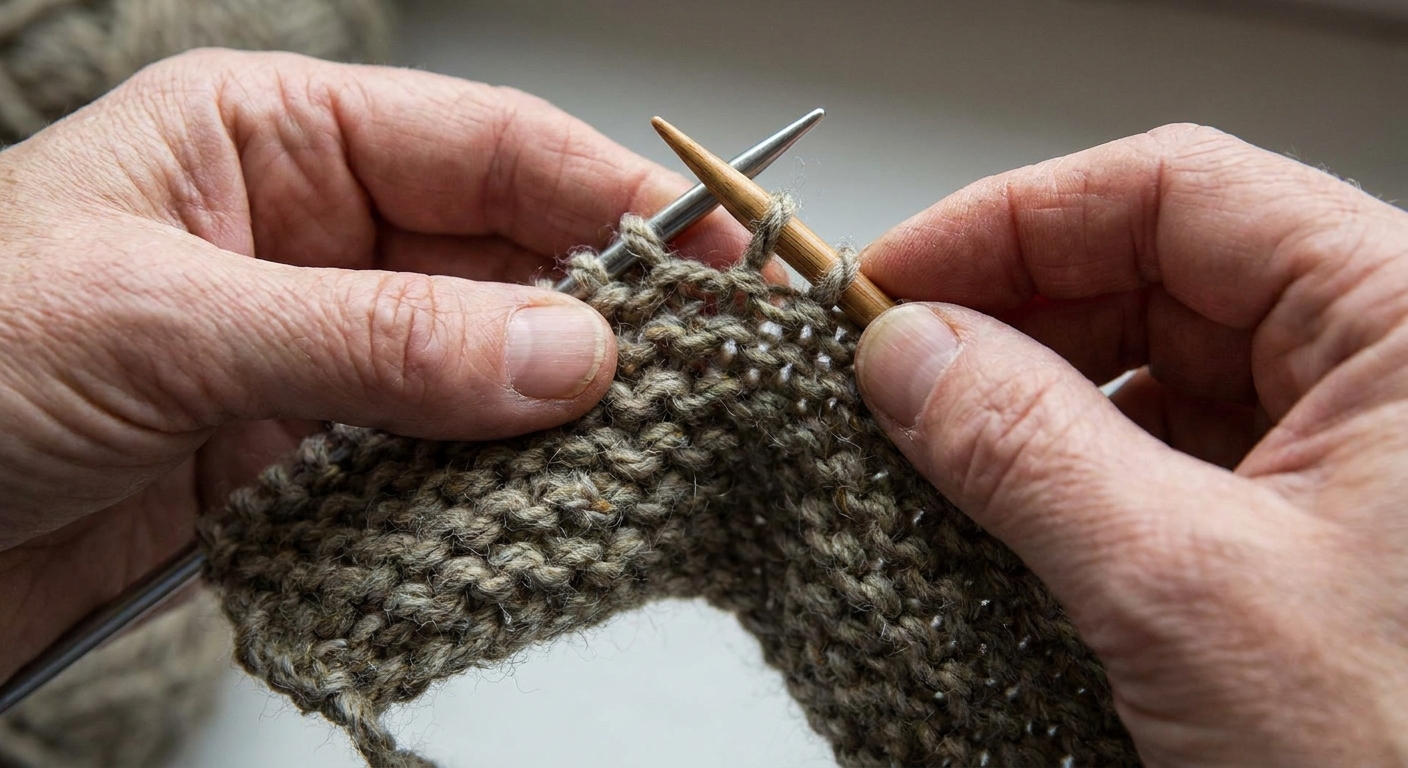
Good to know: If a stitch drops several rows down, you will see a vertical ladder. You can still fix it, but it is a slightly different repair. If you are brand new, it is okay to secure it with a pin and re-knit that section later when you feel ready.
Standard bind-off
Bind-off keeps your edge from unraveling. Aim for a bind-off that is firm enough to hold, but not tight like a drawstring.
Step-by-step bind-off
- Knit the first two stitches.
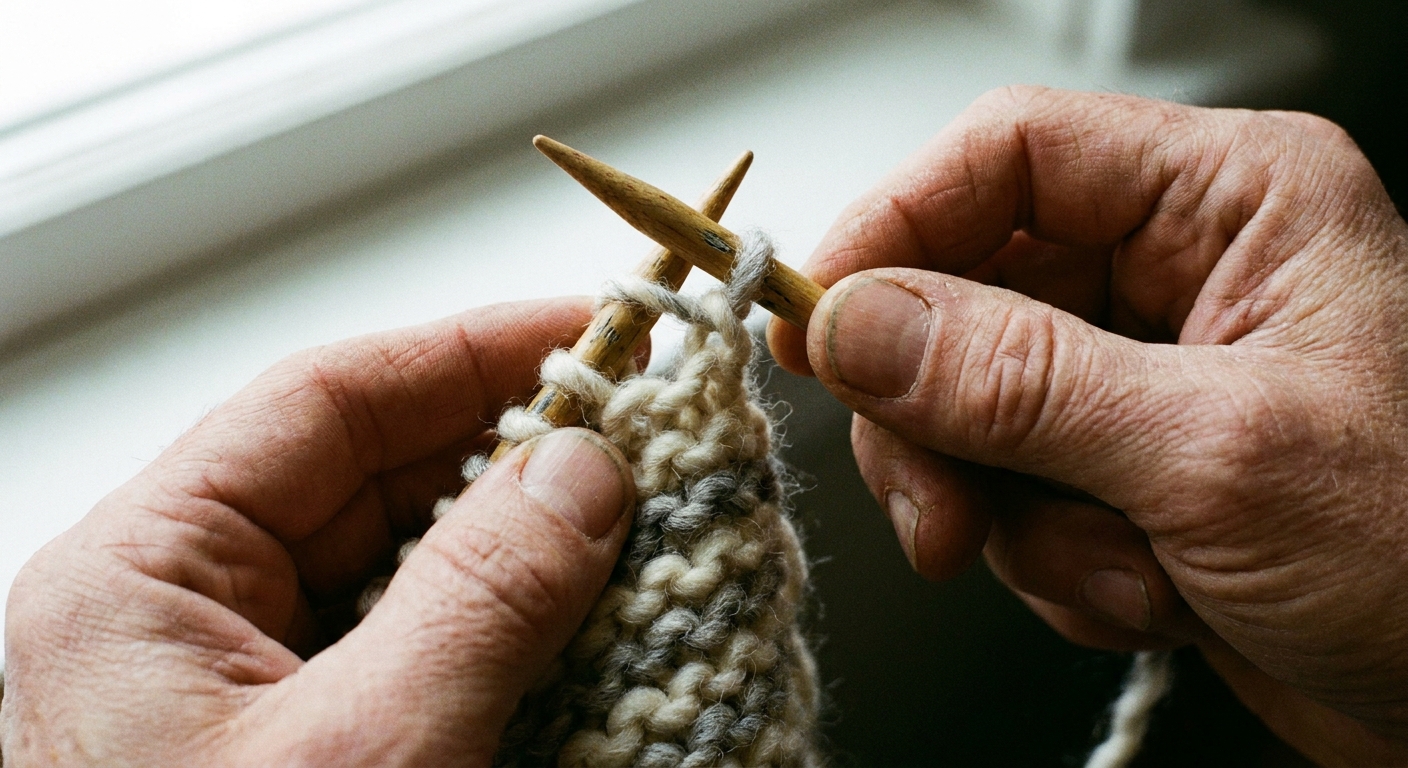
- With the left needle tip, lift the first stitch on the right needle up and over the second stitch, then off the needle. You now have one stitch on the right needle.
- Knit one more stitch.
- Lift the previous stitch up and over the new stitch.
- Repeat until one stitch remains.
- Cut the yarn, leaving a 6 to 10 inch tail. Pull the tail through the last loop and snug it down.
If your bind-off is tight
Two easy fixes for next time: use a needle one size larger just for binding off, or consciously keep your bind-off loops roomy before you lift them over.
Weave in ends
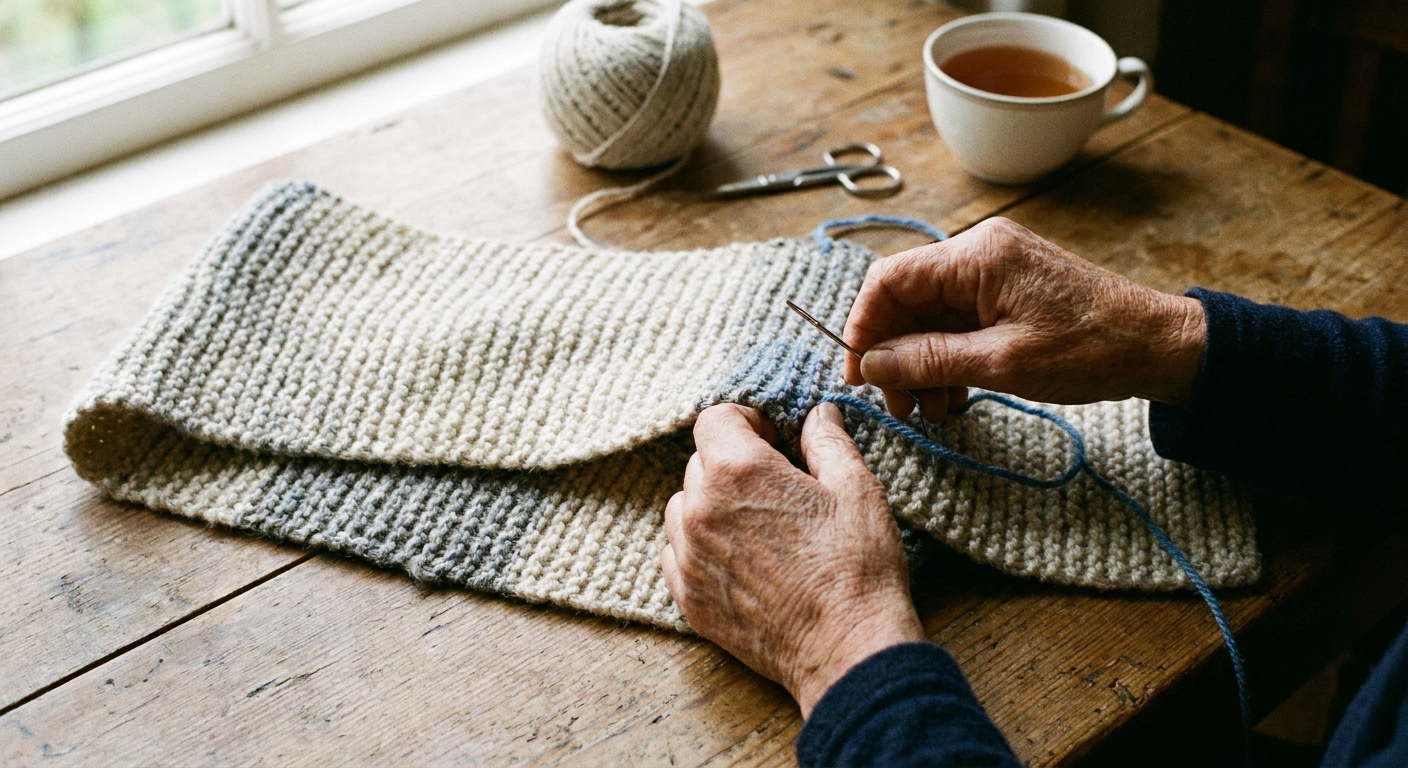
Thread your yarn tail onto a tapestry needle. Weave it through the bumpy garter ridges on the wrong side, changing direction once or twice so it stays put. Then trim the excess.
If your scarf edges curl or look a little wavy, a gentle block can help. For many beginner-friendly yarns, simply laying the scarf flat, smoothing it to shape, and letting it rest can improve the look. Always follow the yarn label for washing and drying.
Beginner scarf FAQs
Why does my scarf change width?
Most often, it is accidental increases or decreases at the edges. Make sure you knit every stitch and do not drop the first stitch of the row. Count your stitches every few rows while you are learning.
My stitches are uneven. Is that normal?
Completely normal. Garter stitch shows improvement quickly. After a few inches, your hands settle into a rhythm and the fabric evens out.
How do I know if it is wide enough?
Use the wrist-to-wrist check and trust your eyes. If it wraps comfortably and covers the front of your neck without feeling skimpy, you are there.
Do I need fringe?
Nope. A clean edge looks classic. If you want fringe, add it after weaving in ends so your scarf edges are stable.
Mini recap
- Pick a smooth worsted yarn and matching straight needles (often US 8 to US 9).
- Cast on 30, 36, or 42 stitches, then check width against your wrist-to-wrist span.
- Knit every row until you love the length.
- If a stitch drops on the current row, pick it back up and keep going.
- Bind off, weave in ends, and wear your first scarf like a champion finisher.