A cozy, confidence-boosting guide to the 15 foundational embroidery stitches every beginner should know, with clear steps and practice tips.
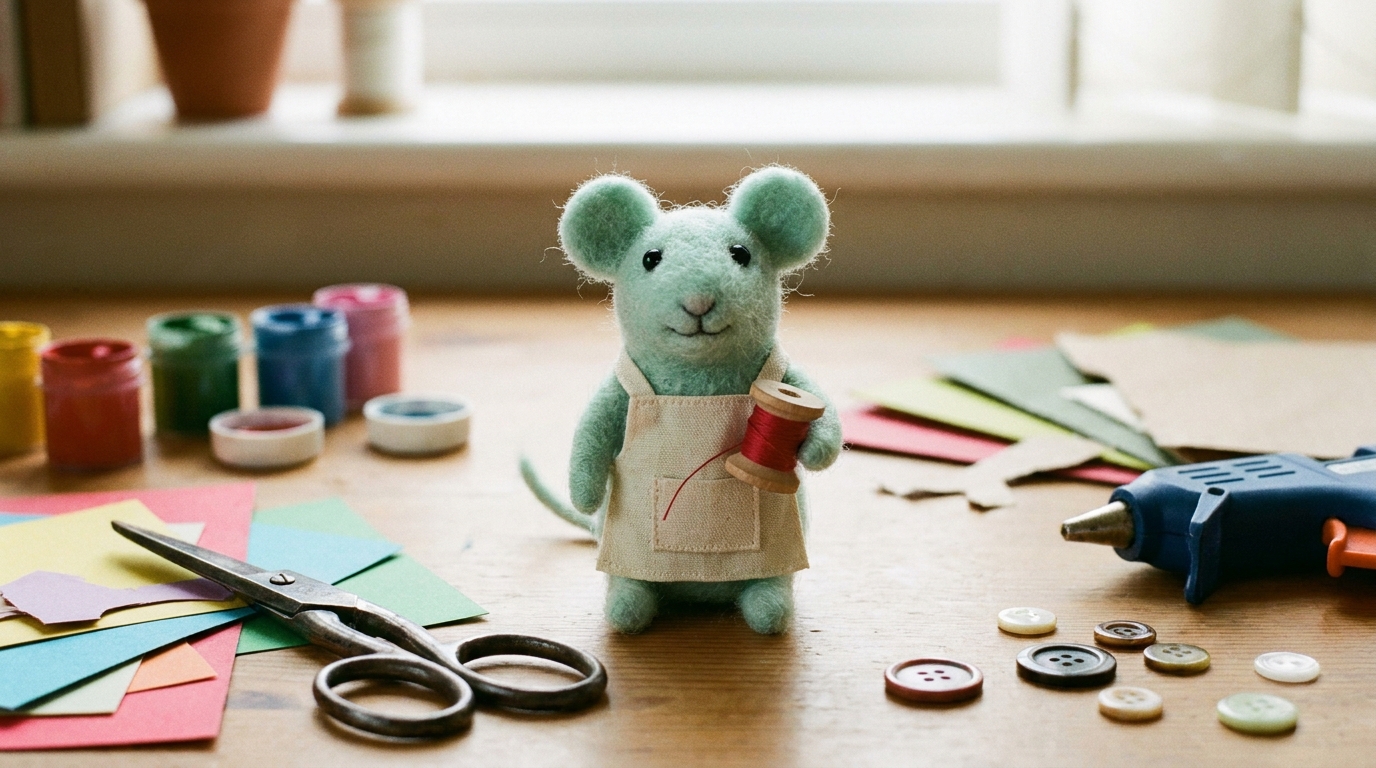
Small paws. Big project plans.
If you can tie a simple knot, you can make a friendship bracelet. Embroidery floss is forgiving, colorful, and wonderfully portable. Toss a few skeins in a bag and you have a project that actually gets finished while you wait for dinner, watch a show, or sit with a friend.
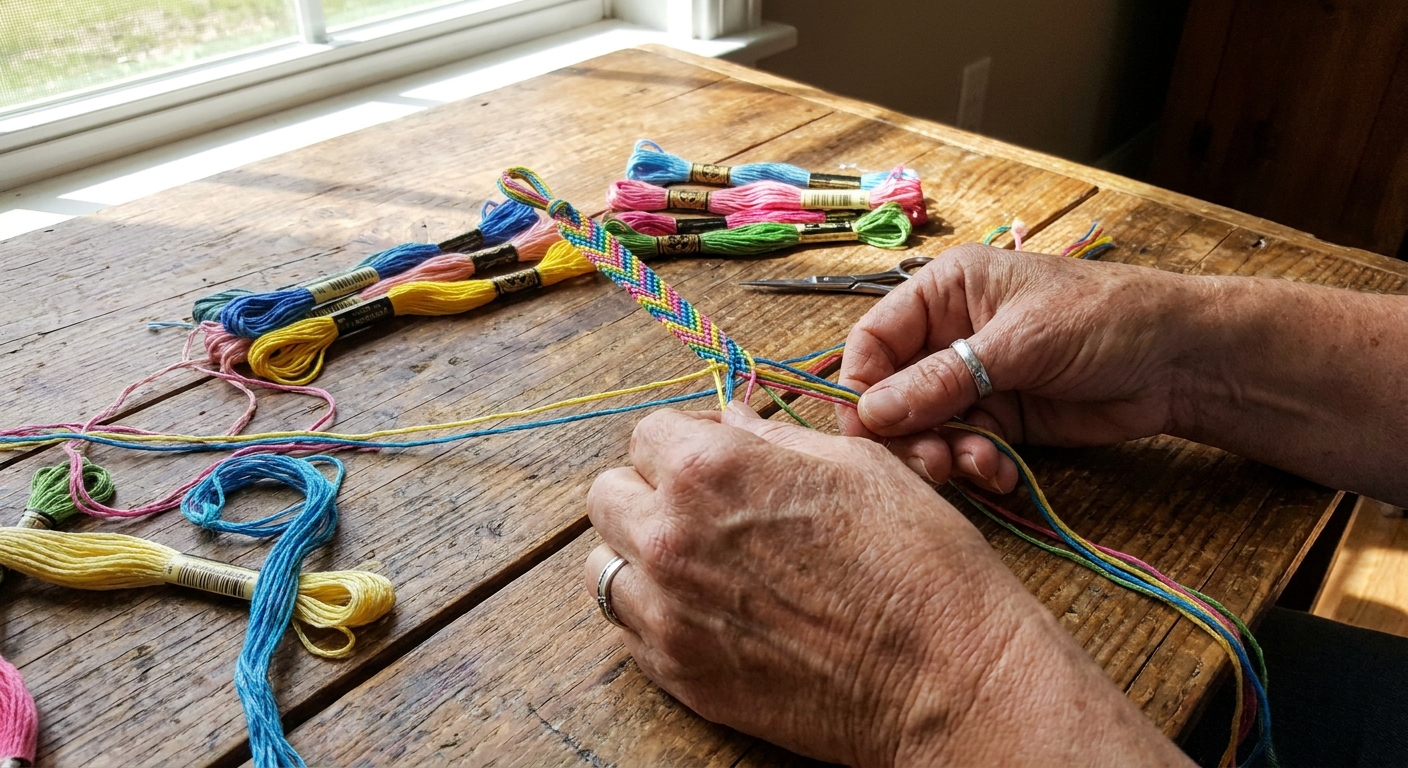
What you need
- Embroidery floss (cotton floss, usually 6 strands per skein)
- Scissors
- Tape or a clipboard or a safety pin (for anchoring)
- Optional: binder clip, measuring tape, a small piece of cardboard, bead(s) for finishing
Floss tip: Use the floss as-is (all 6 strands together). You do not need to separate it for these bracelets. If you ever want a finer, drapier look later, you can experiment with splitting strands, but it is purely optional.
How long to cut strands
Bracelets eat more length than you think because knots use up floss. A good beginner starting point is:
- For a kid wrist or snug fit: cut each strand 36 inches long
- For most teen and adult wrists: cut each strand 45 inches long
- If you want long braided ties (easy adjustable fit): add 6 to 10 inches per strand
If you are unsure, cut longer. You can always trim. You cannot magically add length after the knots are done.
One more tiny reality check: If you are making a wider bracelet (more strands) or you knot very tightly, add a bit of extra length from the start.
How many strands?
- Candy-stripe: 4 to 8 working strands looks great
- Chevron: use an even number of working strands, usually 6, 8, or 10
Important counting note: This tutorial uses a folded loop start. Folding doubles your strands. So if you want 6 working strands to knot with, cut 3 long pieces, line them up, then fold, and you will have 6 strands hanging down.
For your first chevron, 6 working strands is a friendly start.
Set up
Step 1: Cut and fold
Pick your colors. Decide how many working strands you want, then cut half that number of long pieces (because you will fold them).
Line up your cut pieces, even at the ends. Fold the whole bundle in half so the ends meet. Now you have a loop at the fold and your cut ends together on the other side. This loop is handy for a clean start.
Step 2: Tie the start knot
About 2 to 3 inches below the loop, tie an overhand knot with the whole bundle. Tighten it firmly. The loop above it will become your clasp if you want a loop-and-braid finish.
Step 3: Anchor it
Choose one:
- Tape: Tape the loop or the knot to a table.
- Clipboard: Clip the loop or knot under the clipboard clamp.
- Safety pin: Pin the loop or knot to jeans, a pillow, or a bag.
The knot you need
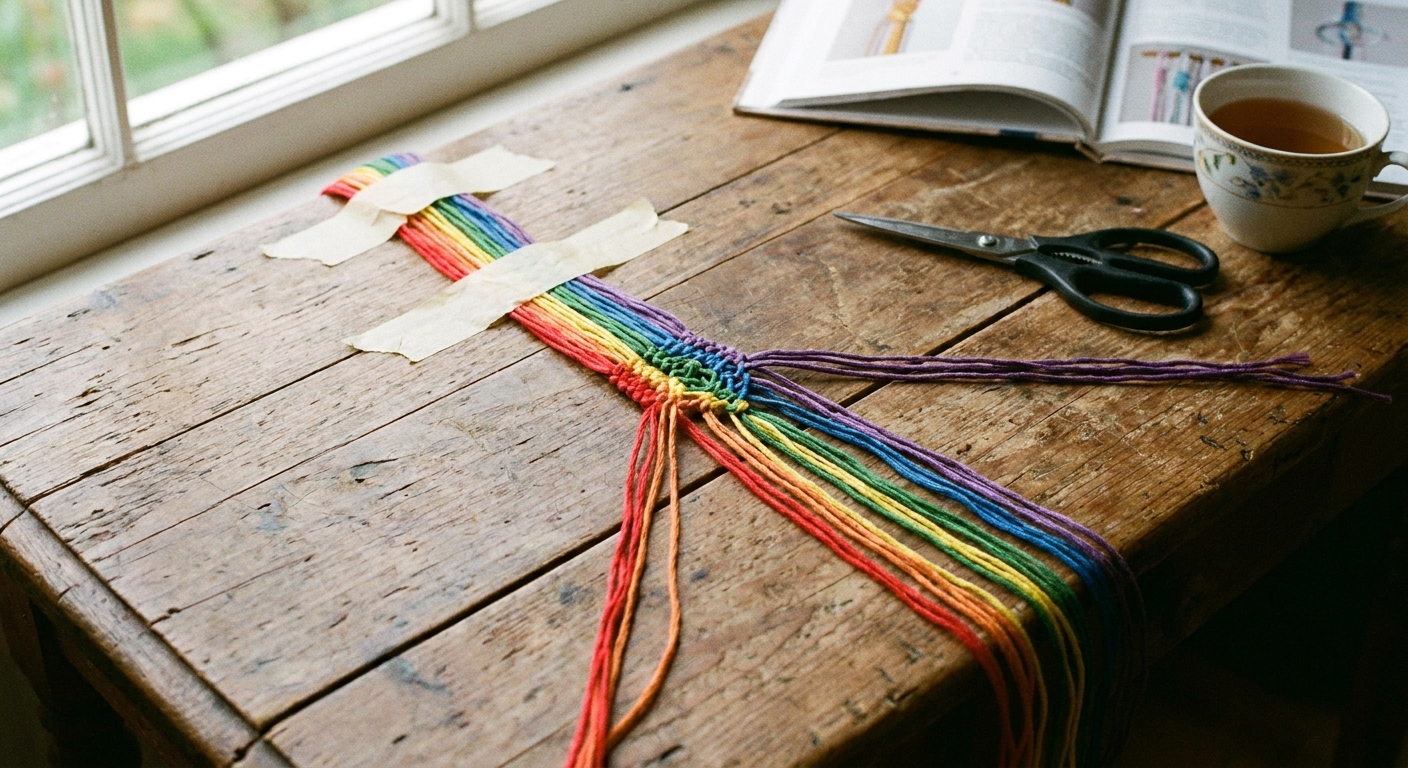
Both patterns in this tutorial use the same basic move: the forward knot. It is really two small half-knots made the same way.
How to tie a forward knot
- Pick your working strand (the strand that will move and create the row). Hold it in your left hand, stretched gently to the right.
- With that working strand, make a 4 shape over the strand next to it.
- Bring the end of the working strand under the other strand and up through the loop of the 4.
- Pull the knot up toward the top, snug but not yanked.
- Repeat the same motion one more time on the same pair of strands. Two halves make one complete forward knot.
Important: In a forward knot, the working strand becomes the strand on the right after the knot, and it carries its color forward across the bracelet.
Even tension
- Pull knots upward toward the top of the bracelet, not sideways.
- Use the same firmness every time. Consistency matters more than strength.
- If your bracelet starts to curve, you are likely pulling tighter on one side. Loosen slightly and keep your hands centered.
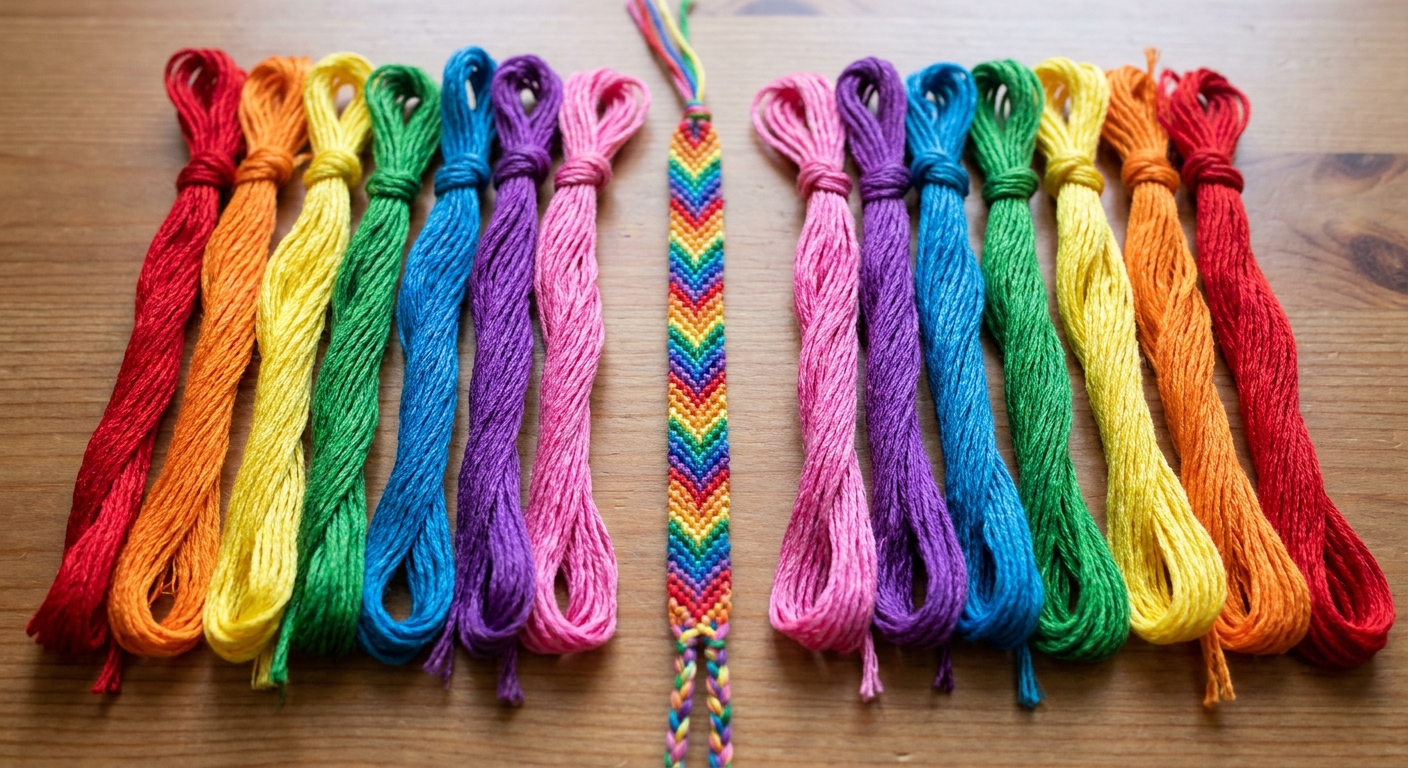
Pattern 1: Chevron
Chevron looks fancy, but it is just knots from the outside moving toward the center. The left side uses forward knots. The right side uses backward knots, which are simply the mirrored motion.
Pick a 6-strand order
Lay your working strands out from left to right. For a chevron, you want a mirrored layout, like this:
- A B C C B A
Example: mint, pink, yellow, yellow, pink, mint. You can also do all different colors if you mirror them.
Row 1: Left to center
- Take the far-left strand (A). This is your working strand.
- Tie a forward knot on the strand next to it (B).
- Keep using the same working strand (A) to tie forward knots on each strand as you move inward.
- Stop when you have knotted onto every strand up to, but not including, the strands that will meet in the middle. In other words, work inward until your left working strand reaches the center position.
Row 1: Right to center
Now you will make the other half of the V. For this side, use backward knots so the knots match in size and the front of the bracelet stays neat.
How to tie a backward knot
- Pick your working strand (on the right side, it will be the far-right strand).
- Hold it in your right hand, stretched gently to the left.
- Make a backwards 4 shape (like a P) over the strand next to it.
- Bring the end of the working strand under the other strand and up through that loop.
- Pull the knot up toward the top, snug and even.
- Repeat the same motion one more time on the same pair of strands.
Work from the far-right edge toward the center, knotting onto one strand at a time, until your right working strand reaches the center position.
Meet in the middle
When the left and right working strands reach the center, connect them with a knot that matches the rest of the row, not a plain overhand.
- Option A: Use the left center strand as the working strand and tie one full forward knot onto the right center strand.
- Option B: Use the right center strand as the working strand and tie one full backward knot onto the left center strand.
Pick whichever direction feels natural in your paws. The goal is a center knot that is the same size as the others.
Repeat rows
After the center knot, your strands will be in a new order. Start again from the new far-left and far-right edges and repeat. Your chevrons will stack into a tidy zigzag.
Chevron fixes
- My V is lopsided: Count your knots. Each side should make the same number of knots before meeting the center.
- My center gap looks open: Make sure your center connection is a full forward or backward knot (two halves), then snug it upward gently.
- My bracelet is twisting: Re-anchor and let the strands hang straight every few rows. Also check that you are not accidentally swapping strand order mid-row.
Pattern 2: Candy-stripe
Candy-stripe is the easiest way to practice consistent forward knots. Instead of going toward the center, you knot all the way across in one direction.
Set your strand order
Lay strands in the order you want the stripes to appear. The far-left strand becomes the first stripe color.
Knot across
- Take the far-left strand as your working strand.
- Tie a forward knot on each strand to the right, one by one, until you reach the end.
- Now that same strand is on the far right.
- Repeat with the new far-left strand. Each pass creates a diagonal stripe.
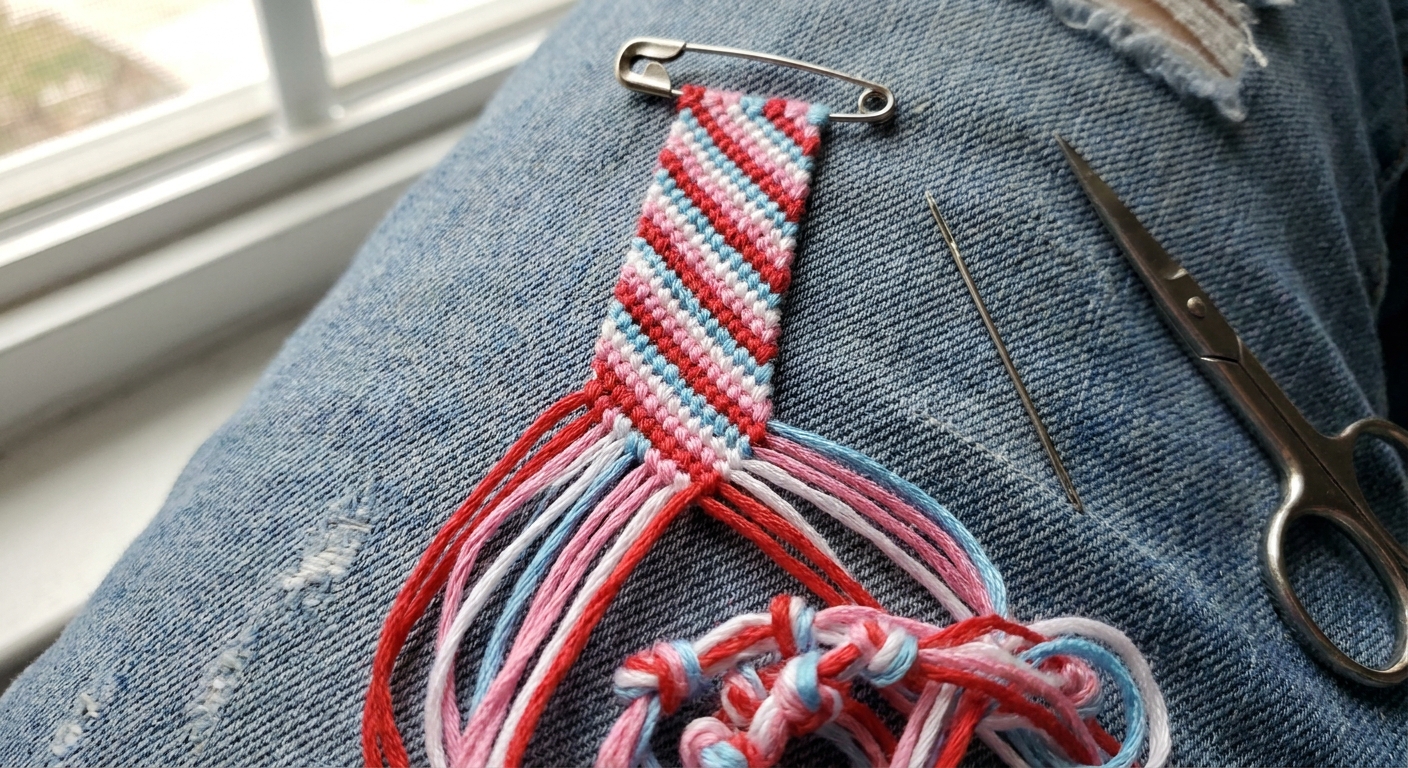
Want cleaner stripes?
Keep your knots snug and consistent. If your stripes look wobbly, the most common culprit is forgetting that a forward knot is made of two matching half-knots.
Finishing
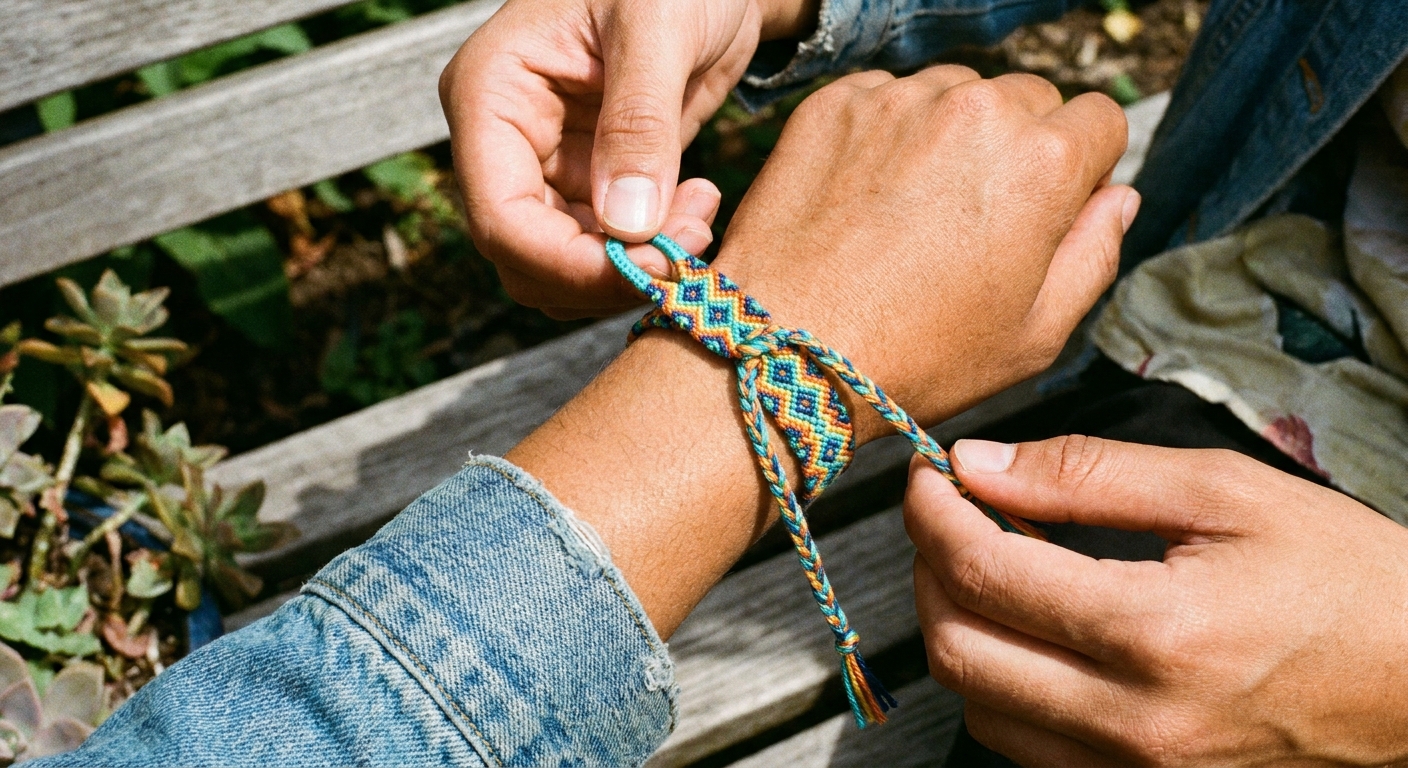
A braided tie is reliable and adjustable, especially if you are gifting the bracelet.
Step 1: Leave a tail
When the knotted section is long enough to wrap around the wrist (not counting ties), stop and leave at least 3 to 4 inches of loose strands for braids.
Step 2: Split and braid
- Divide the strands into two equal bundles.
- Braid each bundle into a simple 3-strand braid. If you have many strands, treat them as grouped strands for each braid section.
- Tie an overhand knot at the end of each braid and trim, leaving a small tassel.
Step 3: Use the loop clasp
Remember that loop you made at the beginning? To close the bracelet, pull one braided tie through the loop and tie a bow or double knot. It adjusts easily and stays put.
Common questions
Why is my floss fraying?
Floss can fuzz if it twists a lot. Let strands dangle to untwist every few rows, and avoid yanking knots too hard. If the ends get shaggy, trim them clean.
Can I make it wider?
Yes. Add more working strands. For chevron, keep the total number even. For candy-stripe, any number works. If you use the folded loop start, remember you will cut half as many long pieces as the number of working strands you want.
How do I know it is long enough?
Wrap the knotted section around the wrist without pulling. It should nearly meet end to end, then the braided ties finish the fit. If you used a loop start, include that loop in your wrap check.
Do I need special tools?
Nope. Tape and scissors are enough. A clipboard or binder clip just makes life calmer.
One last tiny mouse tip
If your first bracelet is a little wiggly, it is still a friendship bracelet. The knots settle as you wear it, and the second one always looks twice as neat. Pick two colors you love, make a candy-stripe in an afternoon, then come back for the chevron once your paws know the forward knot by heart.