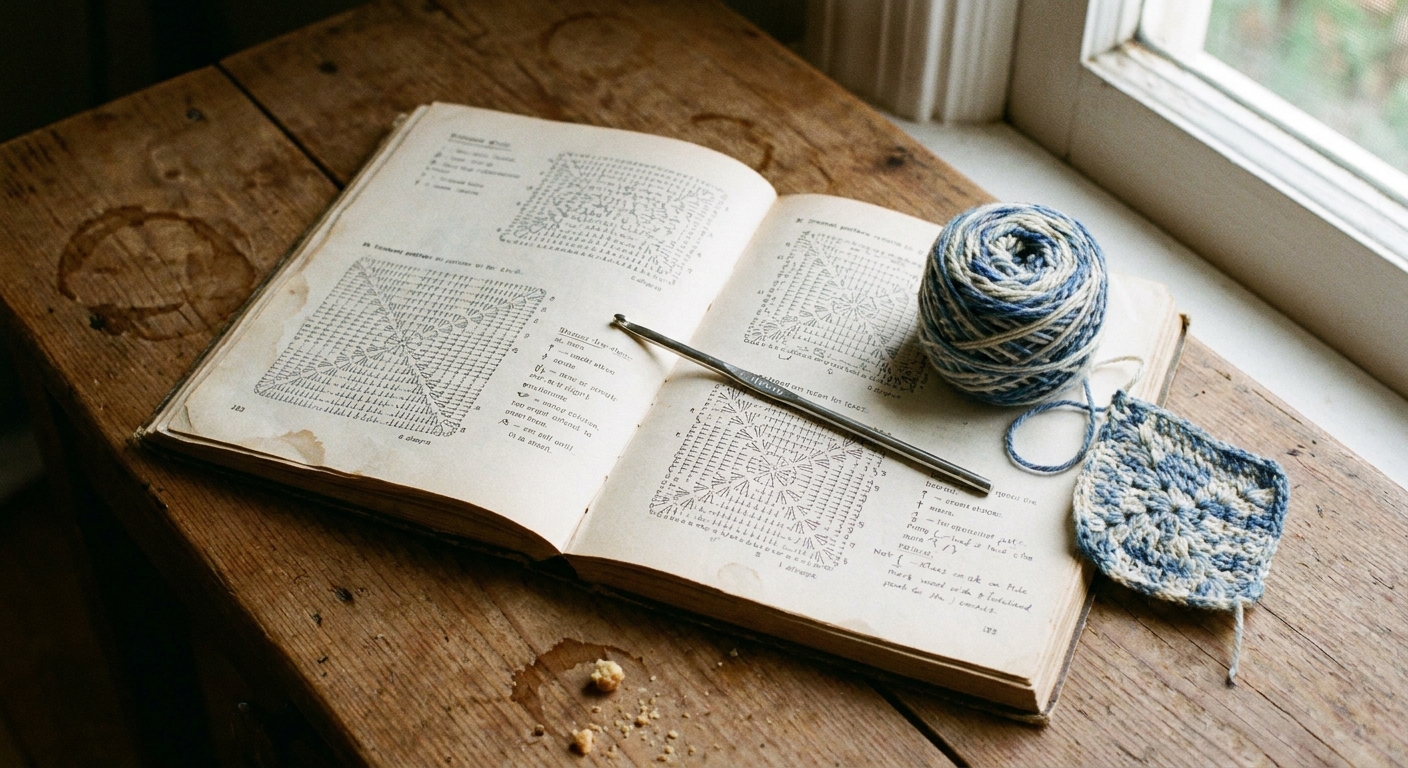
Decode a typical crochet pattern line and the abbreviations you meet first: ch, sc, dc, inc, dec, sl st. Plus brackets, asterisk repeats, turning chains, gau...
Small stitches. Big project plans.
If you have ever looked at a tiny crocheted plush and thought, “How is that even made?” you are in the right cozy corner. Amigurumi is typically crochet worked in the round, then shaped with increases and decreases, stuffed firmly, and finished with a few simple details.
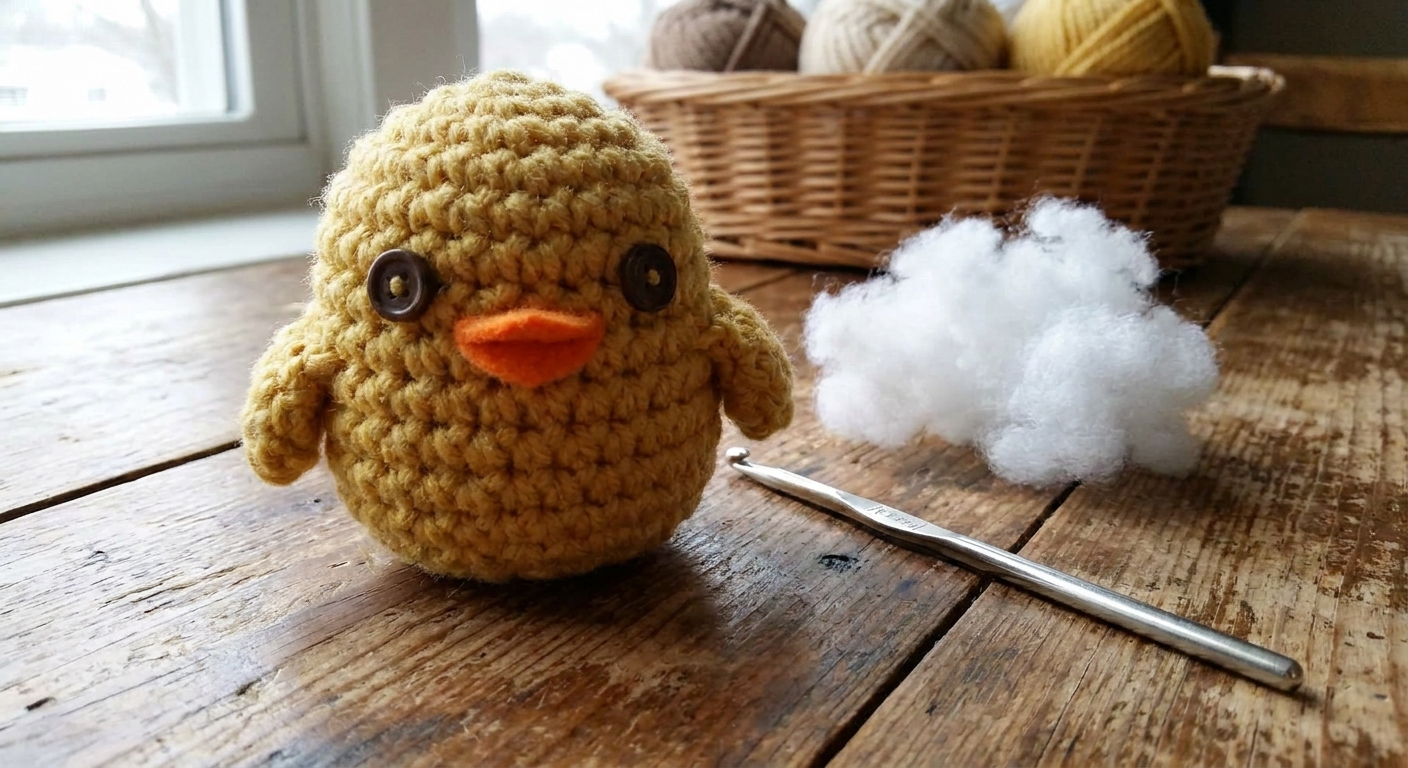
In this beginner tutorial, we are making one classic starter shape: a simple chick. It is basically a sphere with a teeny beak. You will practice the exact skills you will use in almost every amigurumi pattern: magic ring, continuous rounds, even increases, invisible decreases, tight stuffing, and embroidered eyes (no safety eyes needed for your first piece).
What you need
Amigurumi looks best when the stitches are snug so the stuffing stays hidden. That is the whole trick.
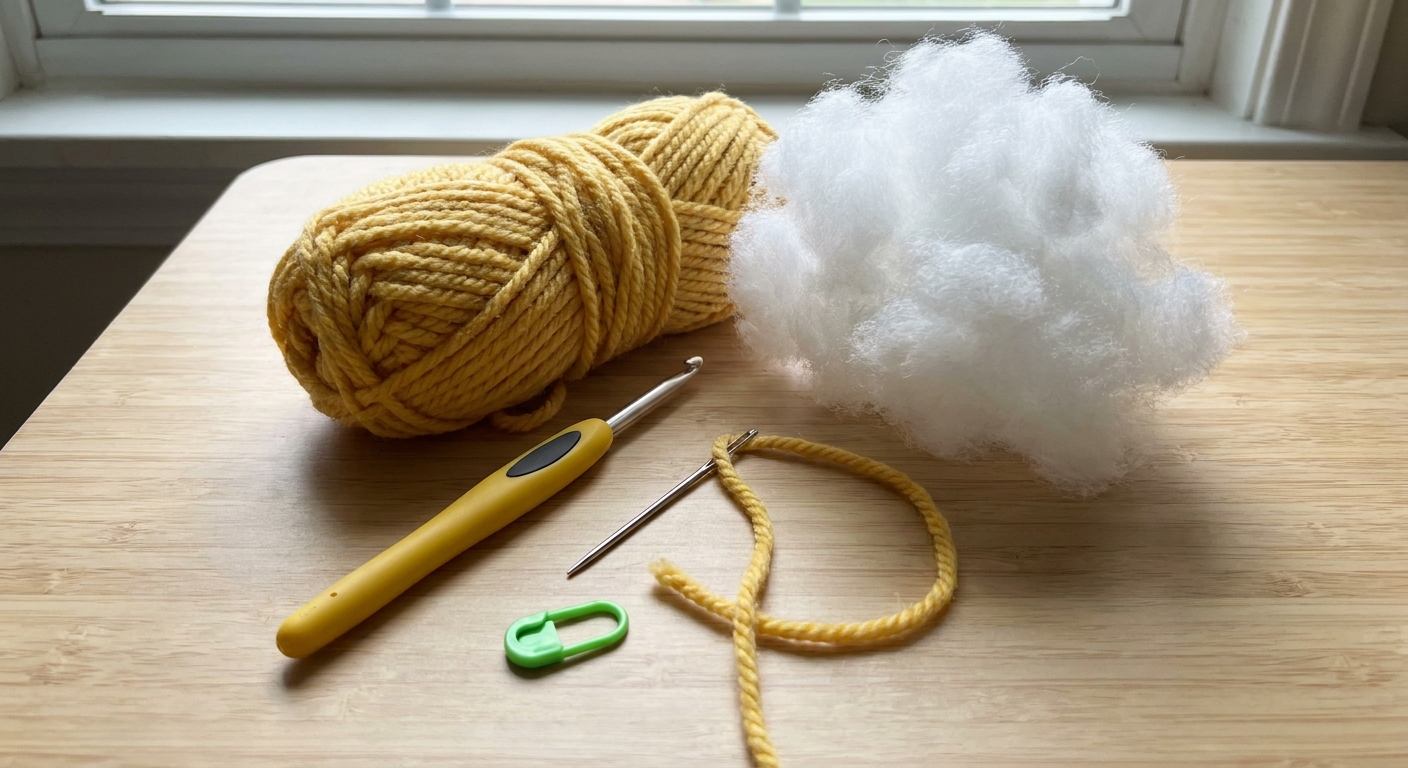
- Worsted weight yarn in yellow (body) and a small scrap of orange (beak). A smooth acrylic or cotton blend is beginner-friendly.
- Crochet hook one size smaller than the yarn label suggests. For many worsted yarns that recommend 5.0 mm, try a 4.0 mm or 3.75 mm for amigurumi.
- Fiberfill stuffing
- Yarn needle (tapestry needle)
- Stitch marker (or a scrap of yarn, paper clip, or bobby pin)
- Scissors
- Embroidery floss or black yarn for eyes
Before you start
US terms
This pattern uses US crochet terms. (If you use UK terms: sc in US is dc in UK.)
Work in continuous rounds
This chick is made in a spiral. Do not join rounds with a slip stitch unless the pattern tells you to. Your stitch marker is your best little helper here. Move it to the first stitch of each round.
Use single crochet (sc)
Most beginner amigurumi is single crochet because it makes a tight fabric. If your stuffing is showing, go down a hook size or pull your yarn a bit tighter. A quick test: gently stretch your fabric. If you see gaps, size down your hook.
Count stitches every round
Shaping depends on stitch counts. If a round ends and your numbers do not match, it is usually one of these: you missed an increase, you accidentally increased twice, or you skipped a stitch at the end of the round.
Stitches and abbreviations
- MR = magic ring
- sc = single crochet
- inc = increase (2 sc in the same stitch)
- dec = invisible decrease (explained below)
- st(s) = stitch(es)
How to make a magic ring
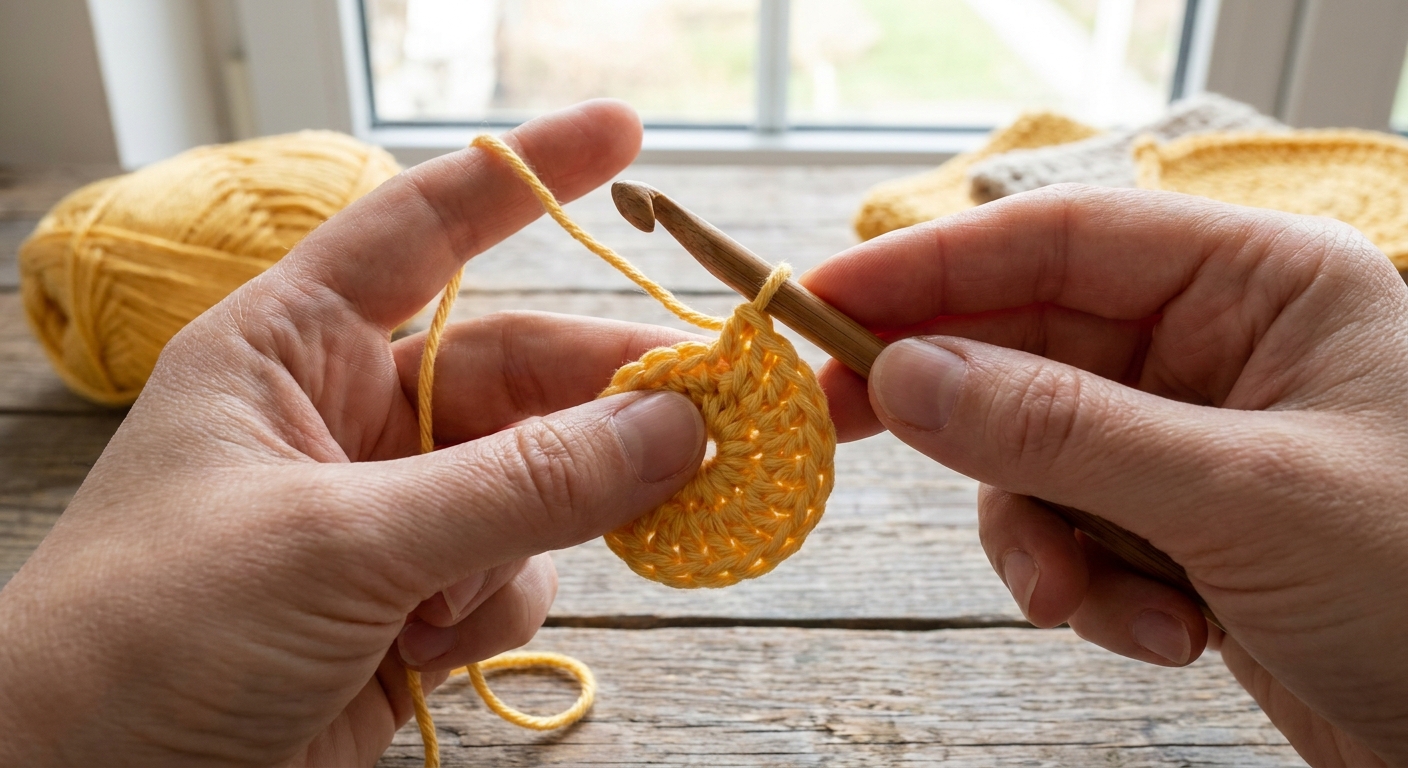
The magic ring lets you start with a tiny center hole that you can pull closed. It is the classic amigurumi beginning.
Wrap yarn around your fingers to make a loop, with the yarn tail crossing over the working yarn.
Insert your hook under the first strand of the loop, grab the working yarn, and pull up a loop.
Chain 1 to secure the ring. This chain does not count as a stitch in this pattern.
Work the first round into the ring (for this pattern, you will make 6 single crochets into the ring).
Pull the tail tight to close the center.
If the magic ring feels fiddly, do not panic. It becomes much easier after a couple tries. Another tip: hold the stitches you just made with your thumb so they do not twist while you pull the tail.
Beginner pattern: Tiny chick
Finished size: about palm-sized, depending on yarn and hook.
Notes: Work in continuous rounds. Use a stitch marker in the first stitch of each round.
Face reminder: It is easiest to embroider the eyes and beak before the opening gets too small. A sweet spot is after Round 9 or Round 10, when it is still easy to get your needle inside.
Body (yellow)
Round 1: MR, 6 sc into ring (6)
Round 2: inc in each st around (12)
Round 3: (sc, inc) repeat around (18)
Round 4: (2 sc, inc) repeat around (24)
Round 5: (3 sc, inc) repeat around (30)
Rounds 6 to 9: sc in each st around (30)
Round 10: (3 sc, dec) repeat around (24)
Round 11: (2 sc, dec) repeat around (18)
Round 12: (sc, dec) repeat around (12)
Round 13: dec around (6)
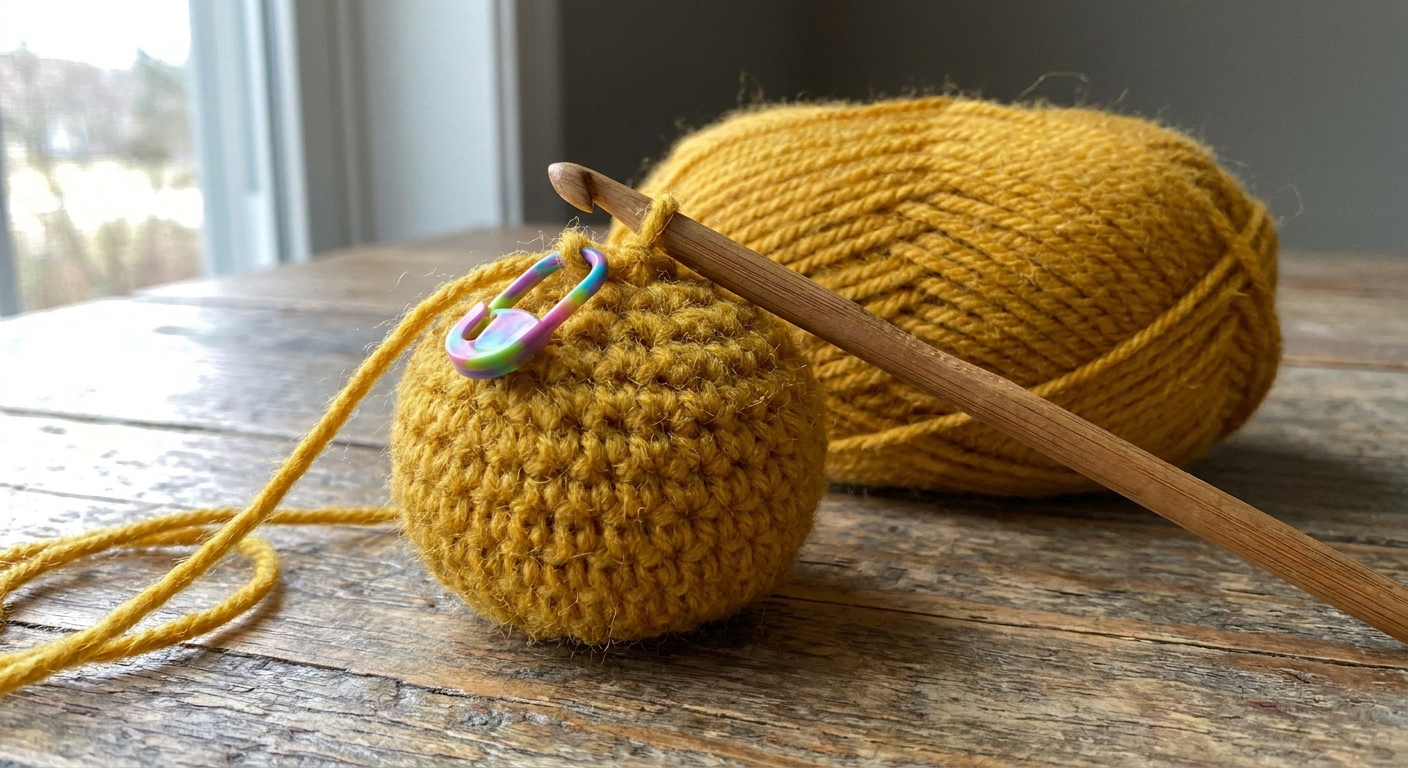
Finish: Cut yarn, leaving a long tail. Weave tail through the front loops of the remaining 6 stitches, pull tight to close. Weave in the end.
Even increases
Those increase rounds are what turn a flat circle into a smooth ball. An increase is simply 2 single crochets in the same stitch. When the pattern says (2 sc, inc) repeat, it means:
- Make 1 sc in each of the next 2 stitches
- Then make 2 sc in the next stitch
- Repeat that sequence all the way around
If you want the sphere to look extra smooth, you can stagger where increases land by starting some rounds with 1 sc first, then doing the repeat. For a first chick, the standard repeat is perfectly lovely.
Invisible decrease
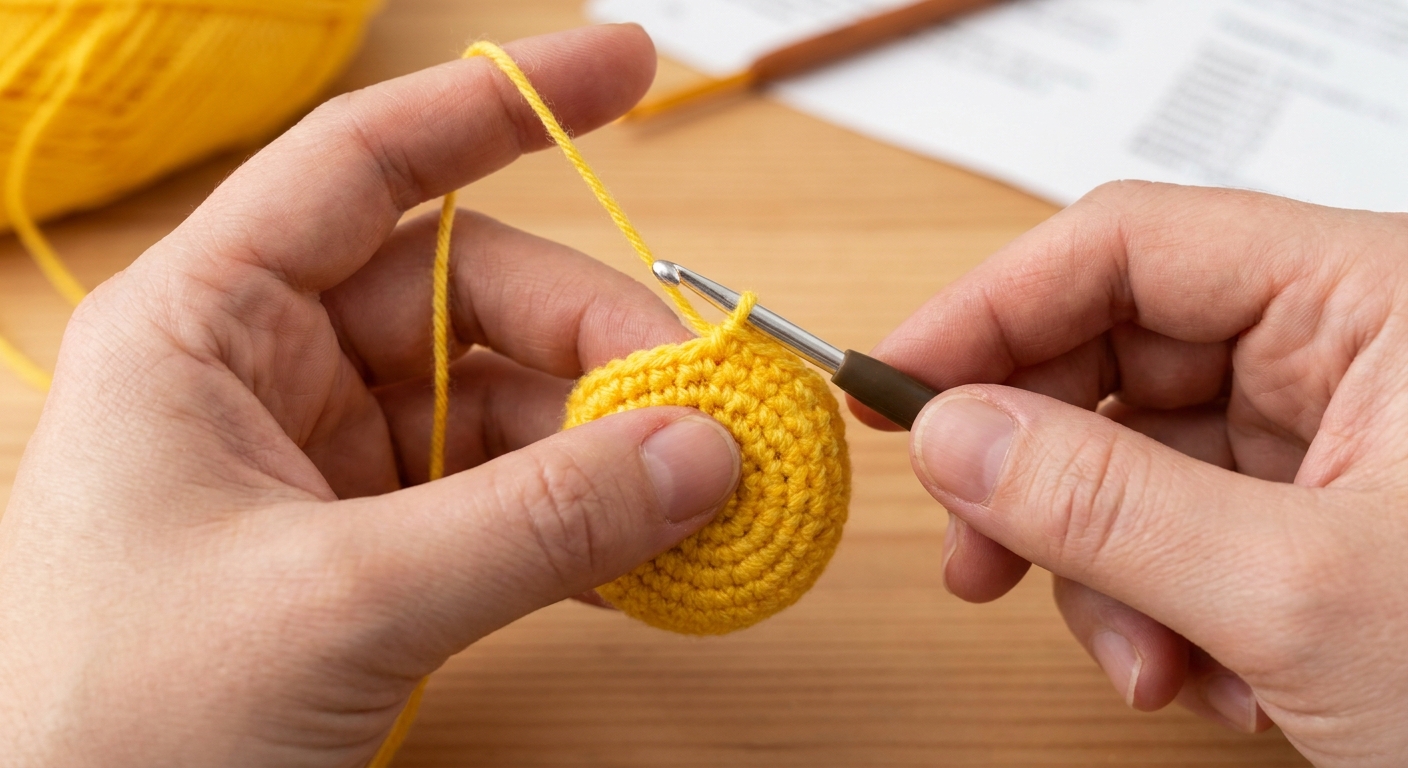
An invisible decrease avoids the bumpy look of a regular decrease. Here is the simple version:
- Insert hook into the front loop only of the next stitch.
- Without yarn over yet, insert hook into the front loop only of the following stitch.
- Yarn over and pull through both front loops (you will have 2 loops on the hook).
- Yarn over and pull through both loops to finish the single crochet decrease.
Stuffing
Stuffing is where amigurumi turns from “crochet blob” into “tiny friend.” The goal is firm, not stretched.
When to stuff
Start stuffing after Round 11, when the opening is smaller but still easy to reach into. Add more as you work Round 12, then do a final tiny top-up right before you cinch the opening closed at the end.
How to avoid lumps
- Pull stuffing apart into fluffy wisps before inserting.
- Pack small amounts firmly, especially around the sides and bottom.
- Keep the last bit near the opening slightly softer so closing is easier.
If stitches are separating and you can see white stuffing, use a little less stuffing or go down a hook size next time.
Embroidered eyes
For a first amigurumi, embroidered eyes are simpler than safety eyes and require fewer tools. They are also a better choice for little kids since hard plastic eyes can be a choking hazard, especially for children under 3. (No plush is truly “baby-proof,” so supervise and inspect well-loved toys.)
Where to place the eyes
First, decide where the “back” is. I like to treat the stitch marker side as the back and put the face directly opposite it.
A good starting spot on this chick is between Rounds 7 and 8, about 5 to 6 stitches apart. Before you commit, use pins or a strand of scrap yarn to audition the placement.
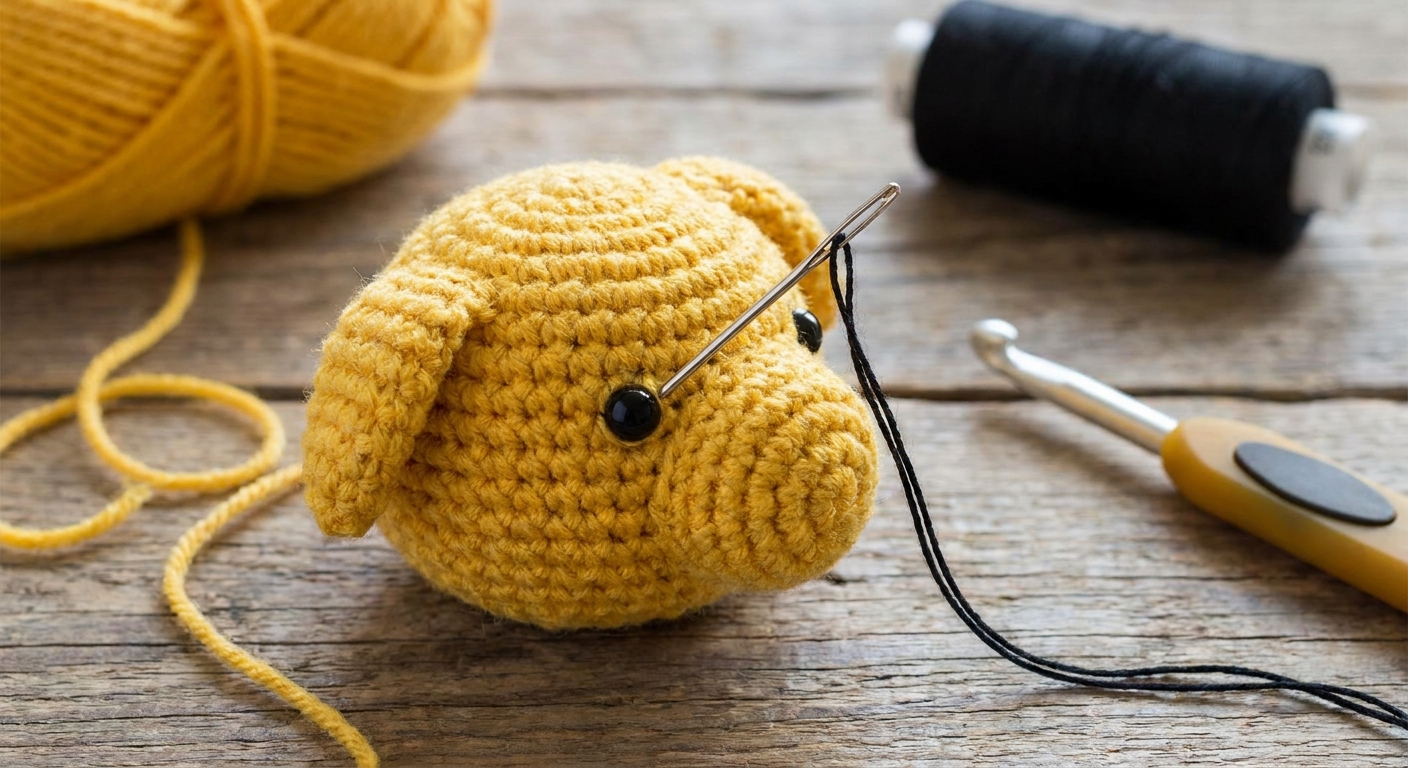
Simple stitched eyes
- Thread a yarn needle with black embroidery floss or thin black yarn.
- Bring the needle up where you want the first eye.
- Make 2 to 4 small stitches in the same spot to build a tiny oval or dot.
- Push the needle through to the back and bring it up for the second eye.
- Repeat, then knot the ends inside the body and hide the tail through the stuffing.
Quick beak
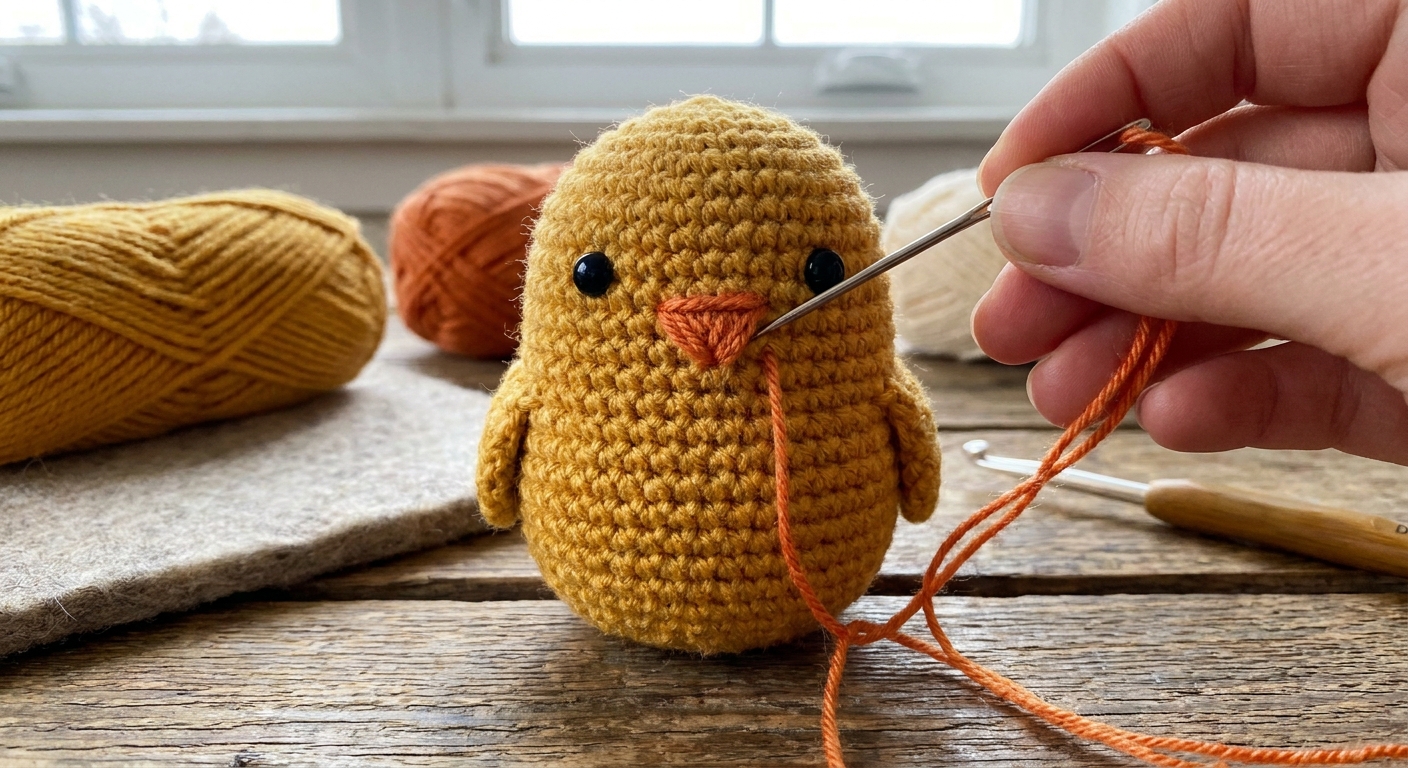
This chick gets a sweet little beak made from a few stitches of orange yarn. No extra pieces required.
- Thread orange yarn onto a yarn needle.
- Pick a spot centered between the eyes, about 1 round lower than the eye line.
- Make a small triangle by stitching a short horizontal stitch, then two angled stitches meeting at a point.
- Knot inside and hide the tail.
Tip: If the beak looks too wide, remove it and try again with a smaller triangle. Embroidery is very forgiving.
Optional details
If you want your chick to read as extra “chick-ish” without turning this into a complicated build, pick one tiny add-on. Optional is my favorite kind of pressure-free.
Mini wings (make 2)
With yellow yarn: ch 3, sc in 2nd ch from hook, sc in next ch (2). Ch 1, turn. Inc in each st (4). Fasten off, leaving a tail. Sew one wing to each side, roughly around Round 8 or 9.
Little head tuft
Cut 3 short strands of yellow yarn. Use your yarn needle to pull them through the top of the head, then tie a small knot and trim to a cute, fluffy length.
Closing and weaving in
That last close is the finishing magic.
How to close neatly
- After your final round (6 stitches remaining), cut yarn leaving a long tail.
- Thread the tail on a yarn needle.
- Run the needle through the front loop only of each of the remaining stitches.
- Pull tight to cinch the hole closed.
How to hide the end
- Insert the needle into the center of the closed hole and push it out somewhere else on the body.
- Pull snug, then cut the yarn close so the end pops back inside.
Troubleshooting
My sphere looks pointy or lumpy
- Check your stitch counts each round.
- Add stuffing in smaller pieces and pack it evenly.
- Try a hook one size smaller for a denser fabric.
I keep losing my place
- Move your stitch marker every round, always to the first stitch.
- Write your round number on a scrap of paper and tick it off as you go.
I have a gap at the magic ring
- Pull the tail firmly right after Round 1.
- After a couple rounds, tug the tail again to tighten, then weave it in securely.
The decreases look messy
- Switch to invisible decreases (front loops only).
- Keep tension steady, and do not rush those last rounds.
What to try next
Once you can make this chick, you can make so many amigurumi shapes. The recipe is the same, just remixed: start small, increase to the widest point, crochet even for a bit, then decrease and close.
- Make it a simple bear by stitching a little nose and adding two small circles as ears.
- Make it a pumpkin with orange yarn and a green embroidered stem.
- Make it a snowball ornament with white yarn and a loop for hanging.
If you want, crochet a second chick right away. The first teaches your hands. The second is where it starts to feel like you can actually do this.