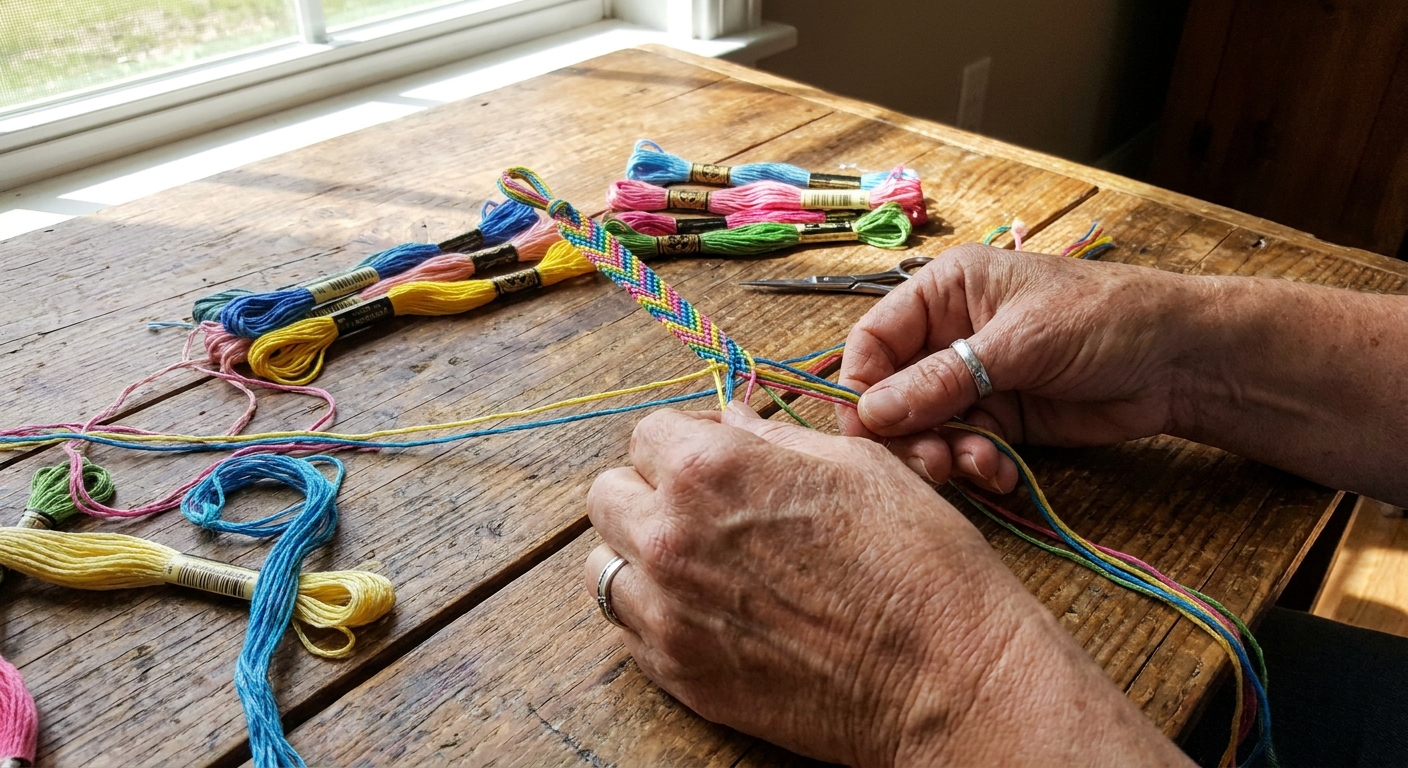
A beginner-friendly guide to knotted embroidery floss bracelets: how long to cut, how to anchor, how to tie forward and backward knots, plus chevron and cand...
Small paws. Big project plans.
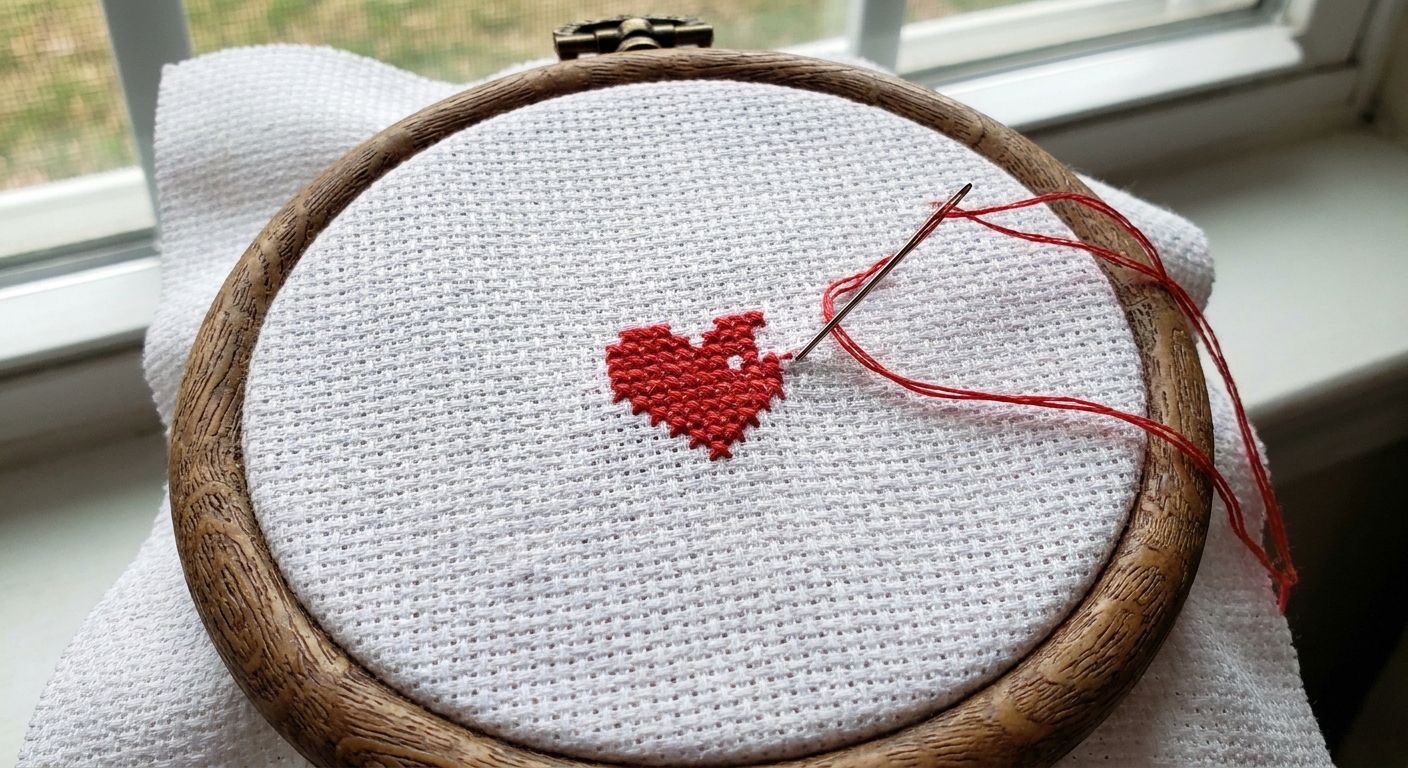
If you have ever looked at a counted cross stitch pattern and thought, “Where do I even begin?”, this is your gentle on-ramp. We are going to stitch one tiny motif on 14-count aida held in a hoop. Pick a simple heart, or a three-letter monogram. Either way, you will practice the whole counted cross stitch flow: reading a chart square by square, making neat X’s that all lean the same way, and starting and ending your thread without a knot.
Before you begin: choose a fabric piece with enough breathing room. A simple rule is at least 2 inches of extra fabric on every side of your motif so you can hoop comfortably and still have margin for finishing.
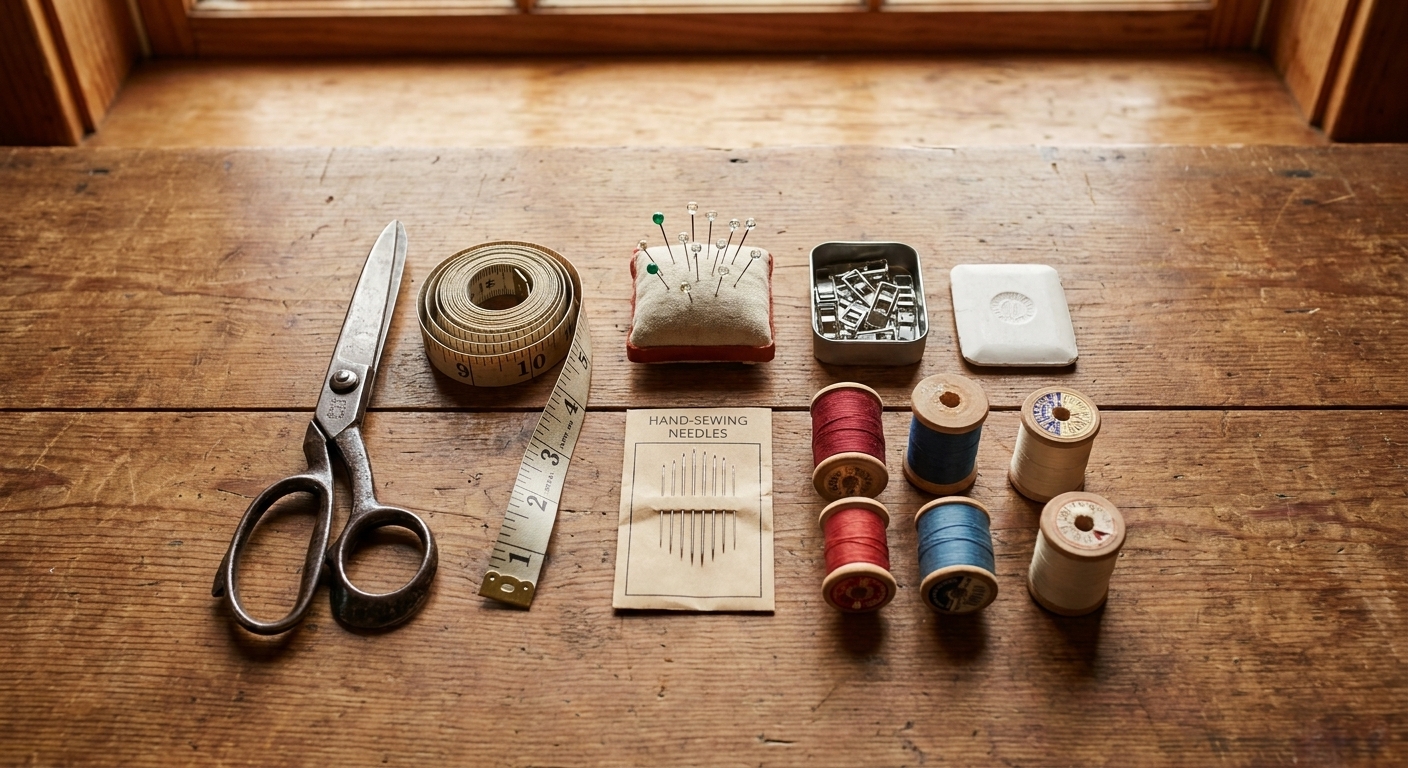
What you need
- 14-count aida cloth (a small piece is plenty for a first motif)
- Embroidery hoop (about 6 inches is comfortable)
- Embroidery floss (six-strand cotton floss, any brand)
- Tapestry needle (blunt tip, size 24 or 26 is a common match for 14-count aida)
- Small scissors
- Pattern: a tiny heart chart or a three-letter monogram chart
- Optional helpers: needle threader, fabric marker or pin for finding center, good lamp
Quick vocabulary: “14-count” means there are 14 squares per inch in the aida grid. Each cross stitch usually sits on one square.
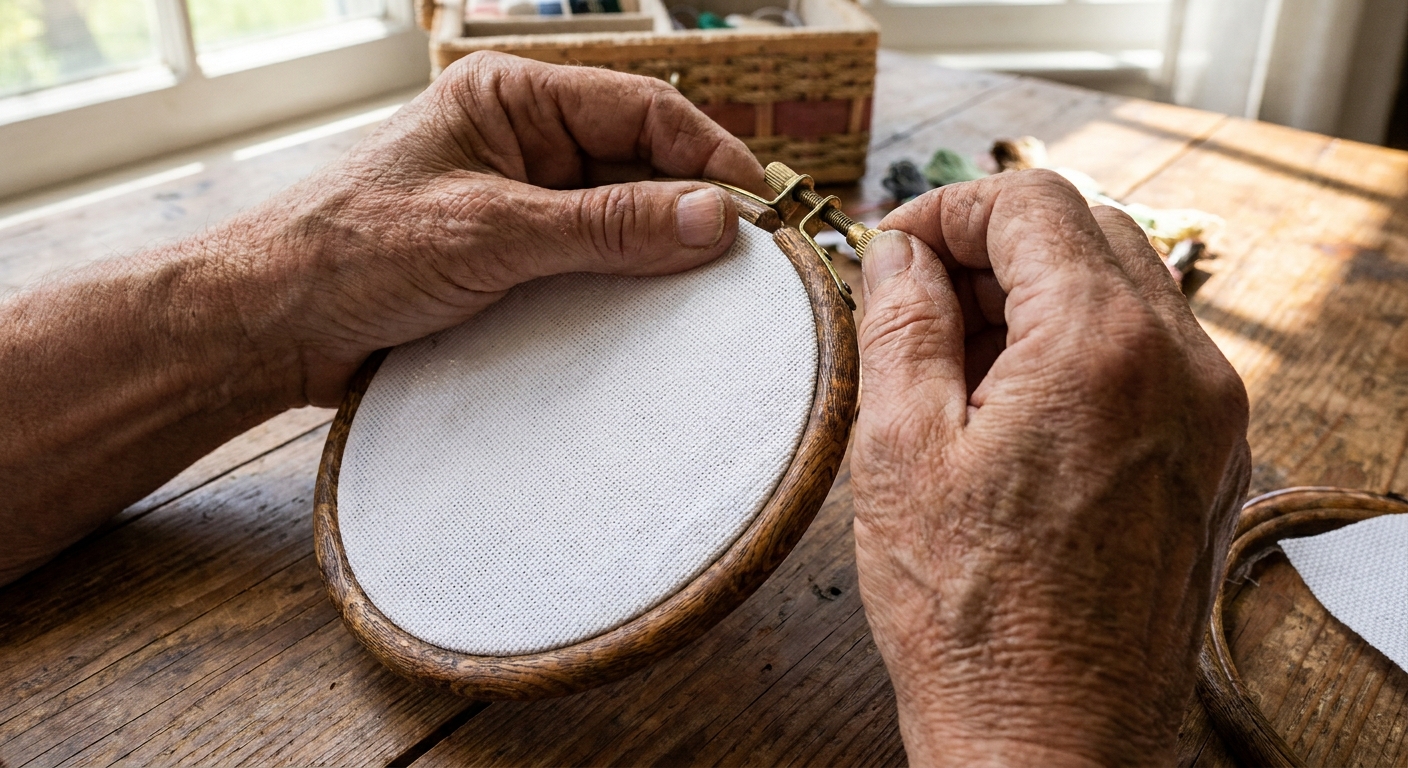
Hoop your fabric
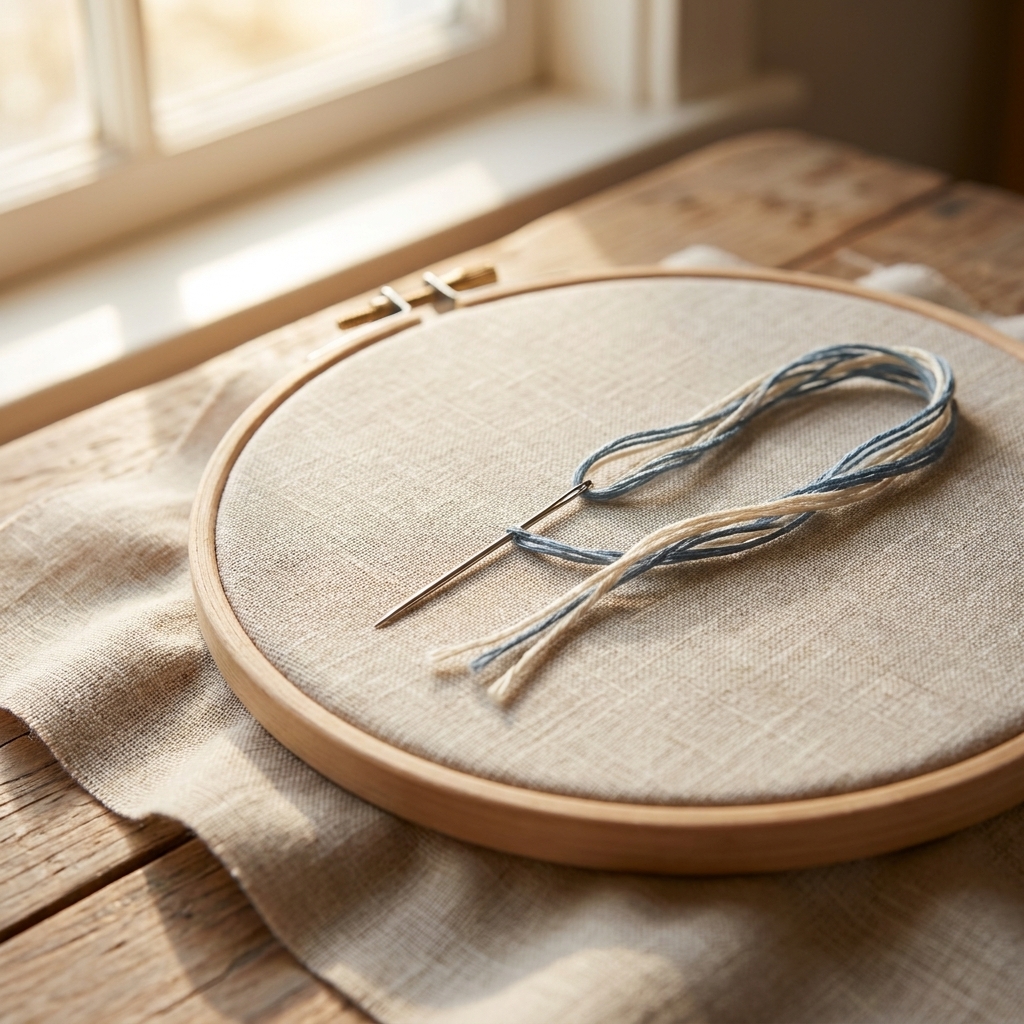
Aida is often happiest when it is held taut, like a little drum. That said, some stitchers prefer stitching in hand or using a Q-snap or frame. For this first motif, a hoop keeps everything nicely behaved.
- Separate the hoop into the inner ring and the outer ring.
- Lay the inner ring on the table, place the aida over it, then press the outer ring on top.
- Tighten the screw just enough that you can still tug the fabric.
- Gently pull the fabric edges all around until the weave looks straight and the center is smooth.
- Tighten the screw firmly. Tap the fabric with a finger. It should feel springy, not saggy.
If your fabric loosens while you stitch, pause and re-tighten. Tension problems are not a personal failing, they are just hoop life.
Read a tiny chart
Counted cross stitch patterns are basically graph paper. Each square on the chart equals one square on your aida. A symbol or colored square tells you what floss color goes there.
Find the center
Many charts show arrows or bold lines for the center point. You can match that to the center of your fabric:
- Fold the aida in half, then in half again. The creased point is the center. Finger-press the crease, no iron required.
- Start your first stitch near the center of the design and work outward, counting squares as you go.
Beginner-friendly tip: For a heart motif, starting at the center helps everything stay symmetrical. For a three-letter monogram, start with the middle letter so spacing stays balanced.
Count squares, not holes
Yes, you will stitch through the holes, but you are counting the woven blocks on the fabric to match your chart. Think in moves like: “From the center, go 3 squares right and 2 squares up to place the next stitch.” On aida, those little squares are easy to see once you start looking for them.
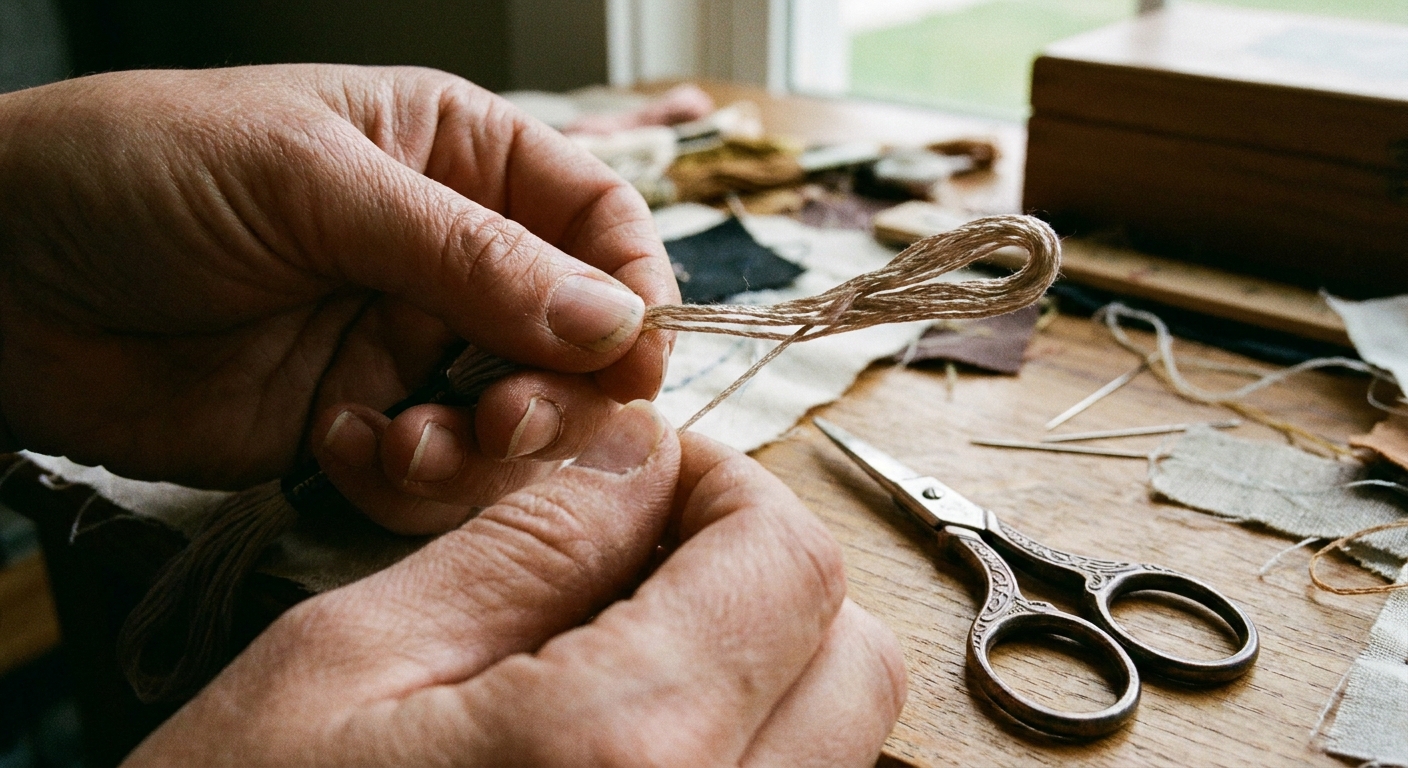
Split floss to two strands
Embroidery floss usually comes as six strands loosely twisted together. For 14-count aida, a classic beginner choice is two strands for smooth coverage without bulky stitches.
- Cut a length of floss about 18 to 24 inches. Longer can tangle and fray.
- Hold the floss and separate out one strand by pulling it away slowly.
- Separate out a second strand.
- Put those two strands together, line up the ends, and thread your needle.
If your floss keeps twisting, let the needle dangle and spin freely for a moment. Floss loves a little dramatic unwind.
Start without a knot
Knots can make the back lumpy and can pop through to the front over time. Two neat, beginner-friendly starts are the loop start and the tuck-the-tail start. Choose one.
Option 1: Loop start
This works beautifully with two strands.
- Cut one strand twice as long as you normally would.
- Fold it in half so you have two working strands and a loop at one end.
- Thread the needle with the two loose ends. The loop stays on the other end.
- Bring the needle up from the back at the first hole, leaving the loop on the back.
- Make the first half-stitch. Before you pull tight, pass the needle through the loop on the back to anchor.
Now your thread is locked in place with no knot and no fuss.
Option 2: Tuck the tail
If you are not doing a loop start, you can anchor a short tail under your first stitches.
- Bring the needle up from the back, leaving a 1 to 2 inch tail on the back.
- Hold that tail flat as you make the next few stitches.
- As you stitch, the new stitches trap the tail against the fabric. Trim the extra once it is secure.
Make every X consistent
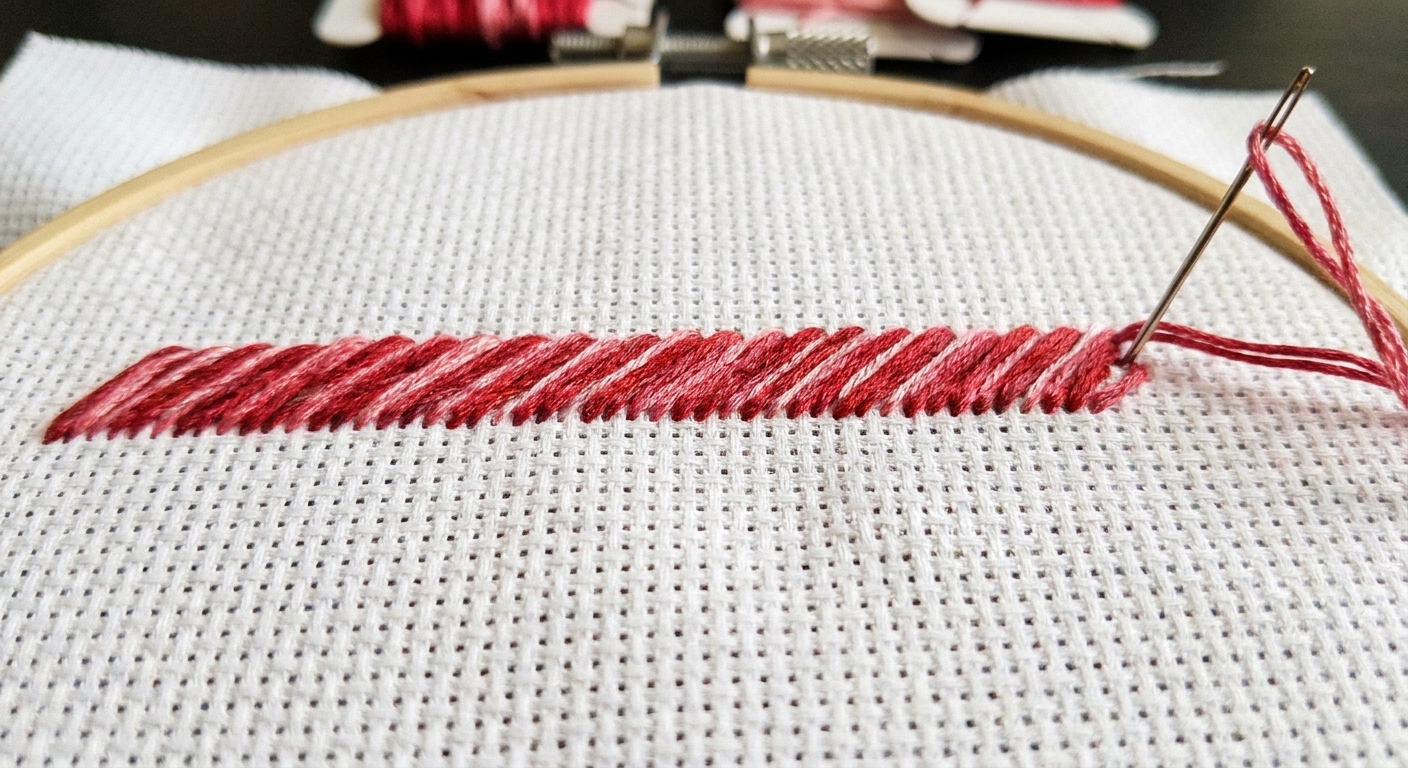
This is the little secret that makes cross stitch look crisp. Each stitch is two diagonals that cross. Pick one direction for the bottom leg and keep it consistent across the whole motif.
A common approach:
- Bottom leg: bottom left to top right (//// direction)
- Top leg: top left to bottom right (\\ direction)
Stitching method: half-stitch rows
For small motifs, this is fast and tidy:
- Work across a row doing only the bottom legs first.
- Come back across the row doing the top legs to complete the X’s.
Try not to yank the floss tight. Gentle snug is the goal. Too tight can distort the aida holes and make the fabric pucker.
Stitch a tiny heart
If you want the simplest possible win, pick a heart that is about 10 to 20 stitches wide. Here is how to approach it even if your pattern is tiny.
- Locate the heart center on your chart. Count to the first stitch from the center point.
- Bring your needle up at the bottom left corner of the square for your first stitch.
- Make the bottom leg, then the top leg, keeping your direction consistent.
- Move to the next square by bringing the needle up through the nearest appropriate hole on the back side.
- Count constantly: one square at a time. It is slower, but it prevents the classic beginner mistake of “mysterious drifting.”
How far can you travel? A handy rule of thumb is to avoid carrying more than 3 to 5 squares across empty fabric. Short carries that will be covered by stitches are usually fine. If you are working with dark floss on light fabric, long carries can sometimes show through as a shadow, so it is extra worth ending and restarting for a cleaner look.
Or stitch a monogram
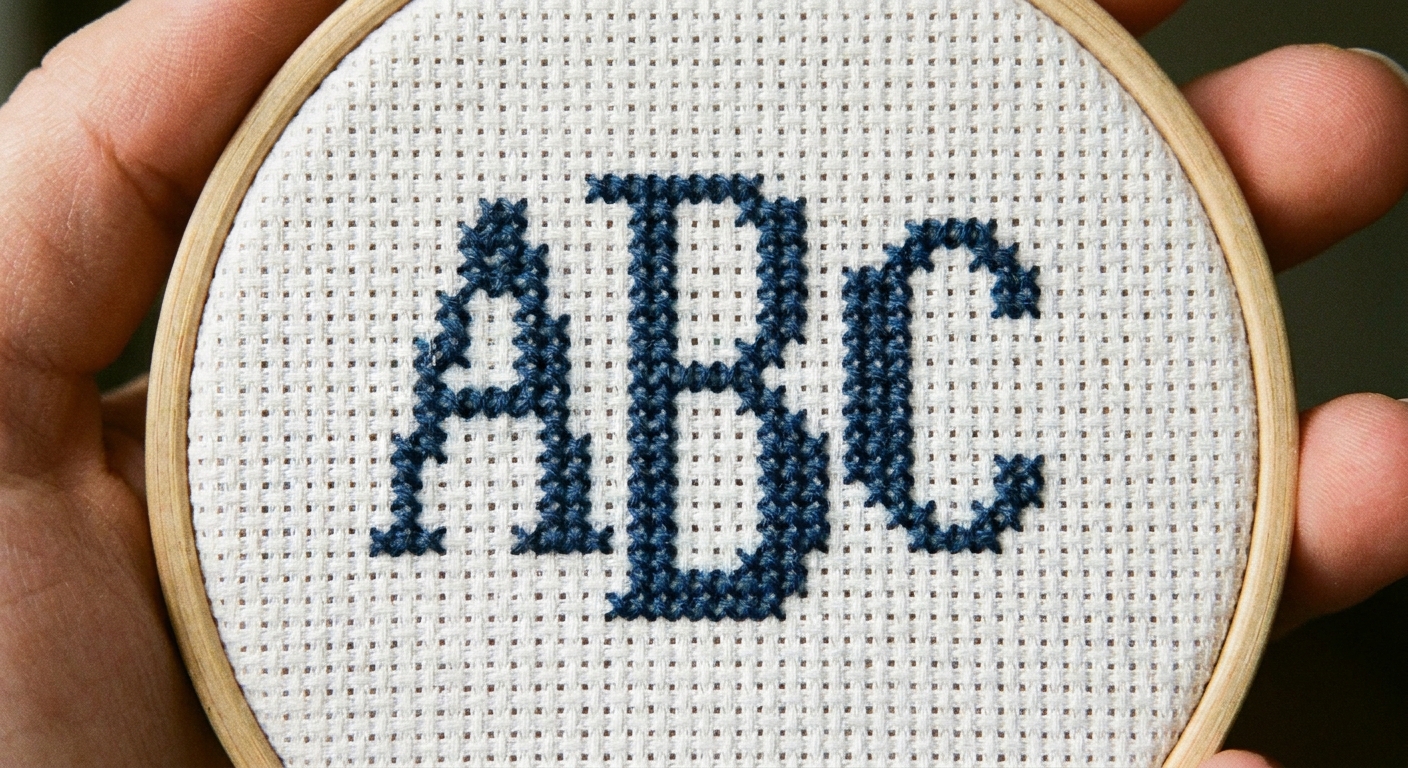
Monograms are perfect practice because they teach chart reading and spacing, but they stay small enough to finish.
Keep it centered
- Start with the middle letter and stitch it completely.
- Count the gap to the next letter on the chart, then stitch the left and right letters.
- If the chart uses backstitch outlines, save them for the end.
Beginner-friendly choice: Block letters are easier to count than curly script the first time.
End without a knot
When you are down to about 4 to 6 inches of floss, it is time to finish.
- Flip to the back of your work.
- Run the needle under 3 to 5 existing stitches on the back, moving in the same direction those stitches lie.
- Pull through gently.
- Repeat once more under a few stitches for extra security.
- Trim the tail close to the fabric, careful not to snip stitches.
If you can easily pull the tail out, you did not trap it under enough stitches. Tuck it again, then trim.
Keep fabric tidy
Check hoop tension
Aida can relax in the hoop, especially if you hold it for a while. If the fabric feels loose, re-tighten and re-smooth.
Protect finished stitches
- Try to stitch with clean hands.
- If you are setting the hoop down, place it stitches-up on a clean surface.
- If you take a break, loosen the hoop slightly to avoid leaving a crease. Then re-tighten when you return.
Finish your motif
Your tiny heart or monogram deserves a real ending, not the drawer of forgotten starts. Here are two beginner-friendly finishes.
Small ornament
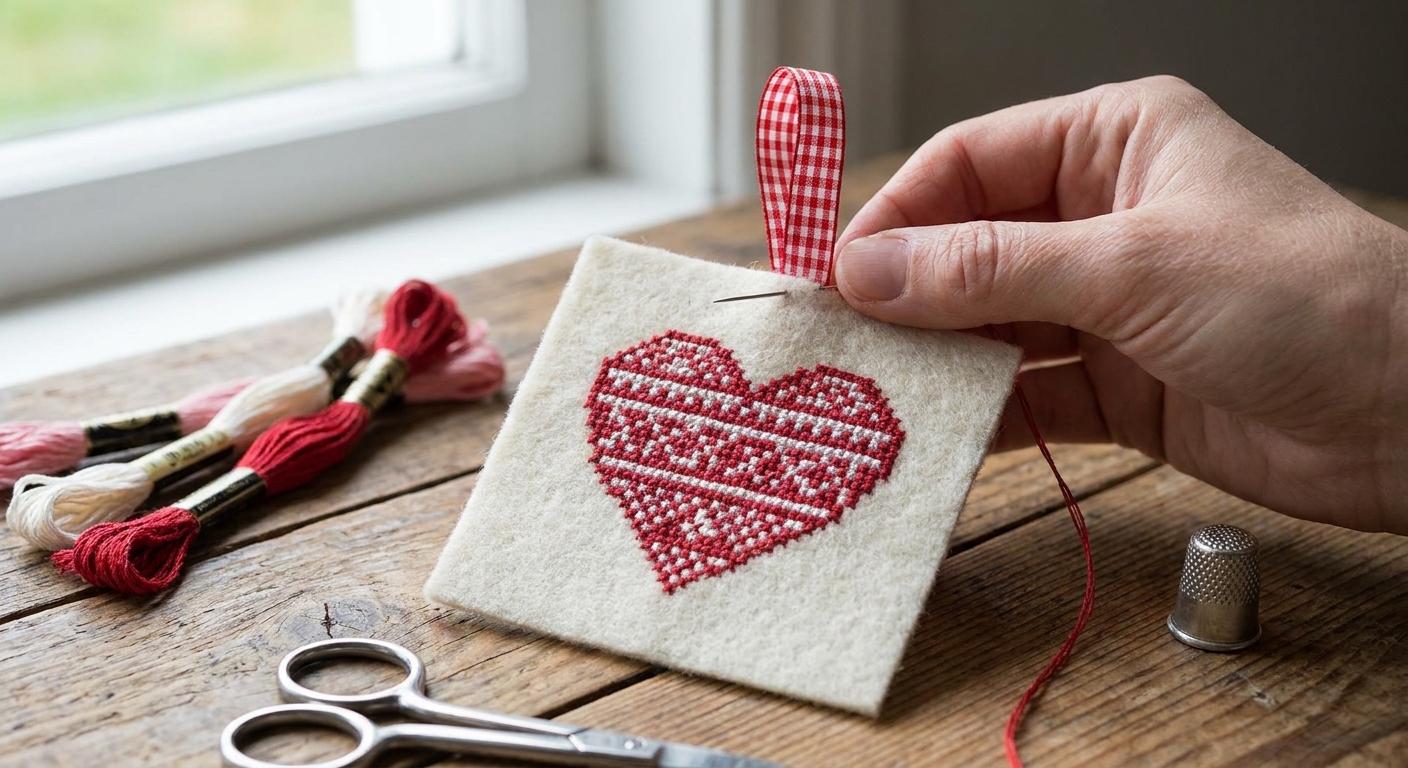
- Remove the fabric from the hoop and press the piece from the back with a warm iron, using a pressing cloth.
- Trim the fabric leaving about 1 to 2 inches of margin around the motif.
- Cut a matching piece of felt for the back.
- Center the stitching on the felt and attach with a running stitch or whip stitch around the edge. You can also use craft glue sparingly on the seam allowance if sewing is not your thing.
- Add a ribbon loop at the top, stitched in place between the layers.
Framed square
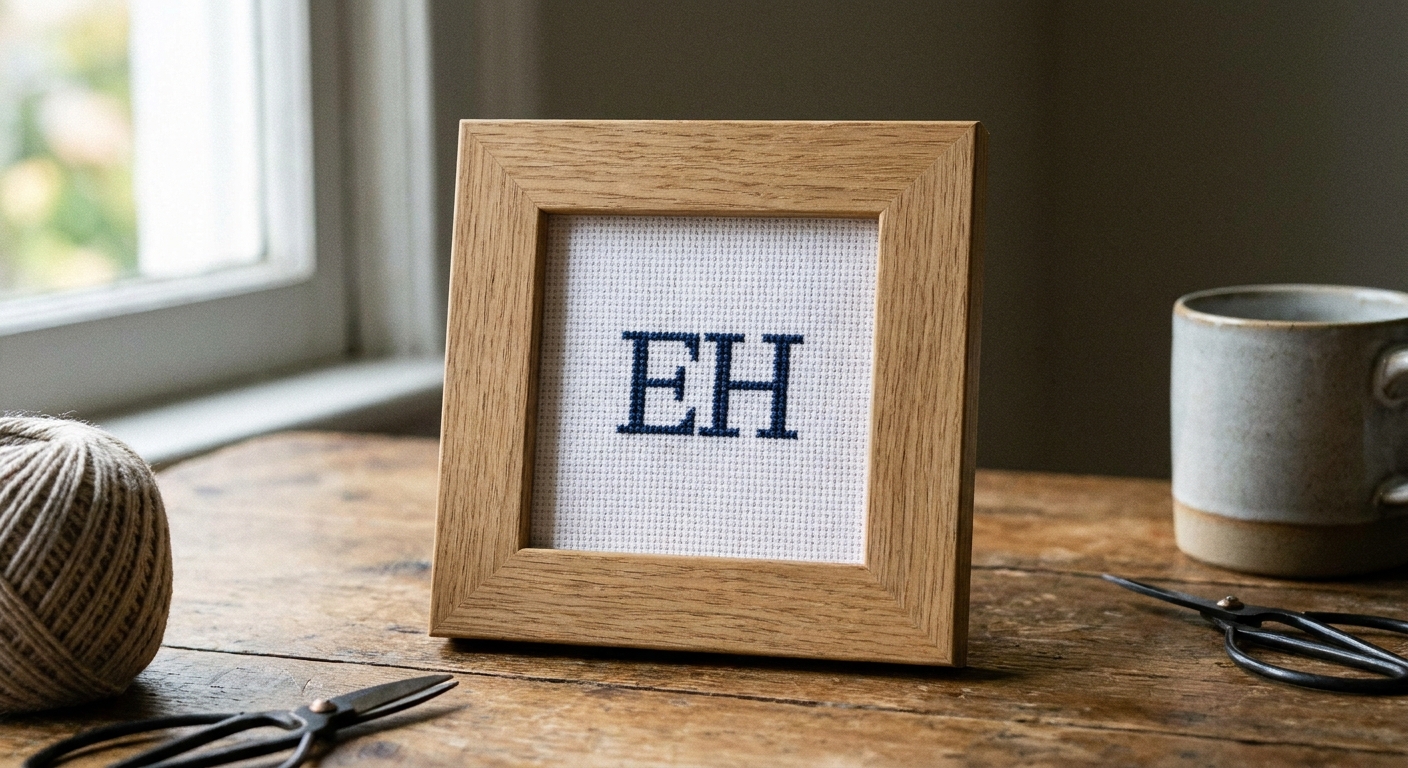
- Press the piece from the back with a warm iron and a pressing cloth.
- Cut a piece of cardstock or mat board slightly smaller than your fabric margin.
- Center the motif on the board and lace the fabric to the back with thread, or secure with acid-free tape on the back only.
- Place in a small frame. A simple 4x4 or 4x6 frame works well for tiny motifs.
Tip: If your fabric edges fray easily, apply a tiny line of clear fabric fray preventer on the cut edges before you finish. Test it on a scrap first if you can.
Aftercare
If your piece has hoop marks, skin oils, or washable marker lines, a gentle hand wash can help. Use cool to lukewarm water and a small amount of mild soap, then rinse well and lay flat to dry. When it is fully dry, press from the back with a pressing cloth.
Troubleshooting
My stitches look uneven
Check two things: your hoop tension (taut fabric helps) and whether your X’s all cross the same way. Also, try not to tug the floss too tight.
I miscounted and my heart looks lopsided
It happens. The nice thing about cross stitch is you can un-stitch. Gently pull out the last few stitches with the needle tip, then re-count from a point you trust.
My floss keeps tangling
Use a shorter length, let the needle dangle occasionally to untwist, and try to keep your working thread from rubbing too much as you pull through.
My back is messy
Messy backs are common early on. Focus on short carries, neat starts and ends, and avoiding knots. Tidy comes with practice.
One last tiny goal
If you finish one heart or one three-letter monogram, you have learned the core counted cross stitch skills. The next time you see a bigger pattern, it will just be more squares, more X’s, and the same cozy rhythm.
If you want to keep going, stitch the same motif again in a new color. Repeating a tiny design is one of the fastest ways to make your hands feel confident.