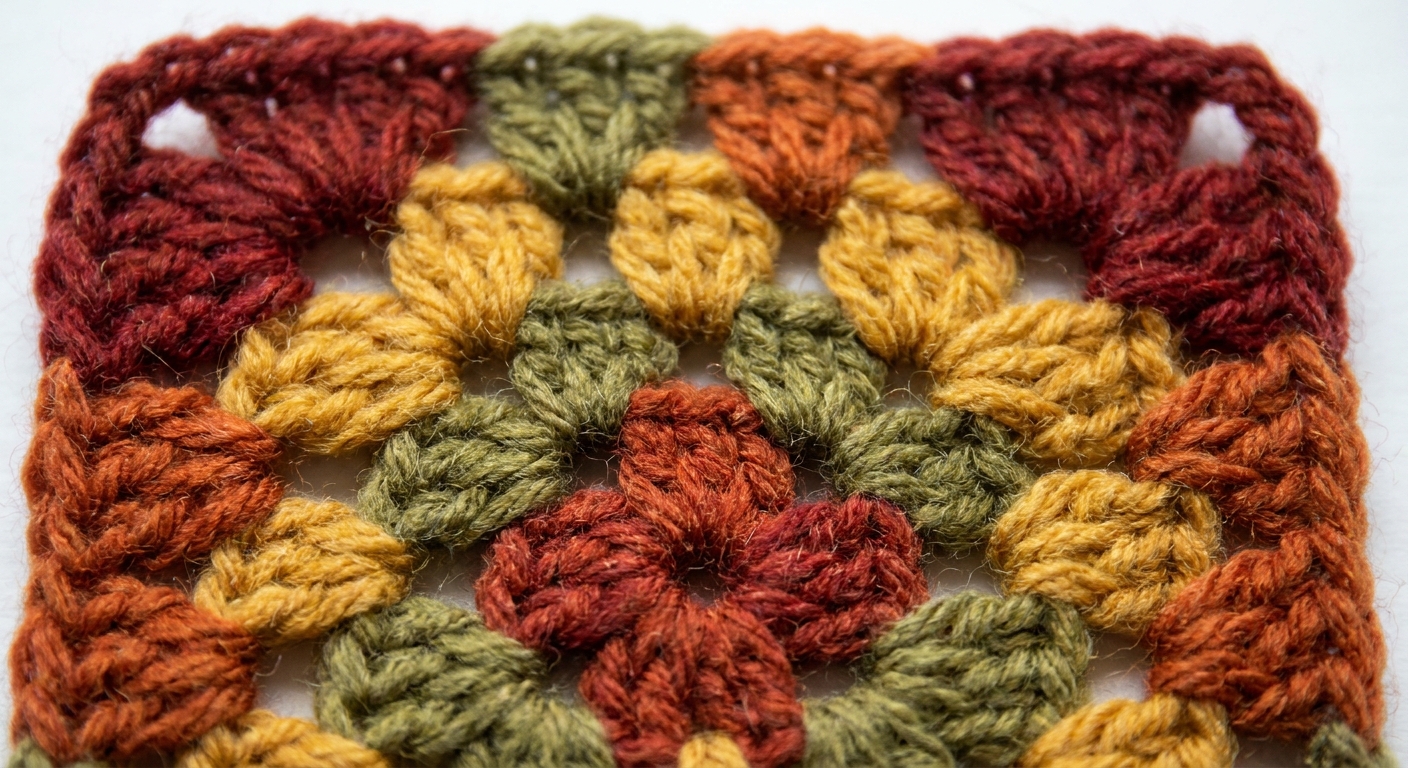
A cozy, beginner-friendly granny square lesson: yarn holding, stitch counting, clean corners, fasten-off, and an easy way to join two squares.
Small paws. Big project plans.
If your crochet rectangle is trying to become a taco, a tube, or a ruffled little wave, you are not alone. Curling and wavy edges are two sides of the same coin: something about the fabric is pulling tighter in one direction than the other.
The good news is you can usually fix it without starting over. Below are five very common beginner causes, in the order I like to troubleshoot them. Check each one, try the fix, then move to the next.
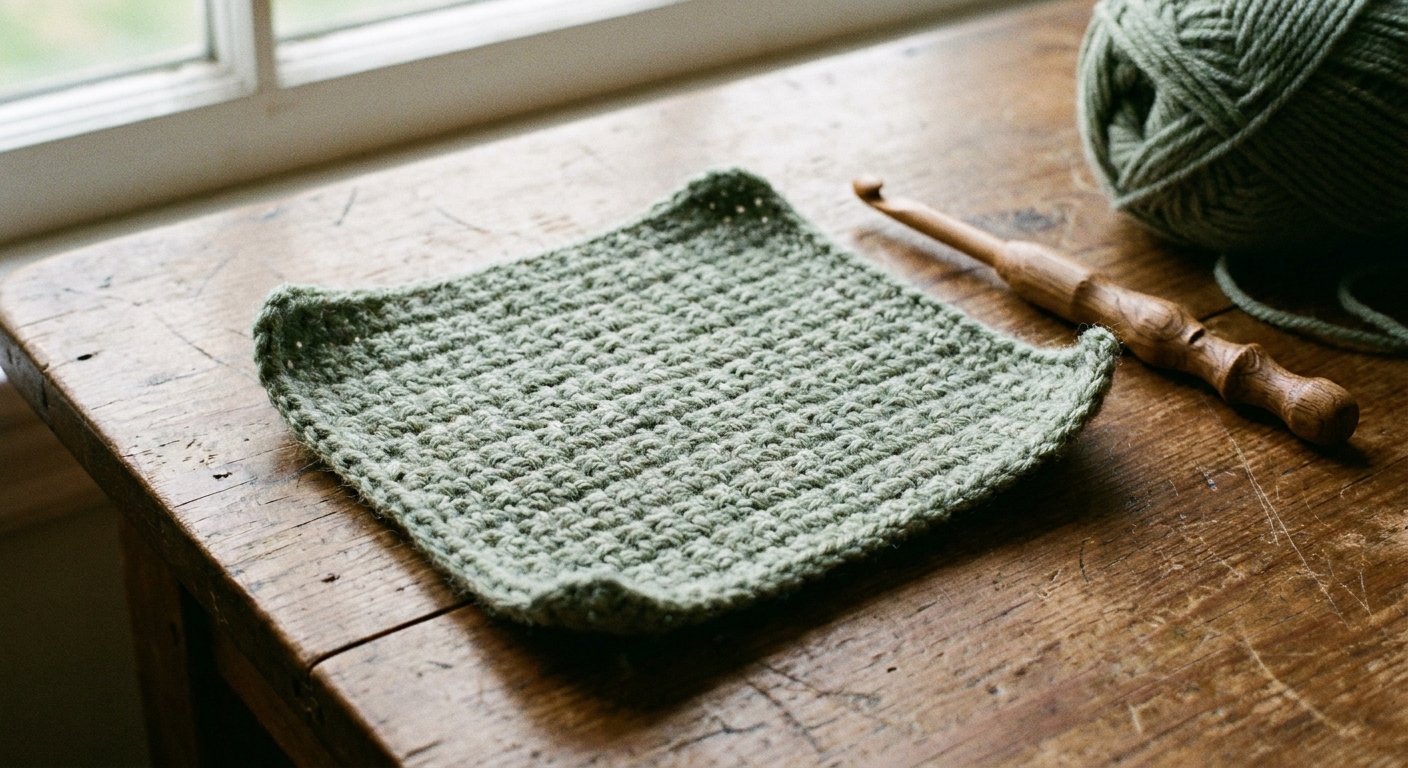
First: Curl or wave?
Before you rip anything out, take one quick look at the shape. It tells you what to test first.
- Curling into a tube (edges rolling up) usually points to tightness, stitch choice, or a piece that simply needs a border or blocking.
- Wavy or ruffled edges usually point to extra stitches, too many turning-chain stitches, or looseness that increases over time.
Now let’s troubleshoot in a clean, beginner-friendly order.
Quick tools that help
You do not need fancy gear, but a couple of simple tools make this so much easier.
- Stitch markers (or bobby pins, paper clips) for the first and last stitch of each row
- Tape measure or ruler to compare the foundation edge to the top edge
- Blocking supplies (optional): a towel or blocking mat and a few rust-proof pins
1) Your foundation chain is tighter than your stitches
This is the number one culprit when the bottom edge (the edge you started with) looks smaller than the rest of the piece. The fabric above it wants to be wider, so it pulls and curves.
How to spot it
- The starting edge feels like it is “drawing up” and the corners bend upward.
- Your first row was hard to work into.
- The foundation edge is visibly shorter than the top edge.
Fix: Redo the start (with a looser chain or a bigger hook)
If you are only a few rows in, the cleanest fix is to pull back to the foundation and redo it.
- Use a larger hook for the foundation chain (often 0.5 mm to 1 mm larger), then switch back to your project hook for Row 1.
- Chain looser on purpose: give each chain a tiny bit of breathing room as you form it.
- Try a foundation stitch (like foundation single crochet or foundation double crochet) if you are ready for a slightly fancier technique. These tend to match stitch tension better than a plain chain.
If you are far into the project, you can sometimes rescue the look with blocking or a border, but a very tight foundation usually keeps trying to curl. In that case, you will likely need to frog back to the foundation and redo it. (Frog just means ripping back your stitches, like “rip it, rip it.”)
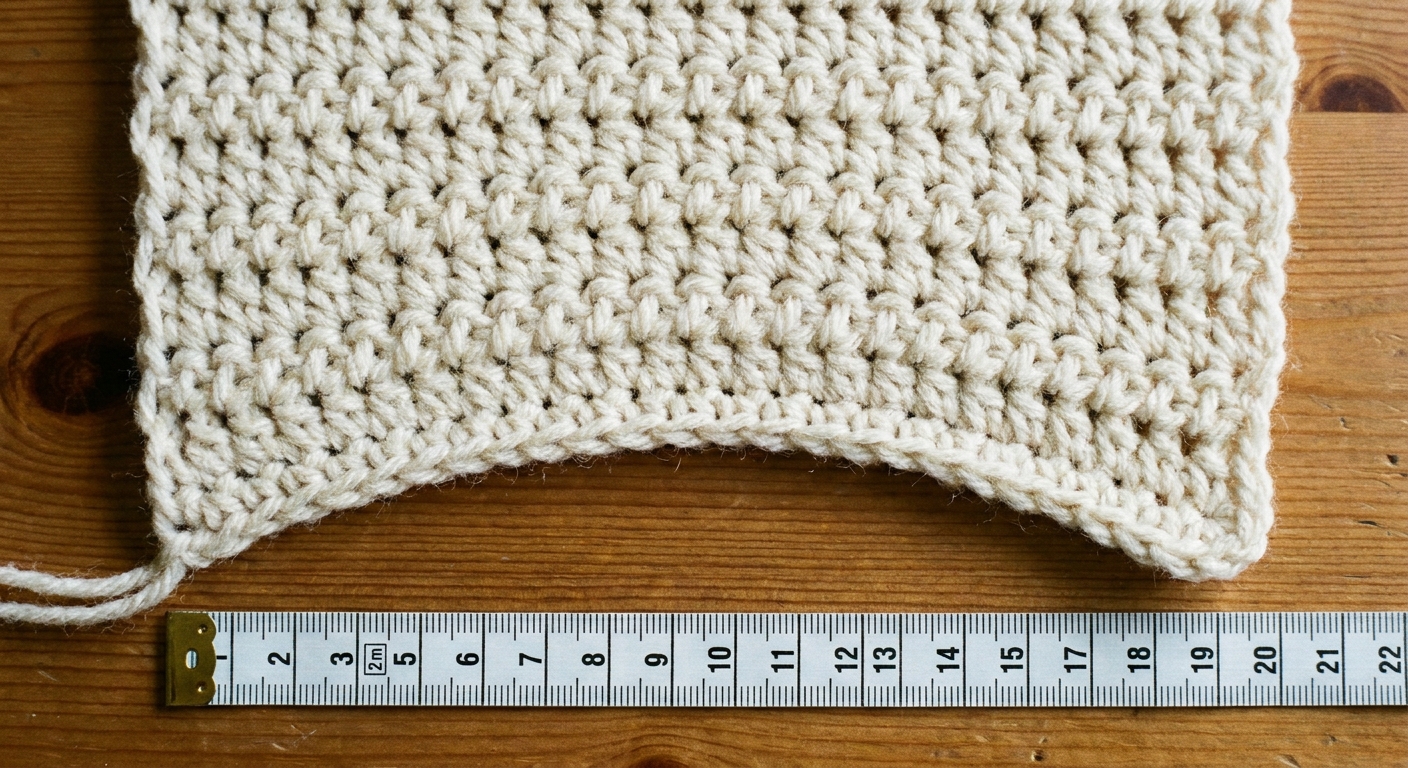
2) Extra stitches in Row 1 or the turning chain
If your edges are wavy or your rectangle is slowly turning into a trapezoid, it often comes down to an accidental stitch increase. For beginners, that usually happens in two places: the first row into the foundation chain, or the turning chain at the edges.
How to spot it
- Your piece is getting wider or narrower as you go up.
- The edge looks like little stair steps instead of a straight line.
- You are unsure where the “real” last stitch of each row is.
- The bottom edge looks ruffly because too many stitches were worked into the foundation chain.
Fix: Count stitches for 2 to 3 rows, then rip back if needed
Pick one row and count the stitches across. Then count the next row. They should match exactly. Also compare the stitch count in Row 1 to what the pattern expects.
- If your stitch count changes, the fix is not blocking. You will want to pull back to the last correct row and rework from there.
- Use a stitch marker in the first and last stitch of every row while you rebuild confidence. It makes edges much less mysterious.
- Follow the pattern’s turning-chain rule: some patterns count the turning chain as a stitch and some do not. That one sentence in the pattern matters a lot.
Quick reference (common, not universal):
- Single crochet rows: chain 1 to turn, commonly does not count as a stitch.
- Half double crochet rows: chain 2 to turn, commonly may or may not count depending on the pattern.
- Double crochet rows: chain 2 or 3 to turn, commonly counts in many classic patterns, but not all.
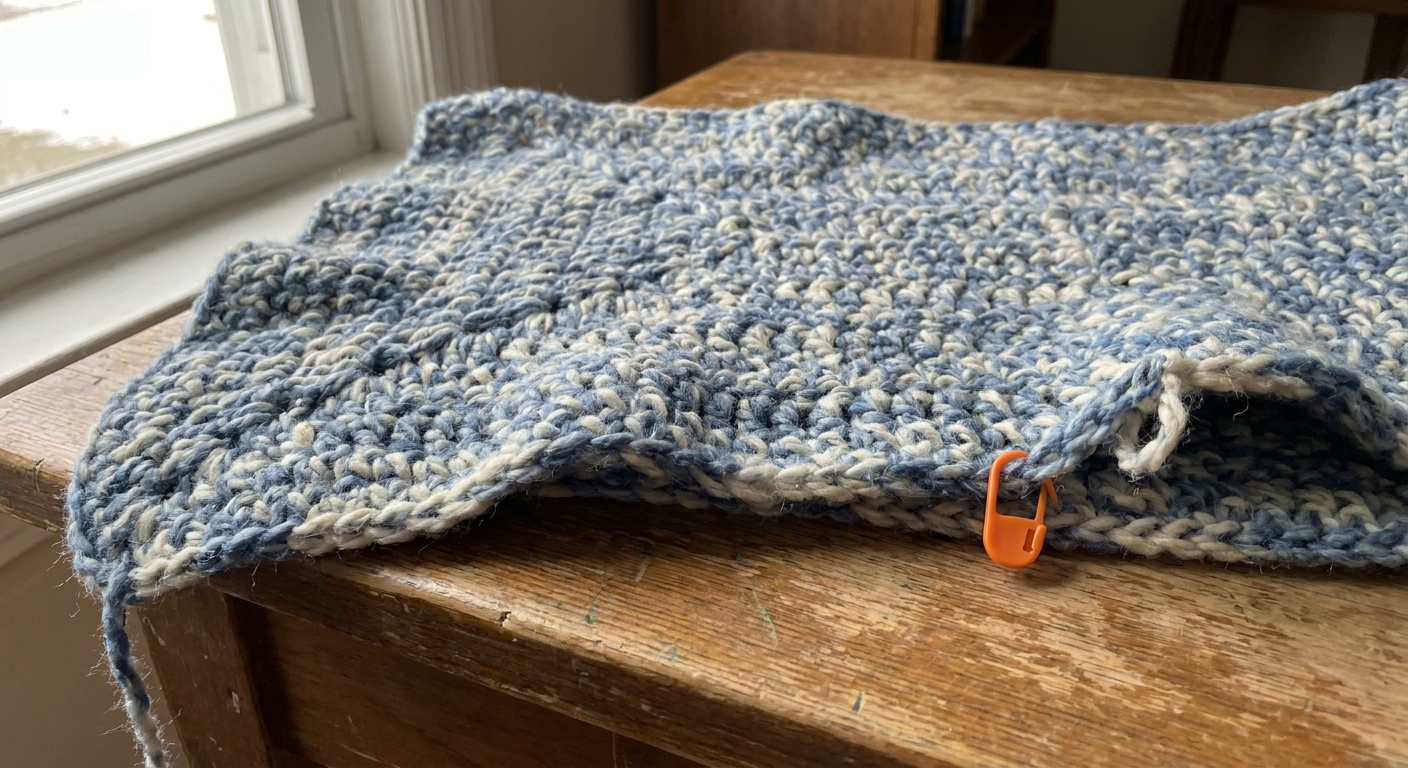
3) Your tension tightens at the edge
Many crocheters unknowingly pull the loop tighter after finishing a stitch, especially at the last stitch of the row. Over time, that makes the edges pinch in, which encourages curling and makes the sides look drawn together.
How to spot it
- The last stitch of each row is noticeably smaller or harder to insert your hook into.
- The sides curve inward even when your stitch count is correct.
- Your fabric feels firmest along the edges.
Fix: Give the last stitch extra slack
- After the final stitch of a row, keep the working loop a touch taller before you turn.
- Try “edge breathing room”: when you yarn over or pull through on that last stitch, do it gently, not tightly.
- Use stitch markers on the edge stitches so you do not fight to find them, which often leads to tugging.
If the edges are already tight, blocking can help a little. But if the last stitches are consistently tiny and the sides are shrinking, the neat fix is to frog back to where the tension started changing and redo those rows with softer edge tension.
4) Some stitch patterns naturally curl
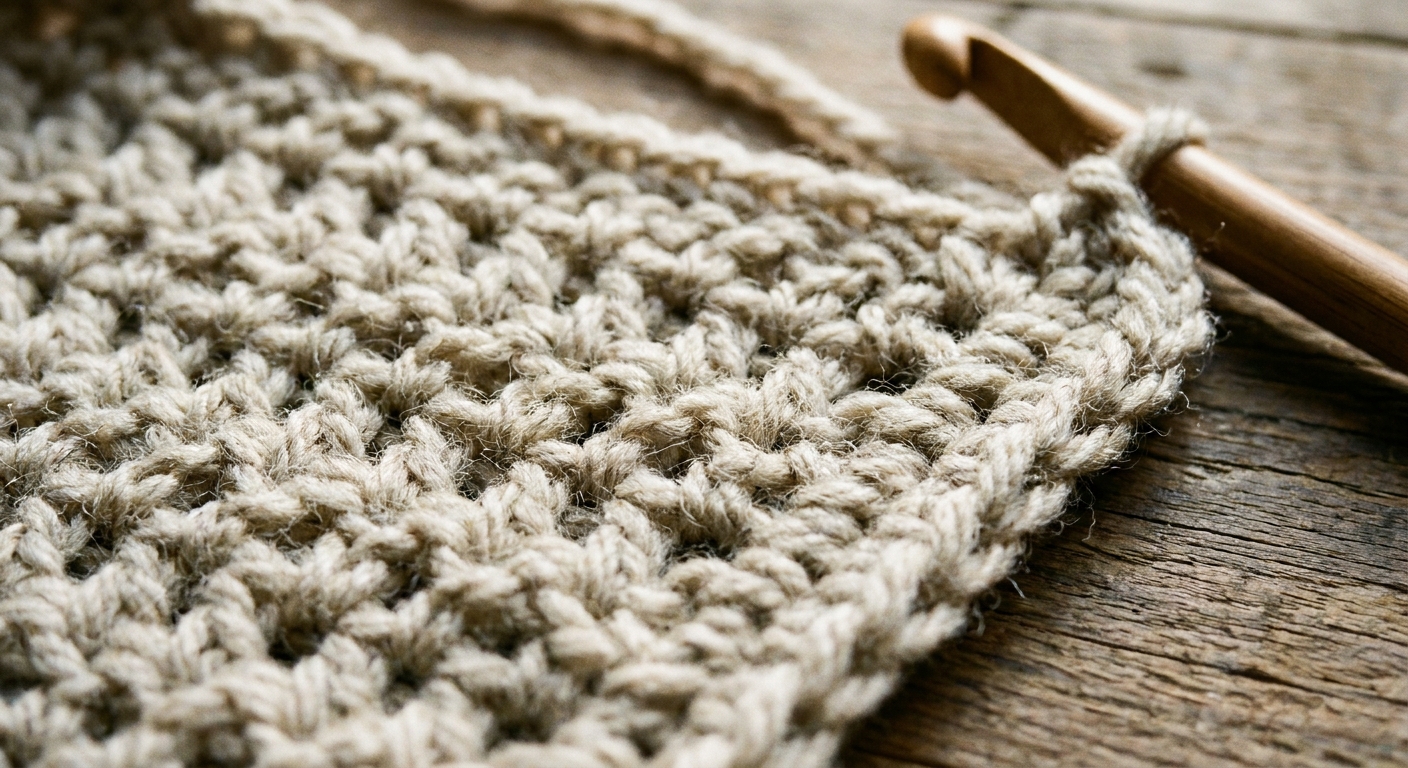
Even when you do everything “right,” certain fabrics like to curl. Single crochet and other short, dense stitches can naturally roll at the edges because the fabric is firm and the edge has nothing balancing it. Some stitch patterns also lean or pull by design, like front-loop-only or back-loop-only ribbing. Tunisian crochet is also famous for curling until it is blocked and bordered.
How to spot it
- Your stitch count stays consistent, and your foundation edge is not drawing up.
- The curling is fairly even on all sides, not worse in one corner.
- You are working a dense stitch pattern (especially all single crochet) or a pattern known to curl (like loop-only ribbing or Tunisian stitches).
Fix: Add a simple border
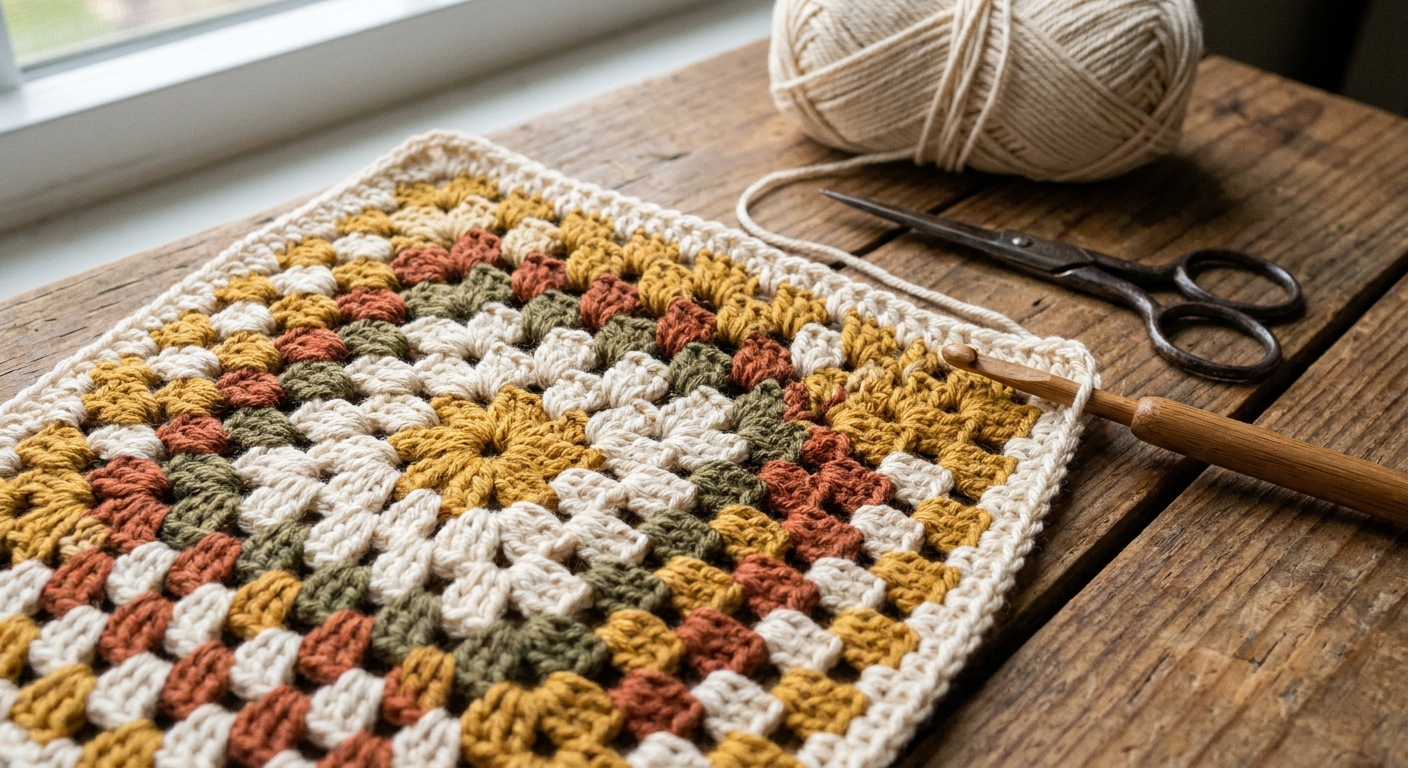
A border adds structure and weight to the perimeter, which helps the fabric relax and lie flatter. It also makes the edges look finished.
Try this:
- Work one round of single crochet evenly around the entire piece.
- In the corners, work 3 single crochets into the corner stitch or corner space so the border can turn without pulling.
- Along side edges (row ends), aim for a spacing that lies flat. As a starting point, many crocheters use about 1 single crochet per row end for shorter stitches, and about 2 single crochets per 2 rows for taller stitches. Your yarn, hook, and row height can change what “right” looks like, so let the fabric be the judge.
If the border starts to wave, you are adding too many stitches. If it starts to pull and curl harder, you are adding too few. Undo the border and try again with a slightly different spacing. This is one of those spots where a small redo is totally normal.
5) Your yarn needs blocking
Some yarns, especially certain wools and acrylics, change personality after they get a little moisture and settle into their new shape. A piece that looks curly fresh off the hook can behave beautifully after blocking.
How to spot it
- Your tension looks consistent, but the piece still looks a bit springy.
- The yarn feels bouncy or tightly twisted.
- You are making something that will be washed anyway (like a scarf, blanket square, or dishcloth).
Fix: Block before you decide it is “ruined”
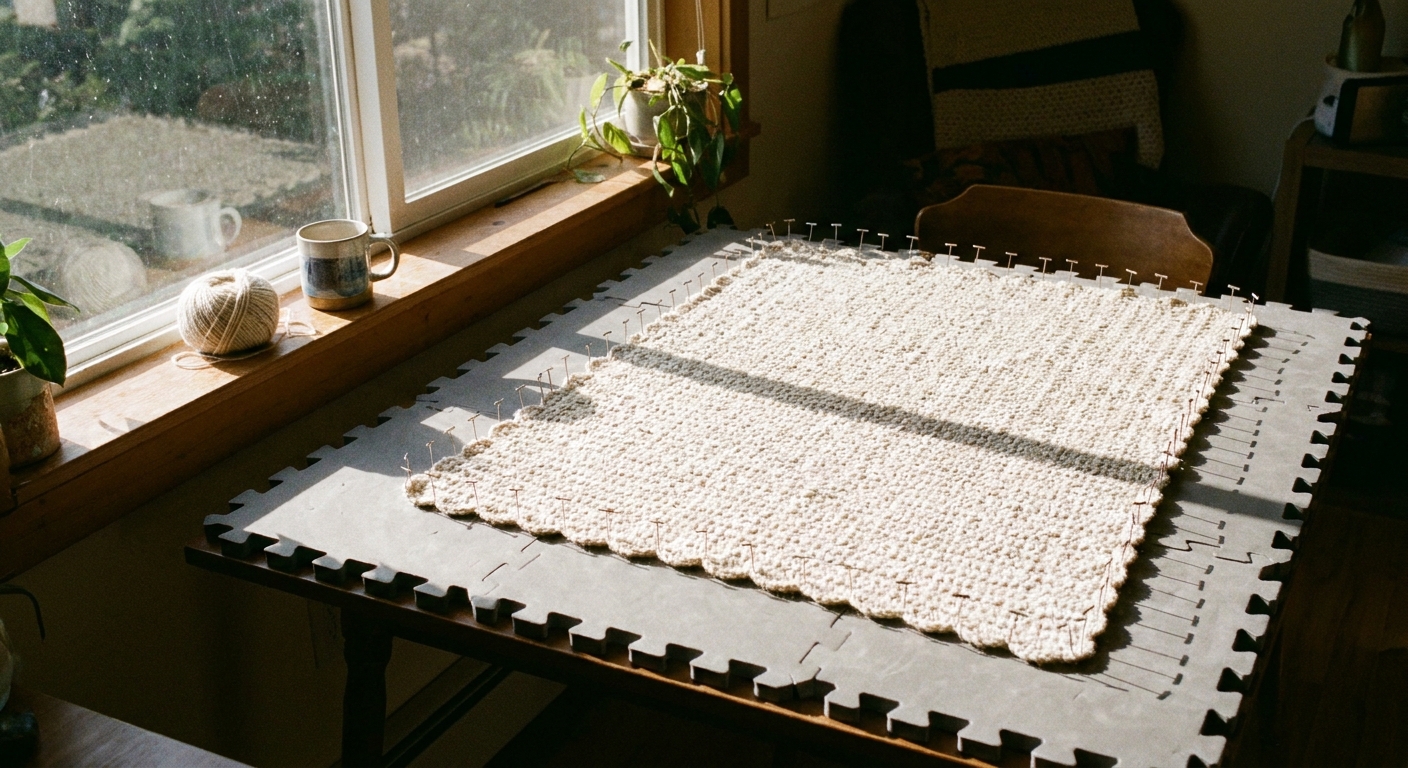
Blocking is just shaping your crochet with moisture and letting it dry flat.
- For wool or wool blends: wet block by soaking briefly in cool water, gently squeezing out water, then laying flat and shaping.
- For acrylic: steam blocking can help, but use care. Keep steam above the fabric and do not press hard. Too much heat can permanently change acrylic, so test on a swatch if you can.
- For cotton: a wash and lay-flat dry often does the trick, especially for small curls.
If the curling is mild and your work looks consistent, blocking is often the right final step. If the curling is severe and clearly caused by a tight foundation or stitch increases, blocking will not fully solve it. It will just make a stubborn problem slightly flatter.
Border, block, or frog?
If you want a quick decision tree, here you go:
- Add a border when your stitch count stays consistent and the fabric is naturally curling (especially dense stitches).
- Block the piece when the curling is mild and your work looks consistent, or when you are using a yarn that relaxes after washing.
- Frog the last rows when your stitch count is changing, your turning chain is inconsistent, or your edges are getting tighter and tighter as you go.
- Redo the foundation when the very first edge is tight and the first row was hard to work.
Quick FAQ
Will crochet always curl at first?
A little curl can be normal, especially with tight stitches, narrow strips, or pieces without borders. If it is dramatic or getting worse each row, it is usually a tension or stitch-count issue.
My edges are wavy, not curling. What does that mean?
Waves often mean you have too many stitches somewhere. Double-check Row 1 into the foundation chain, then turning chains and stitch count. A border added on top of a wavy edge usually makes the wave more obvious.
Can I fix curling without restarting?
Sometimes. If the cause is natural curl or yarn that needs to relax, a border and blocking can solve it. If the cause is a tight foundation or a changing stitch count, the most satisfying fix is usually to frog back and correct it.
Is single crochet the main stitch that curls?
It is one of the most common culprits because it makes a dense, firm fabric. But any stitch can curl if the foundation is tight, the edges are pulling, or the stitch pattern itself is curl-prone.
A calm next step
If you only try one thing today, try this: count your stitches for two rows and compare the foundation edge to the top edge. That tiny check solves a surprising number of curling mysteries.
And if your piece is simply being a bit curly while you work, remember: crochet often looks better after a border, a wash, or a gentle block. Your project is not being dramatic. It is just settling into shape.